


Appium is a completely free-to-use mobile app automation framework, and Cucumber is a tool that uses the BDD (behavioral-driven development) approach to write test cases.
In this post, we'll touch on Appium and Cucumber, including how to use them together. Then, we'll create a project using both of them.
What Is Appium?
Appium is a completely open-source mobile app automation framework that you can use to test all types of mobile applications written using Kotlin, Java, Objective-C, Swift, React Native and Flutter.
Test cases in Appium can be written in languages like Java, Python, JavaScript, and PHP. After executing the tests, the app will run automatically on the connected device and show the user interactions as per the test cases.
What Is Cucumber?
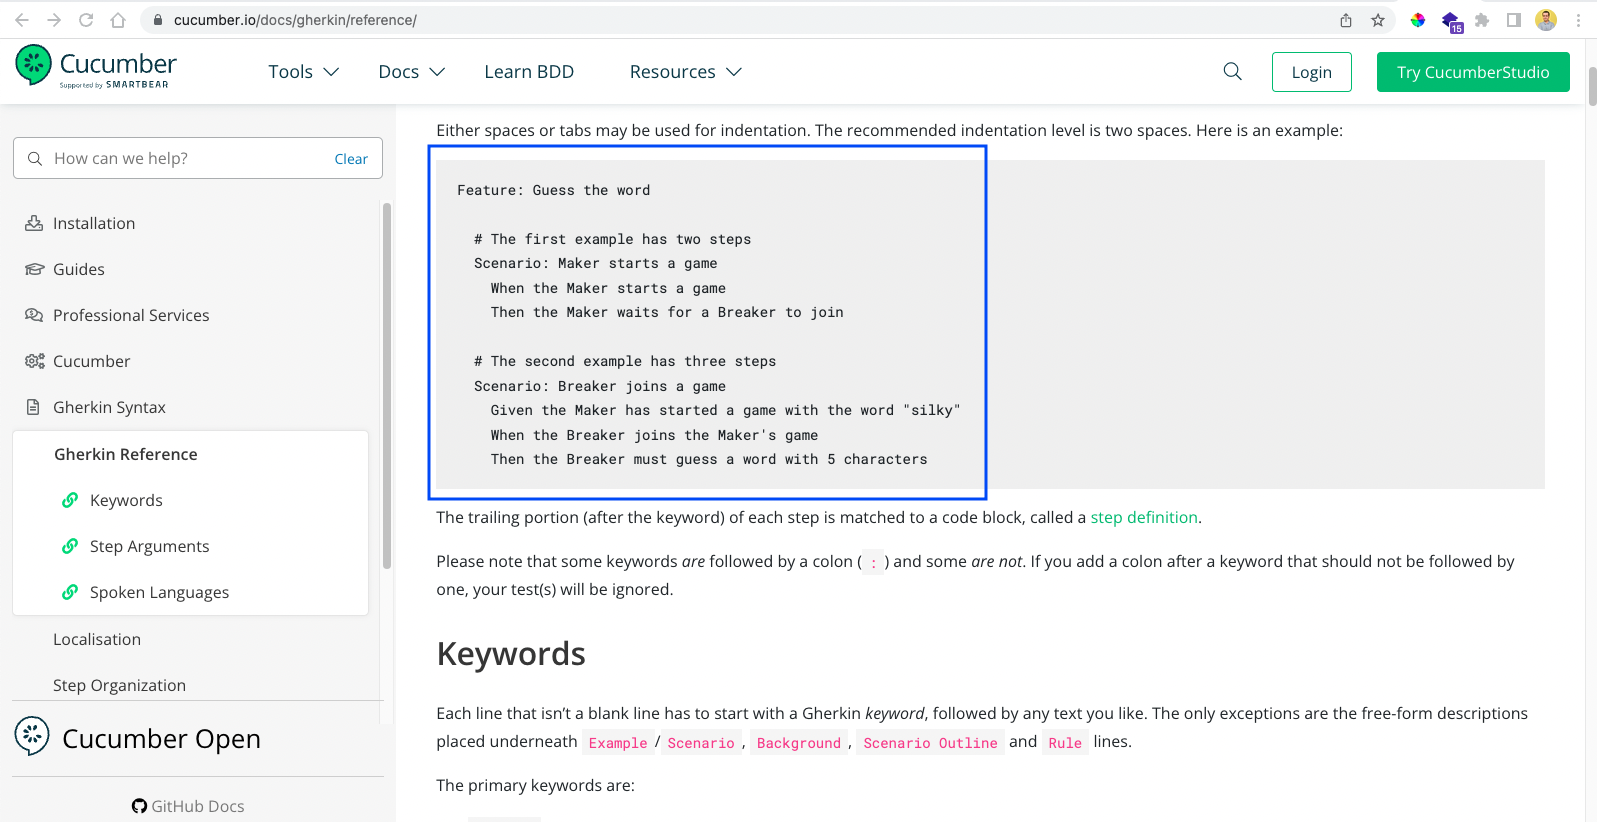
Cucumber is a tool that uses the BDD (behavioral-driven development) approach to write test cases. The test cases are written like English statements in a language called Gherkin.
We use Given, When, and Then in it, as shown in the screenshot below, which is taken from the official site.
What Is the BDD Framework?
The behavioral-driven development framework enables software testers to write test cases in plain English. It's liked by testers, managers, and other stakeholders who have a problem understanding complicated programming languages.
Cucumber is one of the top frameworks to implement BDD. It uses a language called Gherkin, in which we can write test cases.
Is Cucumber Used for Automation Testing?
Cucumber can be used for automation testing with the help of other frameworks.
Selenium is the top framework for automation testing in web apps. Furthermore, it works very well with Cucumber.
We can write test cases in Cucumber using Gherkin for automated testing. Then, these test cases will be run on the browser as if a real user is interacting.
.png)
Can Cucumber be Used for Mobile Testing?
Cucumber also can be used for mobile testing but, again, it needs to be used with a mobile automation framework like Appium.
So, can you use Cucumber with Appium? Yes, we can use Cucumber with Appium. We're going to learn to do that in this post.
Requirement for Test Cases with Cucumber
To start, we need to have JDK 8 installed on our system. The steps for the same can be found in our earlier post here.
Aside from this, we also need the Appium server to be installed on our system.
Additionally, we need Android Studio if we're opening our app through an emulator. So, download Android Studio from this official link. Open the exe(Windows)/dmg(Mac) file and follow the instructions to install Android Studio.
Alternatively, you can choose to connect to a real Android device.
Project Setup in IDE
We'll write our test cases in Java. So, we need any Java-based IDE (integrated development environment) like Eclipse or IntelliJ.
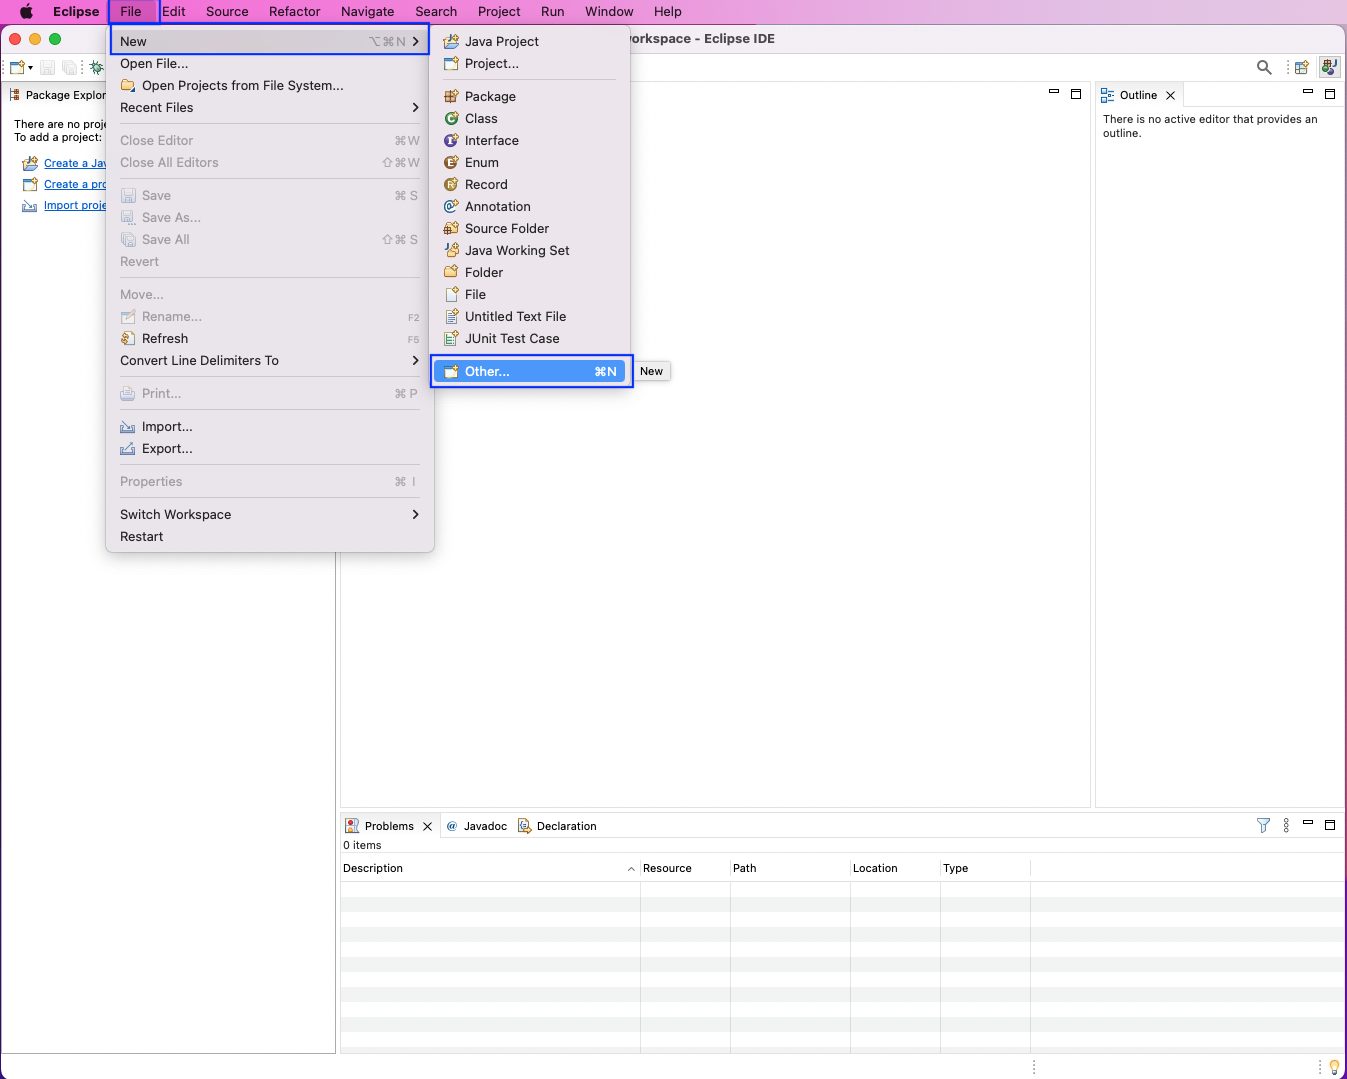
In this post, we'll use Eclipse to write our test cases. Open Eclipse, and then click on File > New > Other.
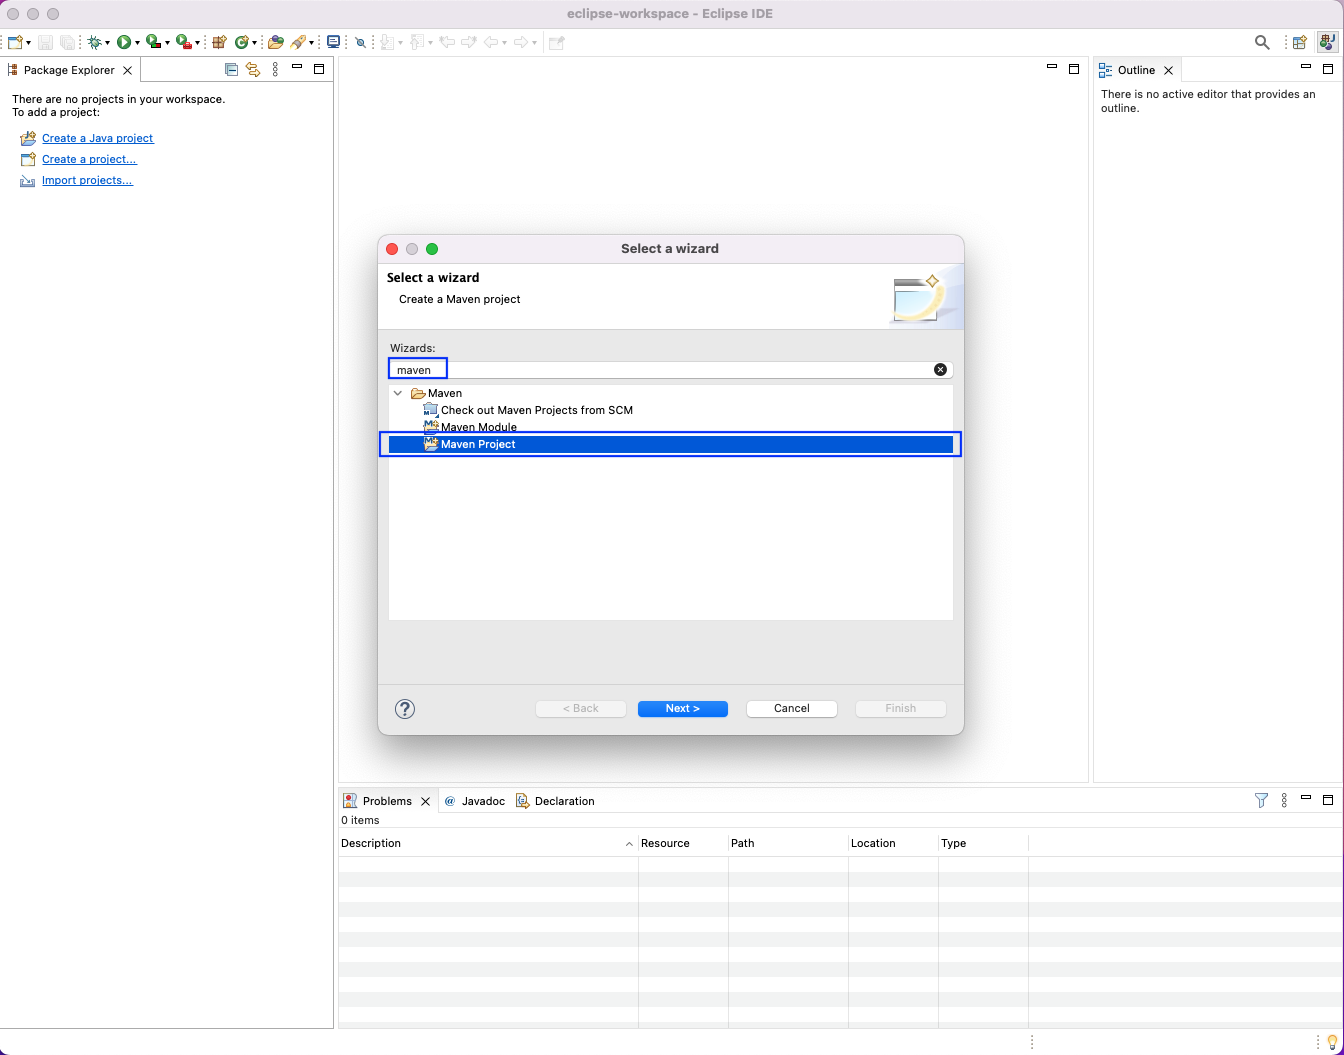
Then, write maven in the Wizards search box. After that, select "Maven Project" and click on the "Next" button.
Make sure that the first checkbox for "Create a simple project" is selected. After that, click on the "Next" button.

Now, give the Group ID and Artifact ID, which should be the same. Also, give a nice description.
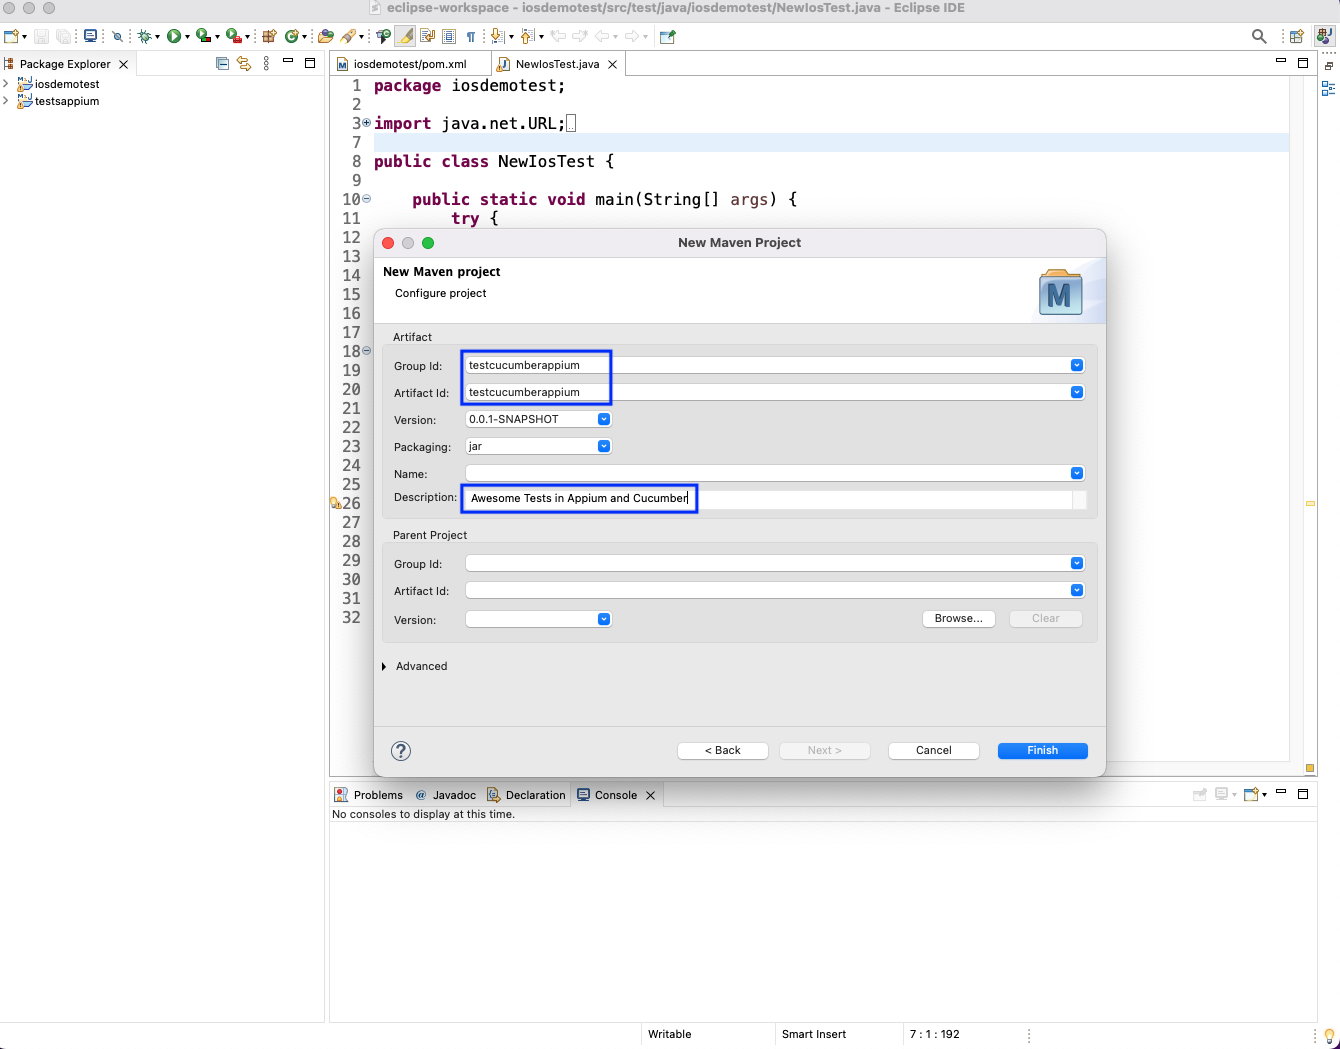
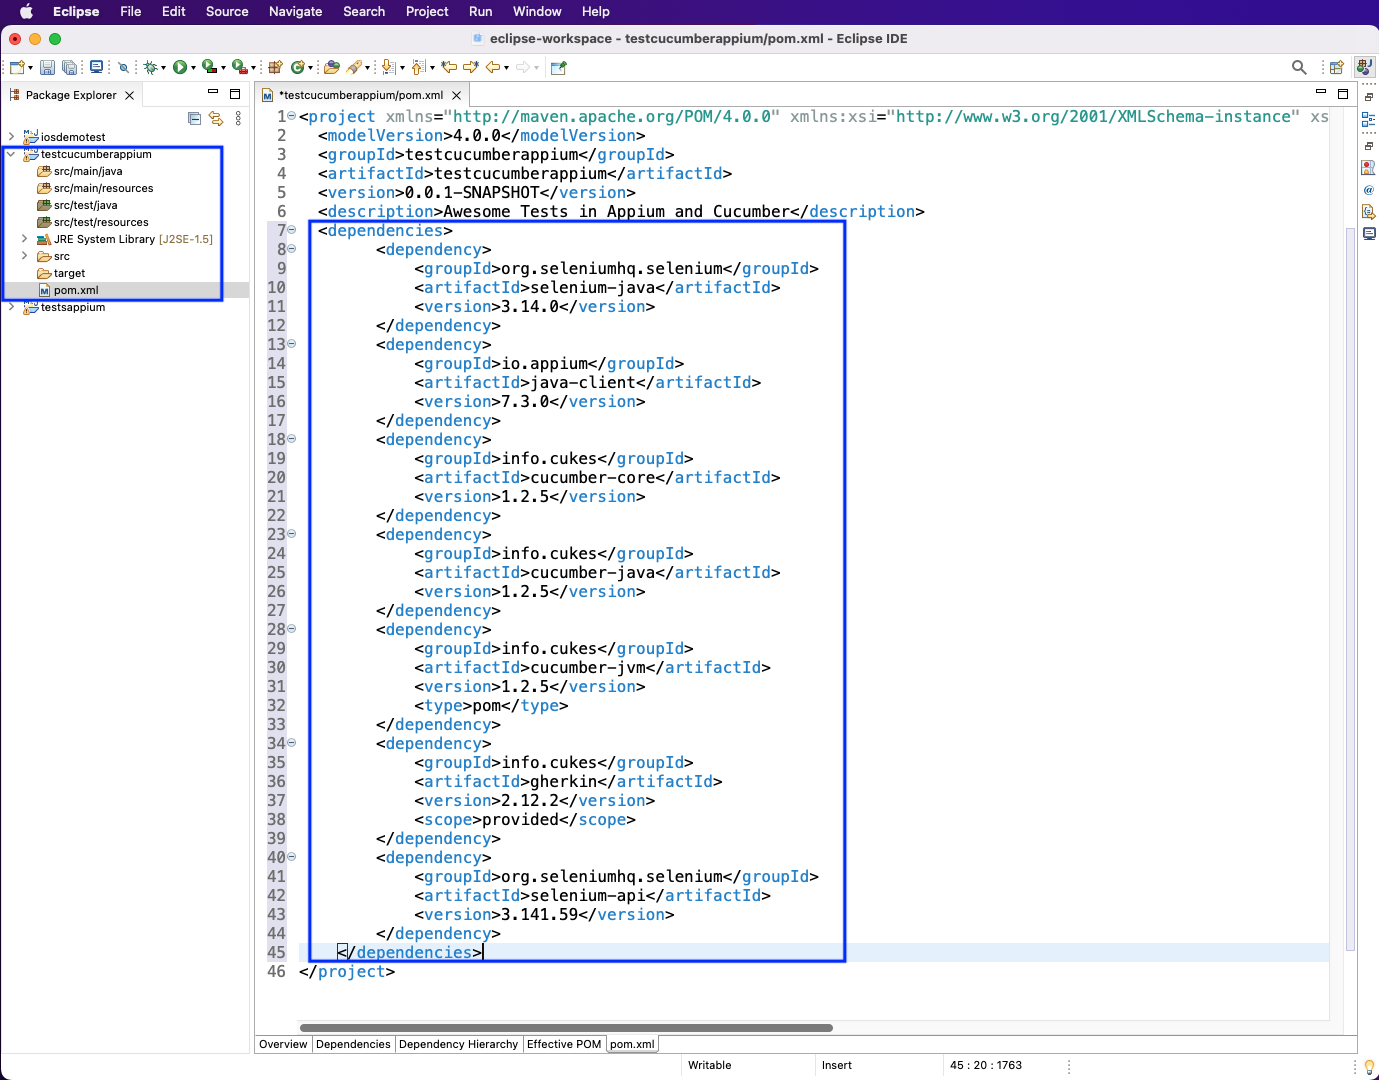
Now, our project will be opened. Here, we'll update our pom.xml file to add the dependencies for the project.
Cucumber Code in Feature File
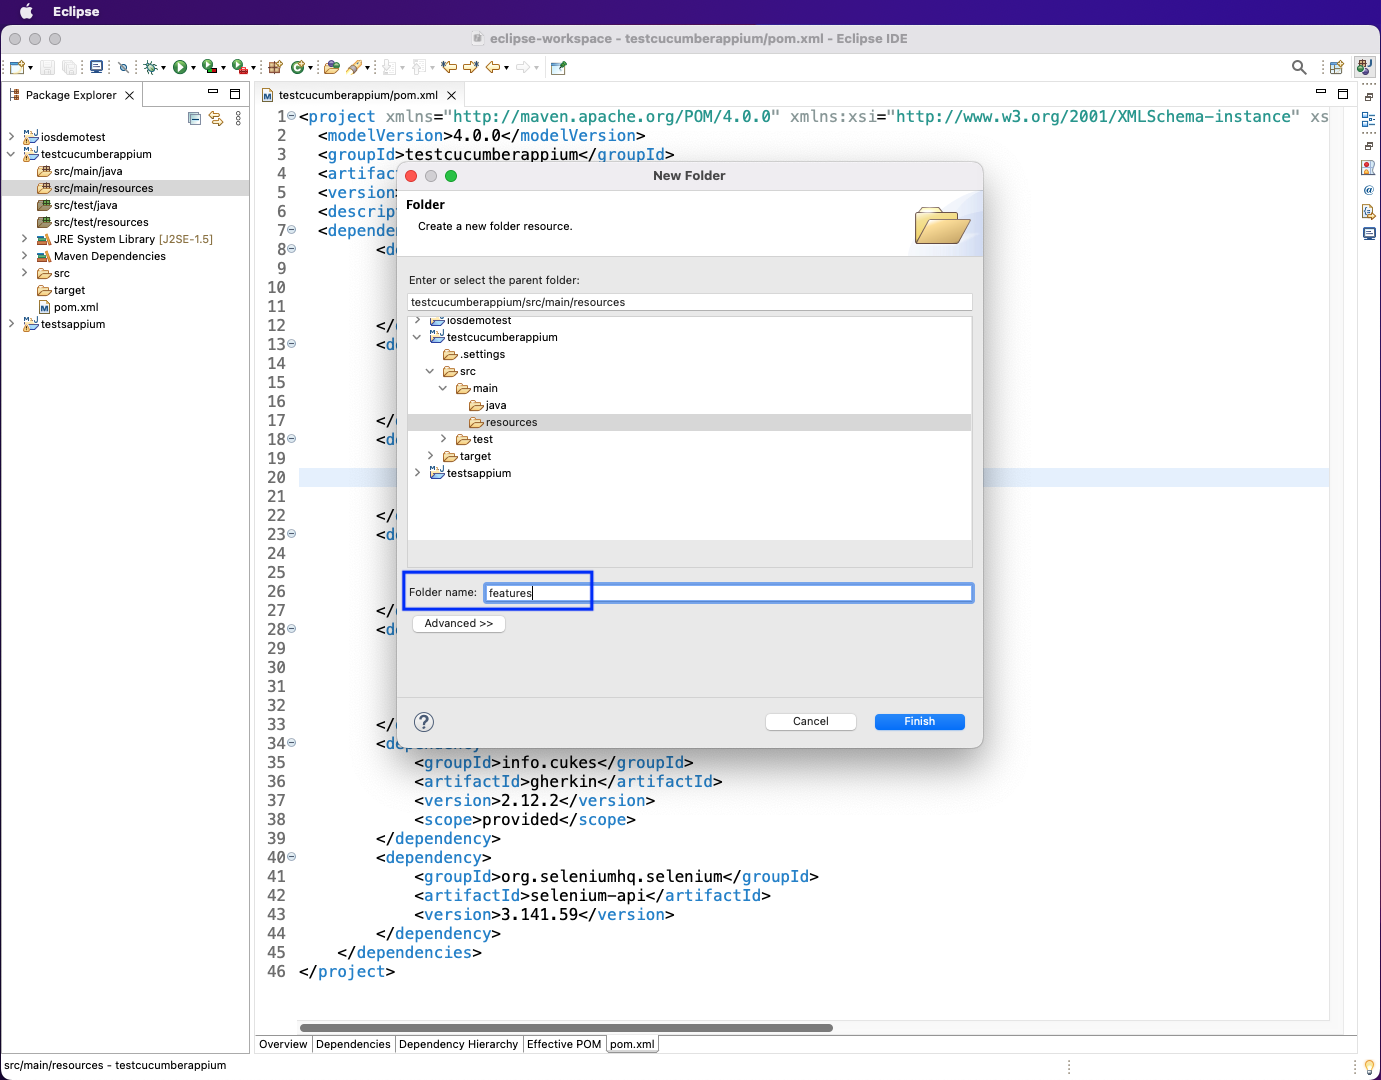
We'll write the Cucumber code in a file ending with the .feature extension. This is needed because Cucumber uses the language of Gherkin.
We'll first create a new folder called features inside src/main/resources.
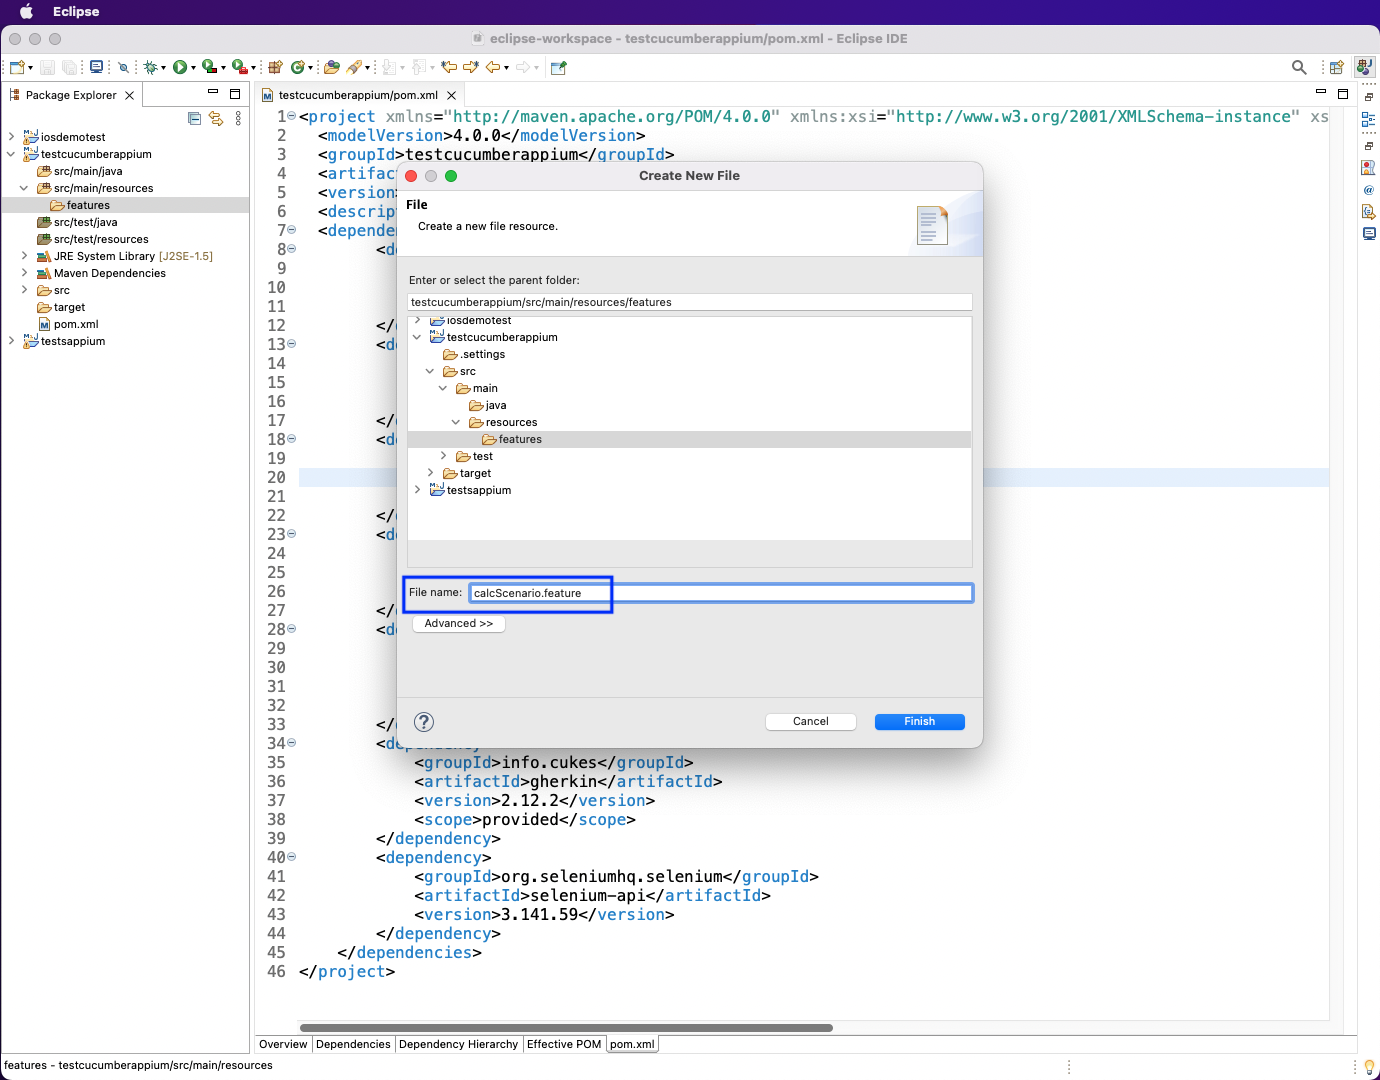
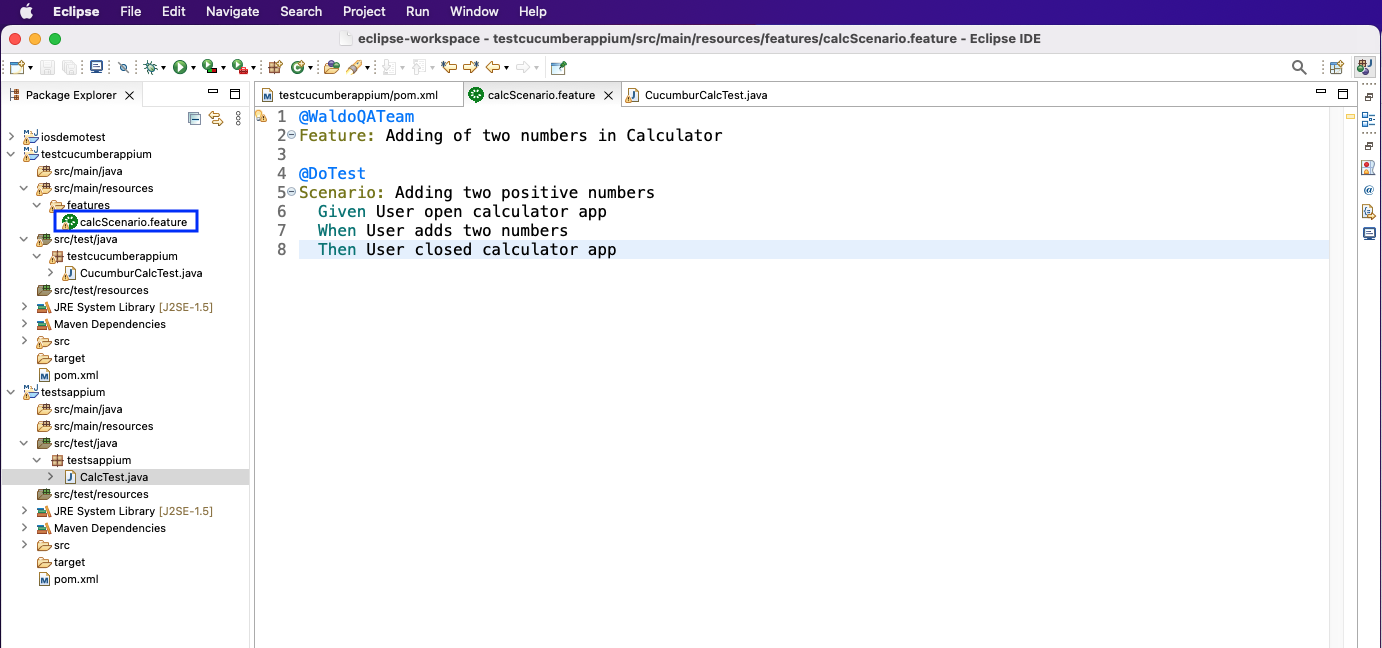
Next, create a file called calcScenario.feature inside the features folder.
In this post, we'll test the built-in calculator app on a connected Android phone.
Now, in the calcScenario.feature file, we have to give a feature. It's Adding two numbers in the Calculator in our case.
Next, the scenario will define the test. Here, the Given, When, and Then functions define the different features in the test.
Generally, there will be more scenarios, and they will be written by testers.
Writing Test Cases With Java
Now, the steps in the feature file need to be converted into real test cases. Most of the time, this step is done by the developer.
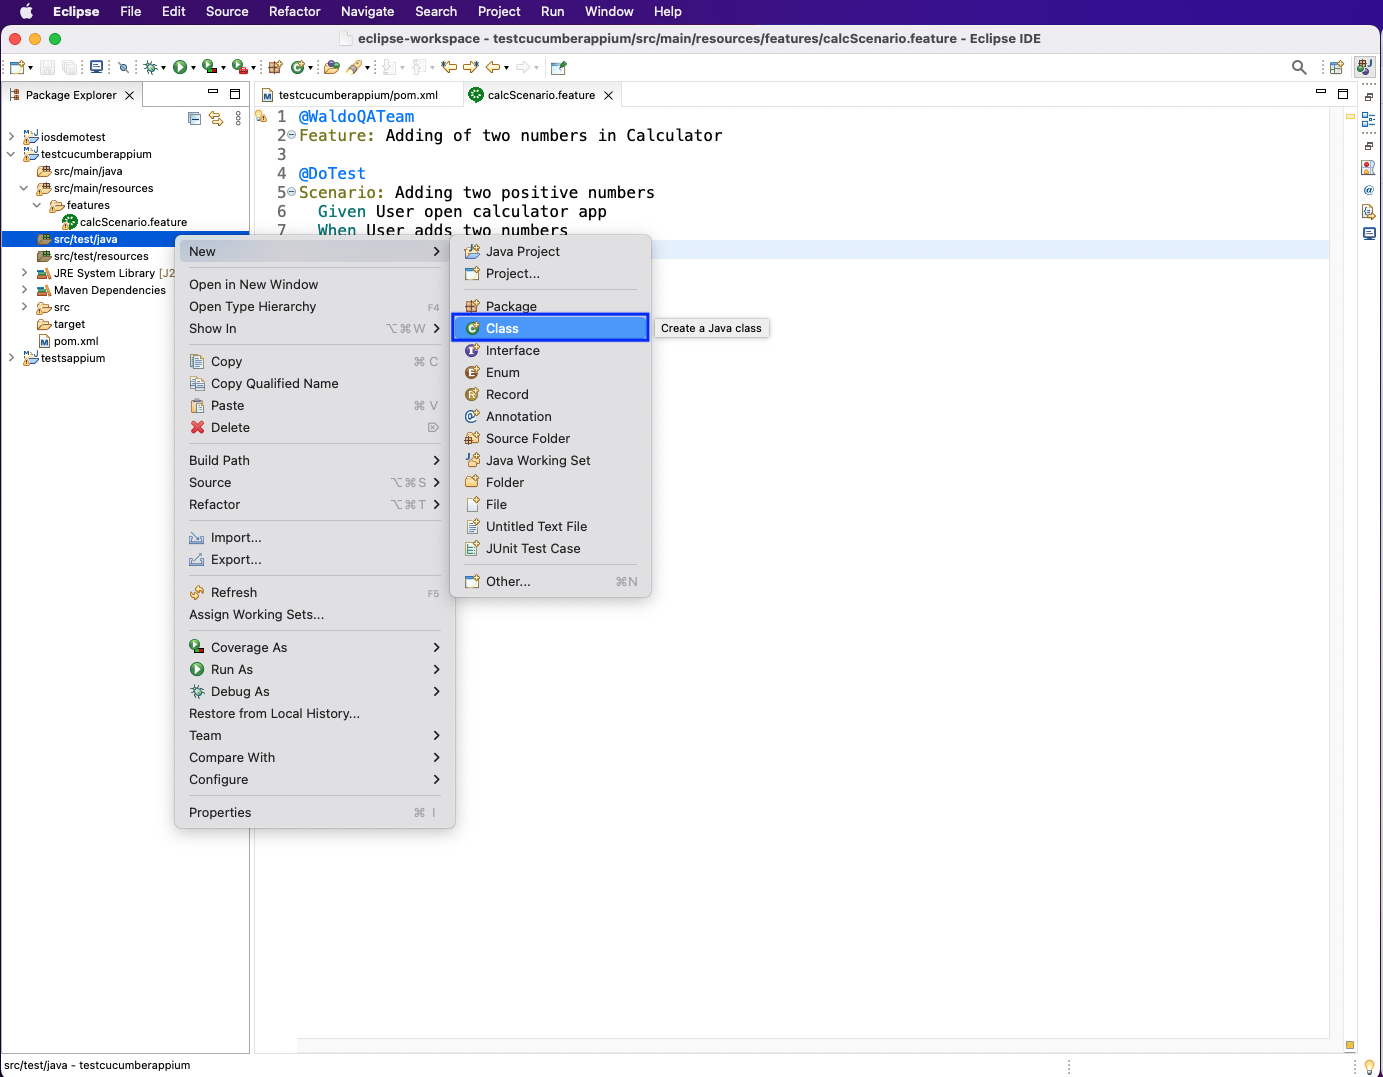
We'll write test cases in Java. So, right-click on src/test/java, and then click on "New." After that, select "Class" to create a new class.
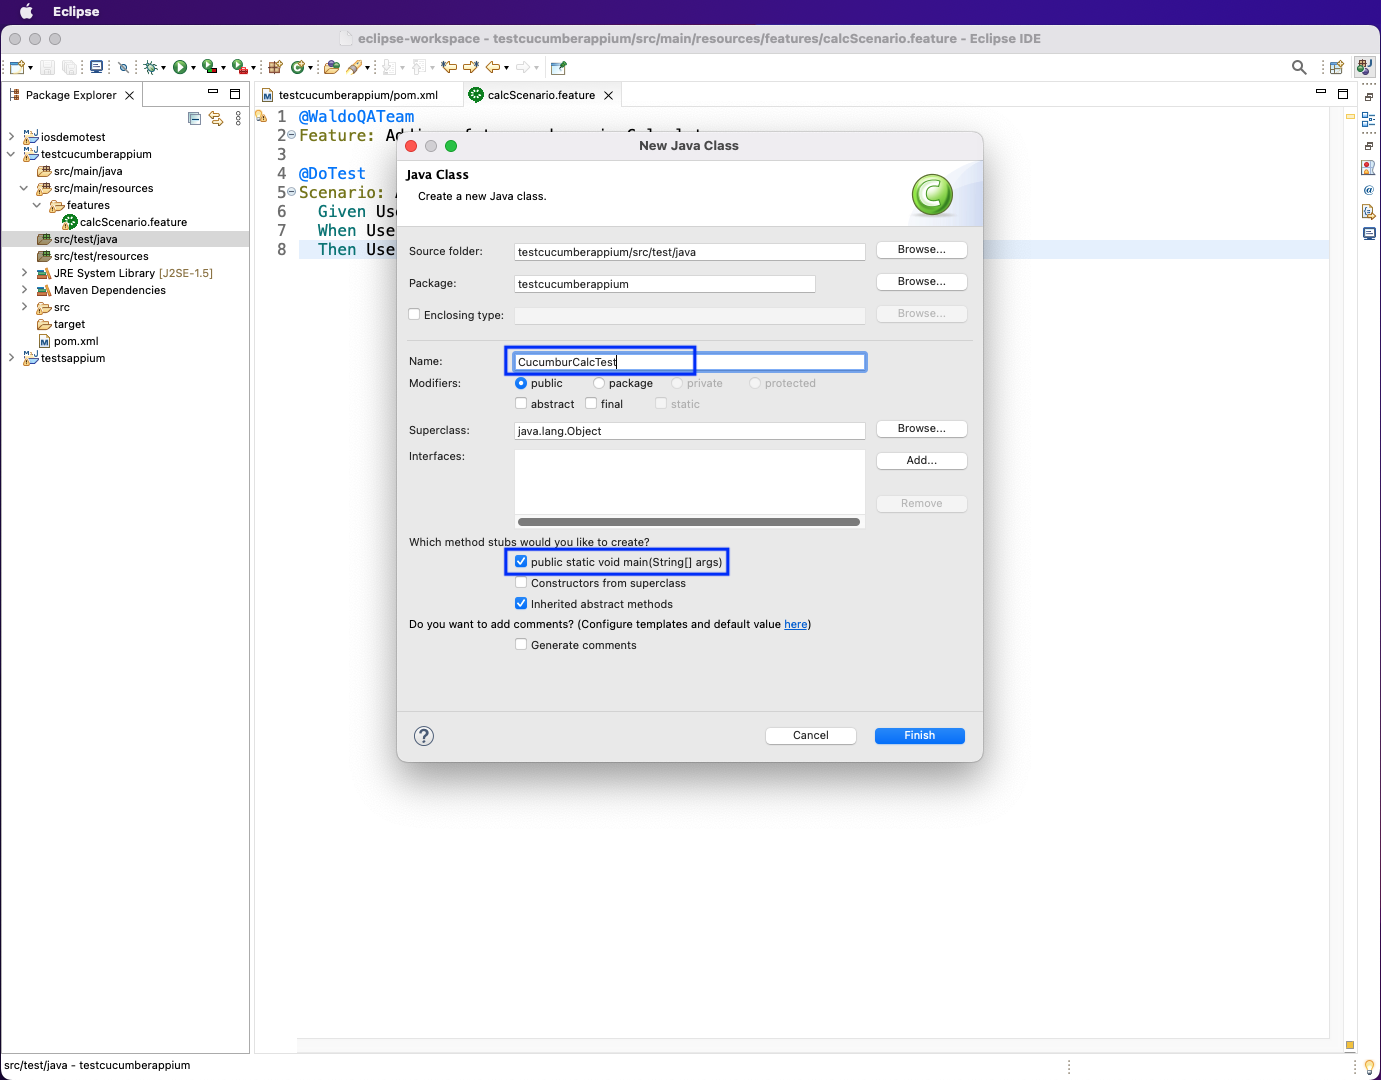
In the next pop-up, give the test file a name. We've named it CucumburCalcTest.
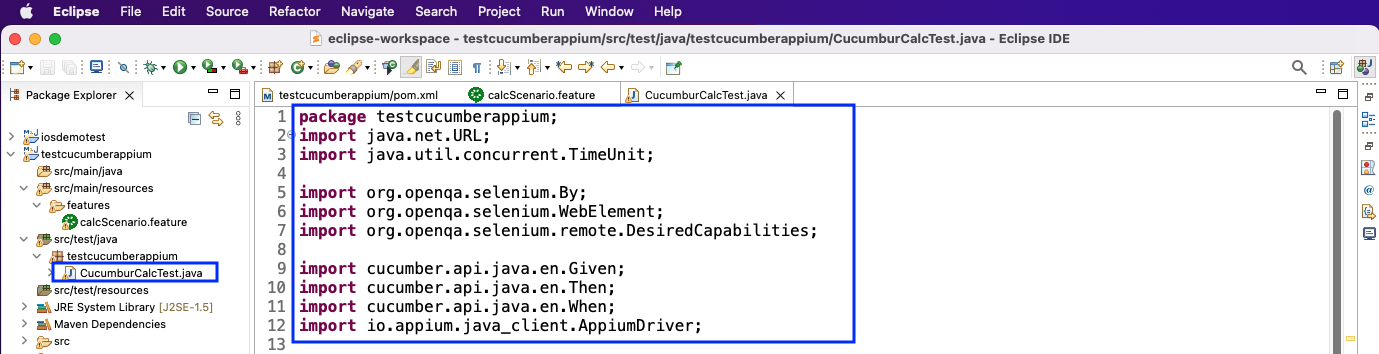
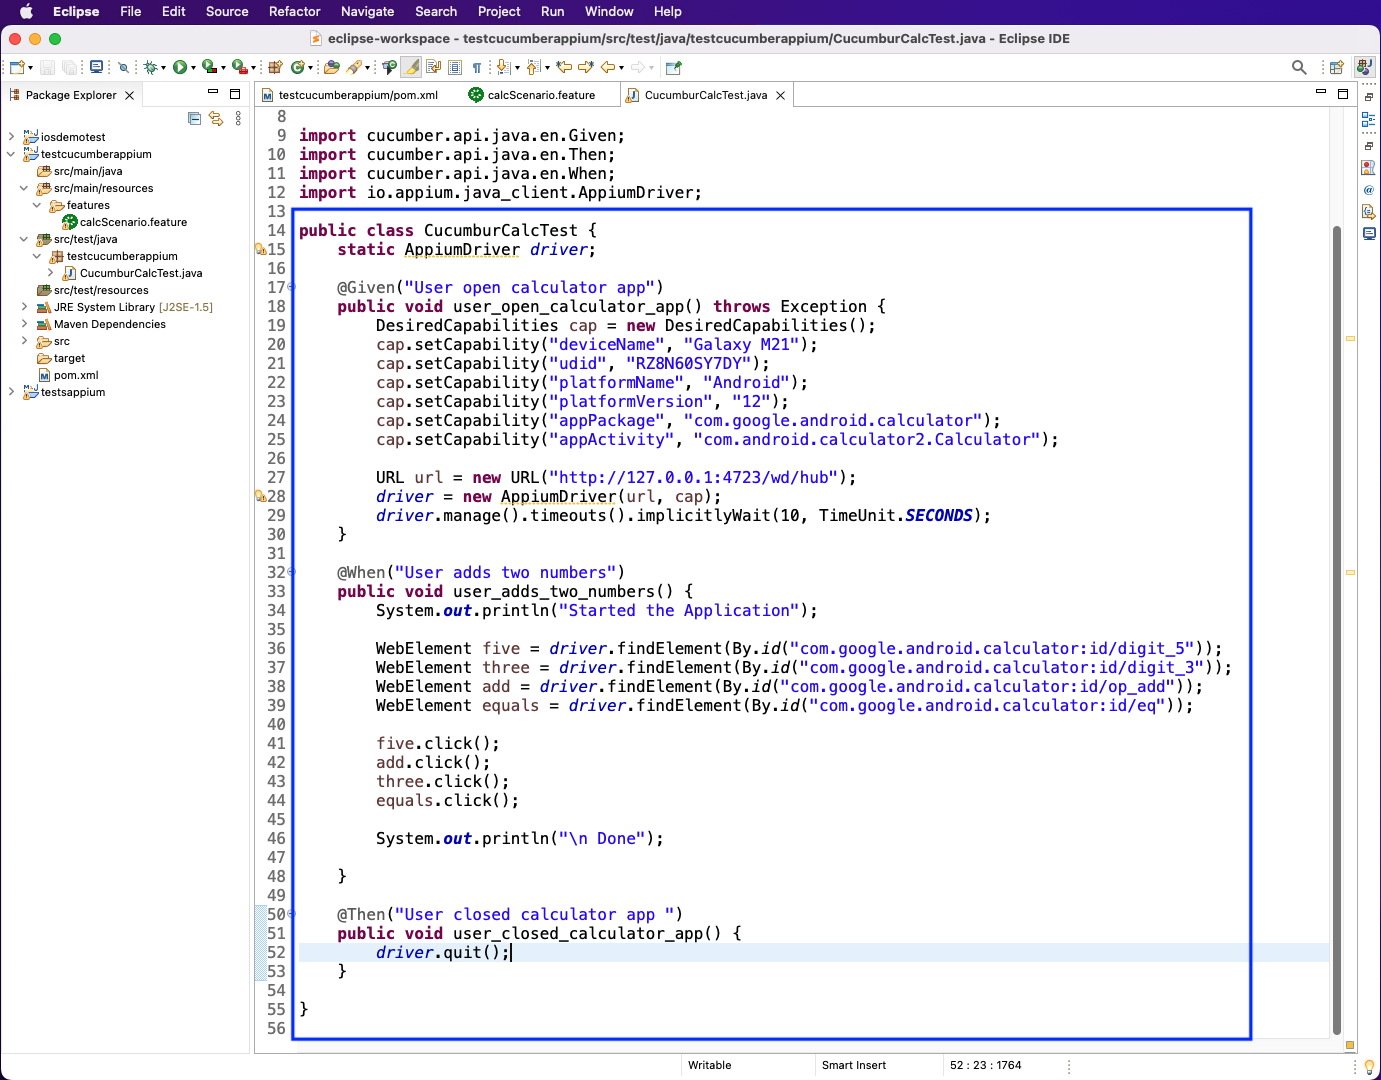
In the CucumburCalcTest.java, we've imported the required packages first.
Next, in CucumburCalcTest.java, we imported our Appium driver first. Then, in the @Given method called user_open_calculator_app(), we have to give the desired capabilities for Appium.
Notice that it's the same Given statement from the calcScenario.feature file. Here, we've given the device name—it's UDID—and also the app name.
Now, we've given the URL for the Appium server. Let's connect to the Appium driver by passing the URL and capabilities.
Before going to the next method, we need to find the IDs of some of the calculator app.
Next, in the @When method called user_adds_two_numbers(), we'll first find the 5, 3, +, and = buttons by their IDs before assigning them to respective variables. Again, the same When statement comes from the calcScenario.feature file.
Finally, we'll do the @Then method called user_closed_calculator_app(); here, we're just quitting the test.
This is the Then statement from the calcScenario.feature file.
Automation Testing
To start our automated testing, make sure that our Android device is connected to our Mac system. Run the command adb devices, which will show our connected device.

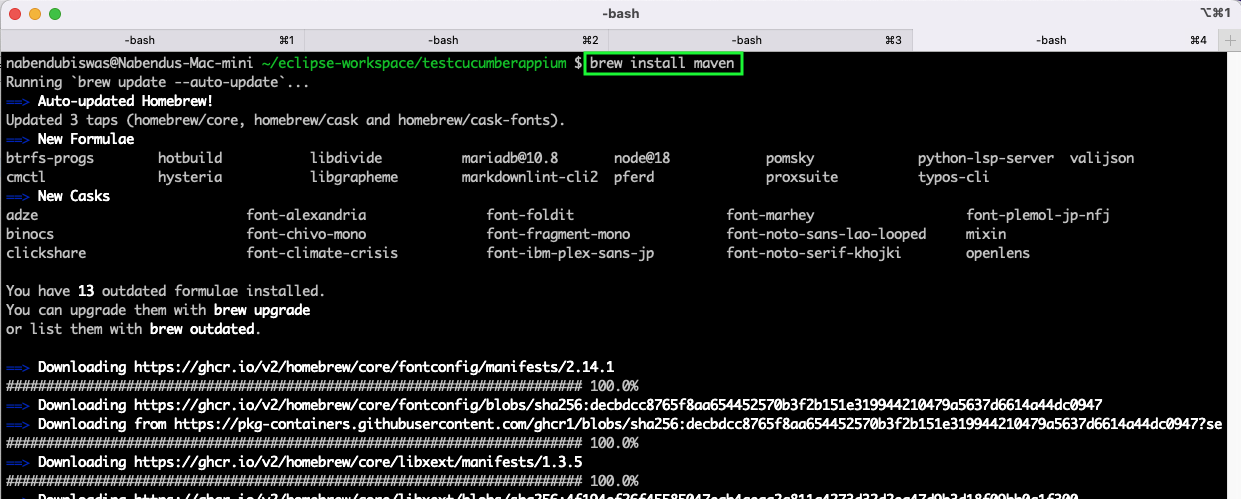
We also need to install the package of maven on our Mac through the brew command. This is required for the Java project. So, give the command below from a Mac terminal.
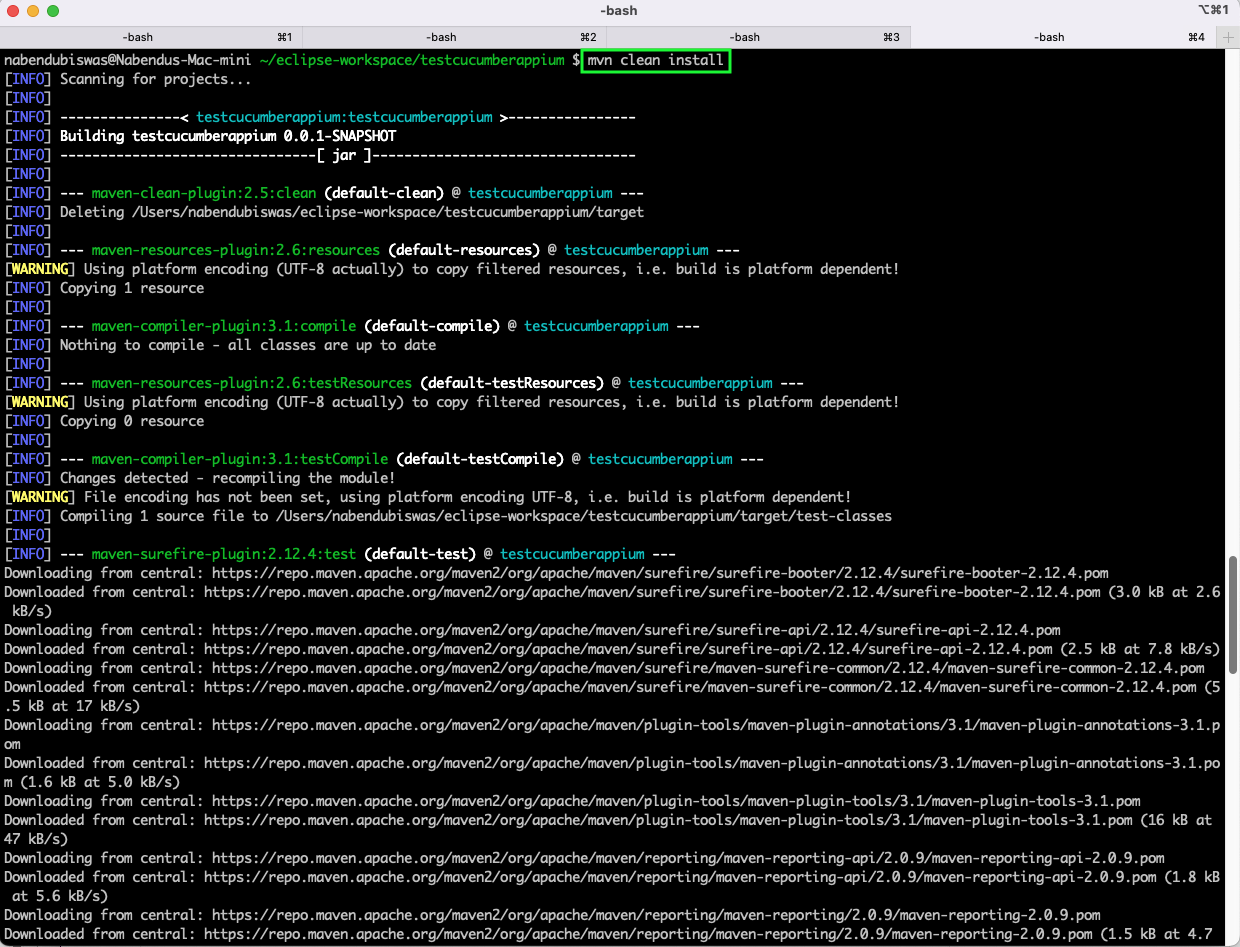
Now, from the project folder, give the command below. This will install all the packages in our project from the pom.xml file.
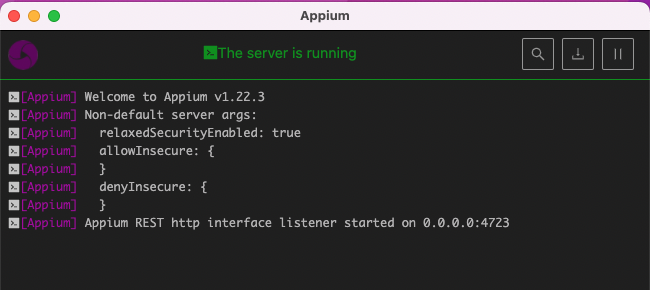
Make sure to start the Appium server. We can do this from the installed GUI server application. After opening it, click on the startServer button.
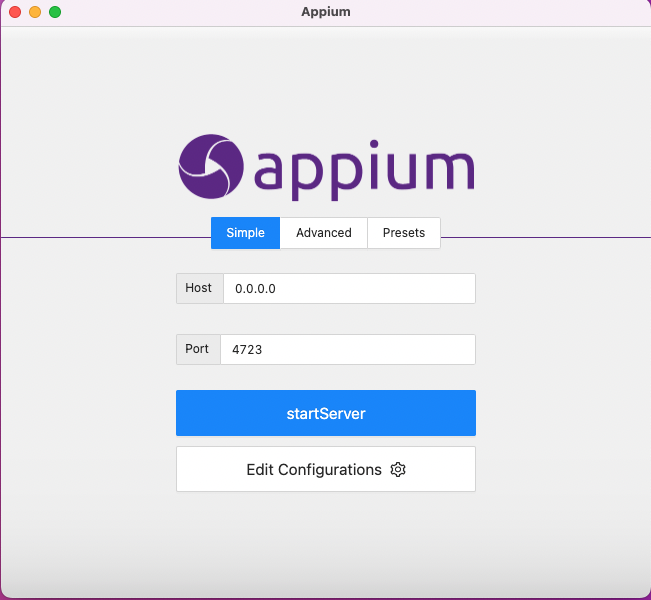
This will start a locally running Appium server on port 4723.
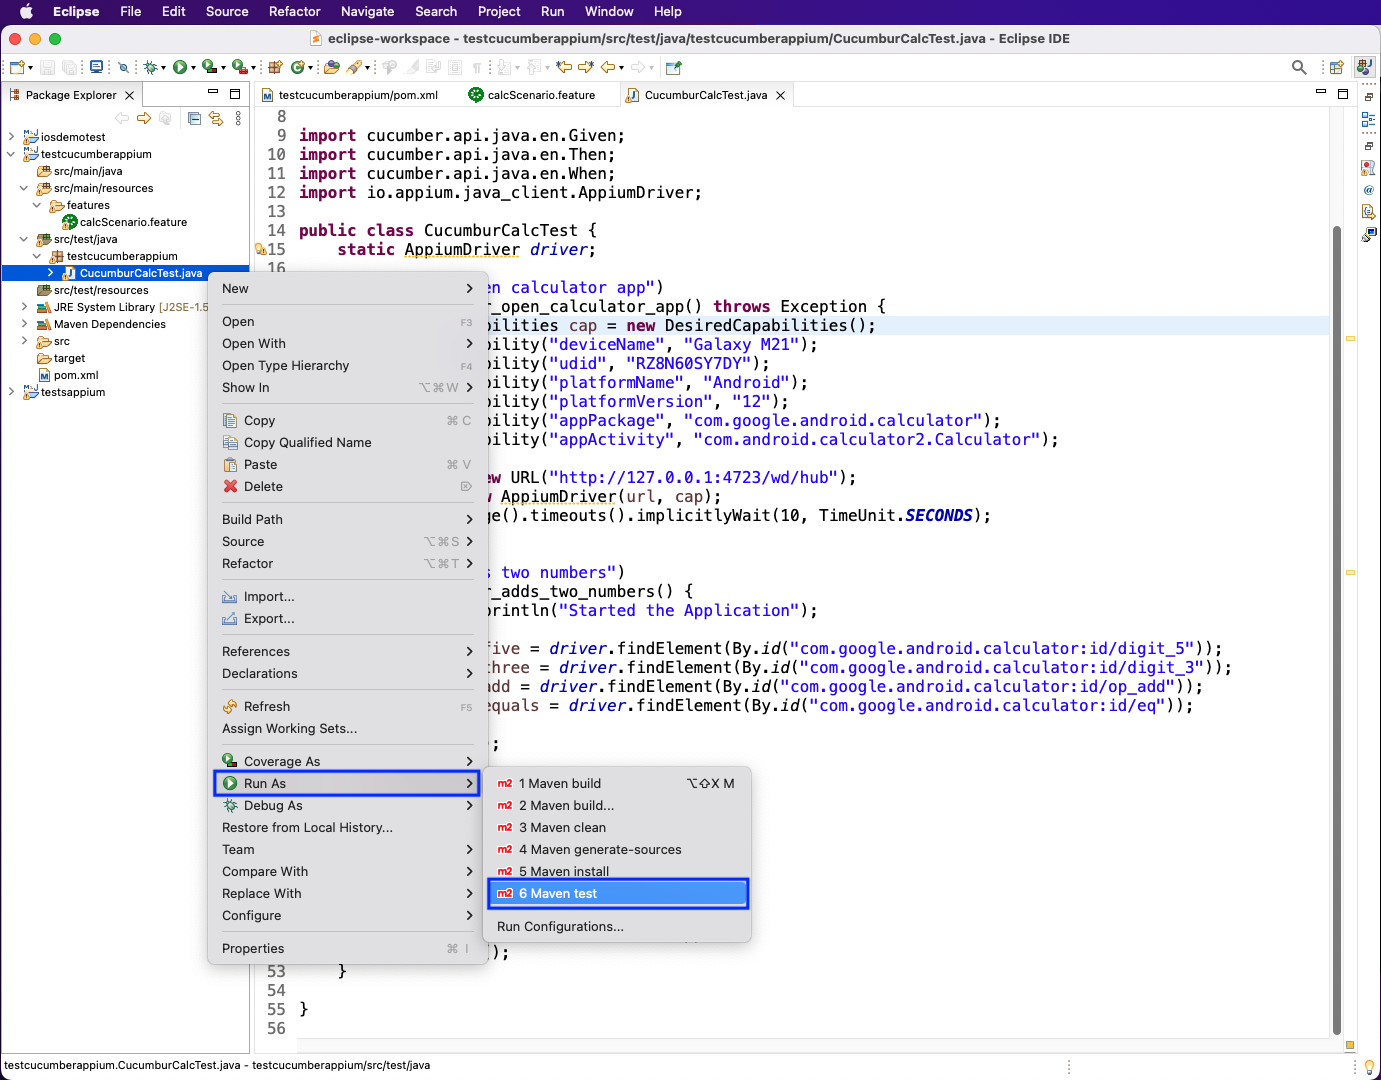
Now, back in the project, right-click on the CucumburCalcTest.java file. Then, click on Run As > Maven test.
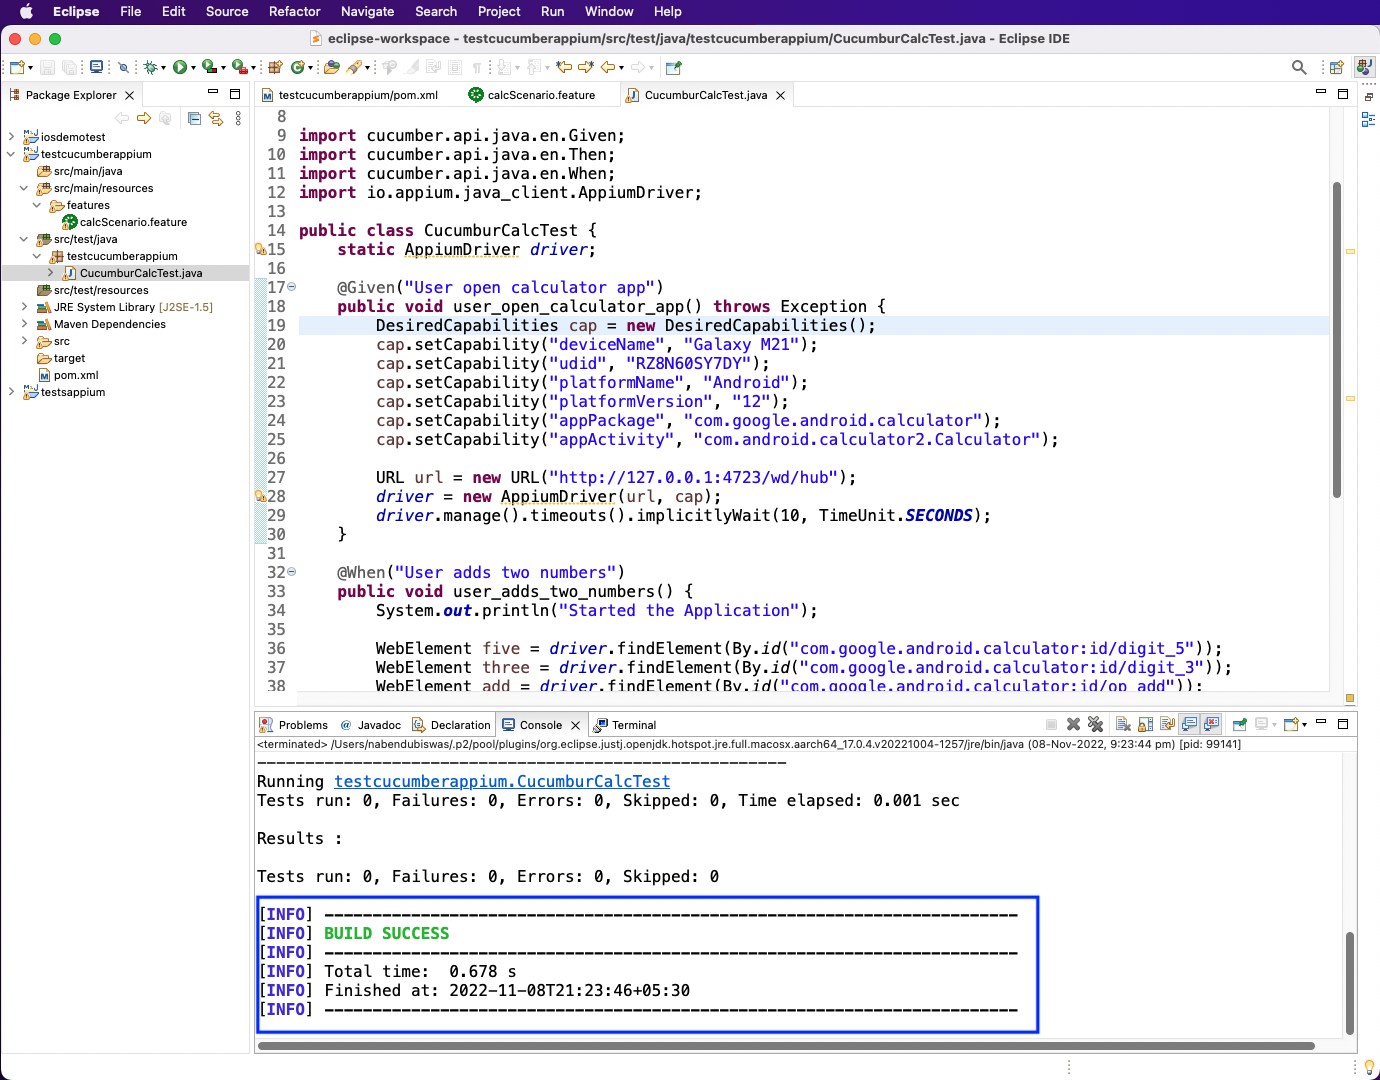
It'll show the test cases succeeded in the console.
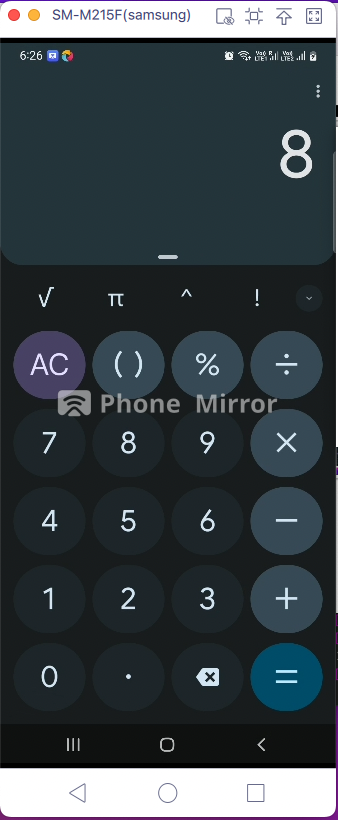
In our connected Android device, 5 will be pressed first, followed by +, then 3, and finally =. This will be done automatically. And it seems as if the user is typing it.
Conclusion
In this post, we've learned about the Cucumber testing framework. It allows us to write automated test cases when used with Appium. In Cucumber, we can write English statements in a language called Gherkin.
Additionally, we set up a Java project in Eclipse. After that, we learned to write test cases with Cucumber. Finally, we were able to run these test cases on the attached Android device.
However, this all seems like a complicated process. And here, also, we have to write test cases.
So, instead, we can just get the APK or IPA file and try Waldo. With this testing tool, we can avoid writing test cases.
Automated E2E tests for your mobile app
Get true E2E testing in minutes, not months.


