


Dart is the programming language for writing Flutter apps. Flutter on its own is a UI toolkit, or framework, for making cross-platform apps that run on iOS, Android, and other platforms, including the web and desktop operating systems.
In this post, you'll learn how to build a Flutter Hello World app. The example app we'll build for the post will simply greet users with "Hello World." We’ll also give the app the ability to greet a user with a custom message that includes the user's name. The user will provide their name using a text input field, then hit a button to see the custom message.
With that said, let's proceed to take a look at what you'll need to begin.
Prerequisites
In order to easily follow all the steps, make sure to have the following:
- A computer running Windows, macOS, or Linux
- Android Studio or Visual Studio Code (VS Code)
- Basic knowledge of using Command prompt or Terminal.
System requirements
Windows:
- Windows 7 SP 1 or later, 64 bit operating system
- Minimum of 1.64 GB of storage for the Flutter SDK
Mac:
- macOS 10.14 or later for running the latest versions of Xcode and Android
- Minimum of 2.8 GB of storage for the Flutter SDK
Linux:
- 64 bit Linux operating system
- Minimum of 600MB of storage for the Flutter SDK
Before we dive into the steps for building our example app, we'll need to set up the necessary tools and software for Flutter development.
Environment Setup
Let's quickly run through the steps for getting everything in place.
The Flutter development kit supports Windows, macOS, and Linux and the environment setup process varies slightly for each platform. But don't panic—we'll consider all three platforms in this section.
1. Download the Flutter SDK
The first thing you'll need is the Flutter SDK. You can download it for free using any of the following links depending on your operating system:
Windows:
macOS:
Linux:
If you use Linux, you can run the following command to install Flutter via snap:
Alternatively, you can manually download Flutter for Linux from here:
At the end of Step 1, you should have the correct copy of Flutter for your machine. In the next section, you'll install the Flutter SDK.
2. Install the Flutter SDK
This process for installing the Flutter SDK is different from installing a regular app. Also, again, the process varies depending on your operating system. So, keep reading to find the correct procedure for your operating system.
Windows:
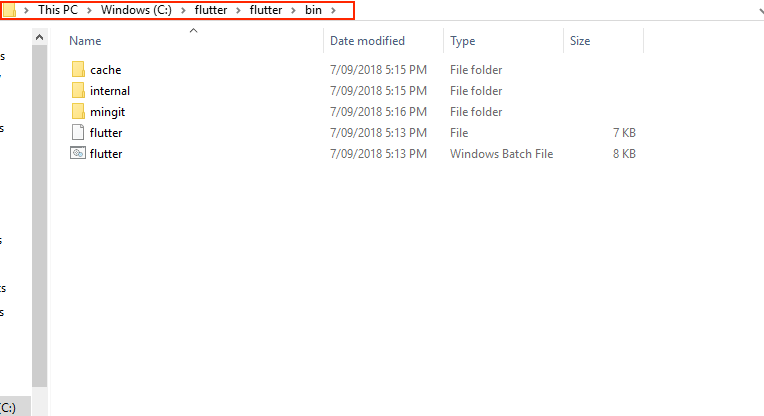
First, extract the content of the zip file you downloaded in Step 1 to a location like C:/flutter. Then navigate to that location and locate the bin folder. Note down the path for the bin folder.
Next, enter env in the Windows search bar and launch the environment variable editor from the search results. In the editor, click on path and add the path to your bin folder.
If you followed these instructions, you should have successfully installed the Flutter SDK on your machine. You’re ready to start using Flutter commands in Command prompt.
macOS:
Extract the content for the Flutter SDK zip file to a location like /home/flutter and note the path for the bin subdirectory of the extracted content.
For macOS Catalina and later, add the path for the Flutter bin folder to your zshenv. You can do this using nano by running the following commands:
Add the path on a new line, then exit and save the file by pressing control + x. Restart your Terminal app and you should be able to run Flutter commands now.
Tip: If you have an older version of macOS, simple add the Flutter bin directory to your bash profile.
Linux:
This installation is similar to that of macOS except that you’ll add the path to $HOME/.bashrc. Hence, the command for starting nano becomes:
Restart the Command prompt or terminal so that the changes can take effect.
3. Setup the Android SDK
The simplest way to set up the Android SDK is to install Android Studio and then allow it to install the Android SDK and other dependencies at first run.
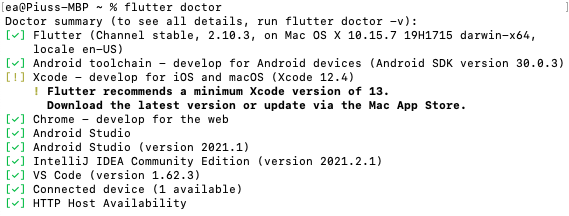
With that, we have completed the environment setup and you can start building Flutter apps. But before we continue, let's verify our installation by running the flutter doctor command.
4. Install the Flutter Plugin for Android Studio and VS Code
You'll need to install the official Flutter and dart plugins for your preferred code editor to add Flutter support to the editor. To do that, follow these steps:
For Android Studio, navigate to Preferences => Plugins => Marketplace. Then search for Flutter and dart plugins. Once both are installed, restart Android Studio.
Similarly for VS Code, click on the Extensions button from the left menu bar and install the Flutter and dart extensions. You'll need to restart VS Code after the installation.
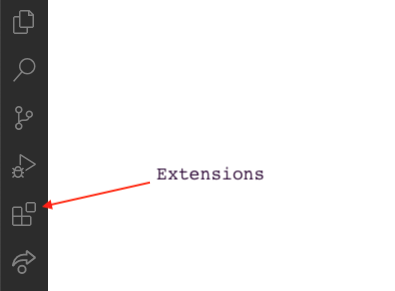
You'll also need to restart VS Code after the installation.
Making the Flutter Hello World App
Now that you’ve finished with our environment setup, let's walk through the steps for building your first Flutter app.
Step 1: Create Project
To create a new project for our Hello World app, open a new terminal window and type the following command:
If the command runs successfully, you should get a response similar to this:
Just as the response above mentions, run the command cd hello_world_app to navigate to the new project.
After that, you can run the new Flutter project in its default state by executing the flutter run command. We'll learn about running your Flutter app in detail later in the post.
Step 2: Clean Default Code
All the code for our app is currently inside the main.dart file. If you open the file in your preferred editor, you’ll see the following content:
We won't use most of this code for our example app; you can remove all the text in bold, above. The content of main.dart should then look like this:
Step 3: Add Widgets
In Flutter, every UI element is a widget. For instance, in our example app we use a Text widget and a Textfield widget. So, let's add those.
First, add a Column widget to the body section like this:
The Column widget is a special widget container that arranges subwidgets (children) vertically, from the top down.
Next, add a Text widget to the children of the Column widget using the following code:
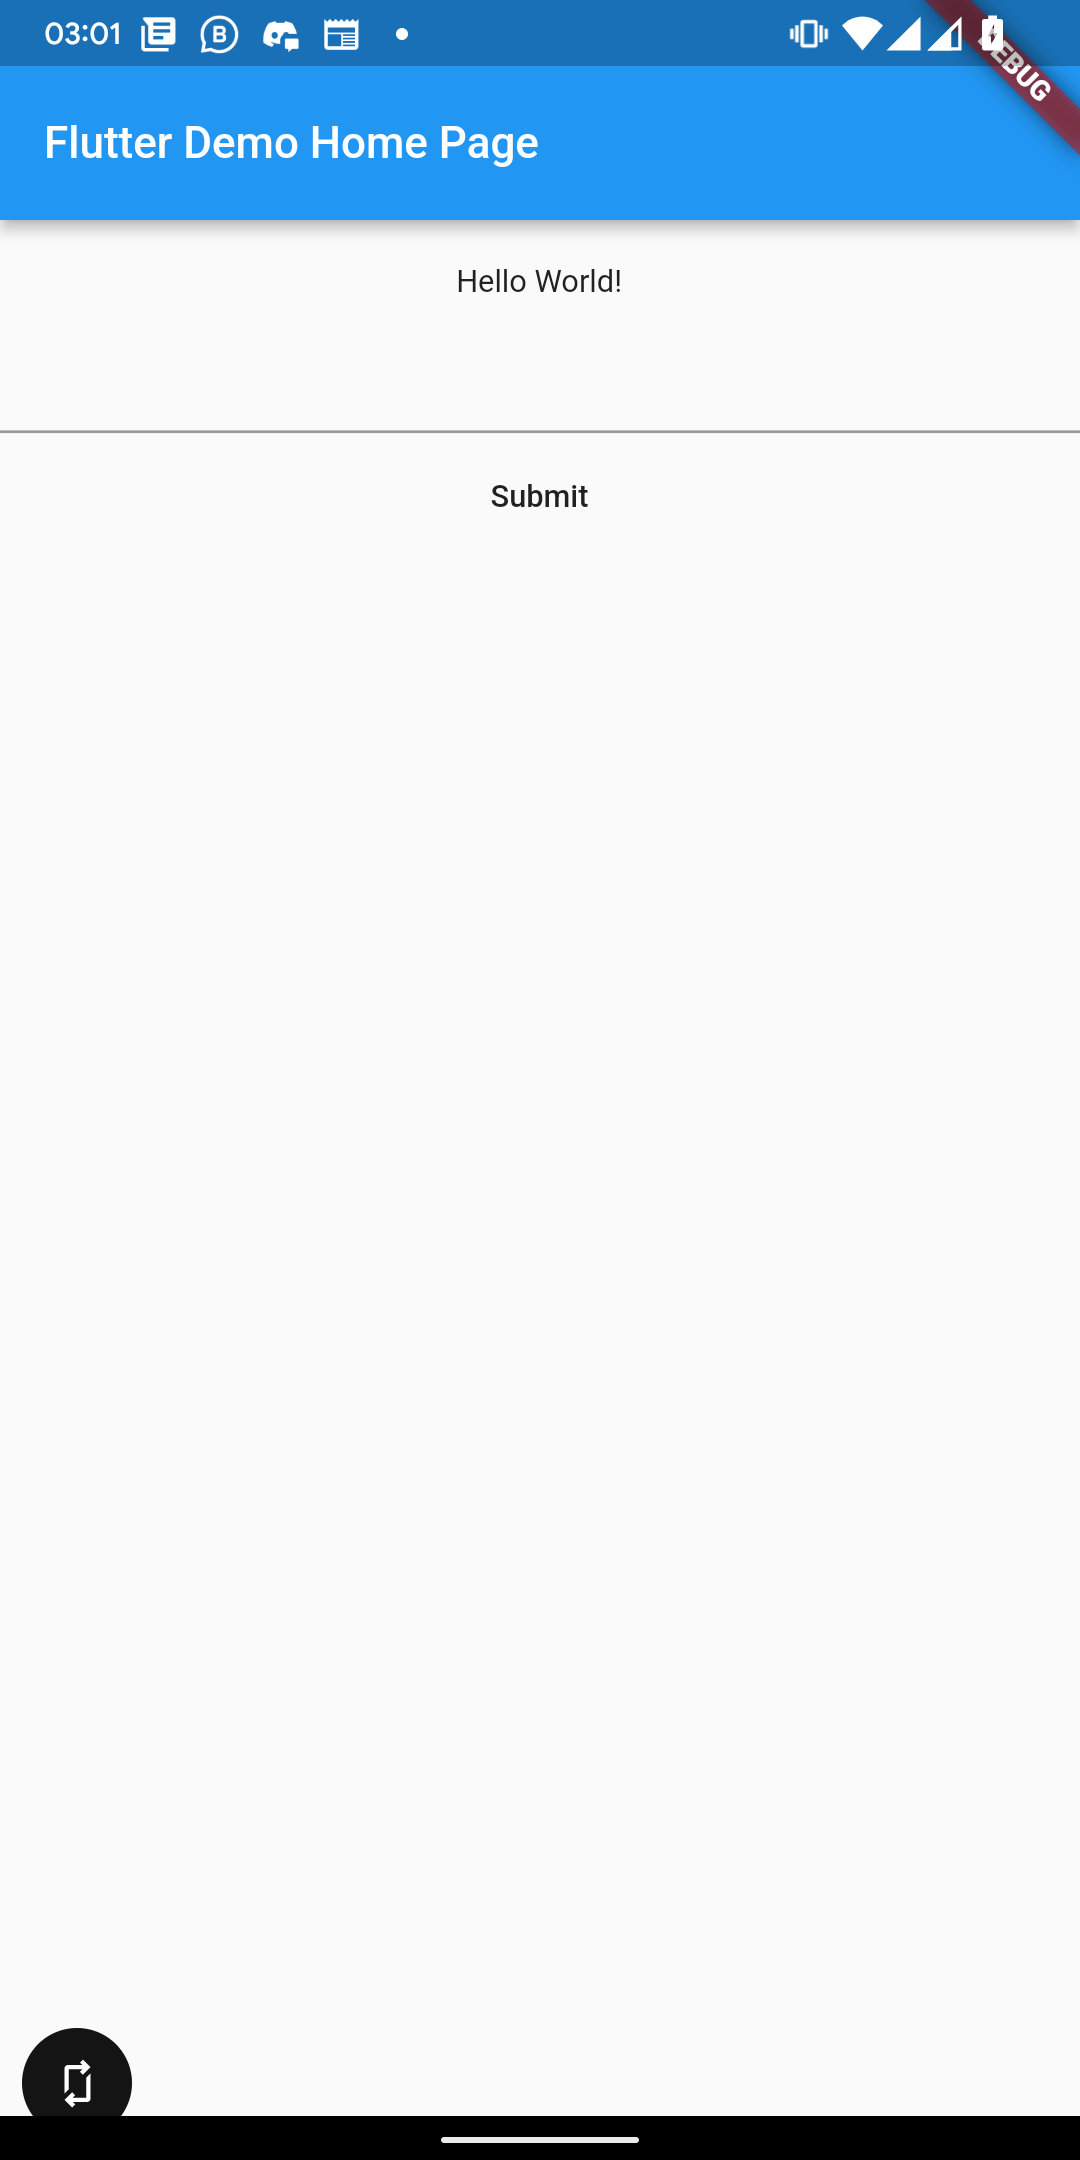
Also, add TextField and MaterialButton widgets just after the Text widget. Here's the code for both widgets:
To see the output of what we've done so far, run the flutter run command. Here's a screenshot showing the three widgets in our app.
Step 4: Add logic
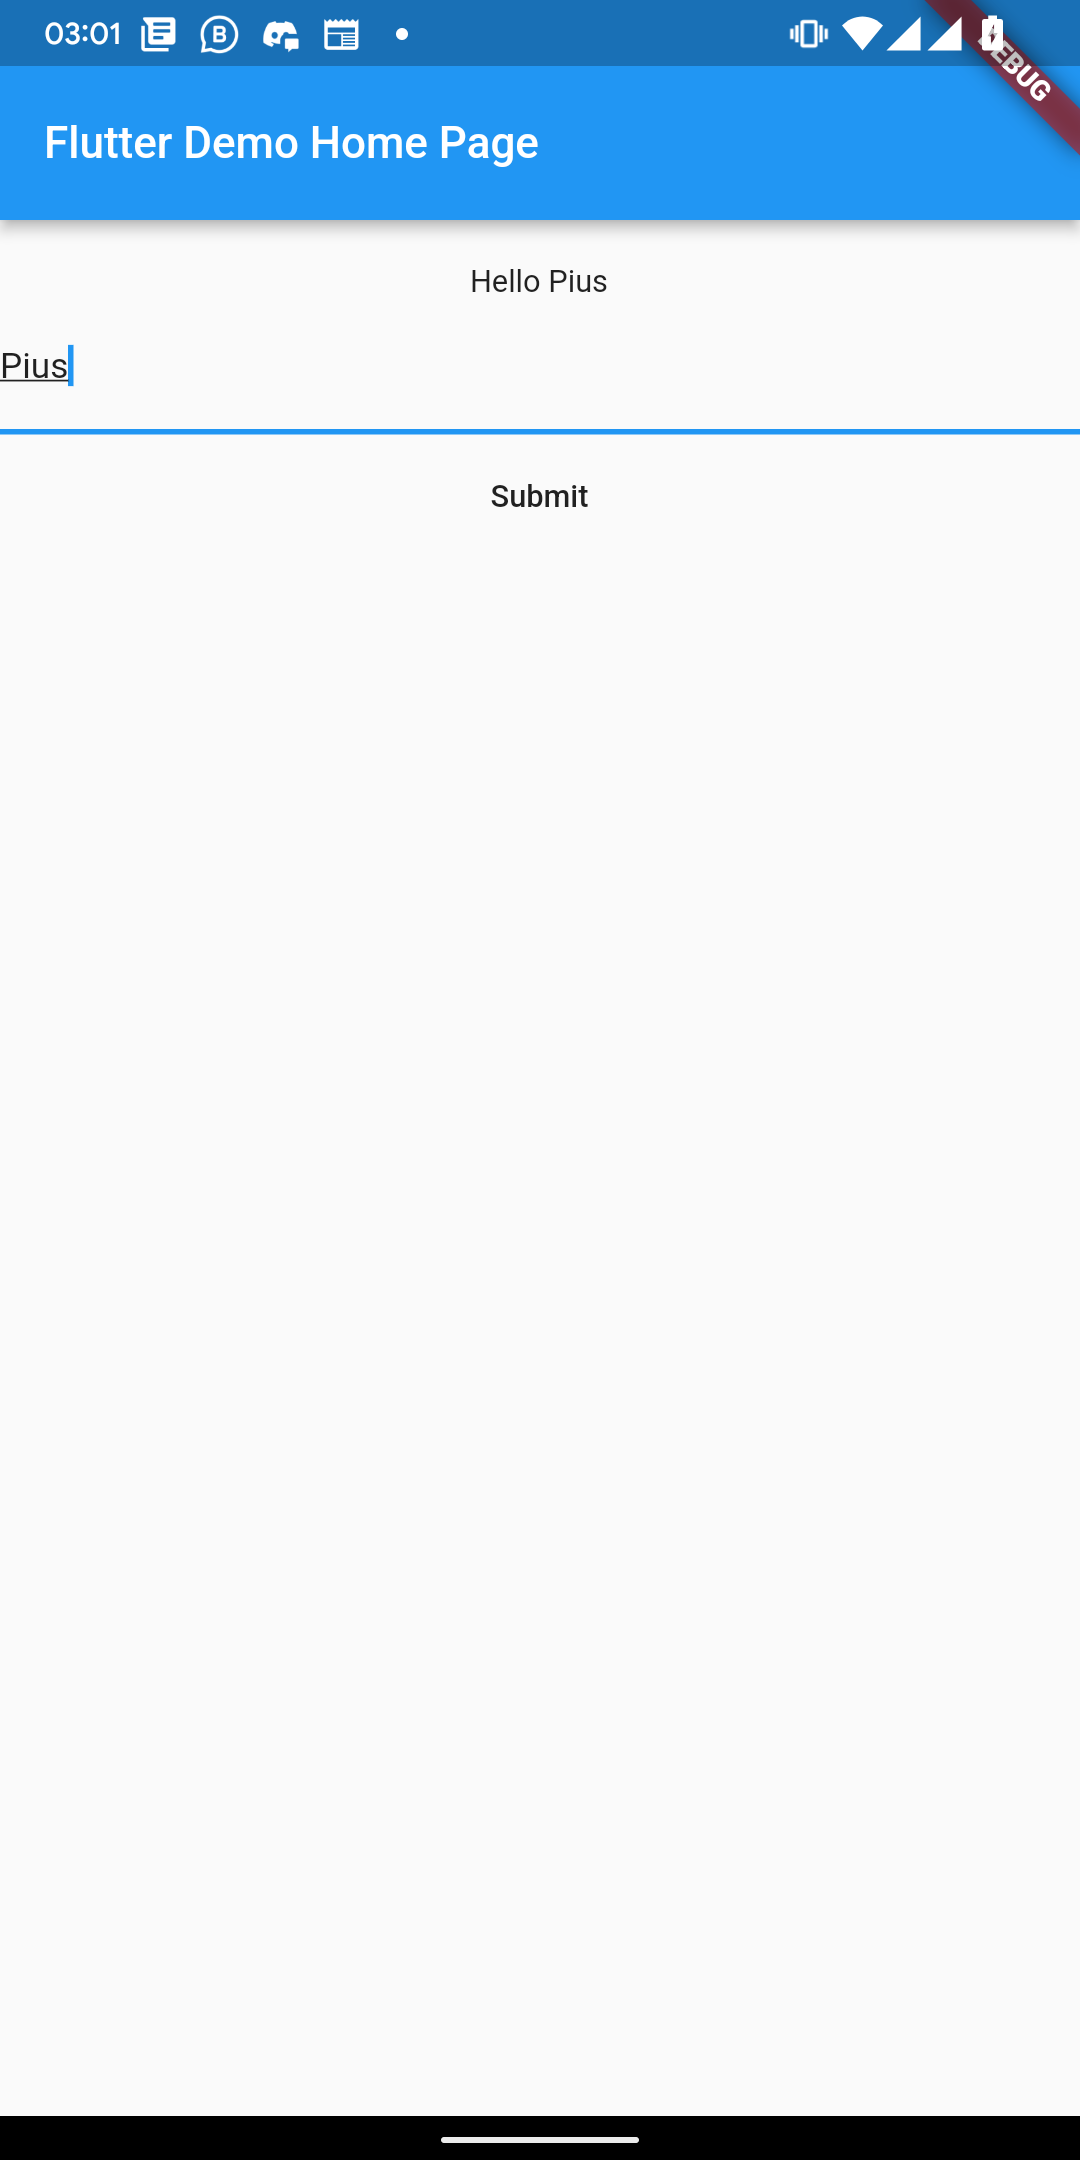
Now that we have the minimum UI for our app, let's add some logic to the app. We'll add code to change “Hello World” to a custom message after a user enters their name and hits the submit button.
Still inside main.dart, add the following code to the _MyHomePageState class, just before the build method:
This code initializes a controller for our text field. The controller makes it possible to read user input from the text field widget.
The greetUser() method, on the other hand, gets the value from the controller and sets it to the greeting variable.
To finish up, let's connect the above code to our three widgets.
First, change the following line
to:
Next, add a controller property to the TextField like this:
And then update the value for the onPressed property of MaterialButton to the new greetUser() method. The MaterialButton widget should have the following code after the edit:
Congrats! With that, you have all the code for your first interactive Flutter Hello World app. In the next step, we'll walk through how to run your Flutter app.
Step 5: Run App
There are different ways you can run your Flutter app for debugging purposes. One method is using a physical device. Another is using an Android emulator or iOS simulator.
To run your app on a physical Android device, you need a USB cable and USB debugging enabled on the device. You can find instructions for enabling USB debugging for your device by searching the Internet for "enable USB debugging [device maker].” For example , for a Samsung phone, you can search Google for "enable USB debugging Samsung." After enabling USB debugging, connect your device to the computer and run the flutter devices command to confirm your device is accessible.
To use an emulator or simulator, you need to set them up using Android Studio or XCode, respectively.
Anytime you wish to run your Flutter app, connect your device and execute the flutter run command from your project's root directory.
How to Test Flutter Apps
Flutter, just like most software development frameworks, supports testing. That means you can write automated tests in Flutter to test each method or function. You can also write tests for widgets or perform an integration test.
You can write Flutter tests using the flutter_test and integration_test packages, depending on the type of test you need.
To write the actual tests, create a subfolder in the libs directory of your project. For unit tests, name the folder tests, and for integration tests, name the folder integration_tests. Then save all your test dart files inside the folders.
You can also run automated testing for your Flutter app without writing any extra dart code. You can do this using Waldo, a no-code testing solution for mobile development. Click here to learn more about this testing tool.
Summing Things Up
In conclusion, here’s an overview of the key things we covered in this post.
First, you learned how to set up the Flutter development environment for multiple operating systems. Then we walked you through an example of how to build a simple Flutter Hello World app. Our example app included a text input field, so you also learned how to make Flutter read values from an input widget.
You can find the complete code for the main.dart file for our example app here.
This post was written by Pius Aboyi. Pius is a mobile and web developer with over 4 years of experience building for the Android platform. He writes code in Java, Kotlin, and PHP. He loves writing about tech and creating how-to tutorials for developers.Making your first Flutter app can be an exciting experience. The process is straight forward and only requires you to edit code in a single dart file.
Automated E2E tests for your mobile app
Get true E2E testing in minutes, not months.


