


Appium is a totally free-to-use mobile automated testing framework that comes with a lot of features and additional tools to add to its functionality.
We can also write test cases in a lot of languages including Python in Appium.
In this post, we'll learn briefly about Appium before learning to install it on our system. This will be followed by a guide to installing Python on our system, since we'll use it to write test cases.
After that, we'll install PyCharm, which is the de-facto IDE for Python development. Here, we'll also need to do some Appium-related configurations.
Finally, we'll write a simple test case with the Appium framework and Python and get the result on our mobile device.
What Is Appium?
Appium is a completely open-source and free-to-use mobile app testing framework. It can be used to test any type of mobile application, whether it's written using the native languages of Kotlin, Java, Swift, or Objective-C, or whether it's just a web app running on mobile browsers.
Appium even tests mobile apps created using languages like React Native or Flutter, which use webview to create cross-mobile apps. Cross-mobile apps can run on both iOS and Android platform using a single codebase.
We can write test cases in Appium using a variety of languages, such as Java, Python, JavaScript, or PHP. For example, we've written test cases in JavaScript. After we write test cases in Appium and execute them, it'll show us the result.
Furthermore, the app will run automatically on the connected device and show the user interactions written in the test case. The user interactions include things like logging into the app by giving a username and password and clicking on the login button. It'll seem like a real user is participating in the interactions.
Using Python in Appium
We can use Python in Appium to write test cases. In fact, we also can use other languages like Java and JavaScript. Python is a very popular language among the testing community because of the Selenium framework, and it's used here too.
Using Python to write test cases in Appium is easy. But we need to do a lot of configurations before starting to write test cases.
Let's look into these configurations first before we start successfully executing our Python test case. We'll do all of our setup on a Windows machine, but the setup on a Mac is quite similar.
Appium Installation
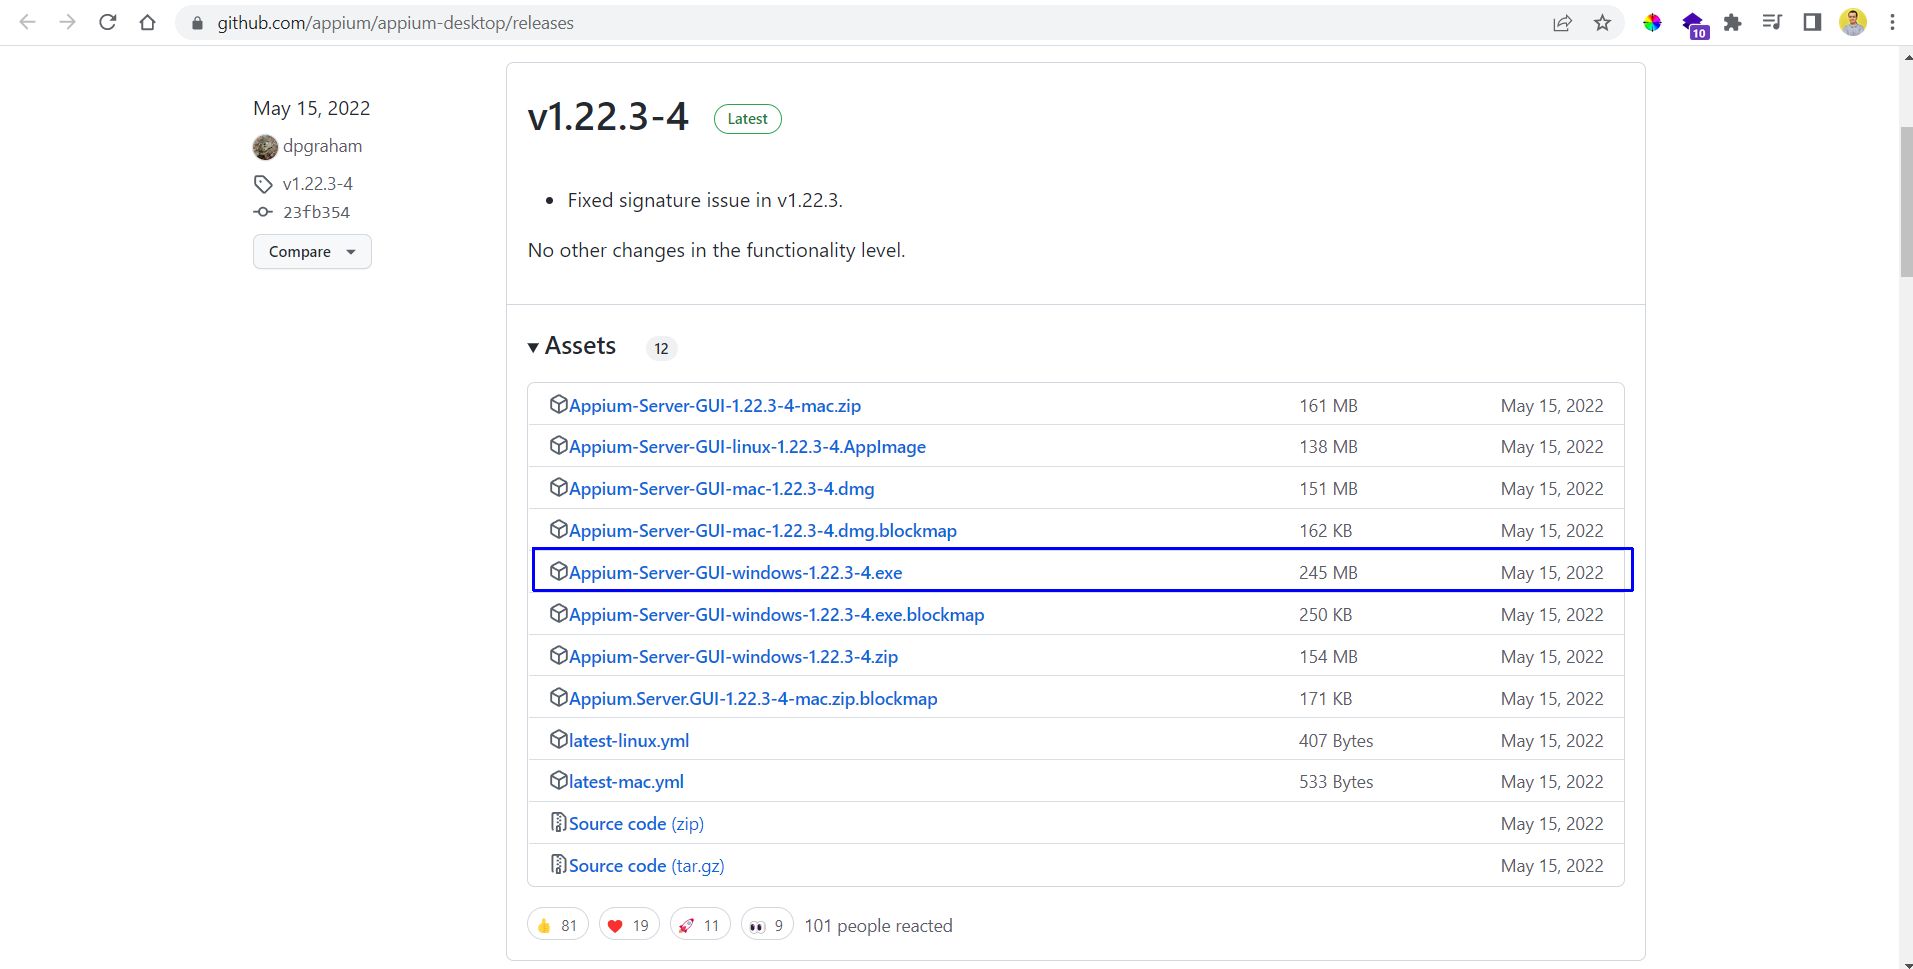
Appium is a complete open-source and free-to-use software. There's an npm package to install it and run through the command line. But Appium desktop gives more functionalities and also can configure a lot of things from it. We need to first go to release page and click on the Appium server for Windows.
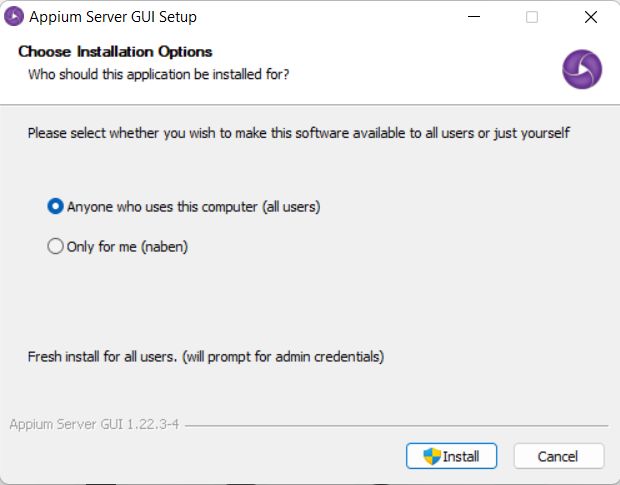
Next, it'll ask our permission to install the application. Here, we've chosen to complete everything on the Windows system.
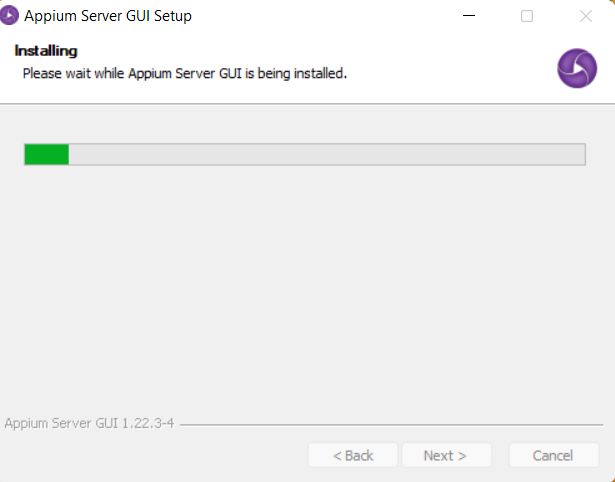
The installation will start, and it'll take about two to three minutes.
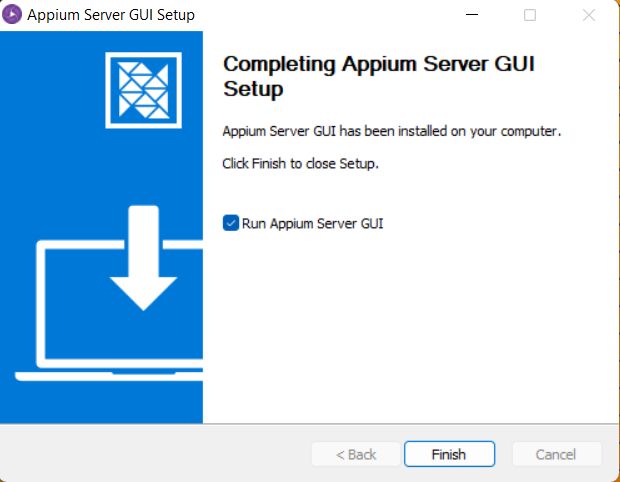
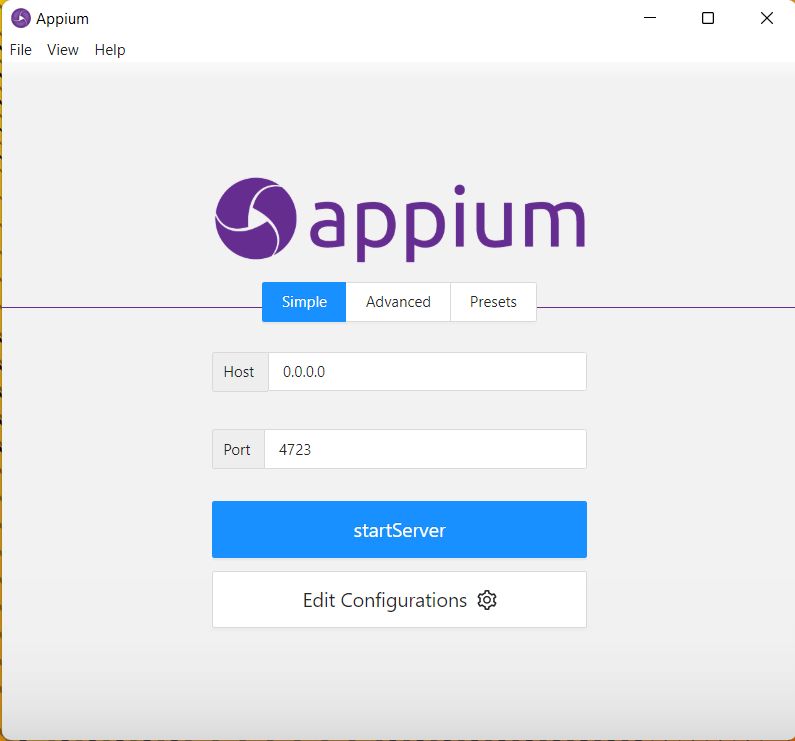
Once the installation is complete, it'll ask us to run the Appium server GUI.
Now, the login screen has a big startServer button. Click on it, and the Appium server will be started on Port 4723.
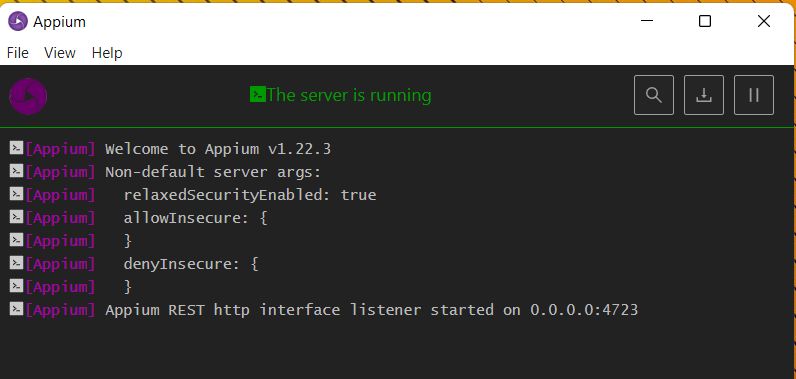
A terminal will open to show the Appium server running on Port 4723.
Python Installation
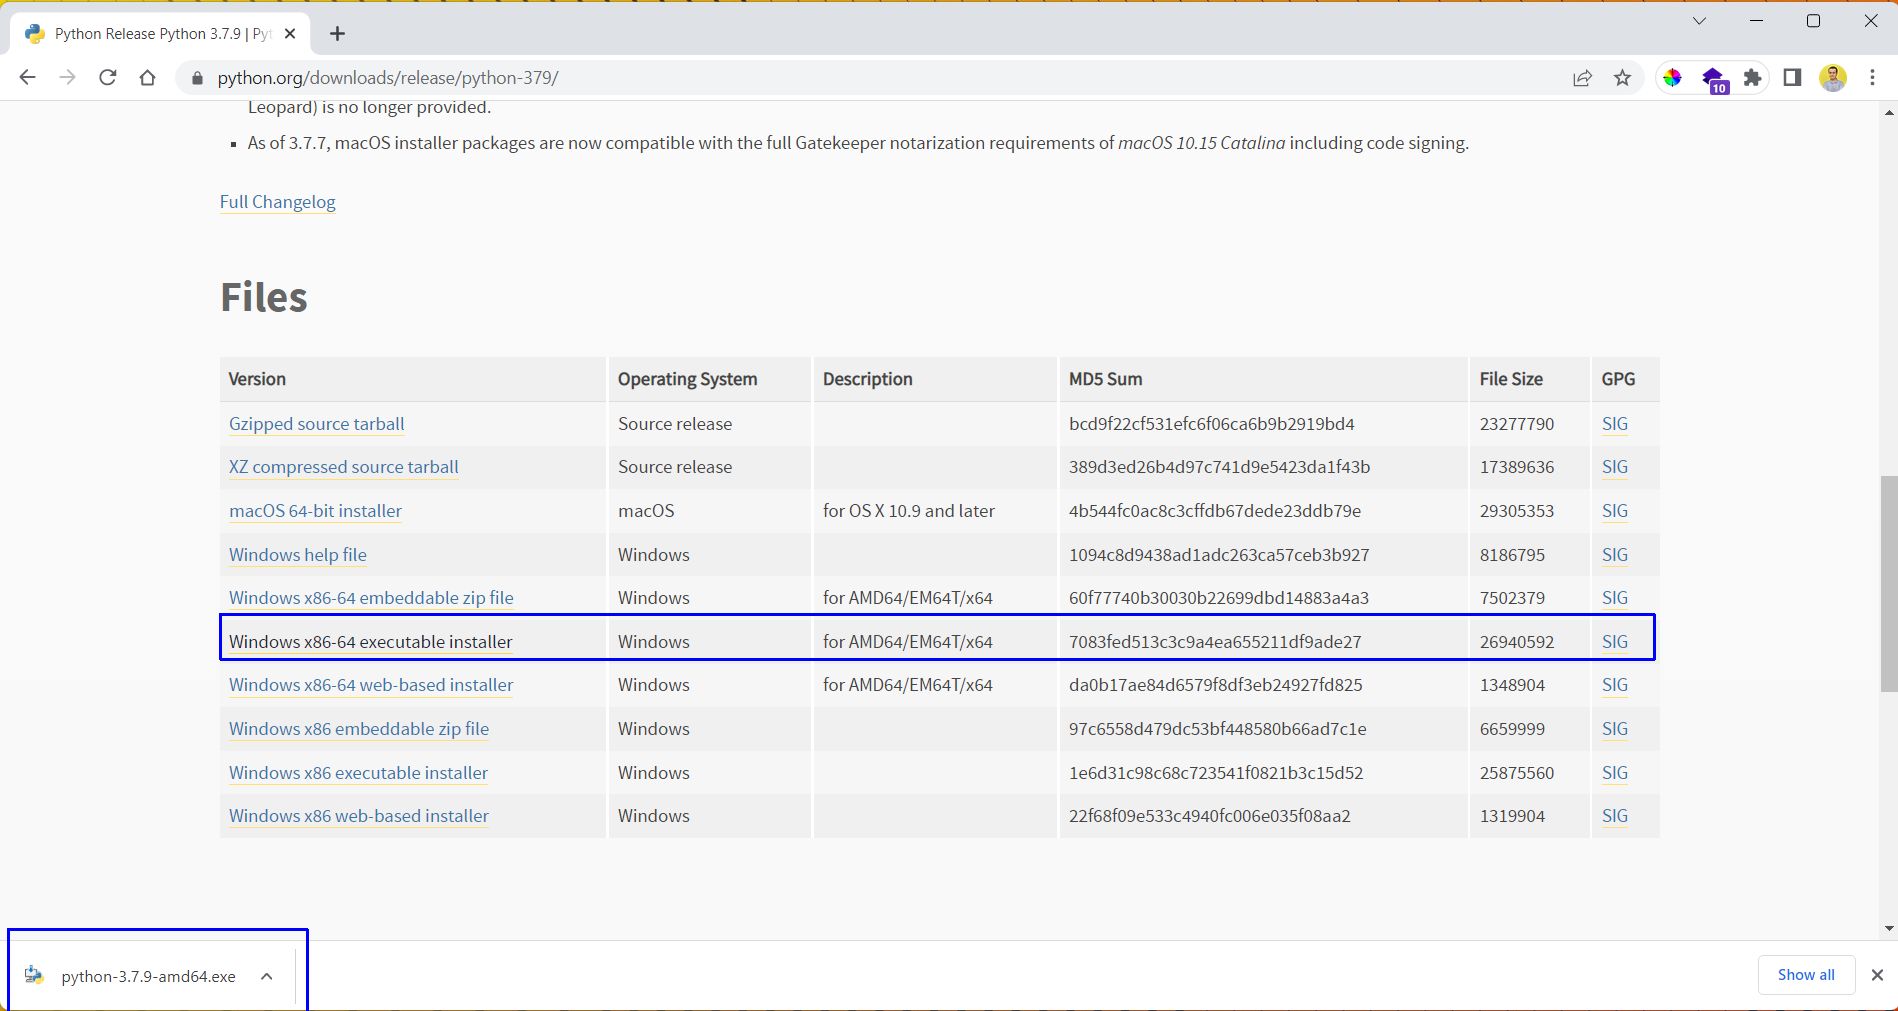
Now, let's install Python for Windows. Here, we're downloading a stable version of 3.7.9.
Click on "Install Now," and mark the checkbox to "Add Python 3.7 to PATH."
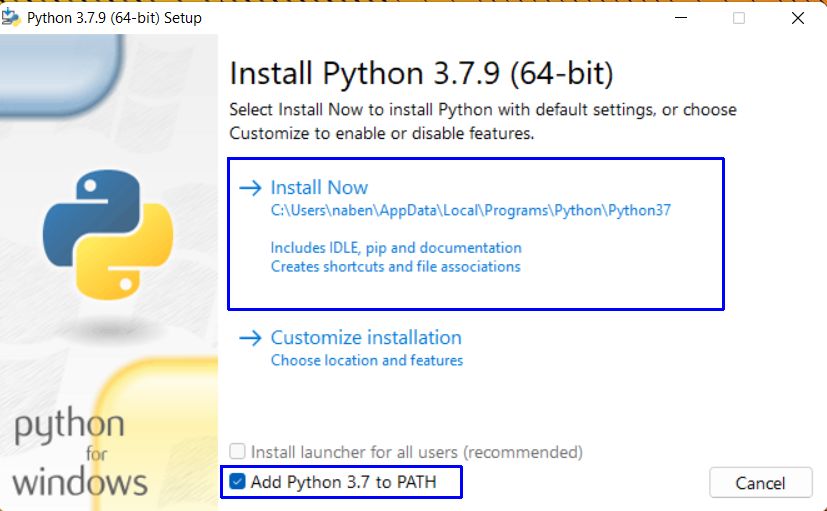
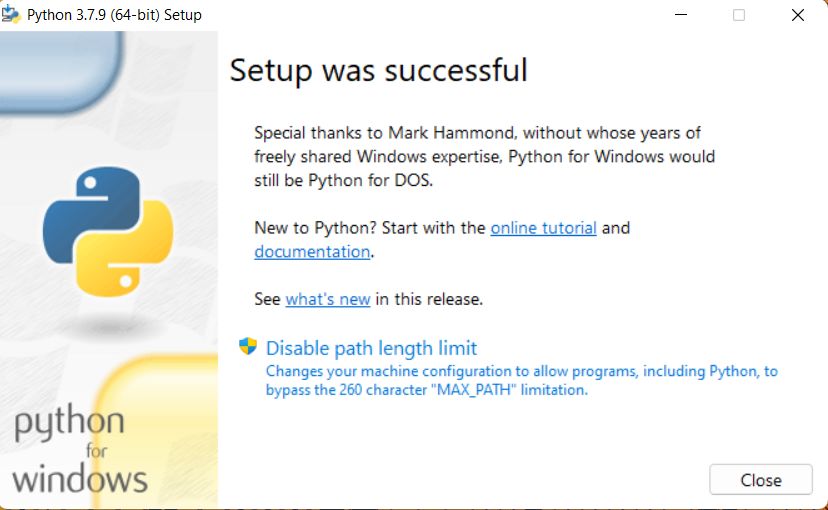
Our Python installation will start, taking about two to three minutes. If everything is OK, we'll get this screen.
Now, make sure the Python installation was successful and installed in the PATH. To do this, run the Python command from the terminal.

PyCharm Installation
Now we need to install PyCharm, which is the IDE most used with Python. It also allows us to do additional configuration related to Appium.
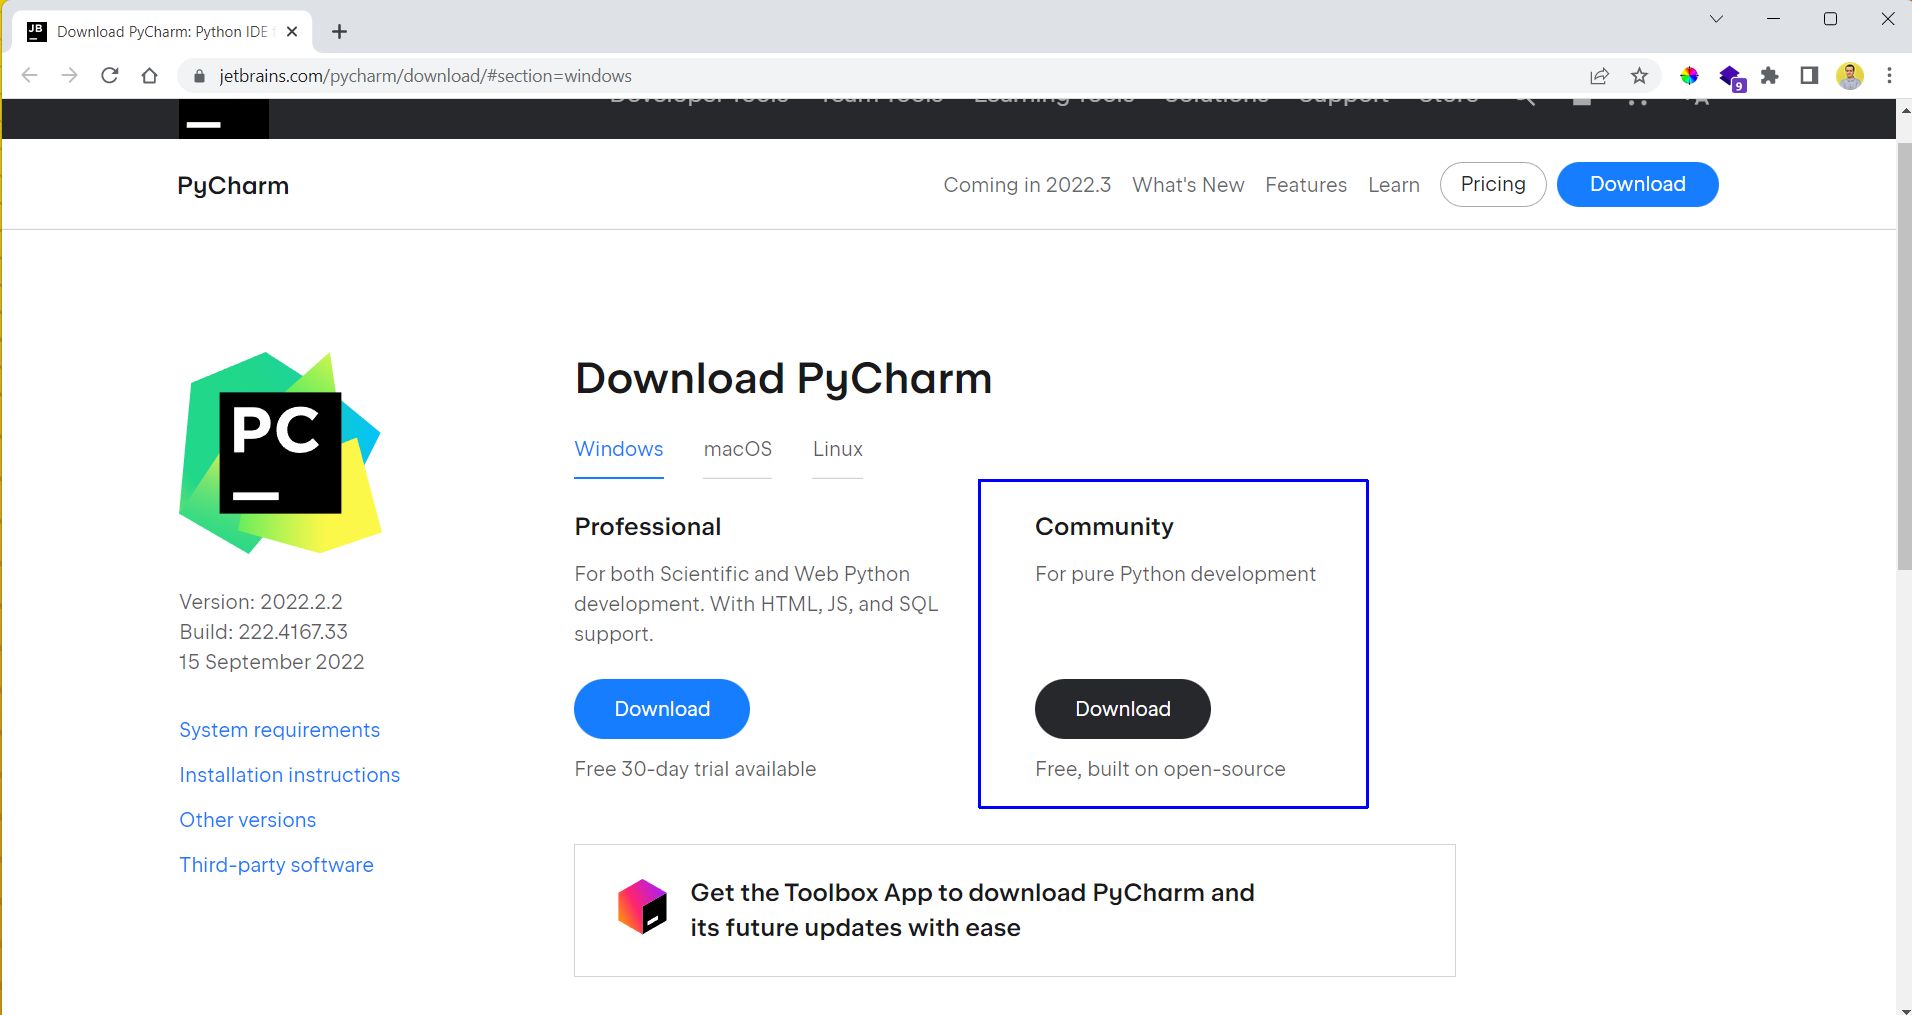
We'll download PyCharm from the official link. Notice that we're using the free-to-use community version.
Upon clicking on the downloaded exe file, we'll get the screen below. Here, we need to click on the "Next" button.

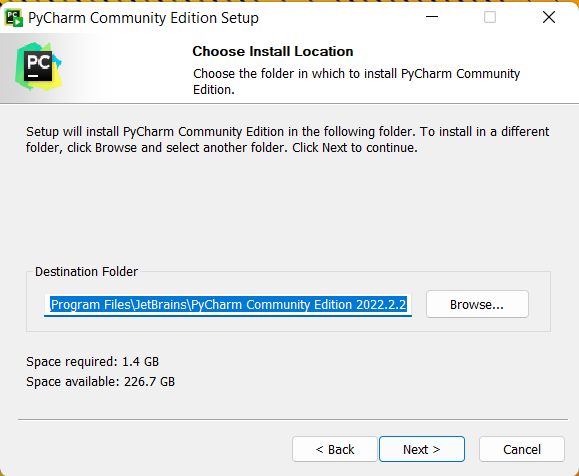
Then, it'll show the destination folder and the space required. Just click "Next."
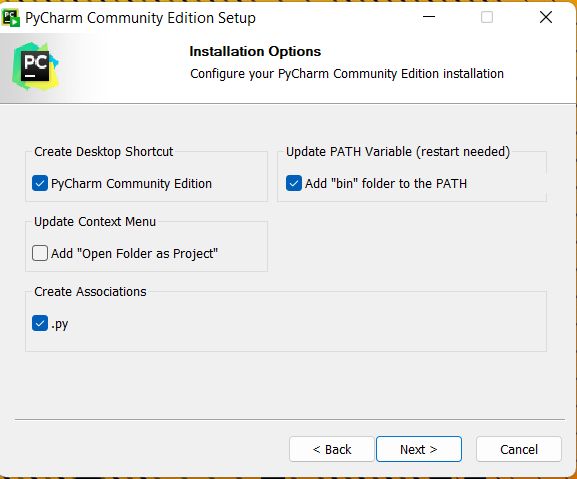
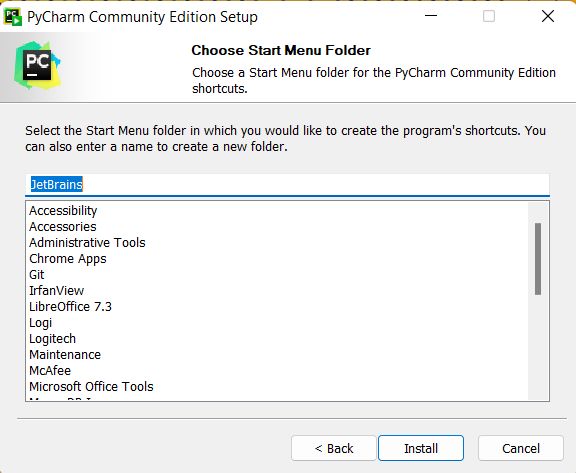
On the next screen, we need to click on some checkboxes again to add the program to PATH—this is very important.
Finally, we'll get the "Install" button to install PyCharm.
It'll take five to 10 minutes to install PyCharm. Once it's installed, it'll ask us to reboot the computer.
Configuring PyCharm
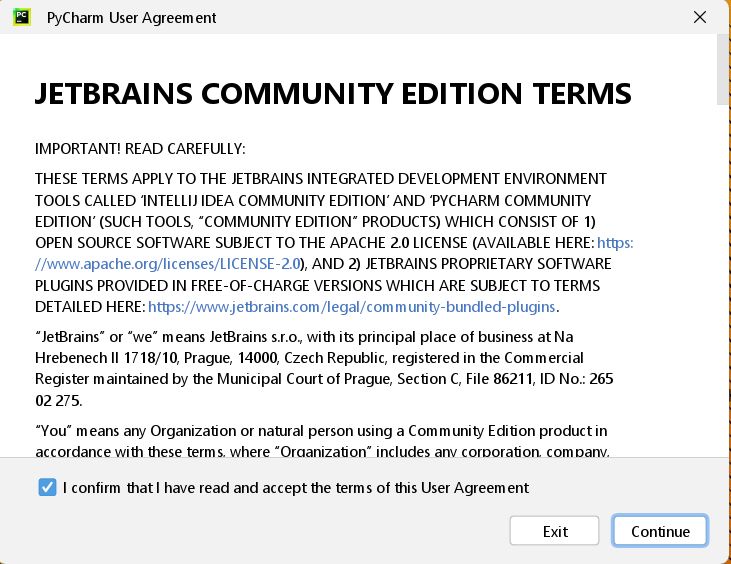
Once our system has been restarted, we need to start PyCharm. It'll ask us to accept the terms, so click on the "Continue" button.
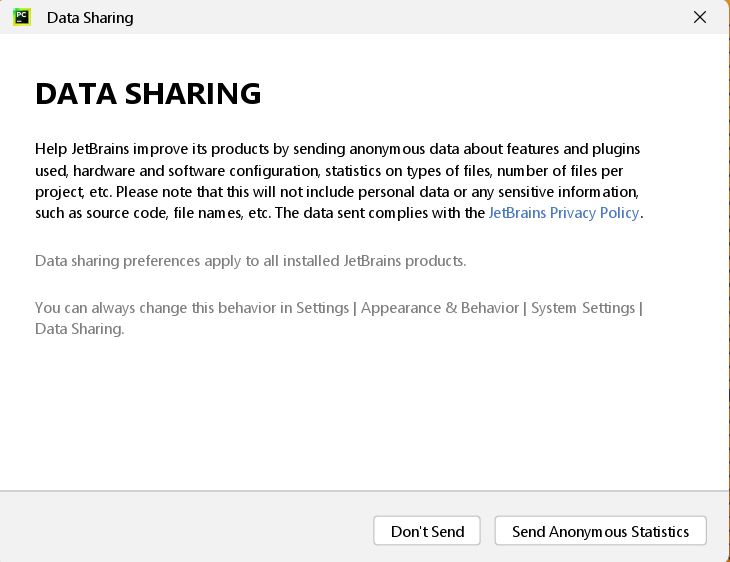
Next, we need to click on "Data Sharing." Here, we can click on any of the buttons as per our preferences.
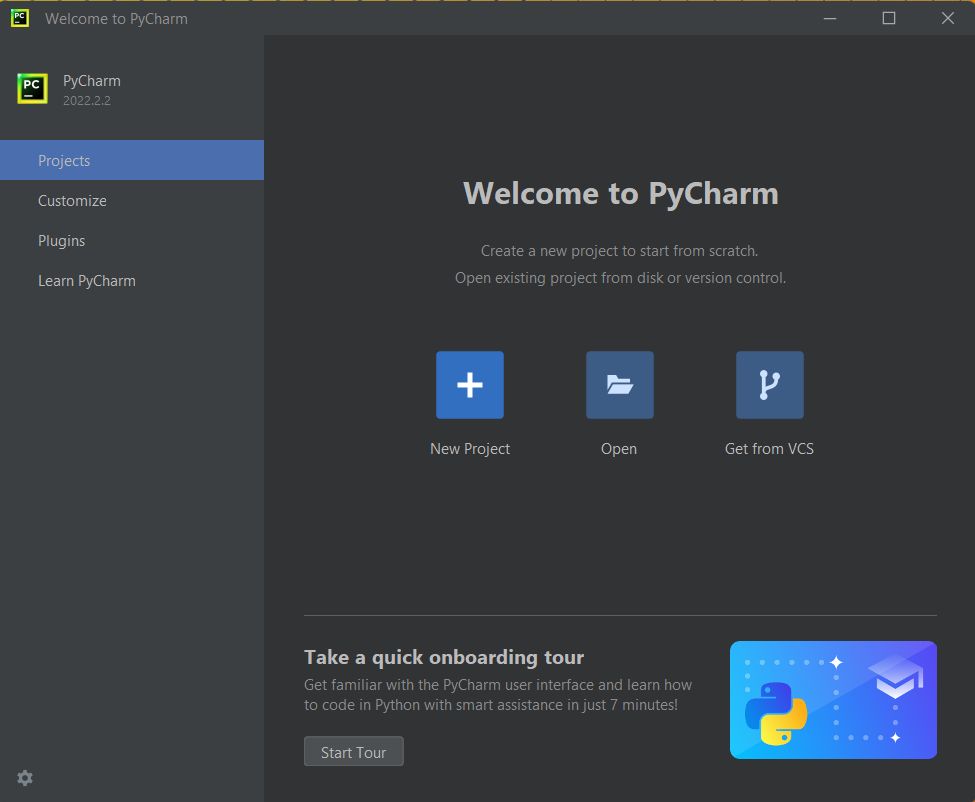
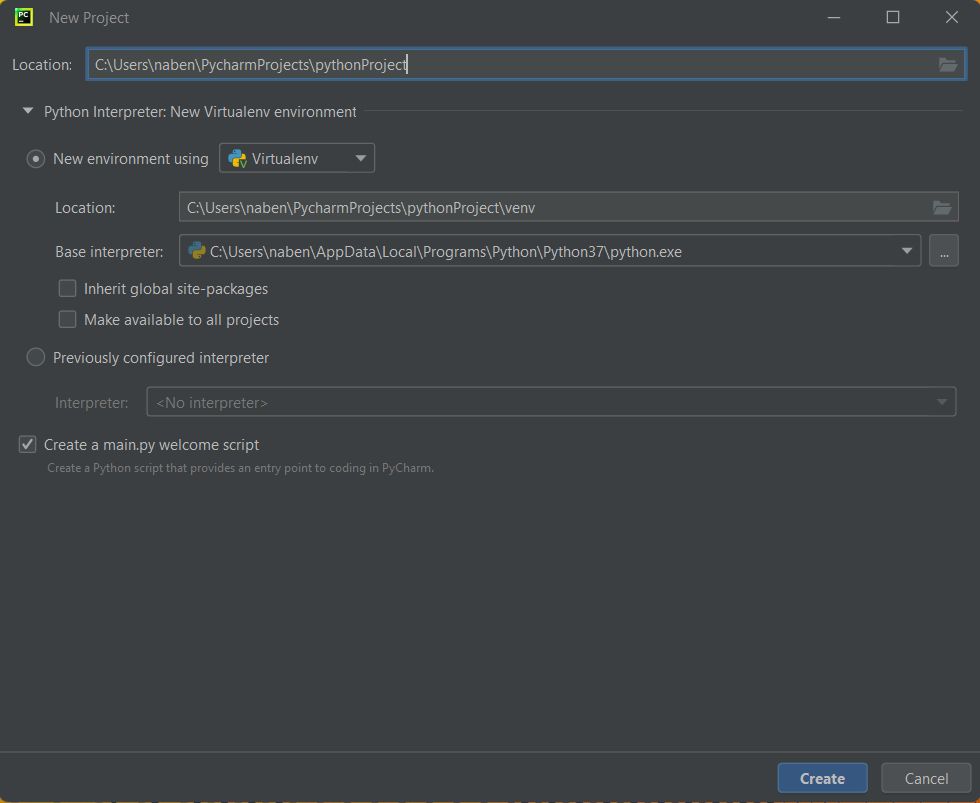
Then, we'll finally get the PyCharm screen. Here, we need to click on "New Project."
On the next screen, we'll keep all the configurations and click on "Create."
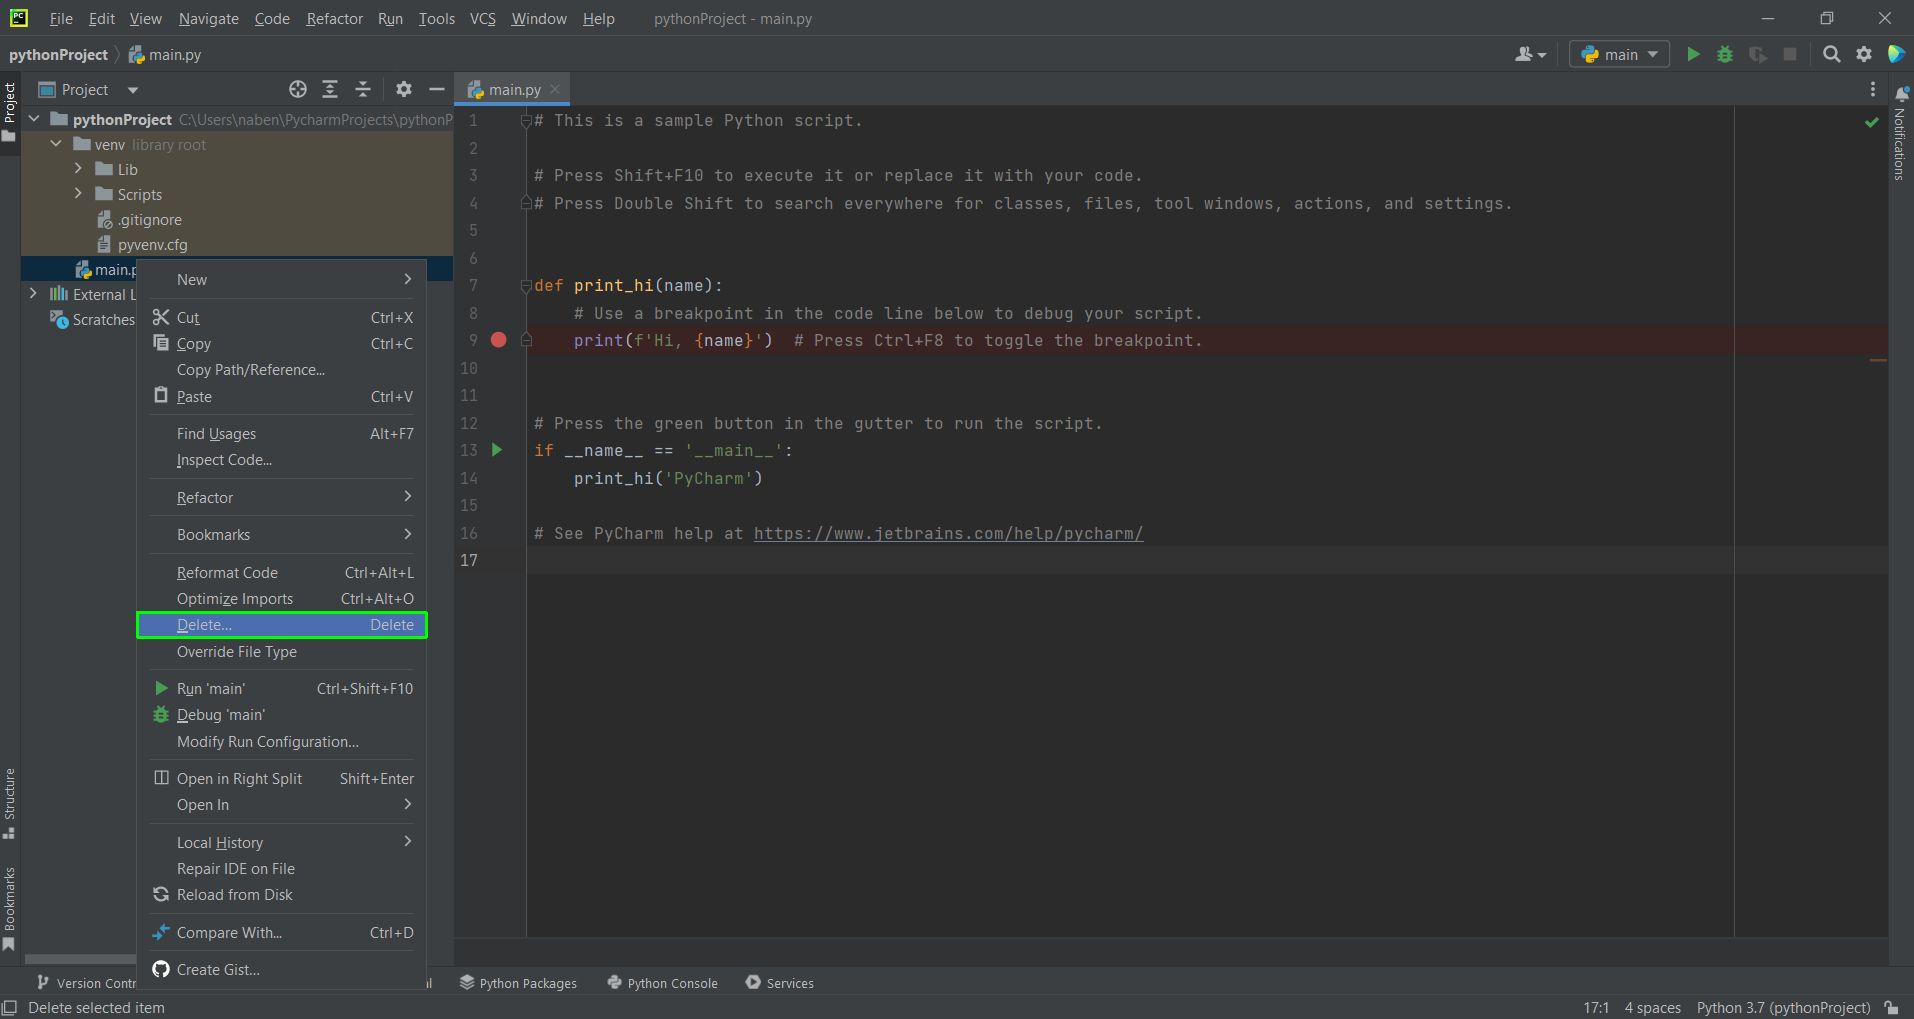
Now, we'll get a default code in main.py. However, we don't need it, so right-click on it and hit "Delete."
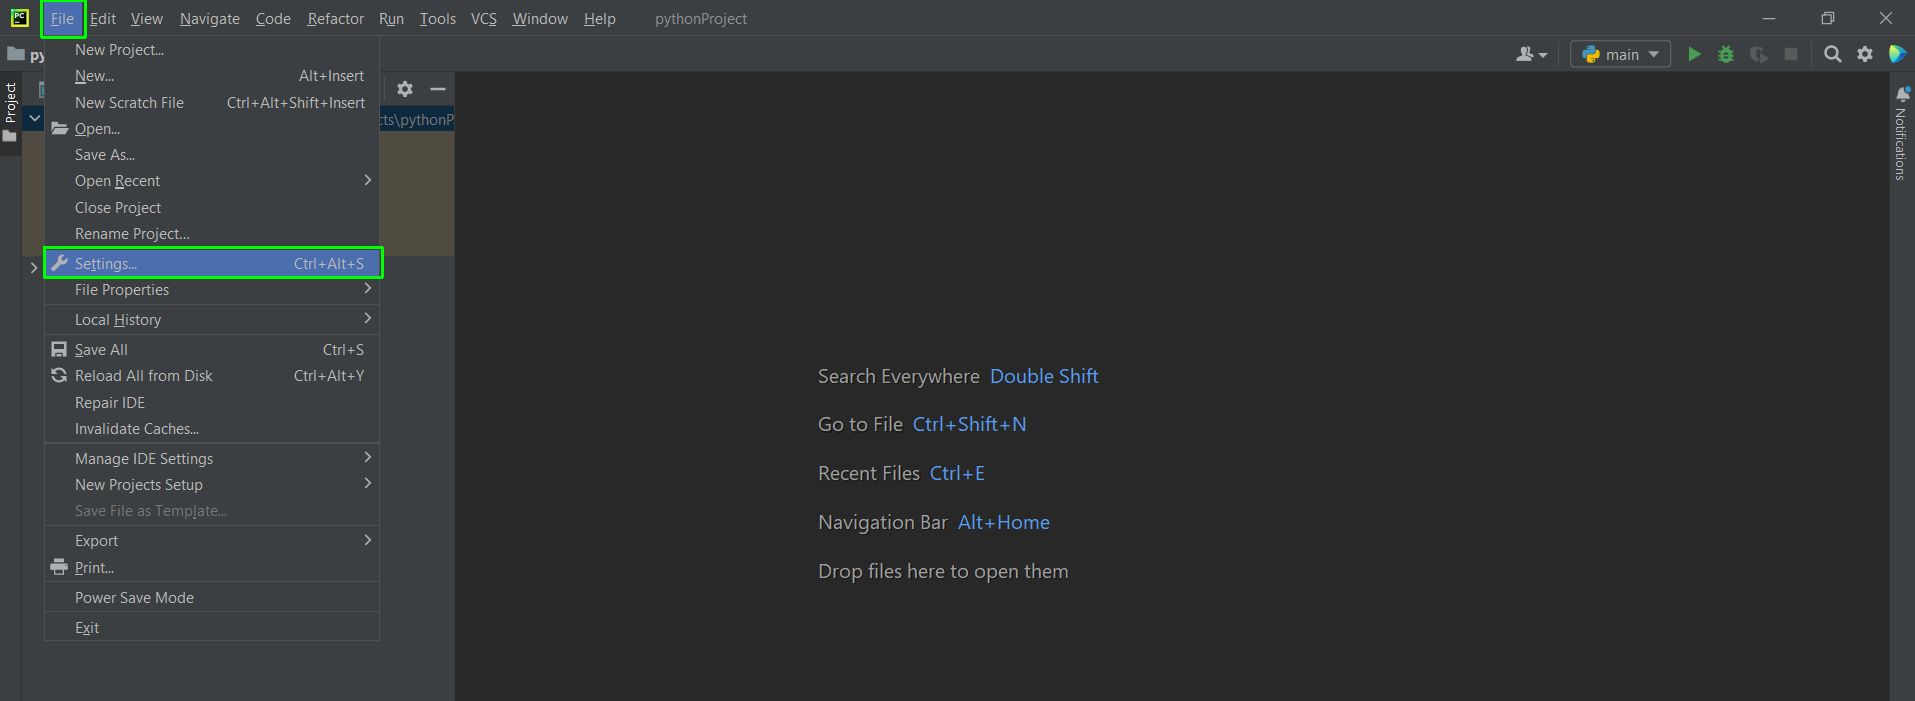
Next, click on "File" and then "Settings."
On the Settings screen, click on the Python Interpreter. This will show all of our installed packages. Here, we need to click on the + icon.
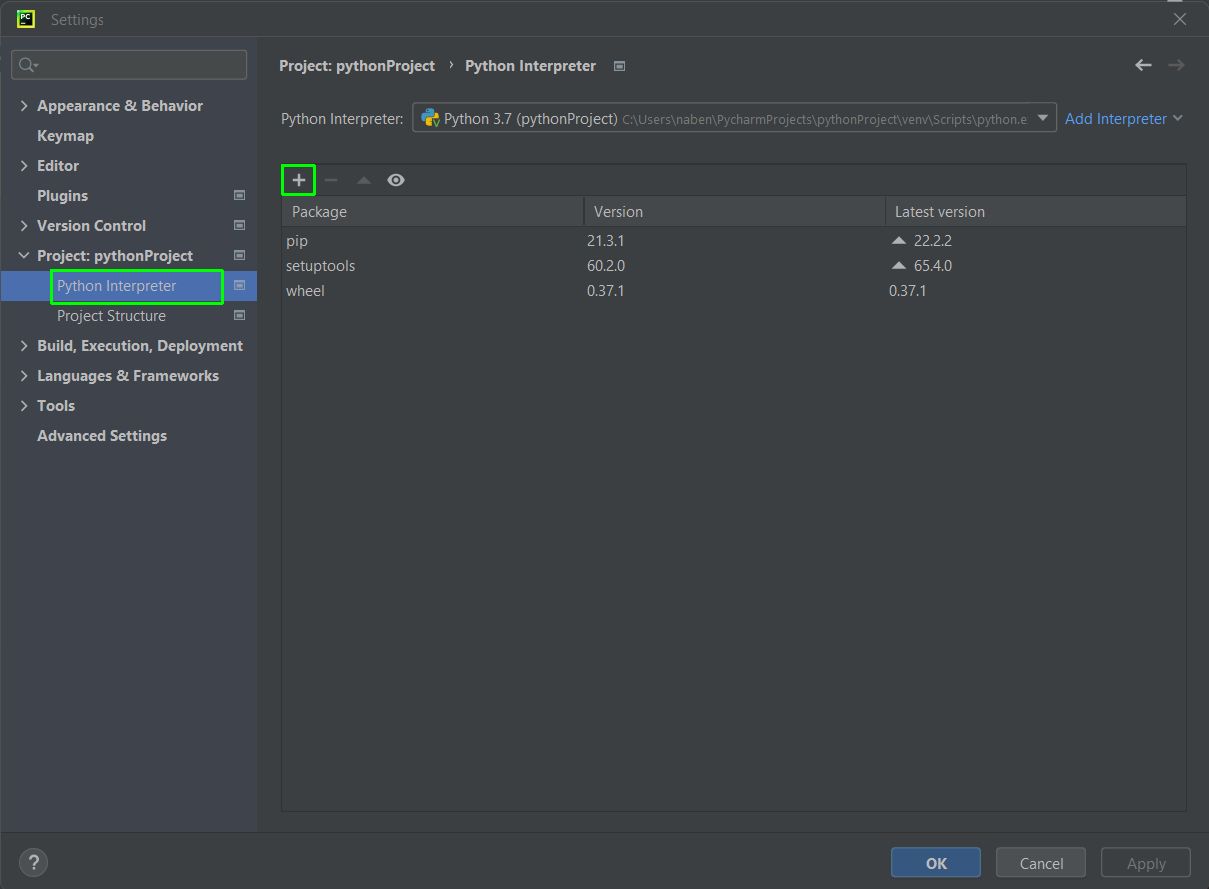
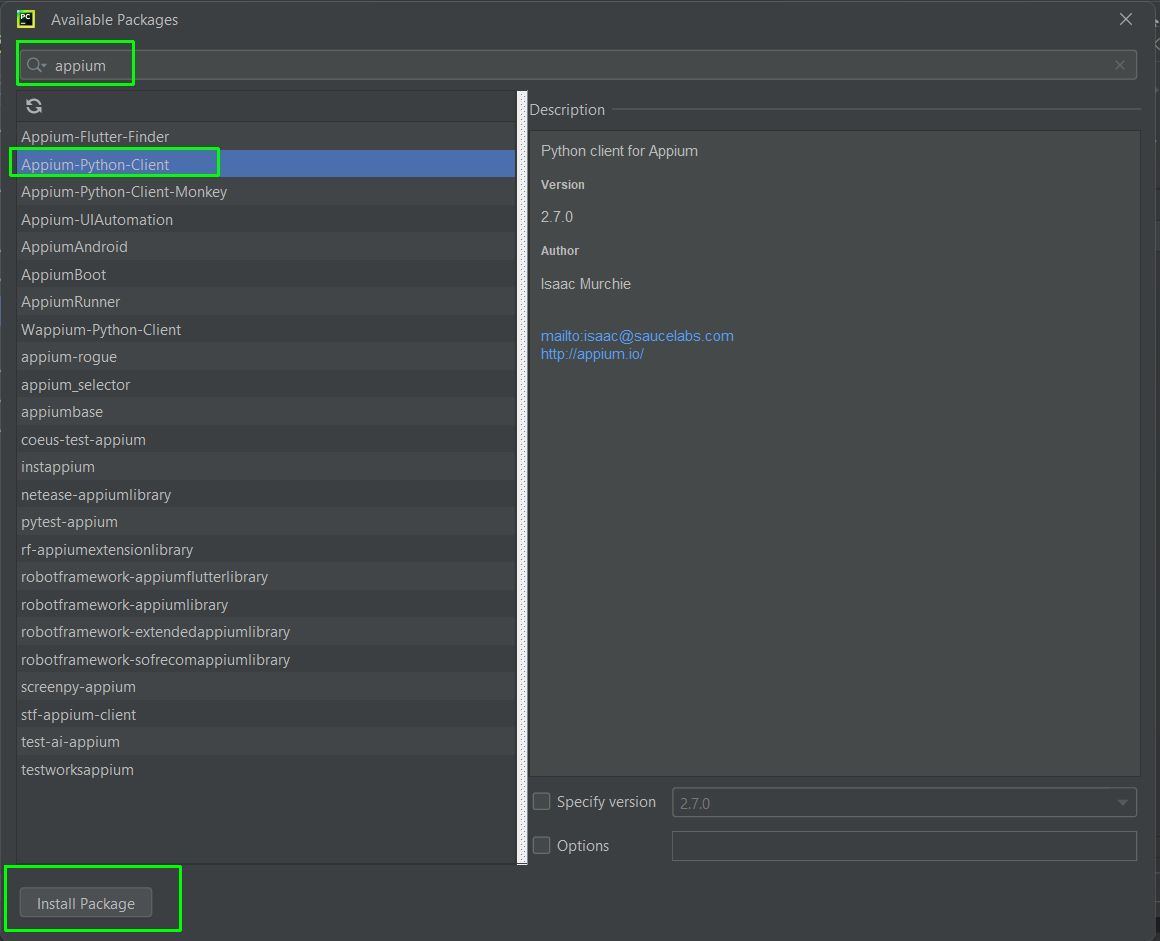
Next, search for Appium in the search box. Click on Appium-Python-Client and then Install Package.
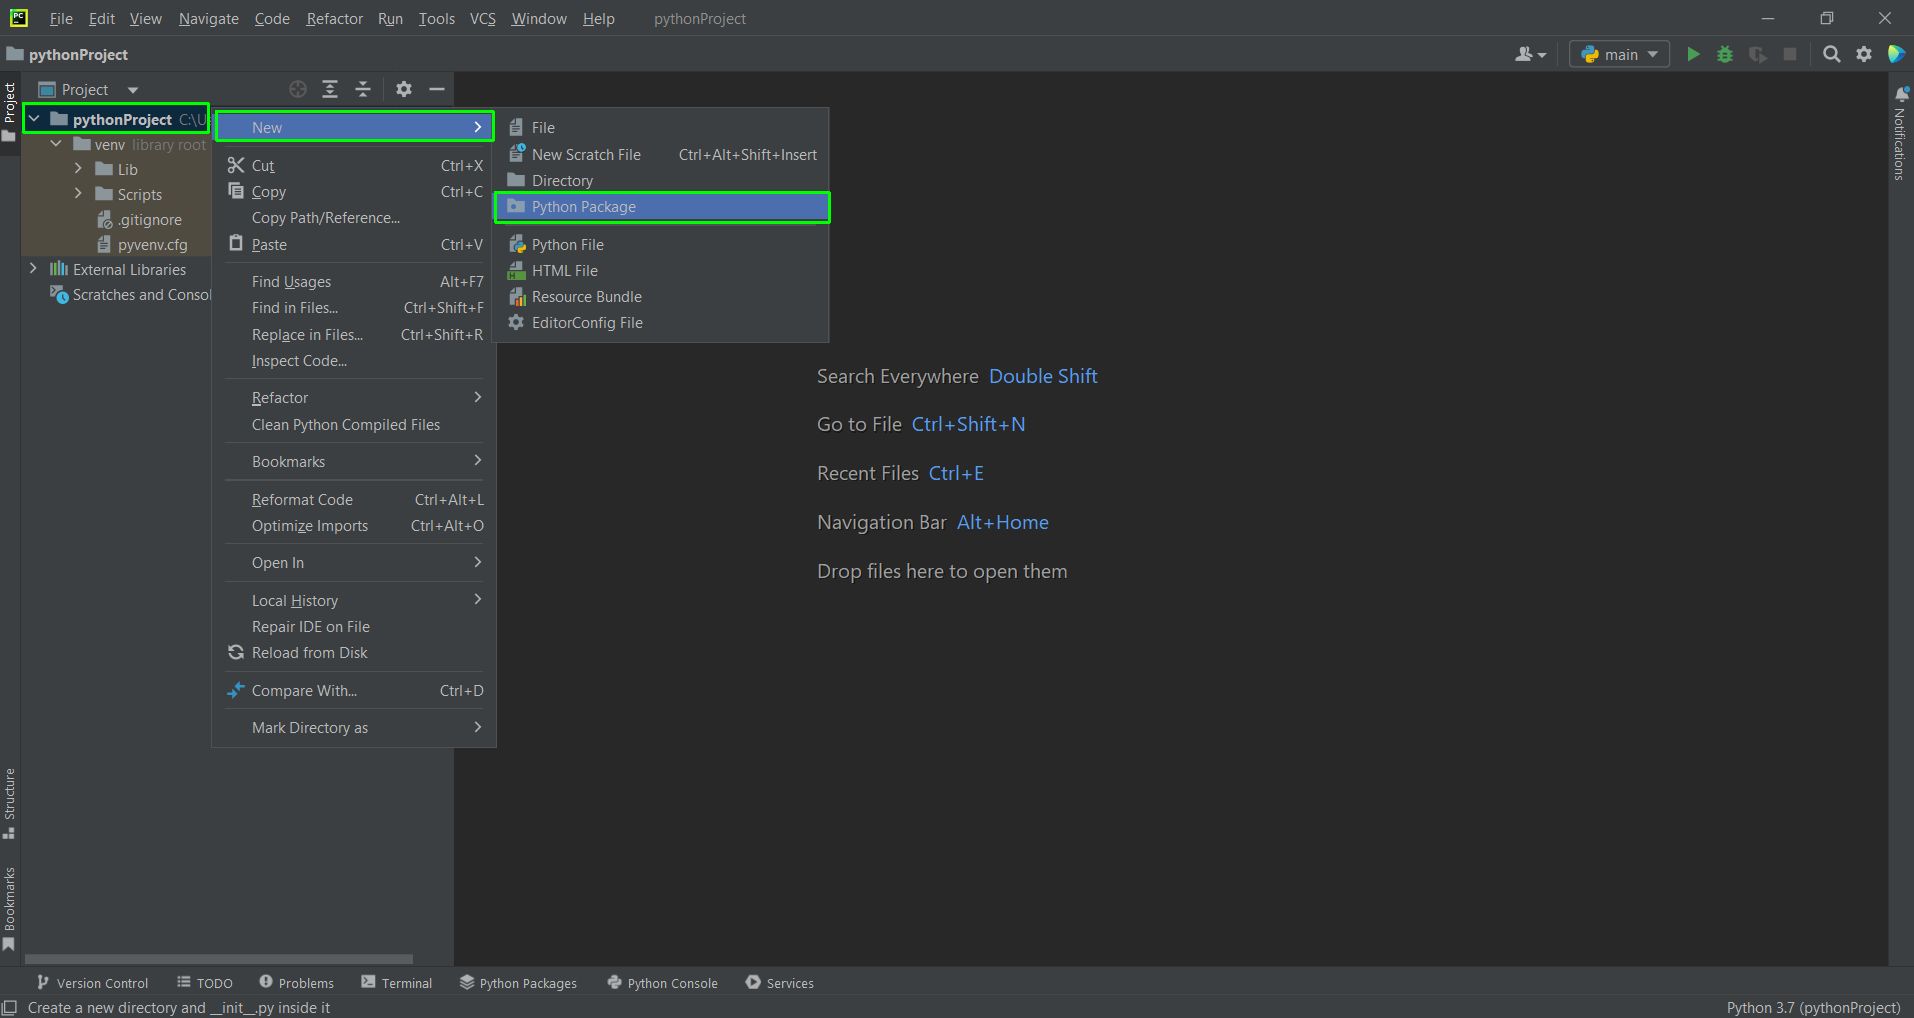
Back in the project, right-click on the file name, which is pythonProject. Then, click on New and Python Package.
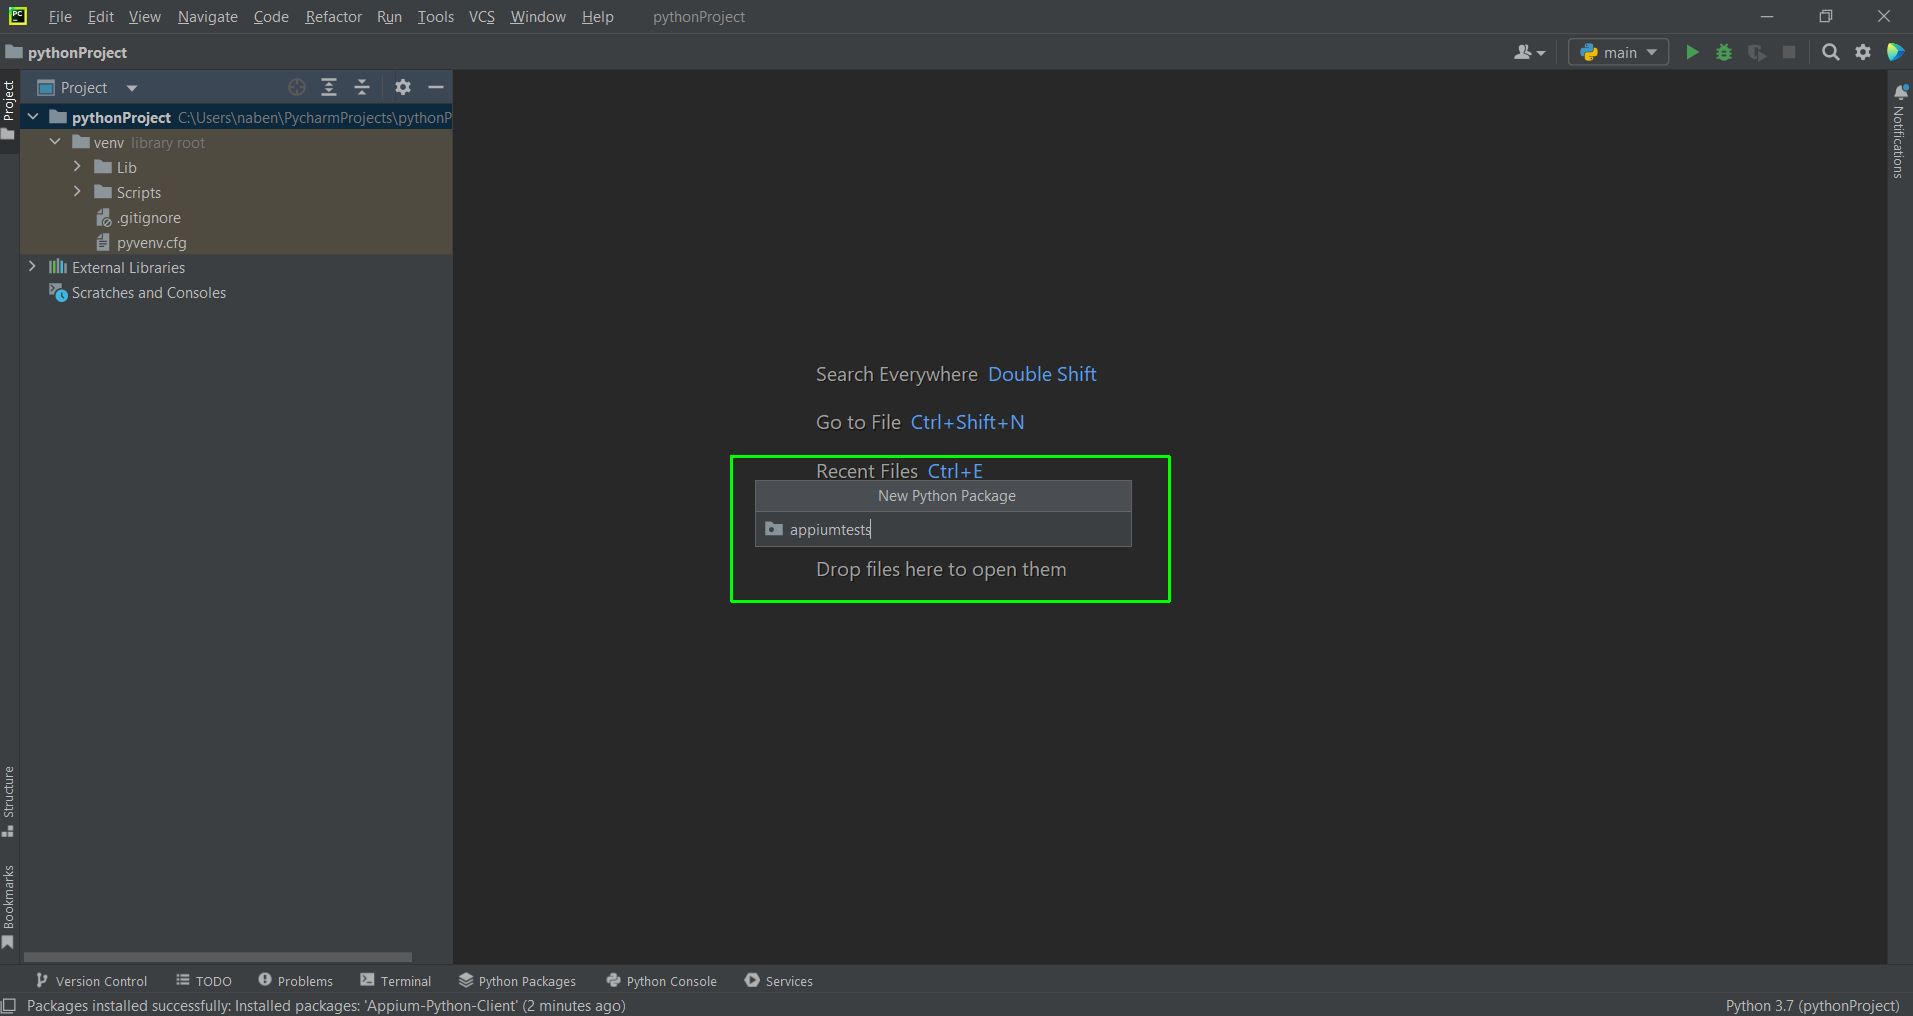
This will open a pop-up in which we need to give the Python package a name.
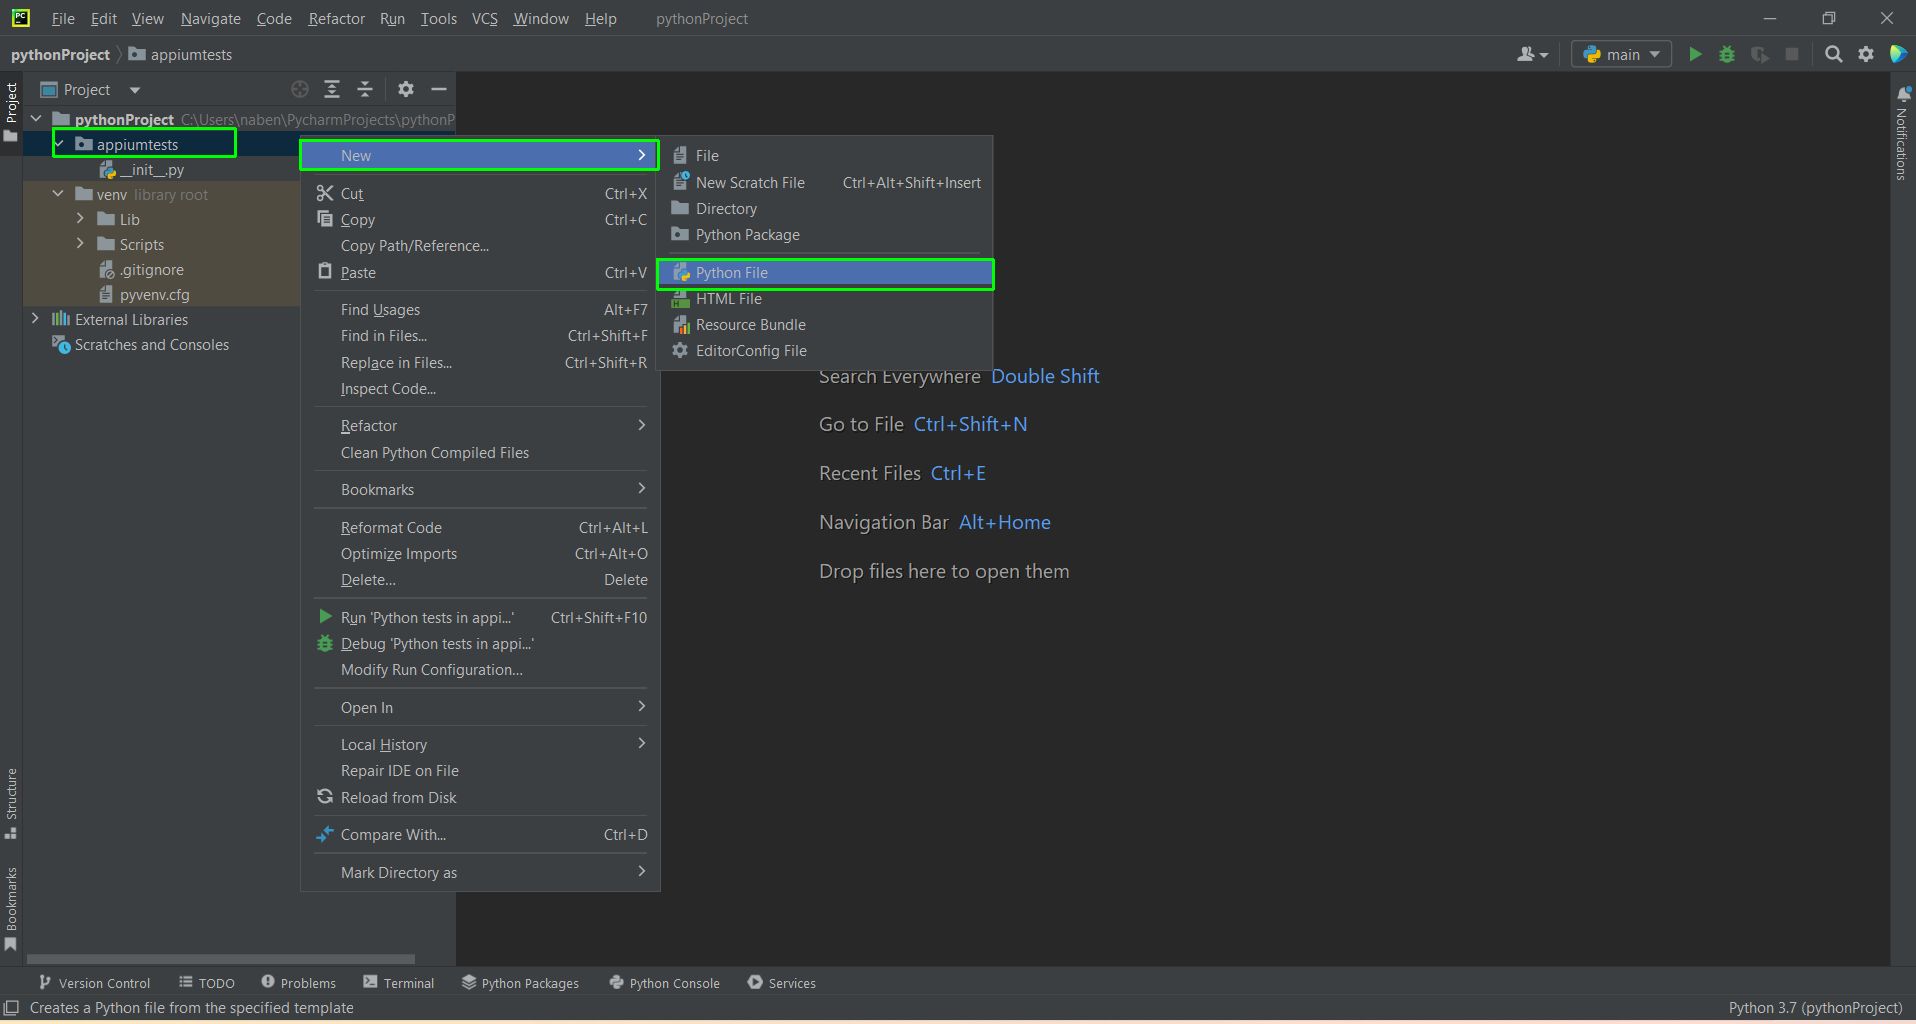
Now, right-click on the newly created package. After that, again click on New and the Python File.
This will open a pop-up, where we need to give the Python file a name.

Final Steps
One final step remains before writing test cases. We need to have Android Studio installed and PATH variables properly installed on the system. The installation steps can be found on Android's official documents.
We also need Java installed on the system because Appium uses Java to run. Again, you can find the steps from the official documentation here.
For Appium to show an automated test, we need to have emulator enabled on Android Studio or a real device attached to the system. Again, we've followed the steps from the official documentation here.
Now, when we run the adb devices command from the terminal, it'll show the connected device. We need to note it to run test cases.

Test Cases
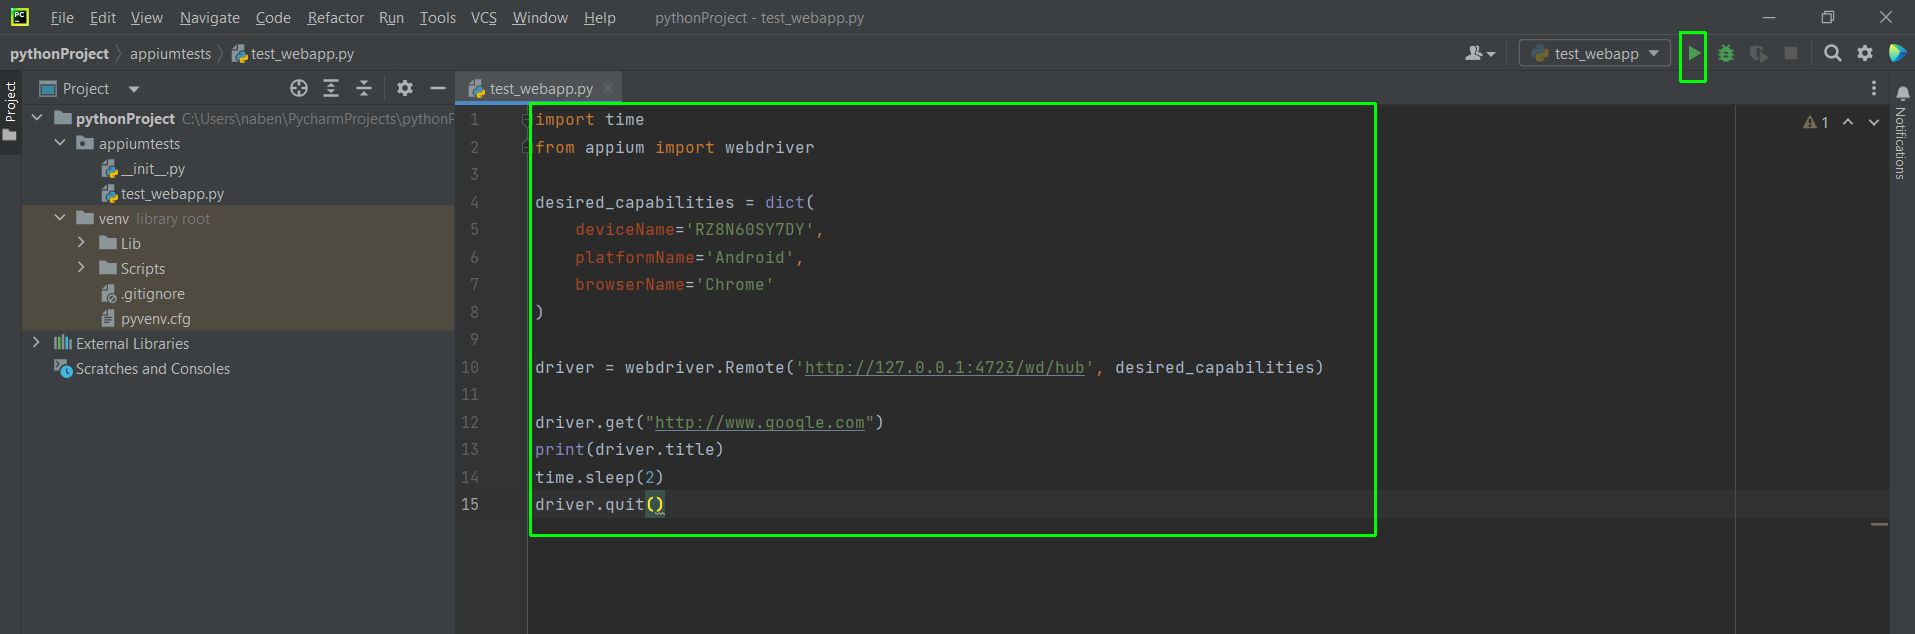
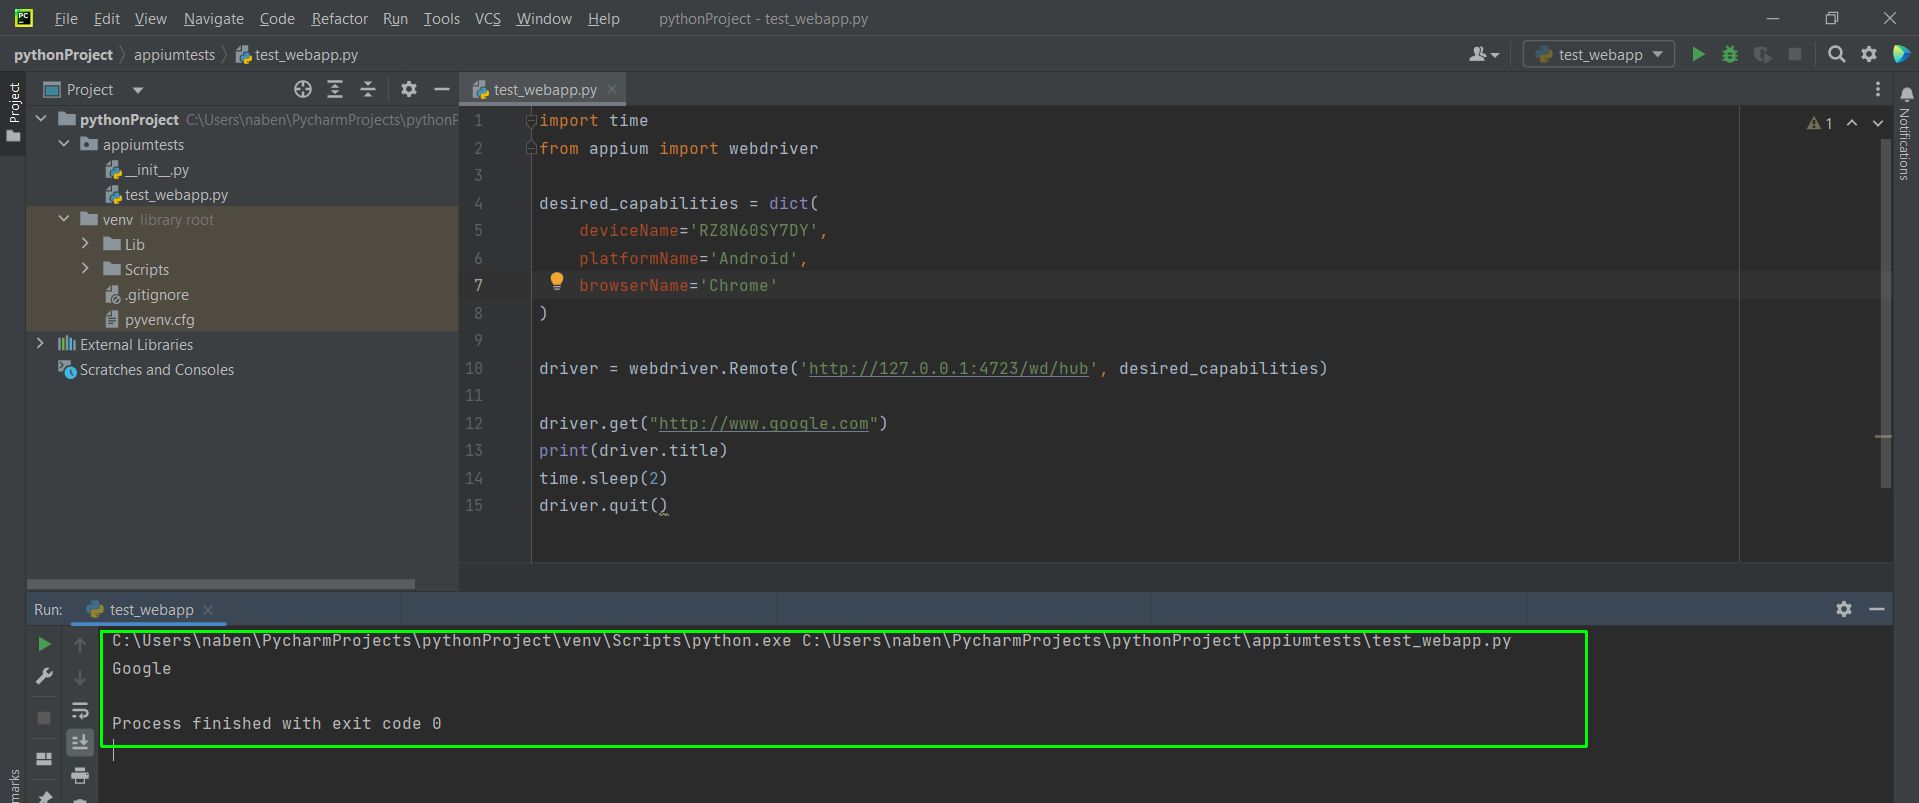
Let's write a simple test in our file.
First, import packages for time and Appium. Then, we have a Python dictionary called desired_capabilities. In Appium, we need to give the desired capabilities either through client programming, which is done here, or from the Appium Server GUI.
Here, we're giving what's required, which includes our device name, from the previous step. It also contains the platform name and browser name on which our test will run. In this test, we're just using the mobile browser to run a simple test.
Next, we need to connect to the Appium server, which is running on localhost, and pass the desired_capabilities as a second parameter.
In this small test, we'll launch Google on our connected device's browser. After that, we'll go to sleep after two seconds, as seen on line 14. And for this reason only, we imported the time module at the start. By going to sleep, we mean not doing any activity for two seconds. After that, on line 15, we're quitting the test with the driver.quit() command.
Now, after writing this test case, click on the "Run" button in the top right corner.
In our case, we got an error message because our Chrome driver was outdated.
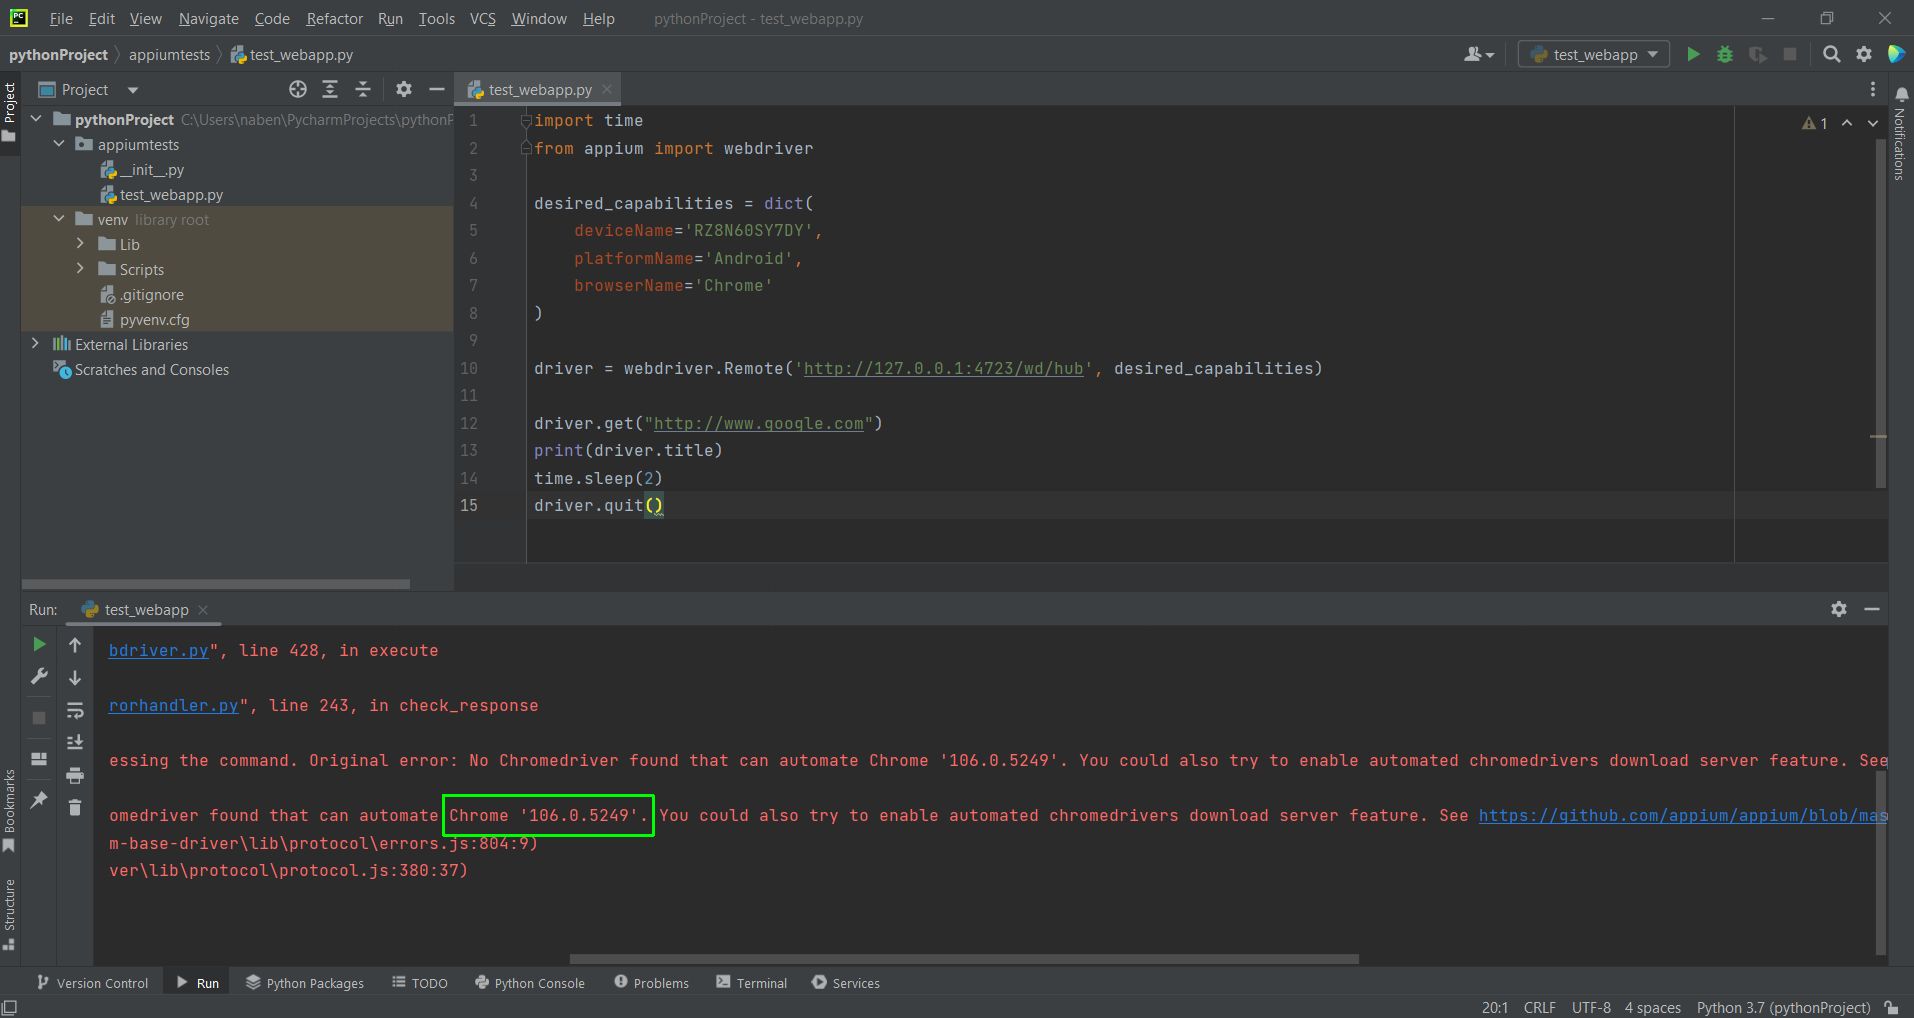
Fixing Errors in Test Cases
To fix this, go to this site and find the exact version for which we got the error. Click on it once you find the version.
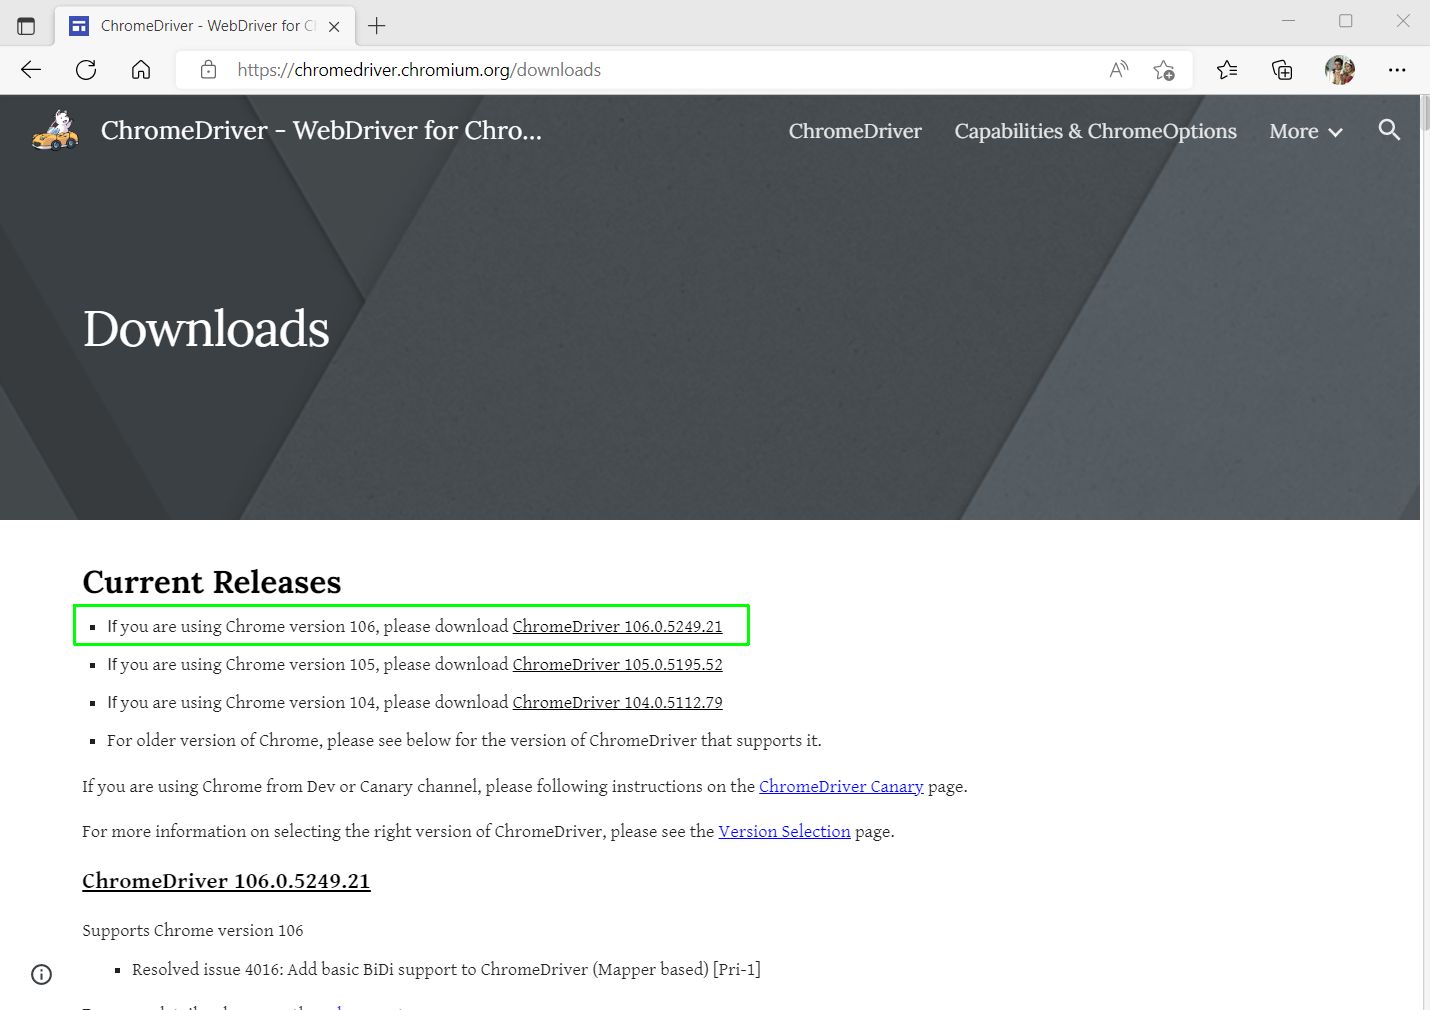
On the next page, we'll download the Chrome driver for Windows.
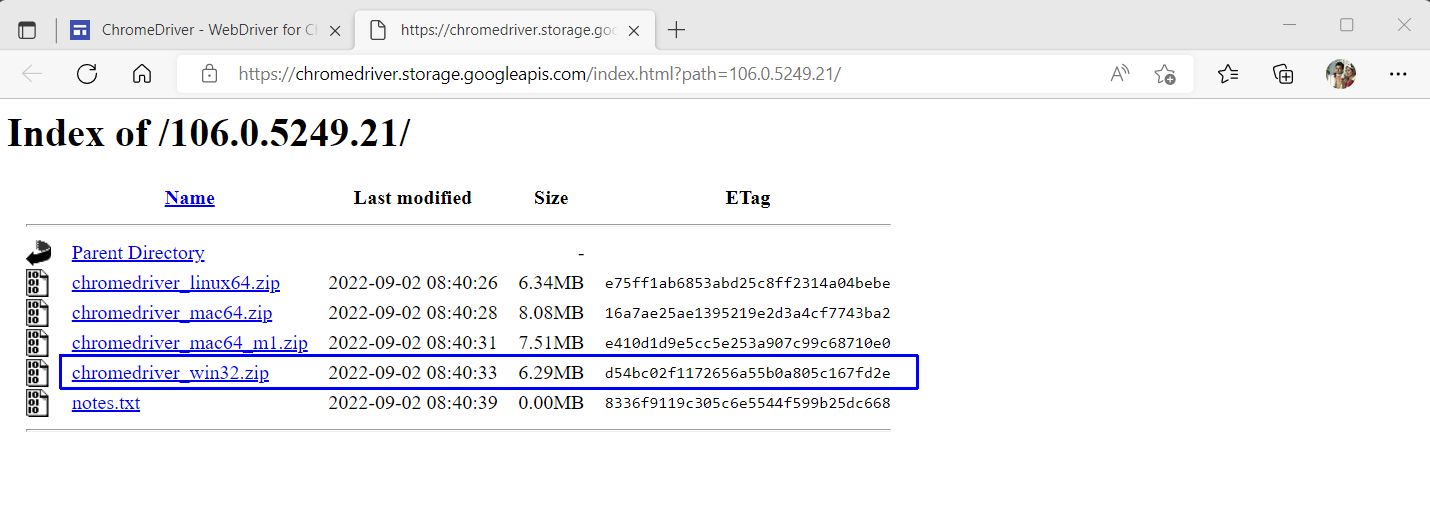
After that, we need to extract it and put the file in the directory below:
C:\Program Files\Appium Server GUI\resources\app\node_modules\appium\node_modules\appium-chromedriver\chromedriver\win
Running Test Cases
Then, we'll again run the test, and this time we'll have success. Google will be shown on the console.
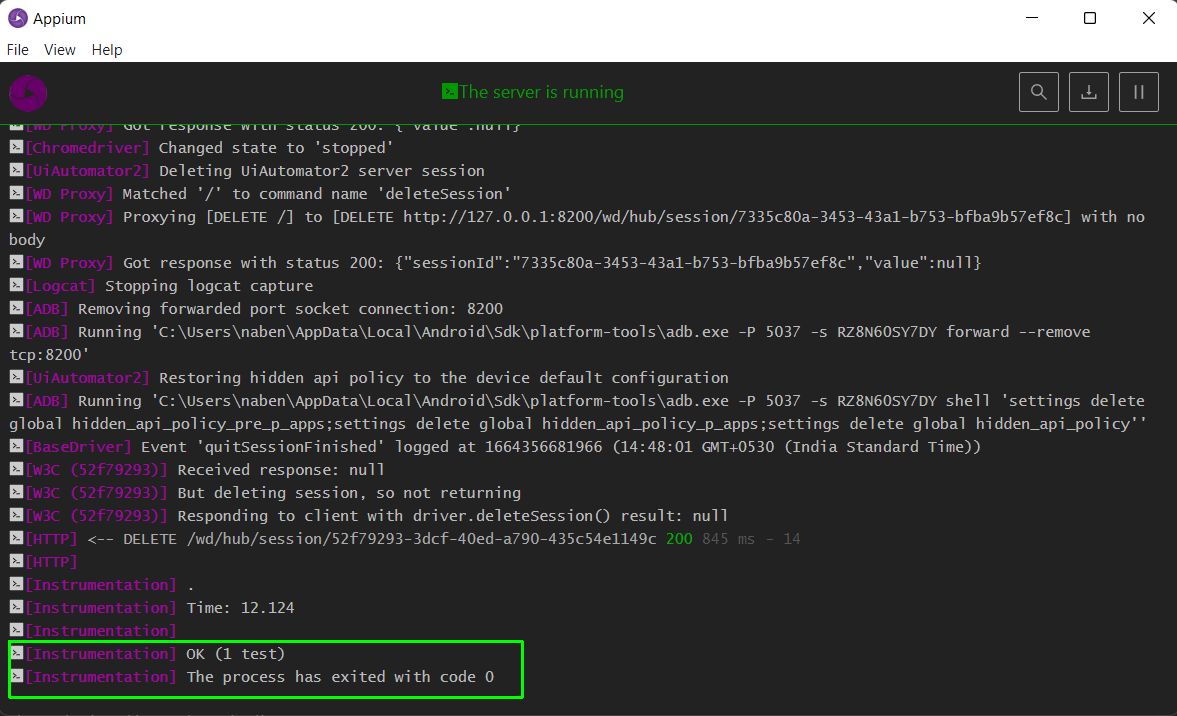
We can also see on the Appium terminal that the test was performed with success.
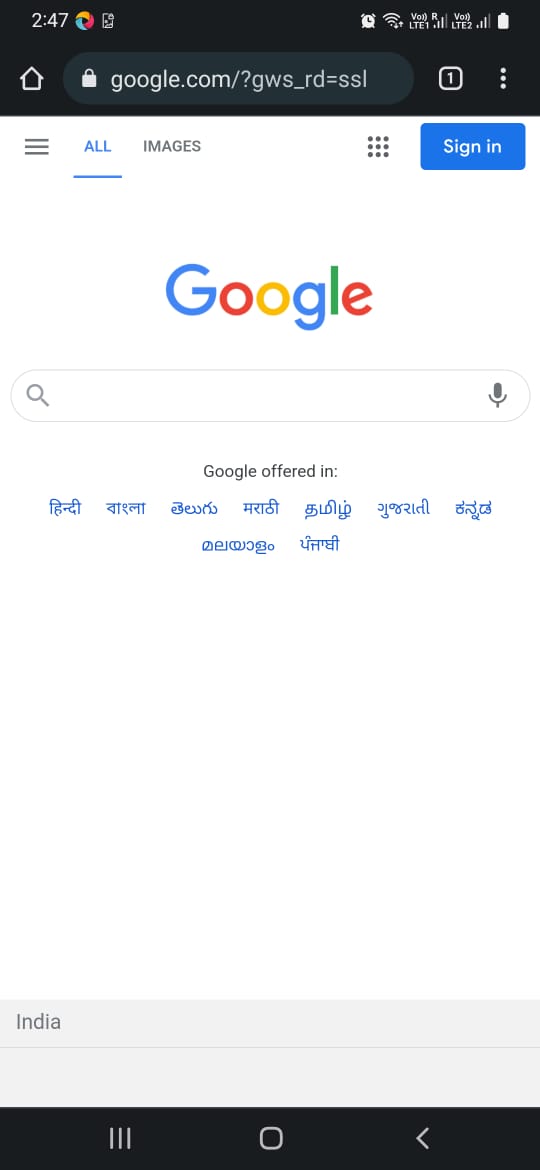
The automated part will be performed on our connected mobile when the Google site is launched, and it'll go away after two seconds.
Conclusion
In this post, we've learned about Appium, including steps to install it and automated testing through a written test case in Python.
But you can more easily test your apps with Waldo to avoid going through the hassle of installing and configuring all of this while also writing test cases in Python.
Automated E2E tests for your mobile app
Get true E2E testing in minutes, not months.


