


This article is aimed at those who want to take their first steps toward mobile development with the Kotlin language, creating a simple app to have initial contact with the environment and the language.
What Is Kotlin?
Kotlin is a cross-platform open-source programming language created by JetBrains and widely used by Android developers. It is multi-paradigm, as it's totally object-oriented, but with some functional language features (such as lambda functions), statically typed and executed by the Java Virtual Machine (JVM). The similarities with Java are so many that you can even use Java inside your Kotlin code.
A Little History
In 2009, JetBrains was looking for an alternative to Java with specific features that would help them in maintaining their tools and in internal projects. The company needed this language to be compatible with the JVM and other technical requirements, but they didn't find anything that met their needs. So, they started to develop their own language. In 2011, JetBrains unveiled the Kotlin project, a new programming language focused on the JVM and intended to be a concise language, interoperable with Java, with code protection, among other things.
In 2012, JetBrains made the project open source under the Apache 2 license terms, and in February 2016, Kotlin had its first stable version released.
A fun fact about the language is that the name Kotlin comes from the name of an island in St. Petersburg, Russia, which is close to one of the company's offices.
Kotlin vs. Java
The similarities are great, but there are some points that are worth highlighting:
- Interoperability: Kotlin is fully interoperable with Java. What does that mean? It means that we can use Kotlin whenever we want in a Java project. That is, we can insert Kotlin code into the Java project and use it from the project's Java code. That's right—in the same project, we can have both languages working together.
- Syntax: This feature refers to readability. Compared to Java, Kotlin is simpler and more concise, and it therefore has an advantage over Java. Two examples below illustrate this better.
- Null Safety: This fantastic feature of Kotlin differentiates references that can be null from those that cannot. You know that annoying NullPointerException problem? This will deal with that.
- Community: Kotlin has a lot of support and contributions from the community, which is growing all over the world. According to Google, over 60% of the top 1,000 apps on the Play Store use Kotlin.

Requirements
To start taking your first steps with Kotlin, you must have the entire JVM and Java environment configured and installed on your machine.
Creating a New Kotlin Project in IntelliJ IDEA “
To create a new project on IntelliJ IDEA Community Edition, open the IDE and then click on “Create New Project.”
You will see something like this:
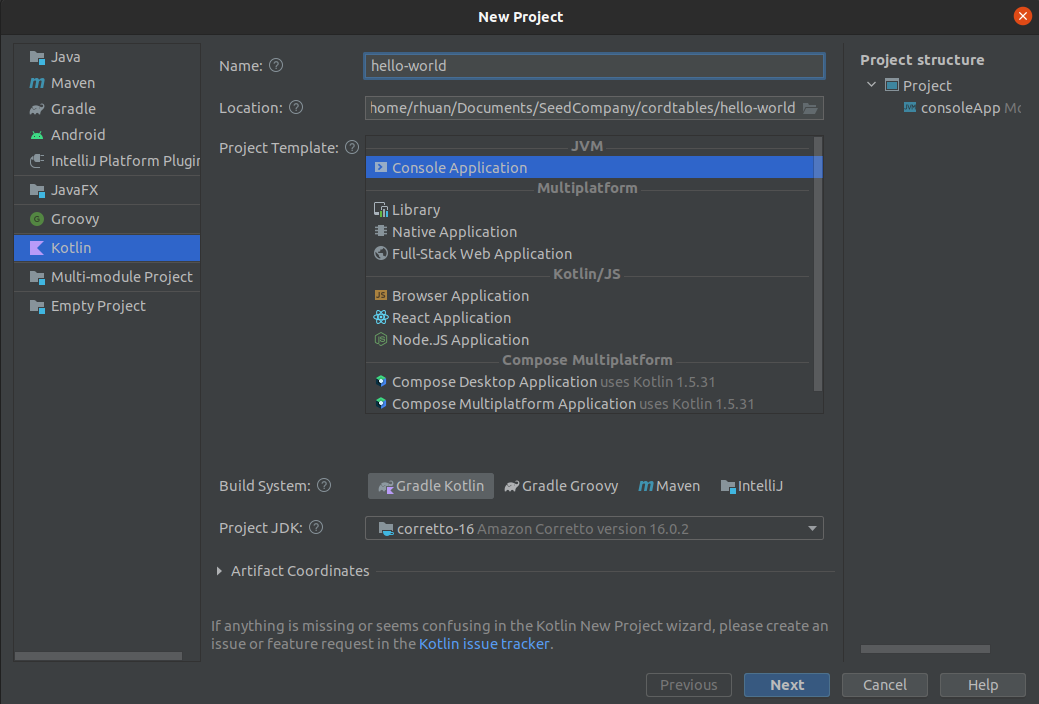
On that screen, select Kotlin from the list on the left to open the types of projects that can be created with this language. Then give it a name and then click “Next.”
If no SDK is listed, you'll need to download the JDK and install it. To do so, download it here.
After doing this, click on the button next to the SDK checkbox and select the location where the installation of the JDK is.
On the next screen, you can choose the version of JVM you want to use and the test framework:
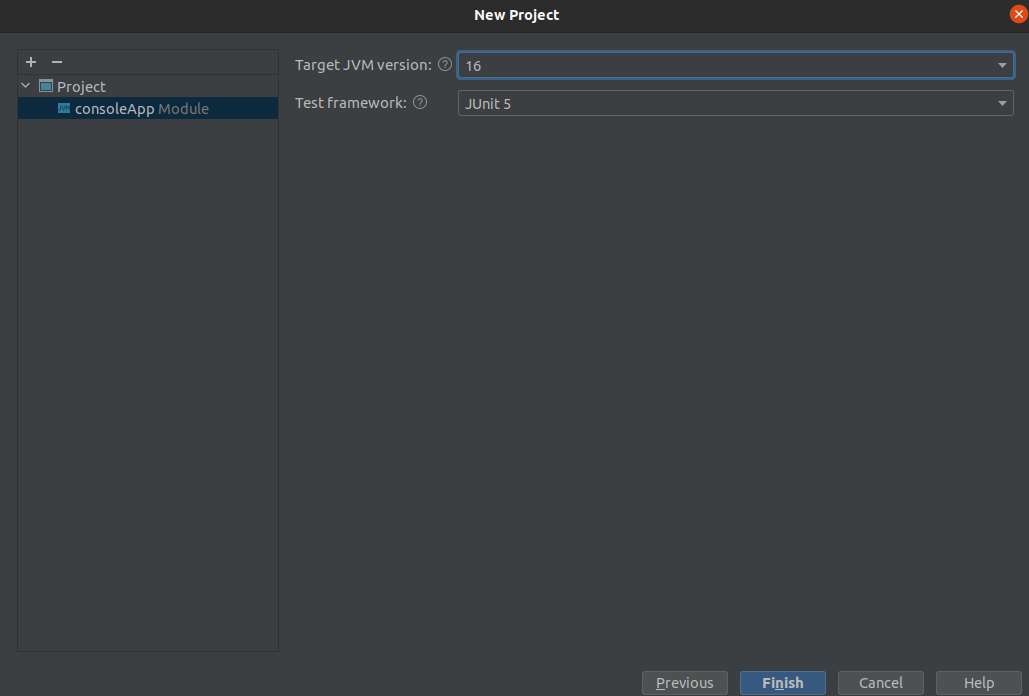
Let’s leave it as it is in the picture above and click on “Finish.”
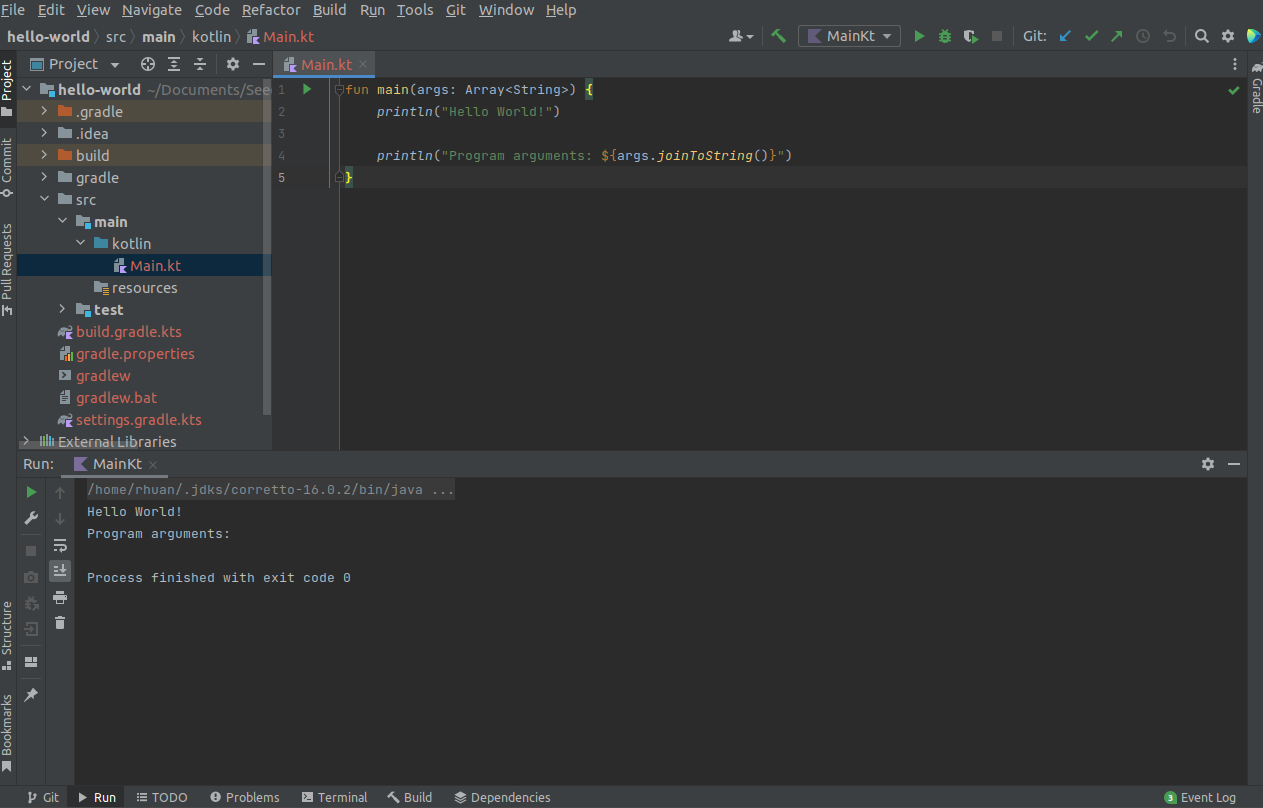
After that, the IDE creates a file named Main with the main function that will print the message “Hello World” on the screen. We can also use the shortcut Ctrl + Shift + F10.
To run the code, you just need to right-click on the file and then “Run.” The figure below shows our first application running in Kotlin. As you can see, it's a very basic application just for initial contact.
Testing Is Also an Important Pillar
It's increasingly necessary to ensure reliability for our applications because they change all the time. We always need to change something or develop a new resource. So it's fundamental to be sure that the rest of the functionalities that already exist will continue to work correctly.
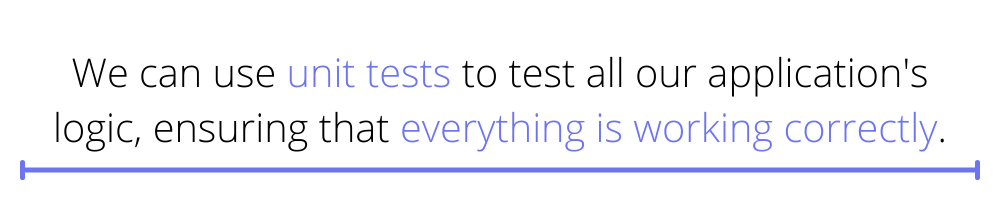
And to guarantee this, we can use unit tests to test all our application's logic, ensuring that everything is working correctly and that, when we develop a new feature, it doesn't end up breaking the rest of the project. (This occurs because most of the time, we're concerned only with testing the happy flow, in which everything works correctly. We don't try to also test the errors that may occur, such as a bad connection while using the application or the user closing the application during an API request.)
JUnit
To write unit tests on Android, we use JUnit, an open-source framework created by Erich Gamma and Kent Beck. JUnit has the main features necessary for this purpose.
Usually, the file build.gradle already configures everything, but if you don't have it, add this line:
Now that we understand the reason for writing unit tests for our applications, we already know the tool we're going to use on Android. The purpose of a unit test is to test in isolation some behavior that exists in your project, usually classes and methods. A good initial example would be testing a method that adds two values:
Method:
Test of the method:
With this, the sum method is being tested, which receives two integers and returns the sum of these numbers to the user. In this test, the numbers passed are 2 and 2, so the sum value must be 4. To validate this result, the assertEquals method is used, passing the expected result and calling the method that we want to test the result of. Below is another way to test the sum between two numbers, but this time, it's already defined in the test:
In this case, the test of the sum of two values is being carried out using the sumTest method. We're declaring two variables of the integer type, which receive the values of 7 and 3; checking the result of this sum, which must be 10; and using the assertEquals method from JUnit4, which takes two parameters and checks if they are equal. Usually, the first is the value you expect from the operation, and the second is the result of your operation—in this case, a sum between two integers.
Long Story Short
To sum up, this post should get you on your way and understand some basic concepts about Kotlin.
We saw some features of the language and also about testing. If you want to continue learning about tests, I invite you to check out our automated mobile testing tool.
In addition, this preventive solution can bring results that will facilitate the development of other software. The more the team inserts tests into its production, the more error logs it will have. And that way, developers will be able to gather the main flaws that they are making.
It's inevitable: you can only discover your mistakes if you test. So don't hesitate to adopt methods that can evaluate your product, identify its problems, fix them, and bring more quality to it.
Check out this page to find out more about how Waldo helps with automated testing of your app.
This post was written by Rhuan Souza. Rhuan is a software engineer who has experience with infrastructure. Ruhan is currently working as a full-stack web developer. He’s a passionate developer who focuses not only on code, but also wants to help change processes, and make people's lives easier.
Automated E2E tests for your mobile app
Get true E2E testing in minutes, not months.


