


Appium is a completely free-to-use mobile automated testing framework. It is available as a Node package and also as a desktop app. We basically download the Appium server, but the client-side coding is done in a variety of programming languages. To learn more about the client-server architecture of Appium, refer to our post on Appium architecture.
You might be wondering, does Appium work on Mac? Yes, it works on all three major operating systems: Windows, Mac, and Linux.
In this post, we're going to show you how to install and set up Appium on macOS. We will also talk about the client-side setup in different languages. Finally, by the end of the post, we'll help you start writing test cases.
Basic Setup: Install Appium on a Mac
We need to have Java and Node installed on our system before starting with Appium. So, we will first walk through how to install Java on our Mac system.
Java Installation
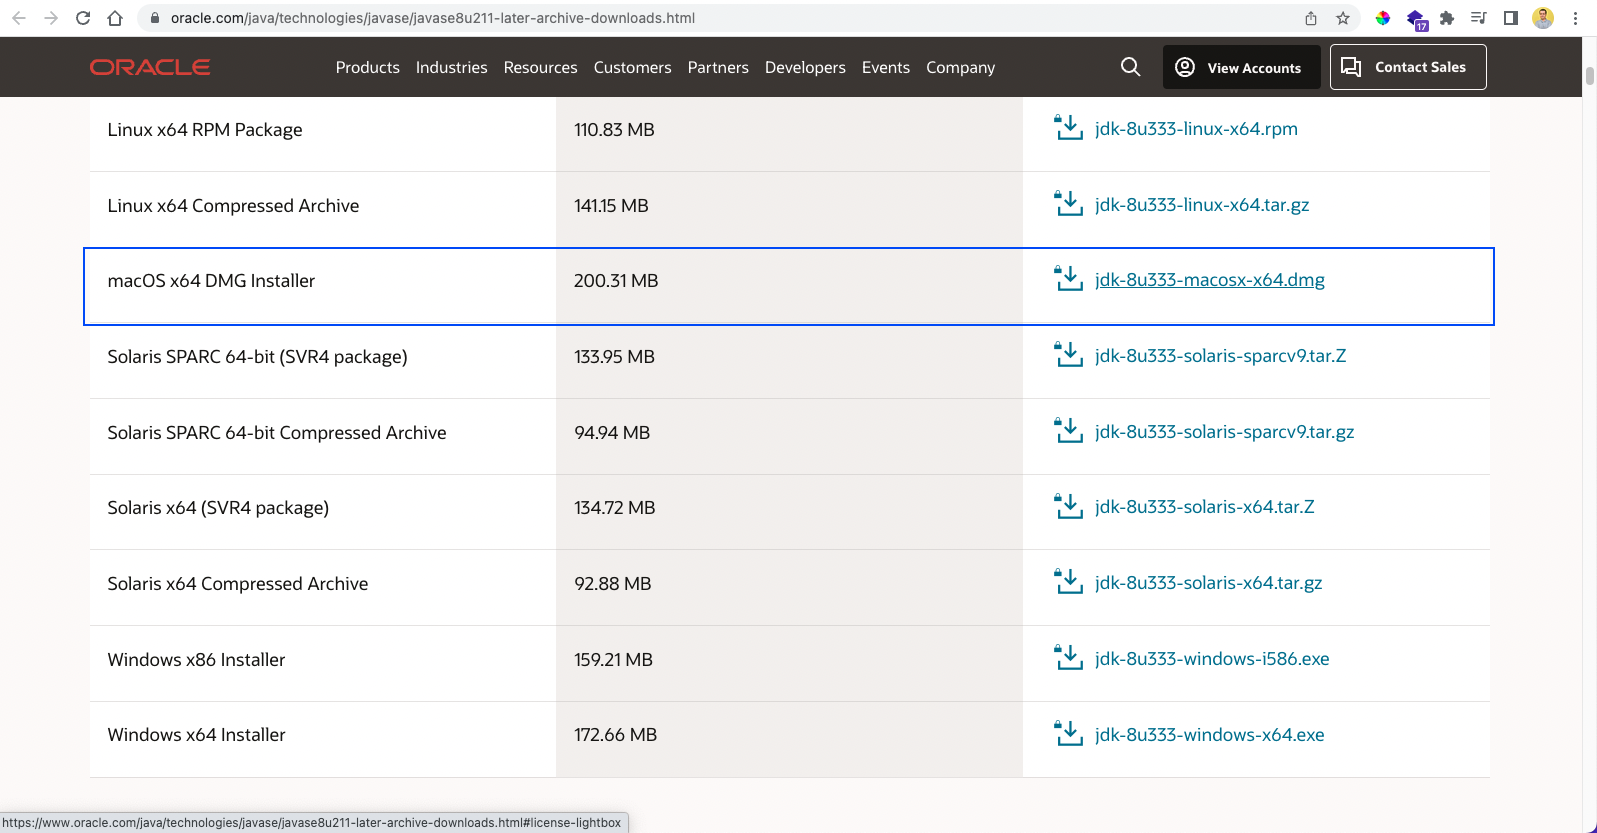
Appium requires a lower version of Java (Java 8). The latest versions (Java 11 and higher) cause problems. So, we need to download JDK 8 (Java Development Kit 8) from Oracle's official link.
We've also updated the path in the bash_profile. Here we have opened this file using the command vi .bash_profile. The vi is the default editor on Mac.

Now we will verify that Java 8 was installed in the correct path with the below commands:
Here we can see that everything is installed properly:

Node Installation
Node and its package manager npm (Node Package Manager) are required for installing any open-source application on the system. And we also need to install it for Appium if that has not been done yet.
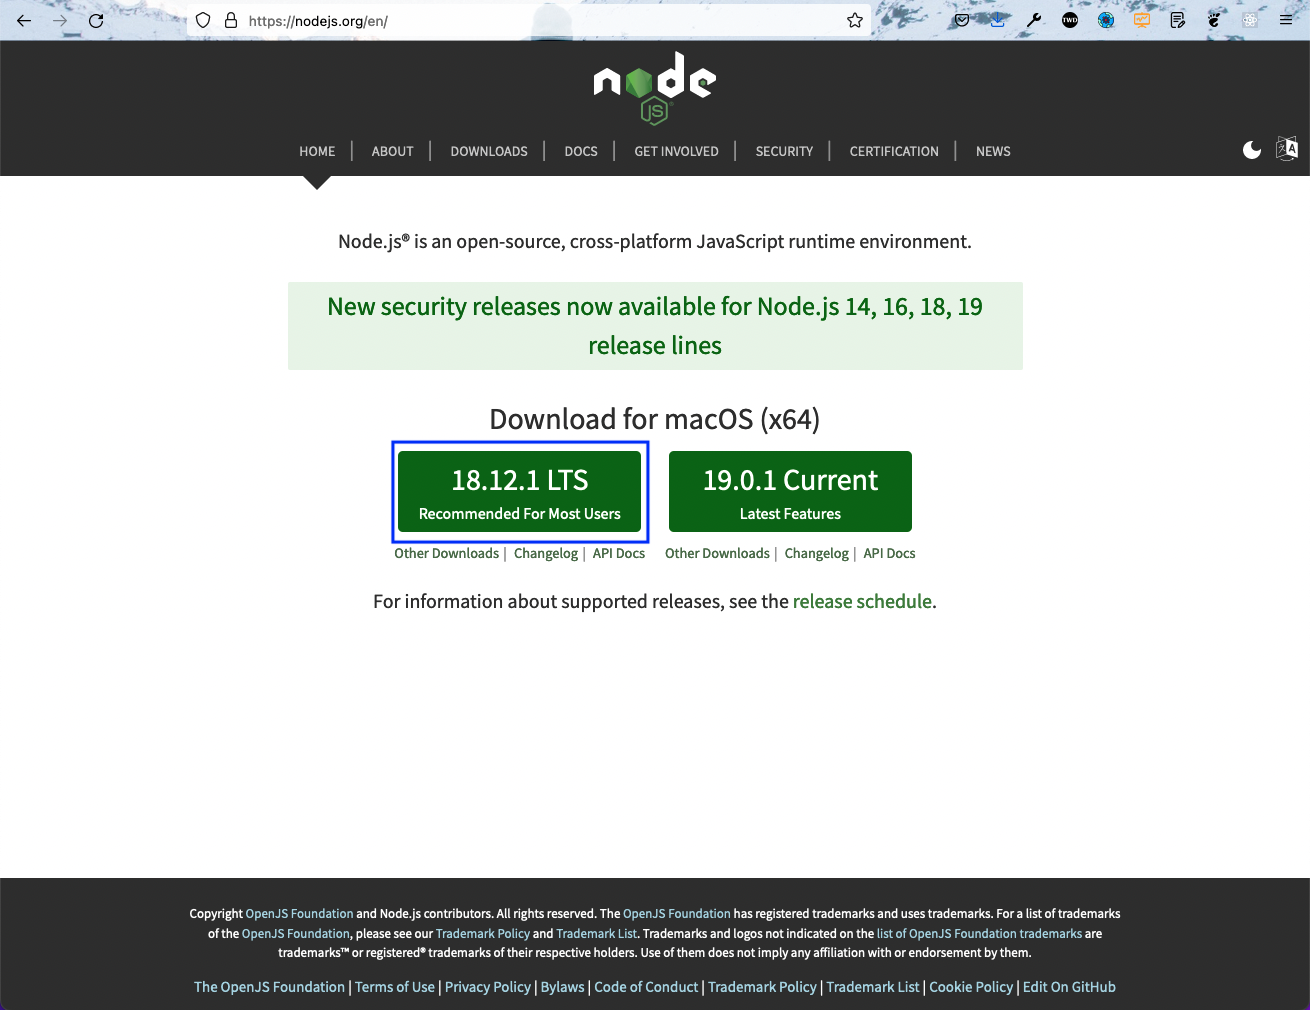
There are two ways to install Node.js on a Mac operating system. The first is to go to the official site and download the latest version and install it. Make sure that you install the recommended version.
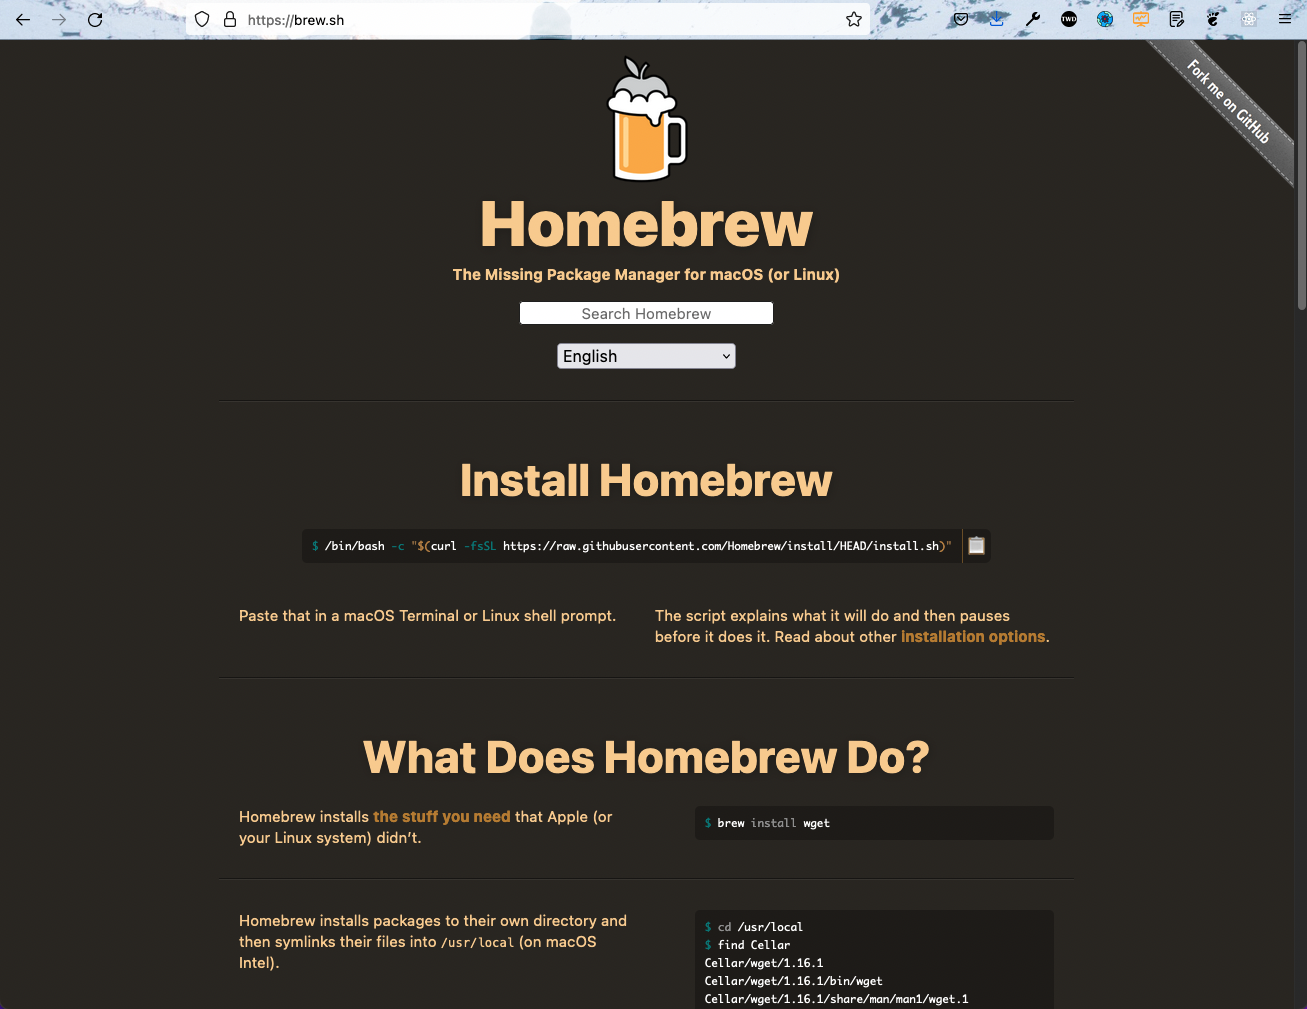
On Mac, we can also install most packages through the command line tool of Homebrew. This is the package manager for Mac, but we need to install it through the below command, if not done yet:
After installing Homebrew (also known as brew), we can install Node through it. It saves us the hassle of installing through a GUI installation process. Just give the below command in the terminal:
Next, we need to check whether Node and npm are properly installed on our system using the below command. One thing to note here is that npm is automatically installed on our system when we install Node.js.

Carthage Installation
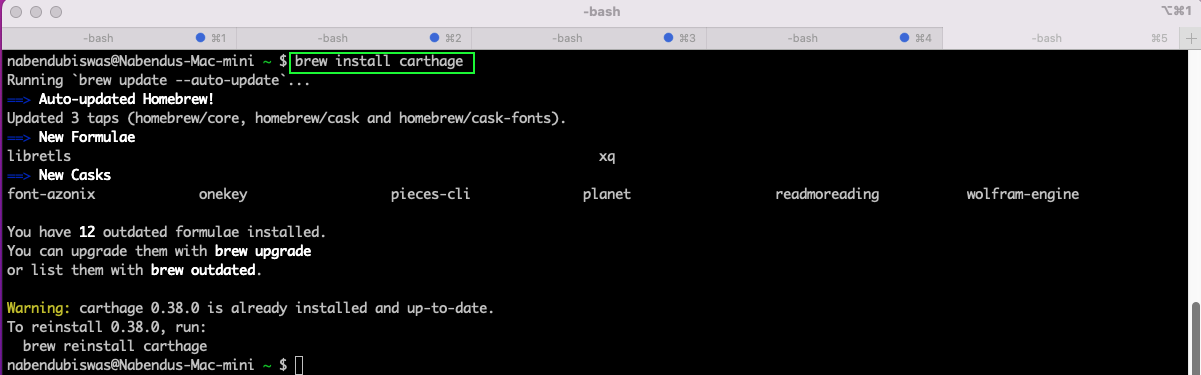
Carthage is also required for Appium to run. We can easily install it using Homebrew by running the command brew install carthage:
Appium Server Installation
You can install the Appium server in two ways on Mac. The first way is to install it through npm as a global command. The second way is to install the Appium server GUI.
You can install it with the command below. Note that sudo is required on a Mac, and it will ask for the password of root. On a Mac, we need to be root to be able to install some packages globally.
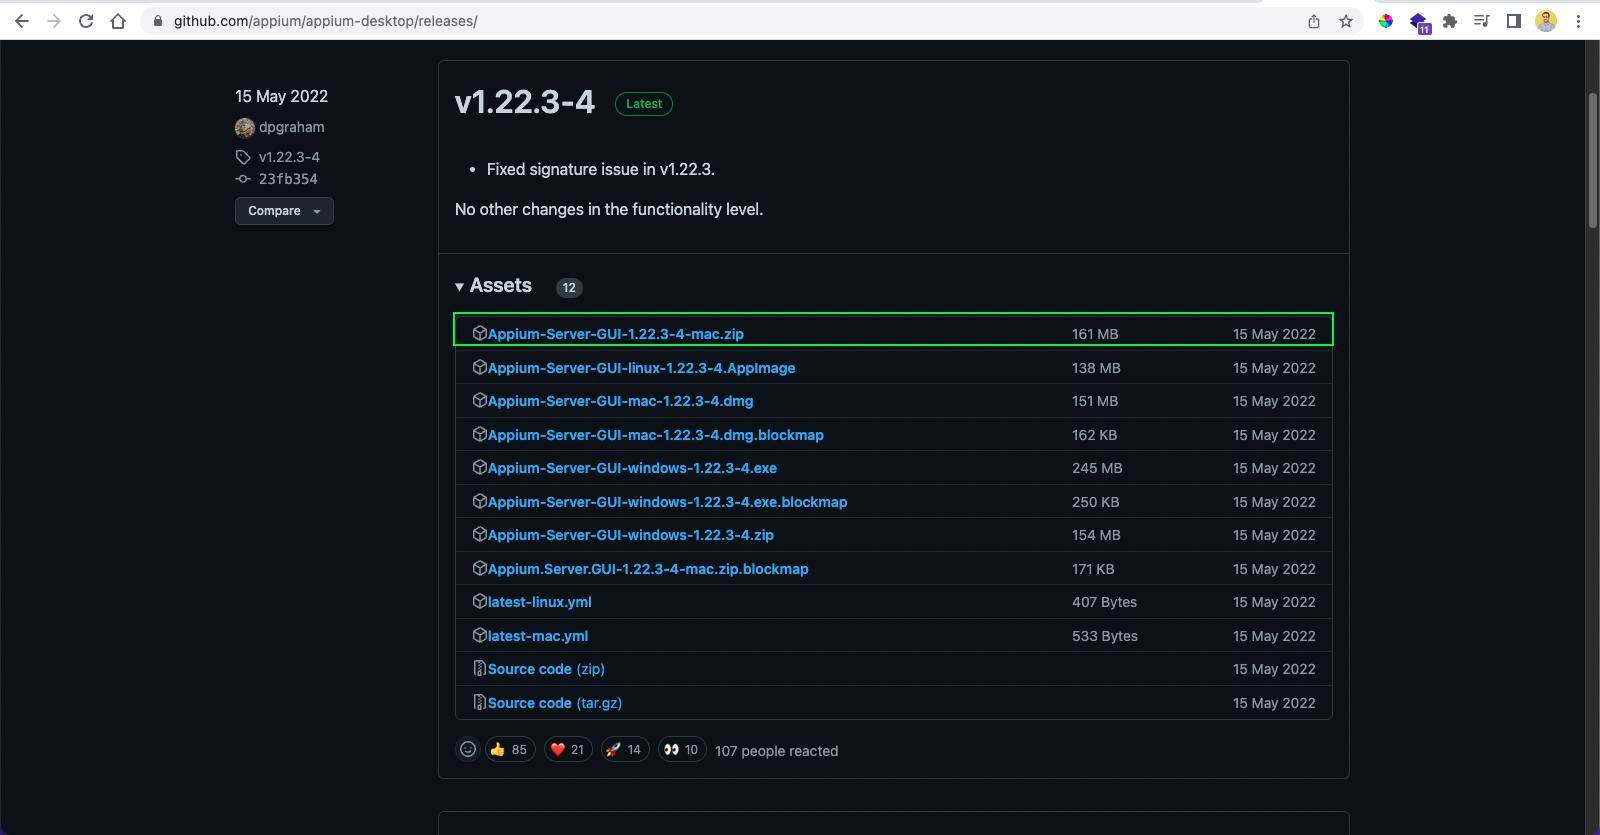
The second way to install Appium, through GUI, is preferred because we have additional useful features such as Appium Inspector in it.
First, we need to download the file for Mac. After that, just install the application on Mac.
Once installed, open the Appium server. And after that, click on the startServer button.
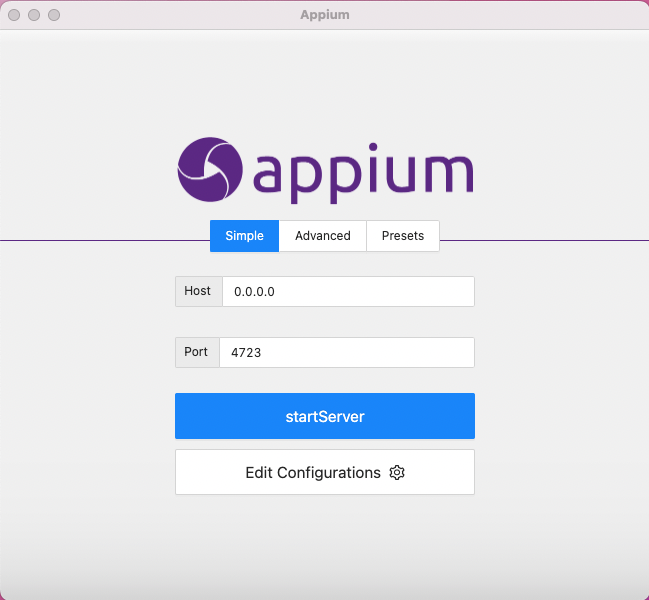
The server will start running on port 4723.

Where Is Appium Located on Mac?
Sometimes you need to know where Appium is installed or located. On a Mac, we can easily find where a package is installed with the whereis command. So, we need to give the below command in the terminal:
It shows that Appium is installed in /usr/local/bin/appium.

Running Apps
To run the apps on iOS devices or iOS simulators, we need to install Xcode. This is the default IDE (integrated development environment) for Mac operating systems. And we also need to install and configure Android Studio to run apps on connected Android devices or Android emulators.
Xcode Installation
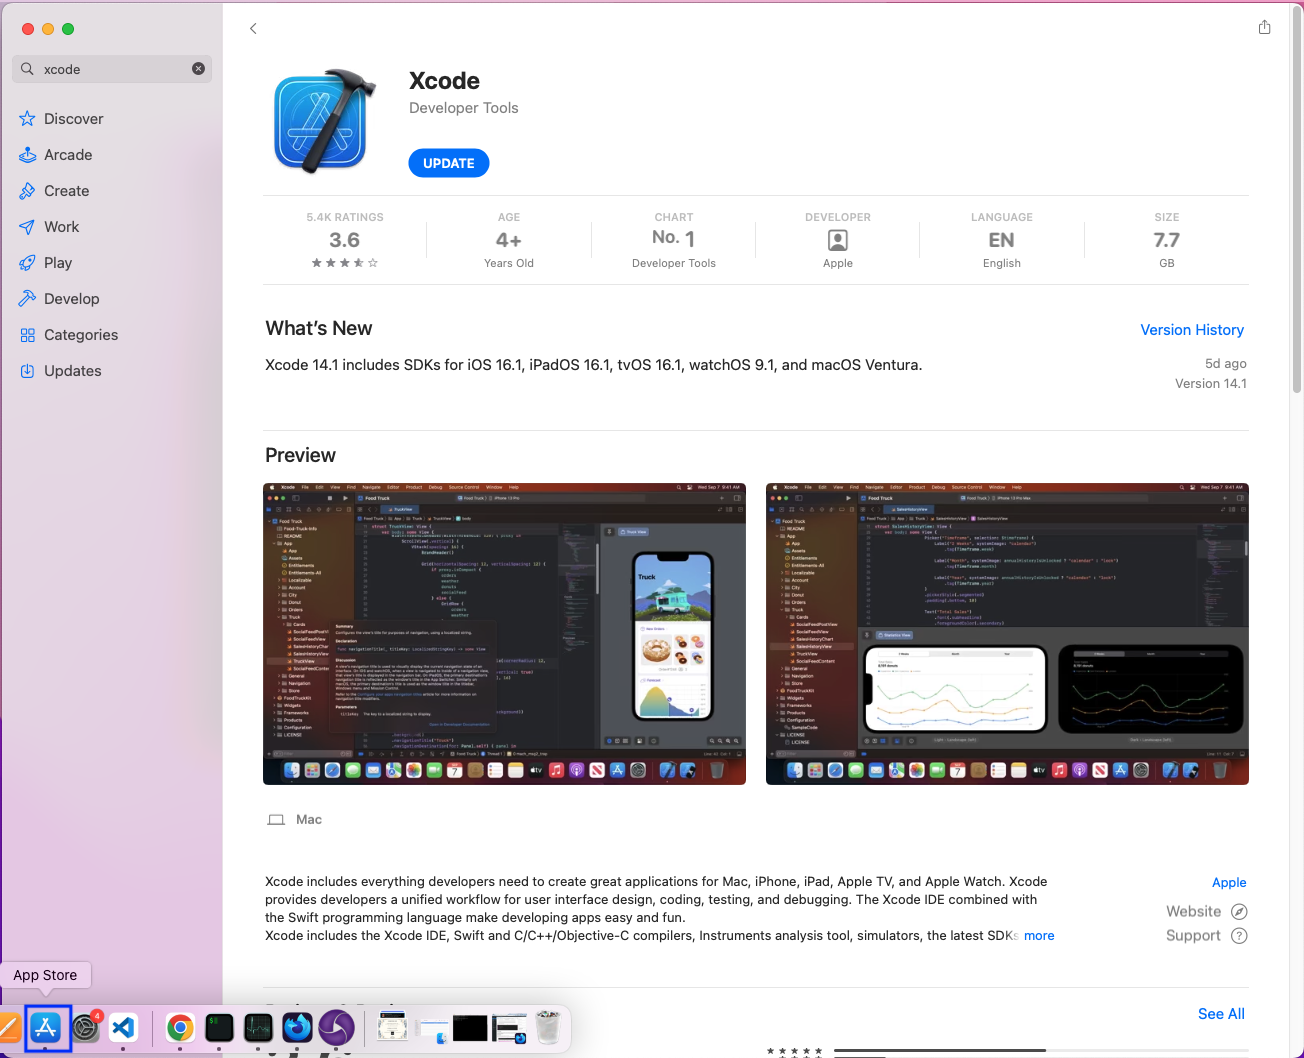
First, we need to install the Xcode software from the App Store.
And we also need Xcode command line tools. So, install it with the command xcode-select --install:

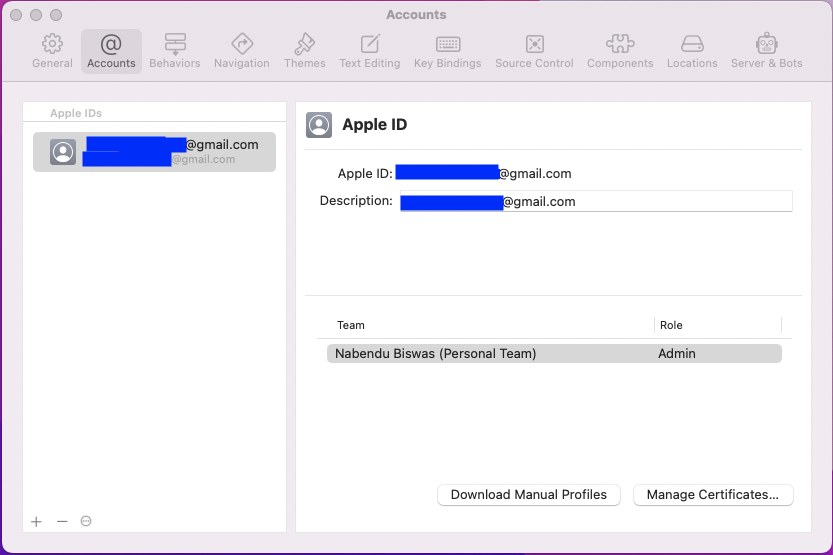
We also need to have an Apple ID set in Xcode. So, open Xcode and click on Preferences.
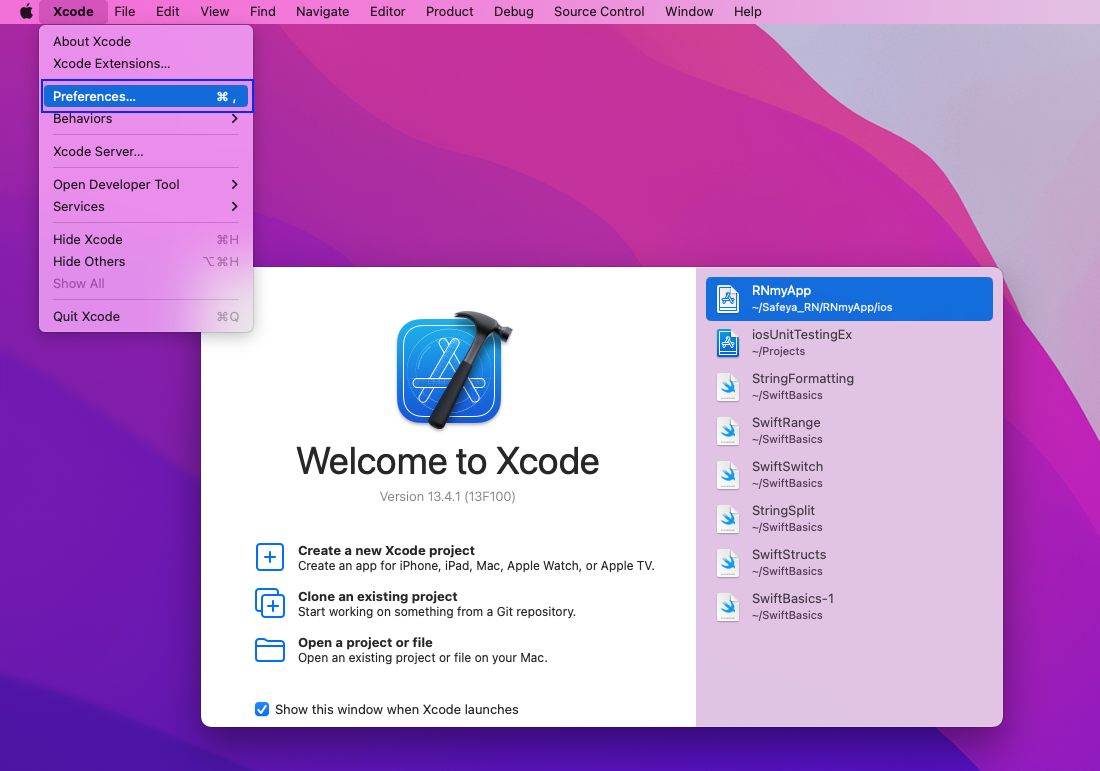
Here, an account is already added. You can add one by clicking on the plus sign in the bottom-left corner of the screen.
Xcode Setup for Appium
We need to set up WebDriver in Xcode to be able to start iOS apps or simulators on Appium. The step-by-step process to do so can be found in our post on Appium for iOS. Refer to the section titled "Xcode Setup for Appium."
Android Studio Installation
To install Android Studio, download the official file first. Next, we need to set it up. The detailed steps can be found in our post on running a React Native app on Android. You can also find the instructions to add an emulator in the same post.
Setup Check with Appium Doctor
So far, we've done a lot of setup, as well as some specific setups for Xcode and Android Studio. A lot of things can go wrong in these setups. And for this, we have a tool called Appium Doctor, which is a tool that checks our Mac system to make sure the setups for both iOS and Android are good.
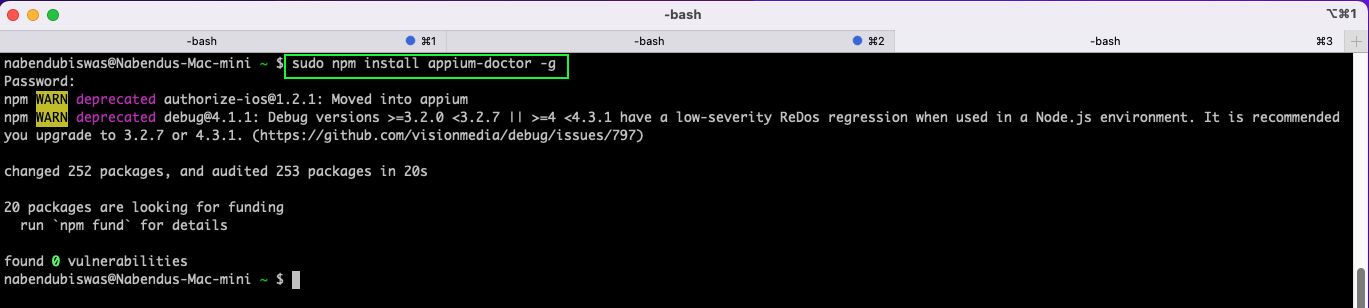
We will install Appium Doctor globally with npm. But, as earlier, we need to write sudo before the npm command for global installation.
We need to give the Mac root password here. And then the Appium Doctor package will be installed on our system.
Checking iOS App Setup
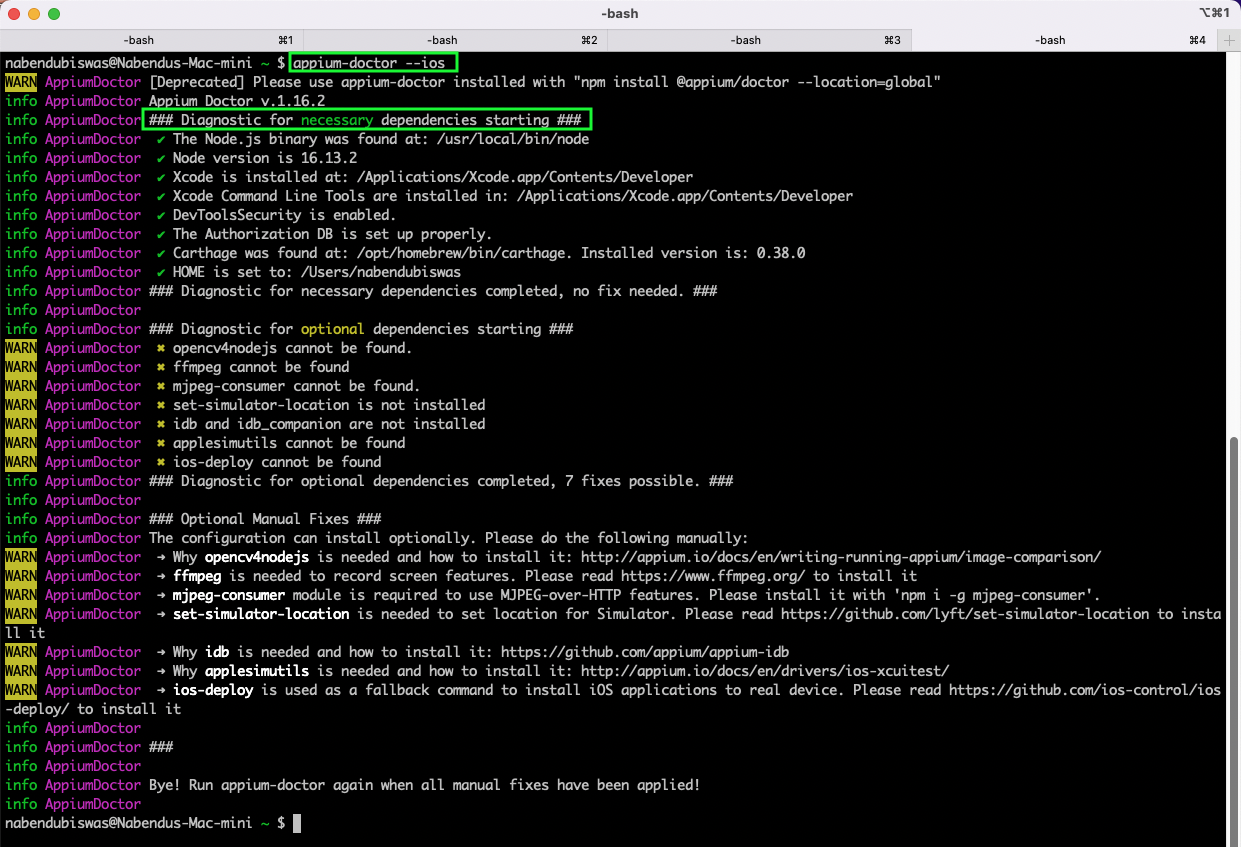
We will first check if we set up the iOS app properly on our system with the below command:
The output will show necessary dependencies and optional dependencies. All necessary dependencies should be green for Appium to run properly on iOS devices or simulators.
Checking Android App Setup
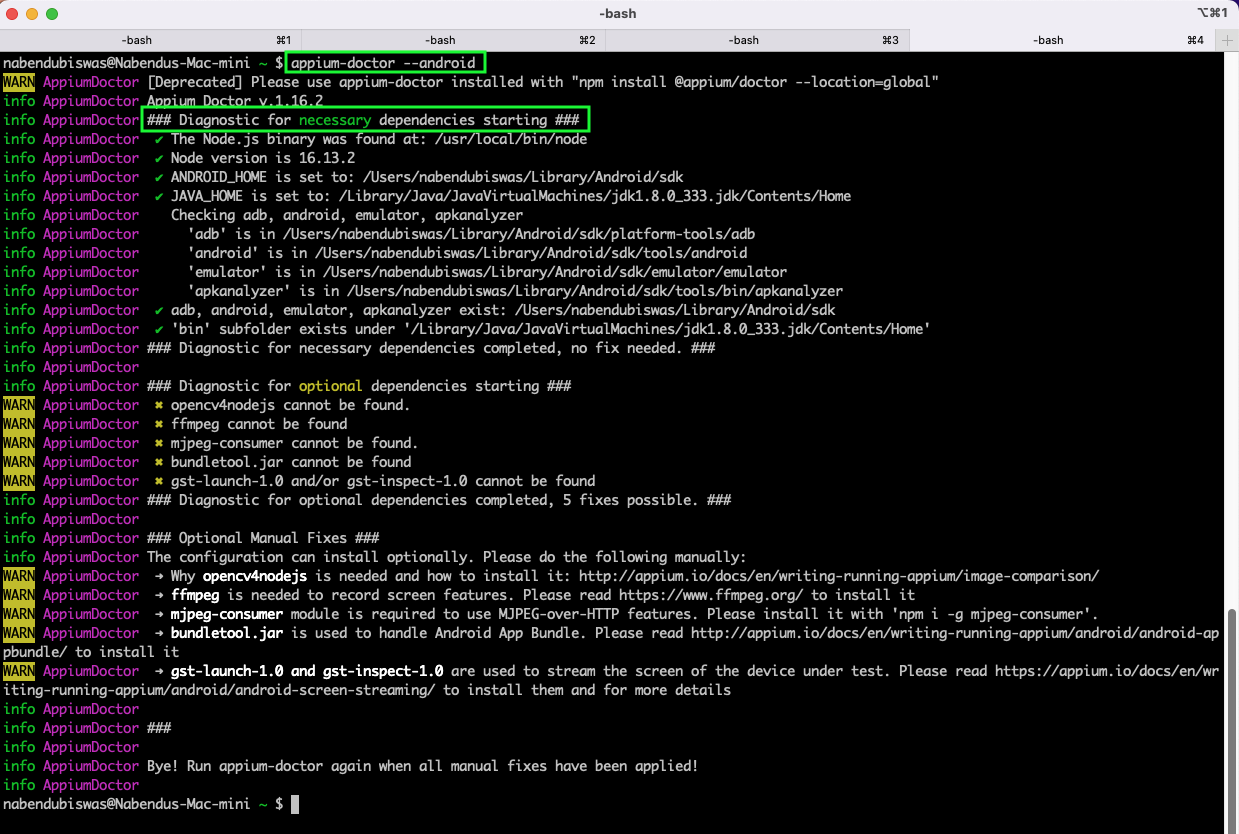
We will now check if we properly set up the Android app on our system with the below command:
The output will show necessary dependencies and optional dependencies. All necessary dependencies should be green for Appium to run properly on Android devices or emulators.
Appium Client
The client-side coding in Appium can be done in various languages. This includes the major languages of JavaScript, Python, and Java.
Testing React Native Apps in JavaScript
We can test cross-platform mobile apps written in React Native with Appium. In our post on testing React Native apps with Appium, we were able to test our React Native app. We did the WebDriver setup first, followed by writing test cases in Chai. Follow the steps in the post to test any React Native app.
Testing With Python
We can test any app with test cases written in Python. In our post on Appium and Python, we did all the installation related to Python on our system. After that, we ran a simple test on the attached Android device.
Testing With Java
We can also test any app with test cases written in Java. In our post on UIAutomator, we first learned to find the element details in various ways. The element details are required in almost all automation tests. Then we did the automation test by writing test cases in Java.
What We've Learned
In this post, we showed how to set up Appium on Mac, starting with installing Java, Node, and Carthage. After that, we walked through setting up Appium in two ways, setting up Xcode and Android Studio, and checking all of these setups with Appium Doctor. Finally, we proceeded to do the client setup and write test cases.
If you want to test your apps more easily and without all these complicated setups and test cases, then you should try Waldo. You only need to provide the APK or IPA file. After that, you can interact with the mobile app like a real user. Plus, it'll automatically generate the test cases for you.
Automated E2E tests for your mobile app
Get true E2E testing in minutes, not months.


