


.jpg)
Calabash is a completely free-to-use testing framework for iOS and Android mobile apps. Is Calabash an open-source tool? Yes, it’s completely open source. It’s highly popular and hence has a good community behind its development and maintenance
It falls under the category of acceptance testing frameworks, meaning it’s mainly used for functional testing in agile development. In agile development, each developer gets a small task from the entire app, also known as a story. When developers complete a story, they need to test it.
You write Calabash tests in Ruby using Cucumber, which uses a BDD (behavioral-driven development) approach to writing test cases. The test cases take the form of regular English statements, which you write in a feature file. After that, we can execute them in a variety of languages, like Ruby and Java in a Step definition file. We will create them both later, in this post.
Benefit of Calabash
The real benefit of Calabash over other testing frameworks is the ease with which testers can write test cases. It can be difficult to learn a language, like Java or Python, but it’s very easy to write test cases in regular English syntax, which Cucumber allows.
How Do You Install Calabash?
Here, we’ll install Calabash on a Windows system. To install Calabash, you should first have Java JDK 8 installed on the system. You can find the instructions for this here.
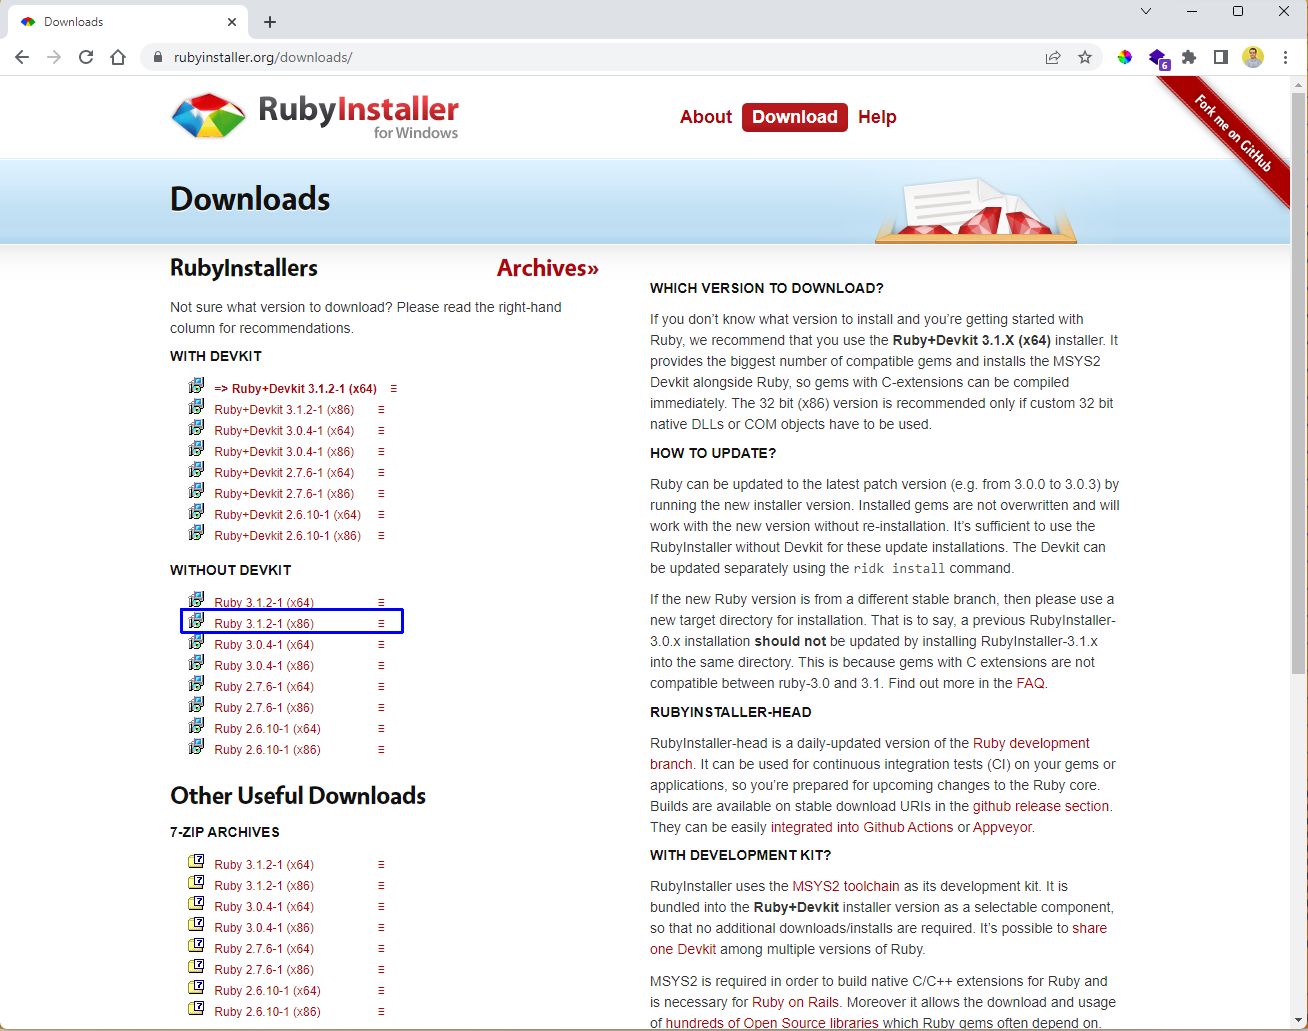
Next, you need to install the latest version of Ruby, which you can do from this official link. For this tutorial, you’ll install version 3.1.2-1, but otherwise, you can install any latest version.
Clicking on the version to download a .exe file to your system.
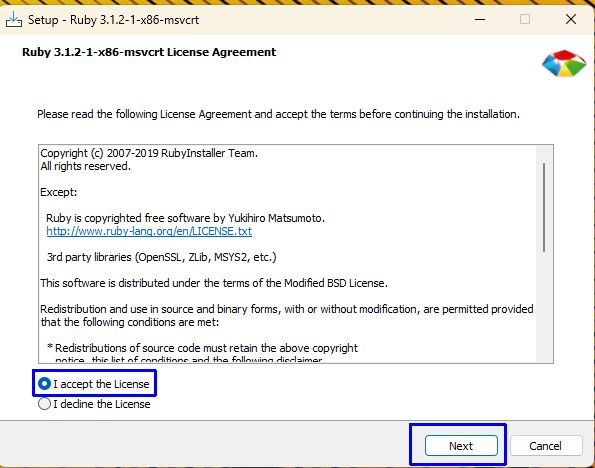
After double-clicking the downloaded .exe file, accept the license agreement and then press the Next button.
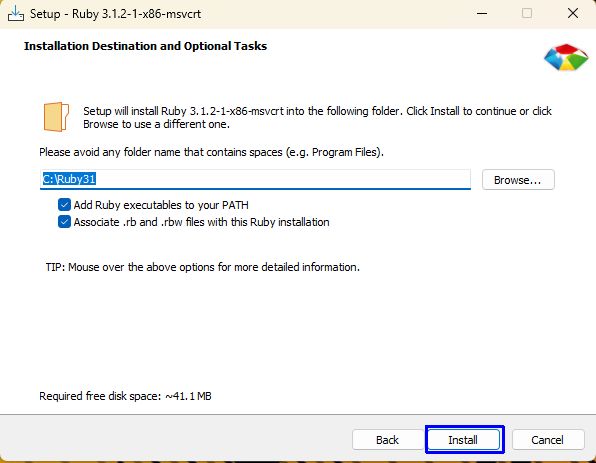
In the next pop-up, keep the default path and make sure the two checkboxes are checked. After that, click on the Install button.
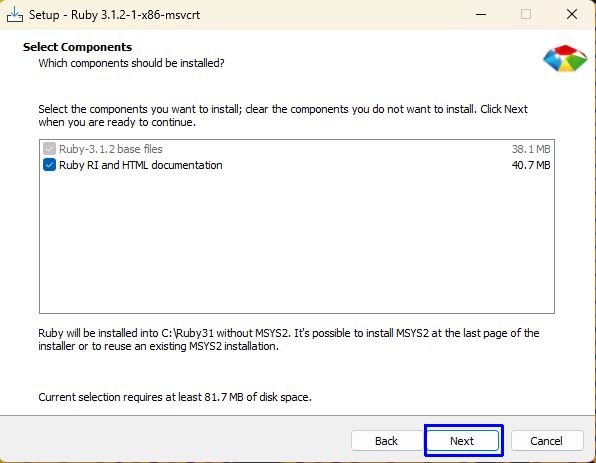
Now, in the next pop-up, make sure the two checkboxes are checked, then click on the Next button.
The subsequent pop-up should also have the checkbox ticked. Click on the Finish button to finally start the setup.

Once the installation finishes, open a terminal and run the below command to check Ruby’s version:

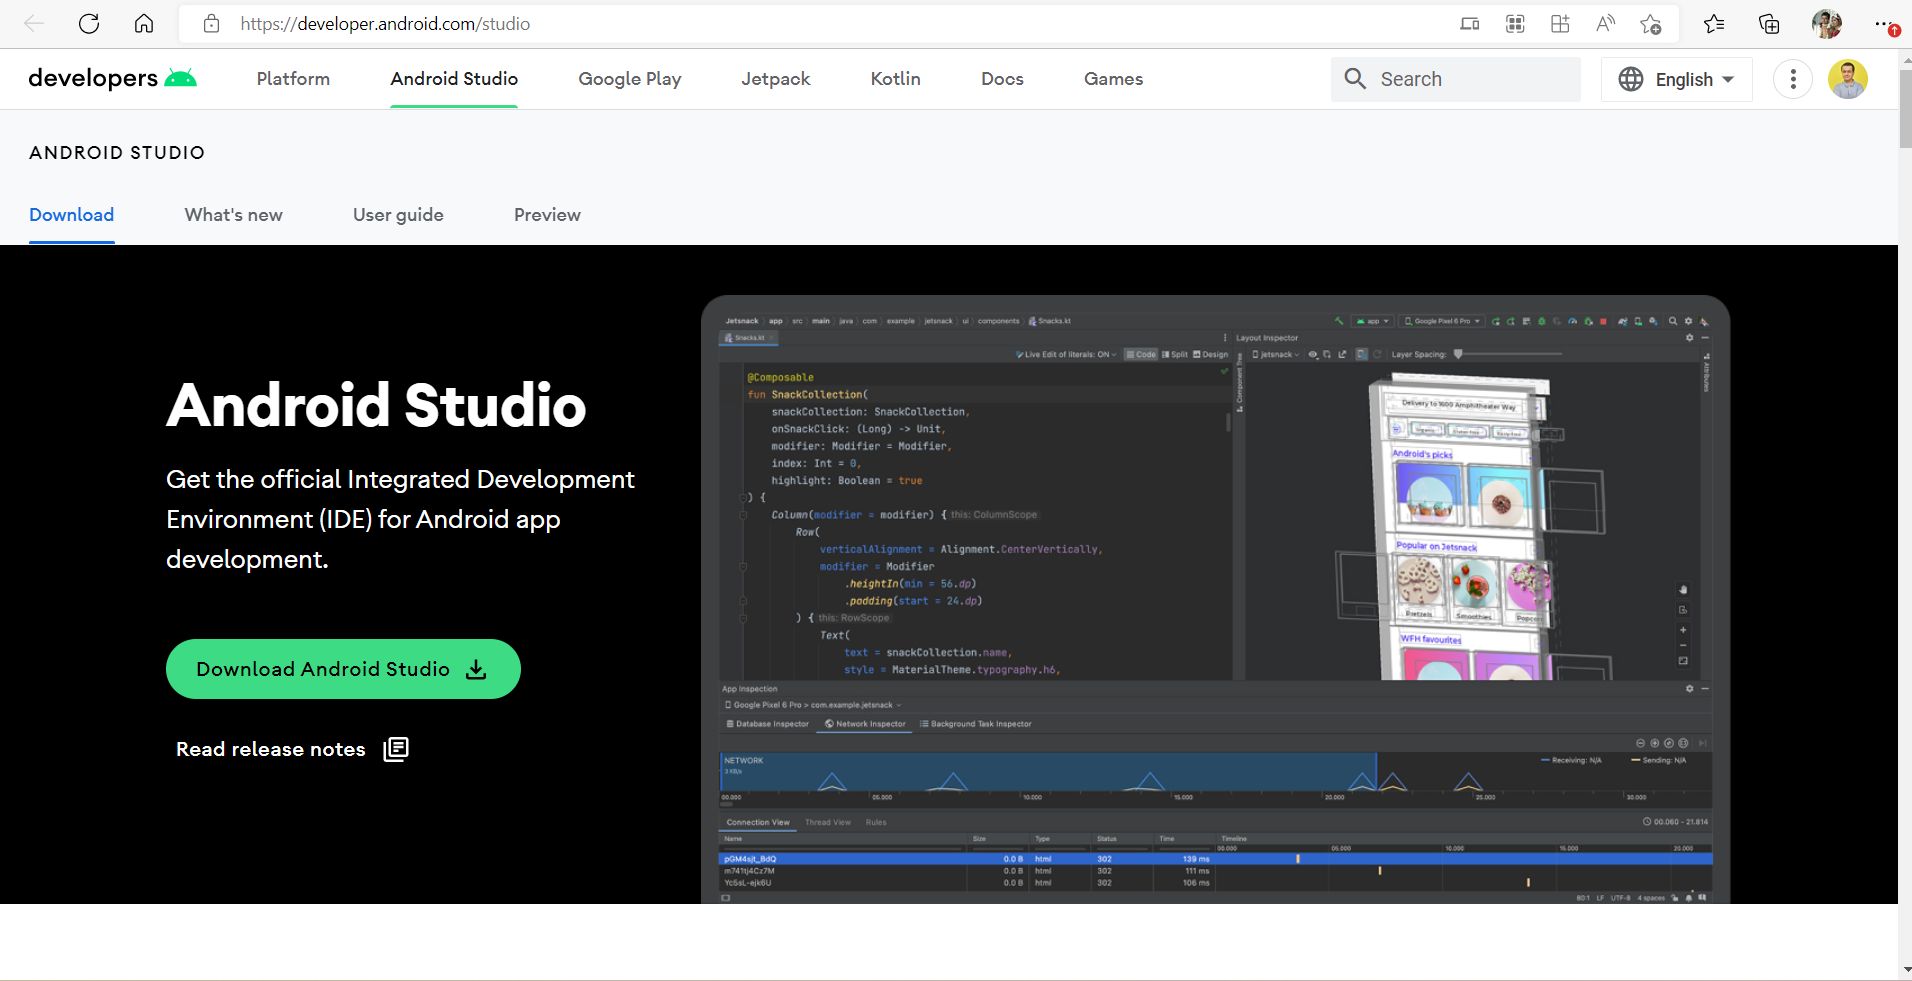
The final dependency to install before installing Calabash is Android Studio. You’ll need it to connect a real device or emulator for our tests. So, download Android Studio from this official link.
Open the .exe file and follow the instructions to install Android Studio.
Now that you’ve installed all of the dependencies, you can install Calabash for Android using the below command.
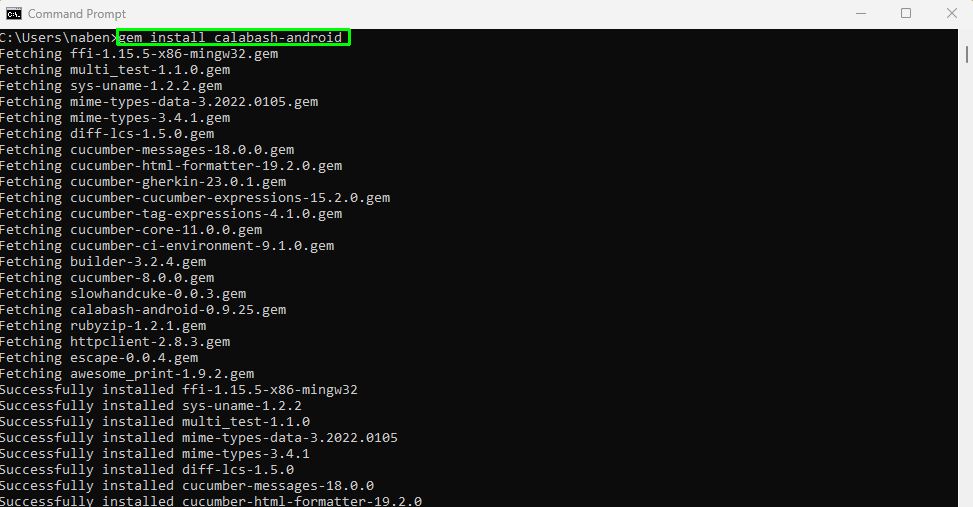
Once the installation finishes, check the version of the installed package as follows:

Test Setup With Calabash
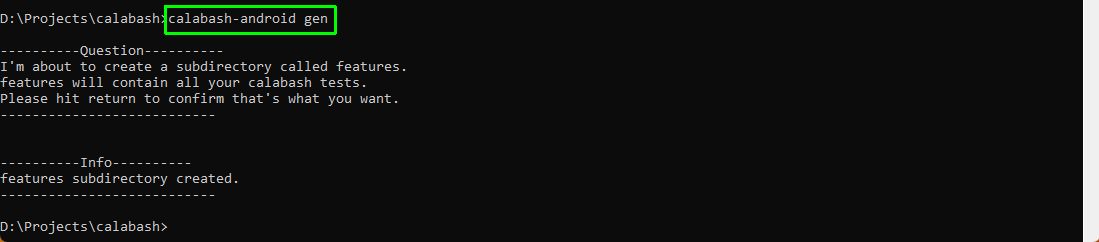
To start testing with Calabash, you need to create an empty folder. Here, we created a folder named calabash. Then, to generate the required folders, give the command below. It will need your permission to create a subdirectory feature, which you can give by pressing the Enter key.
You need a debug.keystore file to start your test, and you’ll also need it when you upload your app to the Play Store for publishing. Give the below command from the calabash folder you created, as shown in the screenshot.

Next, from Android Studio, open an emulator. Note that Android has emulators, whereas iOS has simulators. You can learn more about them in our earlier post on emulators and simulators here. Alternatively, you can choose to connect a real Android device and start it from Android Studio.
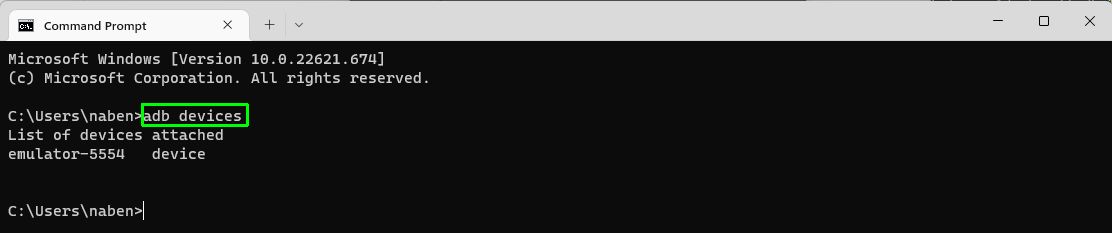
Next, open a terminal and give the below command to check the connected devices.
Now you need an APK (Android Package) file to test. Here, we’ll use the APK file created in our earlier post about react native with appium. Refer to the section titled Creating the APK File.
Copy the APK file named rn-appium-test.apk into your calabash folder and run the commands below. The first command resigns the APK file and the second builds it.

Starting the App and Writing Test Cases
To start your app in the emulator, run the command below in the console to open a sub-terminal.

Now, to launch the app, on this sub-terminal give the below command.

Next, use this command to find the locators, which you’ll need to write the test cases.

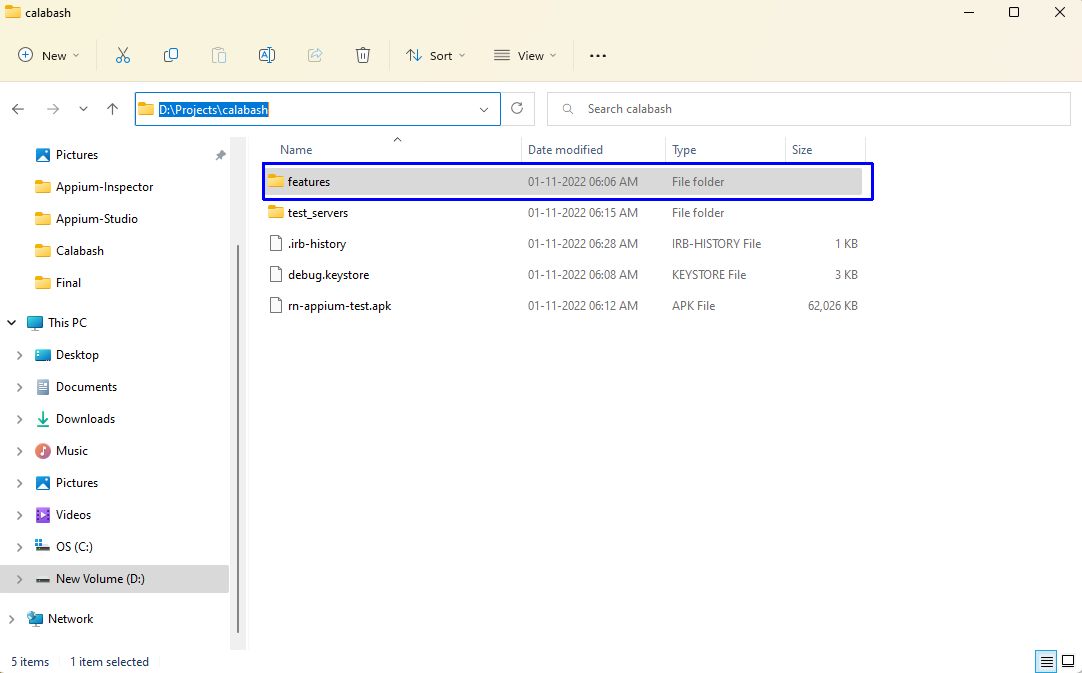
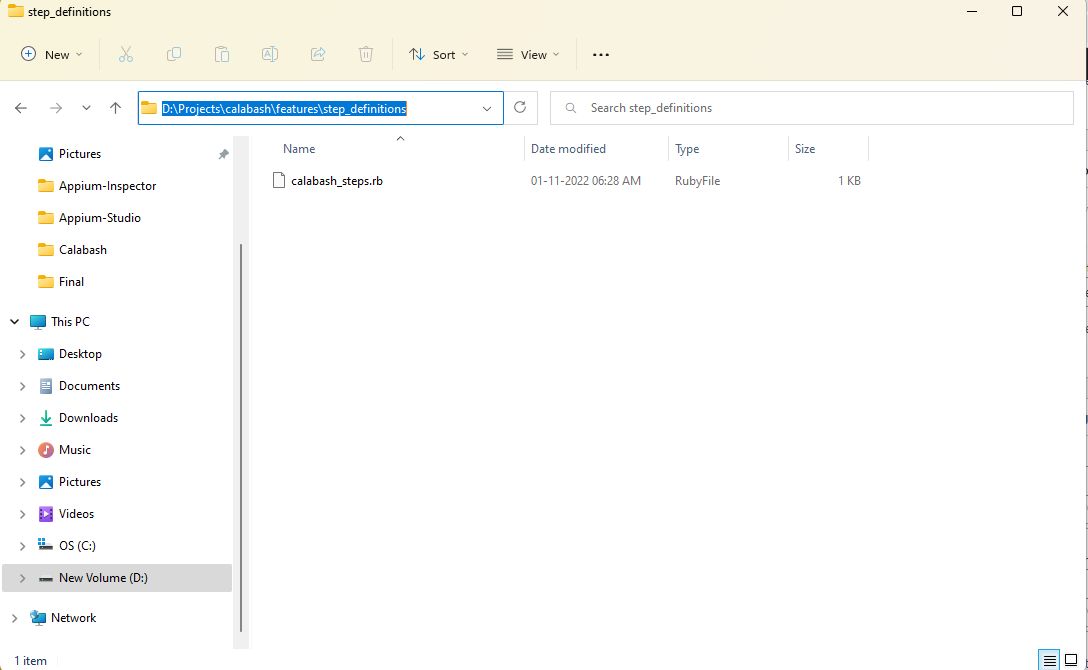
To write the test cases, you first need to go to the calabash folder, where you can see all the different files that have been generated. Click on the features folder.
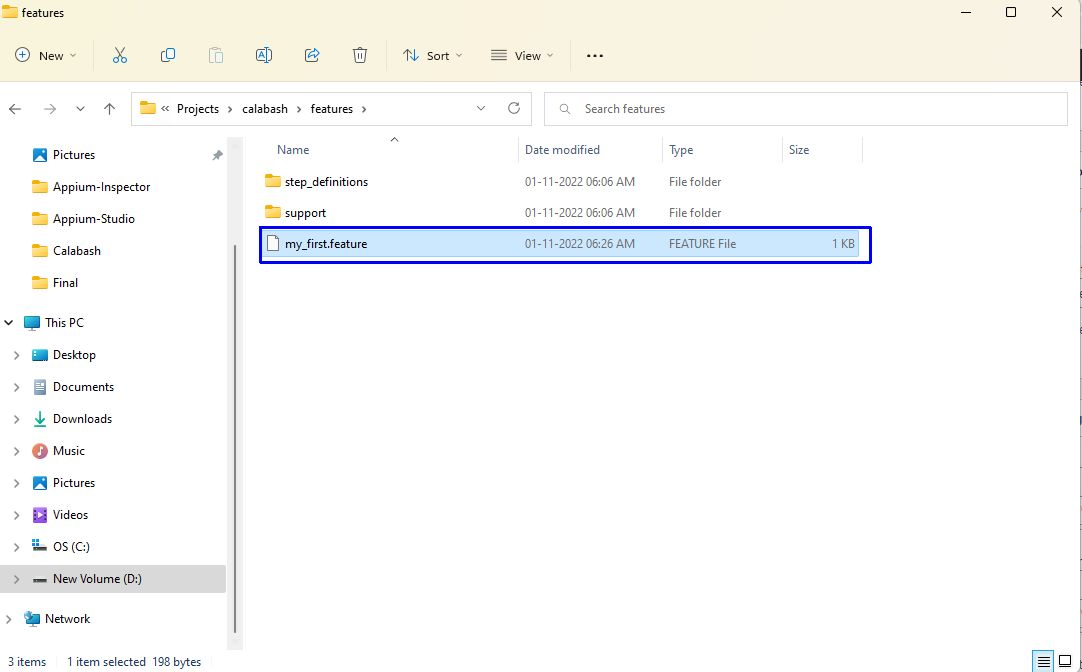
Inside the features folder, you’ll see a file titled my_first.feature. Open this file to update your tests.
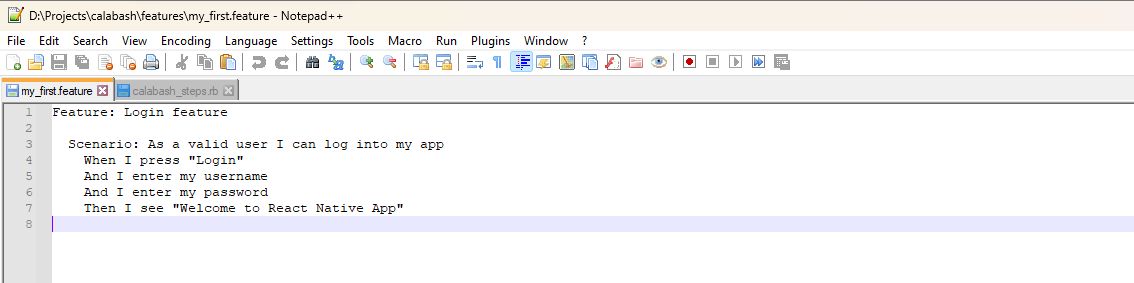
Here, we’ve opened the file my_first.feature in Notepad++. We've written a simple test case that checks for the Login command in our application. We wrote it completely in regular English. Note how the different lines of text are aligned.
Next, open the step_definitions folder inside the features folder, where you have a file titled calabash_steps.rb. In this file, you’ll write the steps for your test.
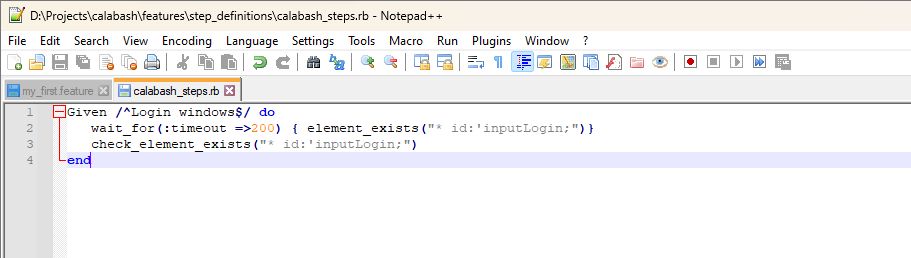
Again, open the calabash_steps.rb file in Notepad++ and write the below commands in it. We're checking if the inputLogin exists, and we provide the login button id.
Finally, run your test by giving the following command. You need to give the apk file and the feature file with the path, as well as give your id.

After you perform your test, you’ll get a success message in the console.
What You've Learned
In this post, you learned about the powerful Calabash mobile testing framework. You learned that with Calabash you can write test cases in the Cucumber framework, which allows you to write English-statement-based test cases. This is the major benefit of Calabash over other testing frameworks like XCTest.
You learned after you have Java, Ruby, and Android Studio installed, you can easily install Calabash from the command line. Lastly, you learned how to start the app and write simple test cases using Cucumber.
All this setup and test case writing is complicated. If you want to test your apps more easily and without the hassle of writing any test cases, then you should try Waldo. It’s an amazing testing platform, which only requires you to provide the APK or IPA (iPhone Application) file. You can use the same APK file you used for this tutorial. After uploading the APK file, you can interact with the mobile app like a real user. Waldo automatically generates test cases and sends you results via email.
Automated E2E tests for your mobile app
Get true E2E testing in minutes, not months.


