


Image loading is always a challenge when it comes to web and mobile apps. Most of the internet works on API endpoints, and these endpoints also contain the image URL. When you have a lot of images, they should be loaded asynchronously and not block the main website or mobile app. These images should also be cached so that the mobile app can load them faster next time.
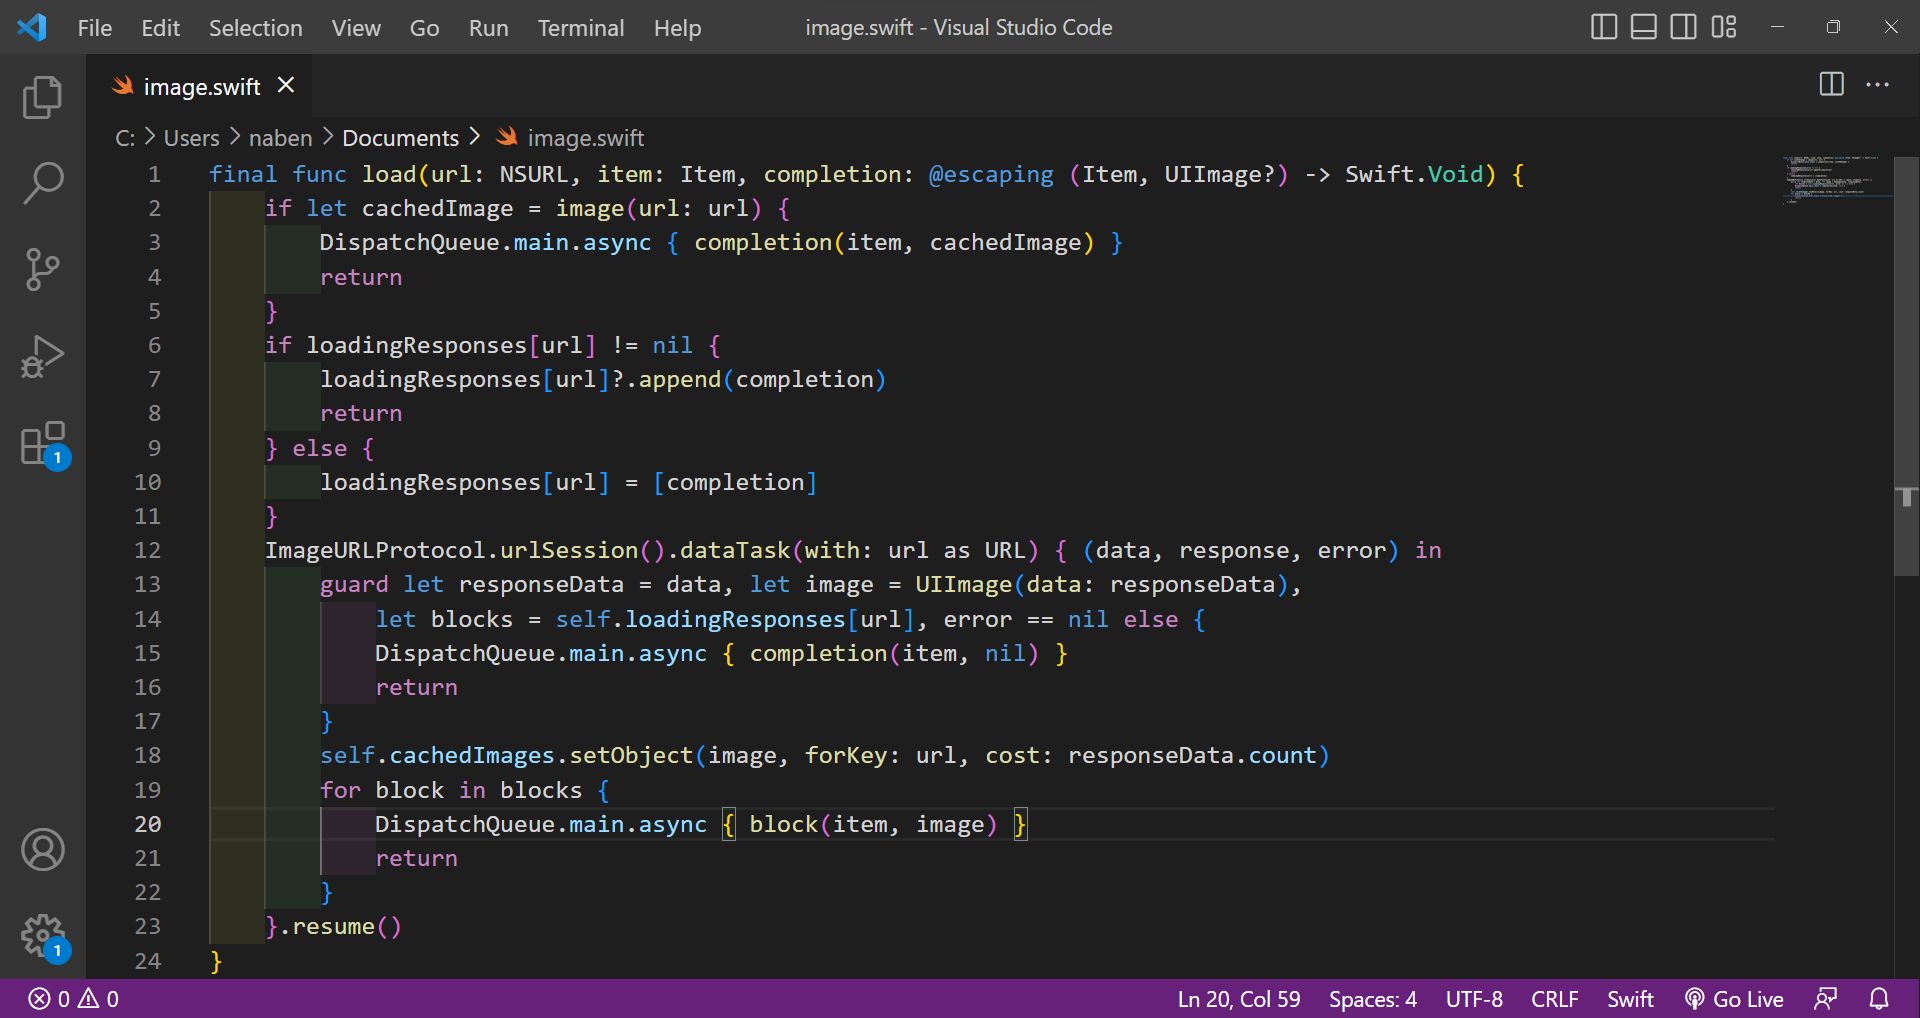
To achieve this, we can follow the native (but complicated) way mentioned in this post from Apple on asynchronously loading images. Here, we're using the urlSession from Swift to hit the image URL. And even after that, a lot more code is needed to get a simple cached image.
To avoid all this code, we can use two popular image loading and caching libraries. One is Kingfisher, and the other is SDWebImage, which is the one we'll dig into in this post.
First, we'll learn about some features of SDWebImage and create a simple app through Storyboard, then hit the famous Dog API, which contains lots of images. We'll asynchronously load and cache these images with the help of SDWebImage, then we'll write a small test in the app.
The Features
As per the official documentation, some of the features of SDWebImage are as follows:
- The usual asynchronous image loading
- Automatic image caching, with deletion on expiry
- Support for new formats for images like WebP
- Advanced support for animated images like GIFs
The Setup
First, create a new project by opening Xcode and clicking on New > Project.
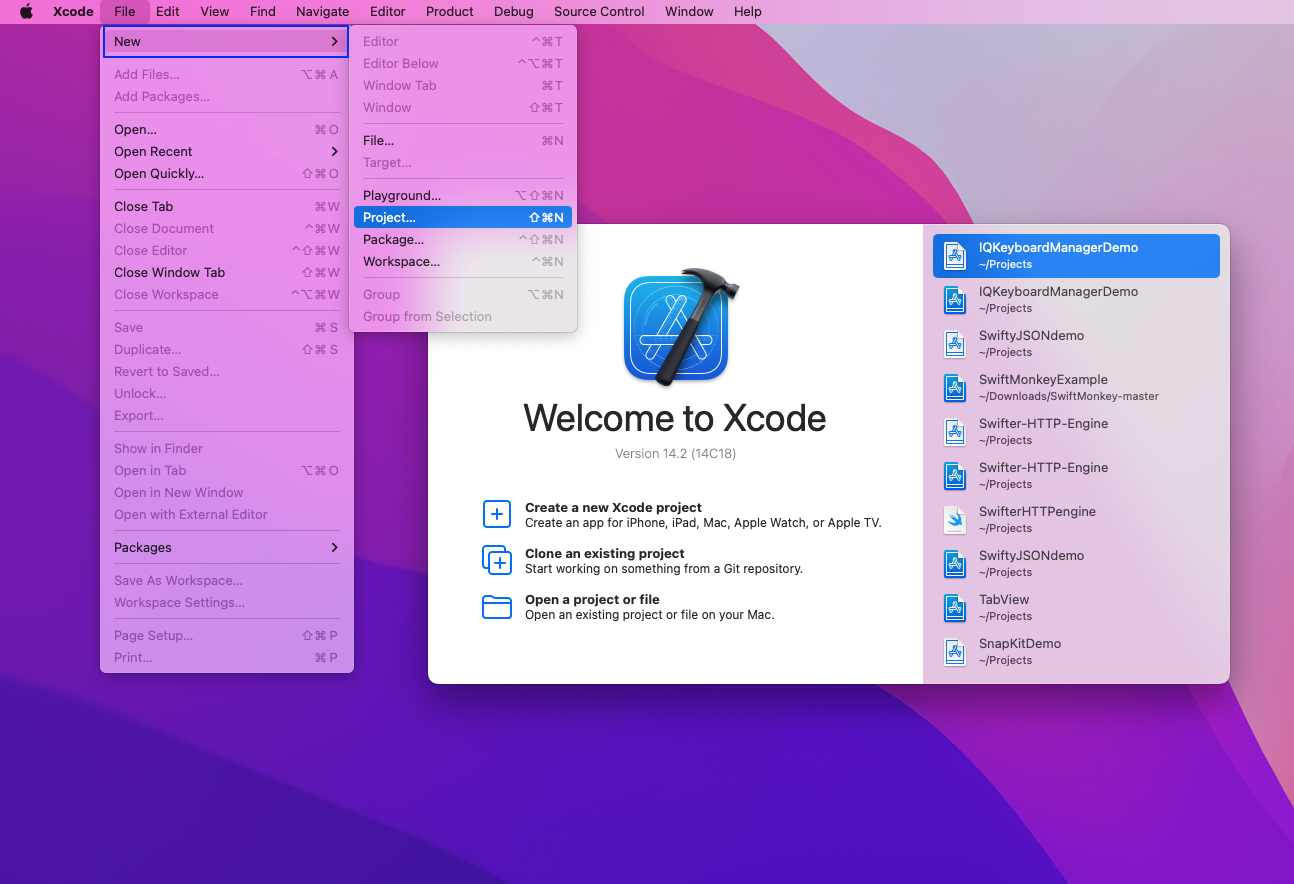
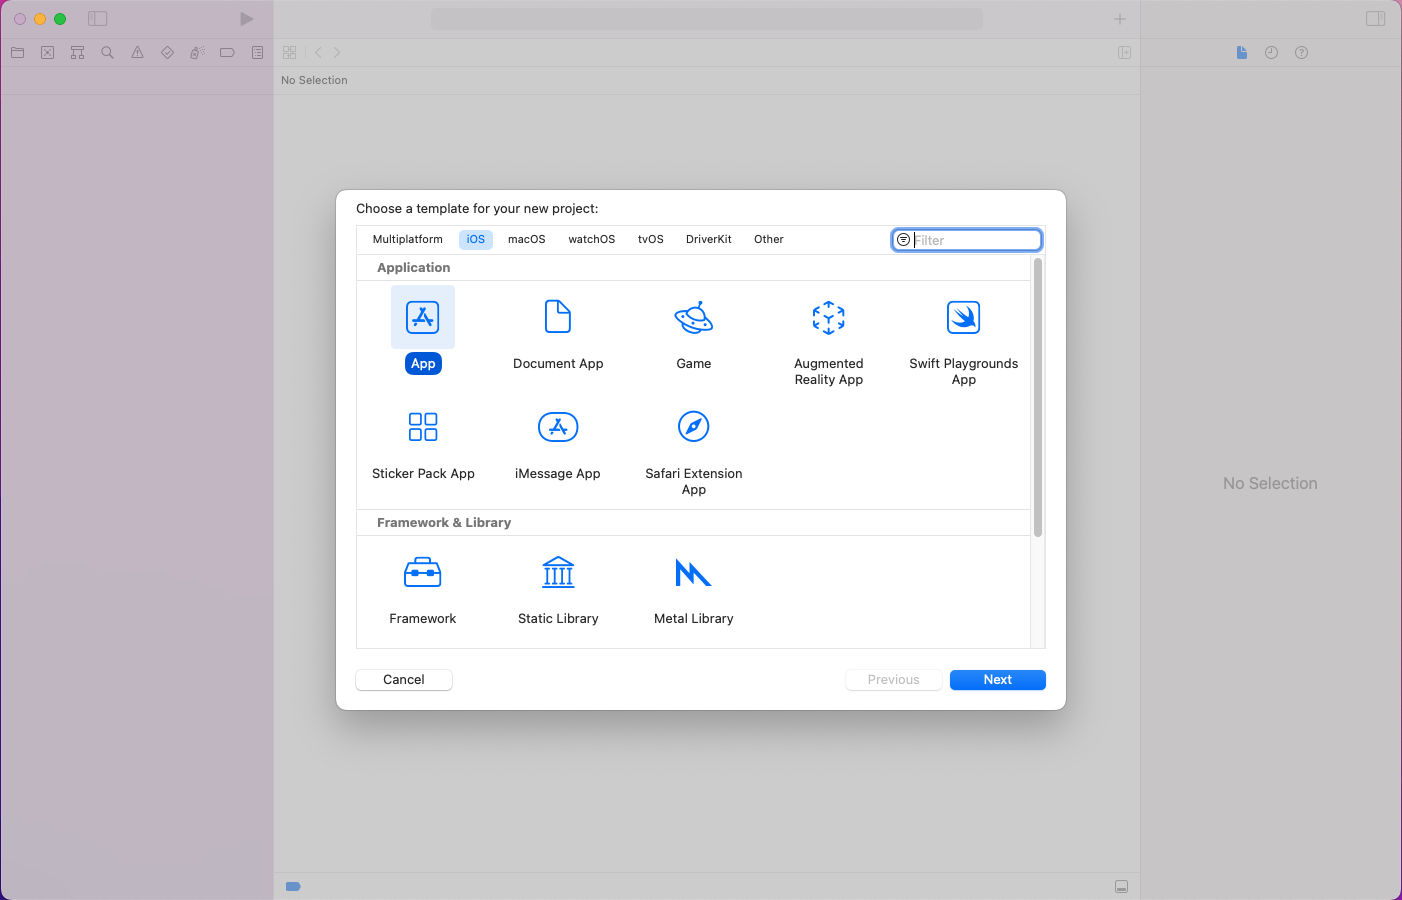
A pop-up should appear. Click App and then Next.
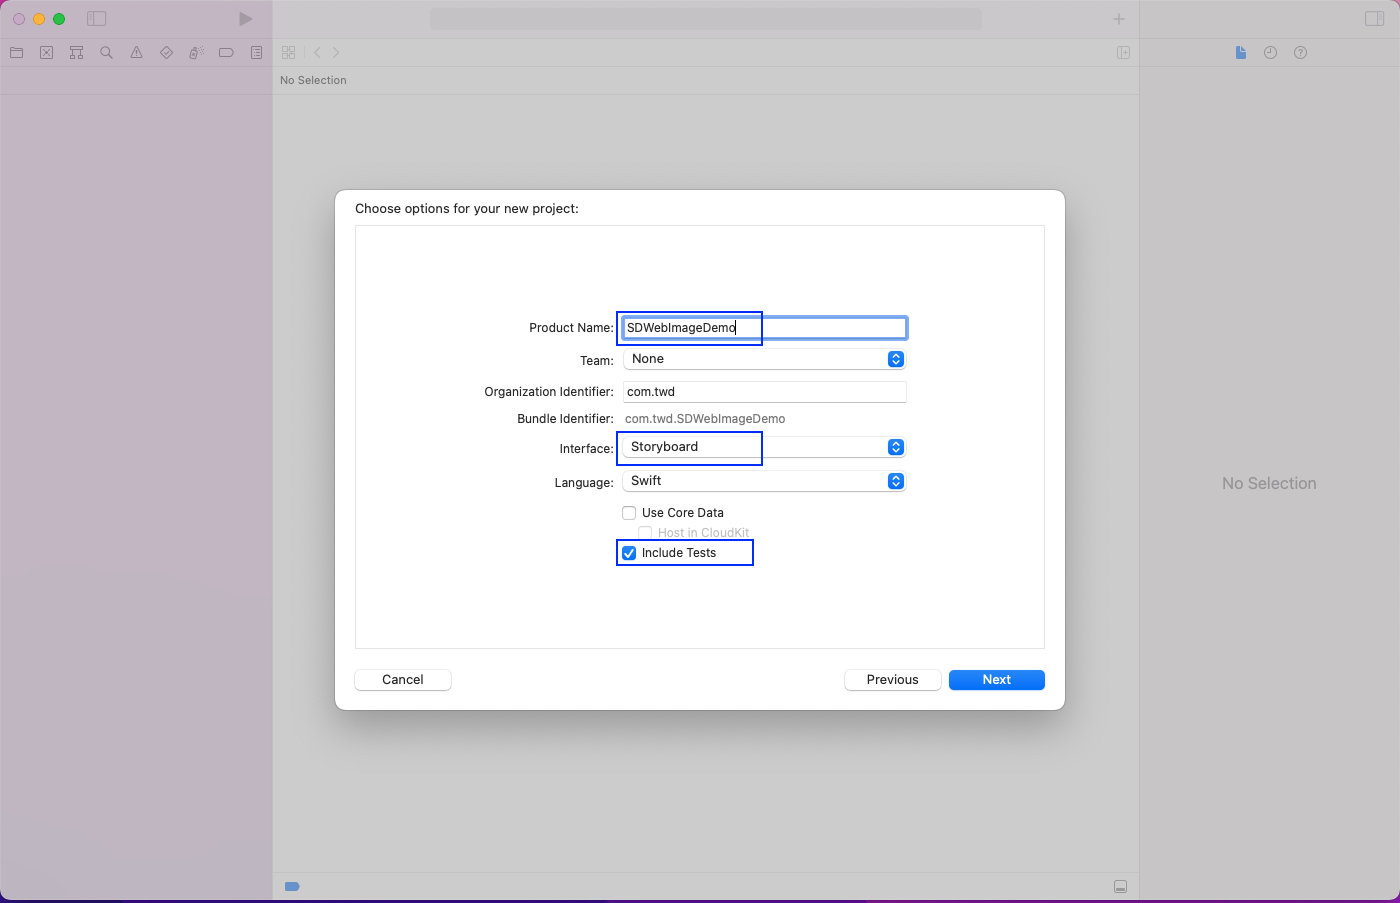
Now give the product a name, SDWebImageDemo. The interface should be Storyboard as we'll use Storyboard to create our simple app. Also, select the checkbox for "Include Tests" since we'll write tests in our app.
In the next pop-up, click Create.
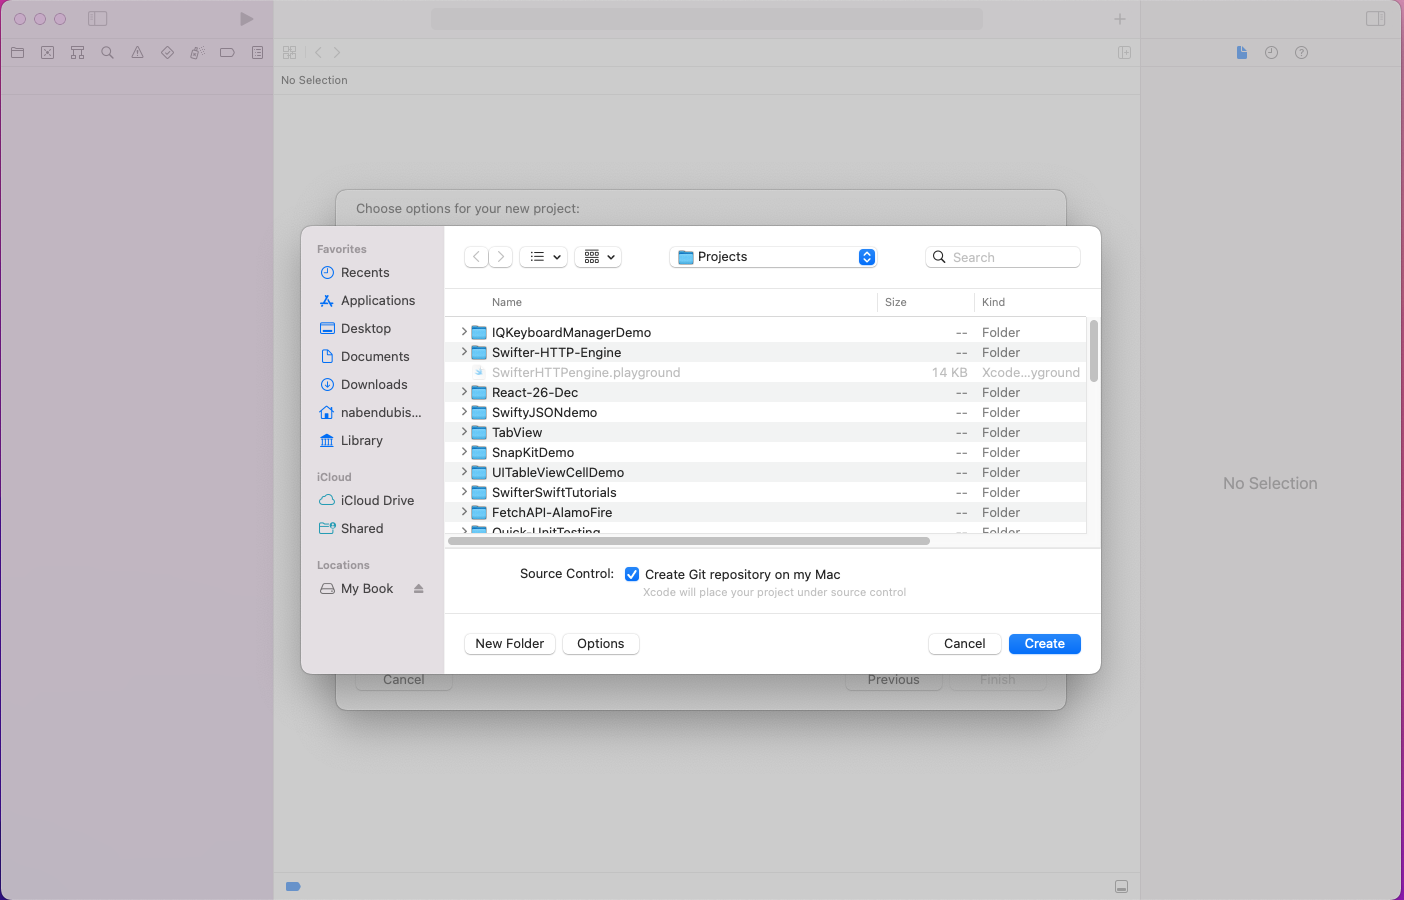
You should see the project in Xcode with all dependencies loaded.
App Layout Using Storyboard
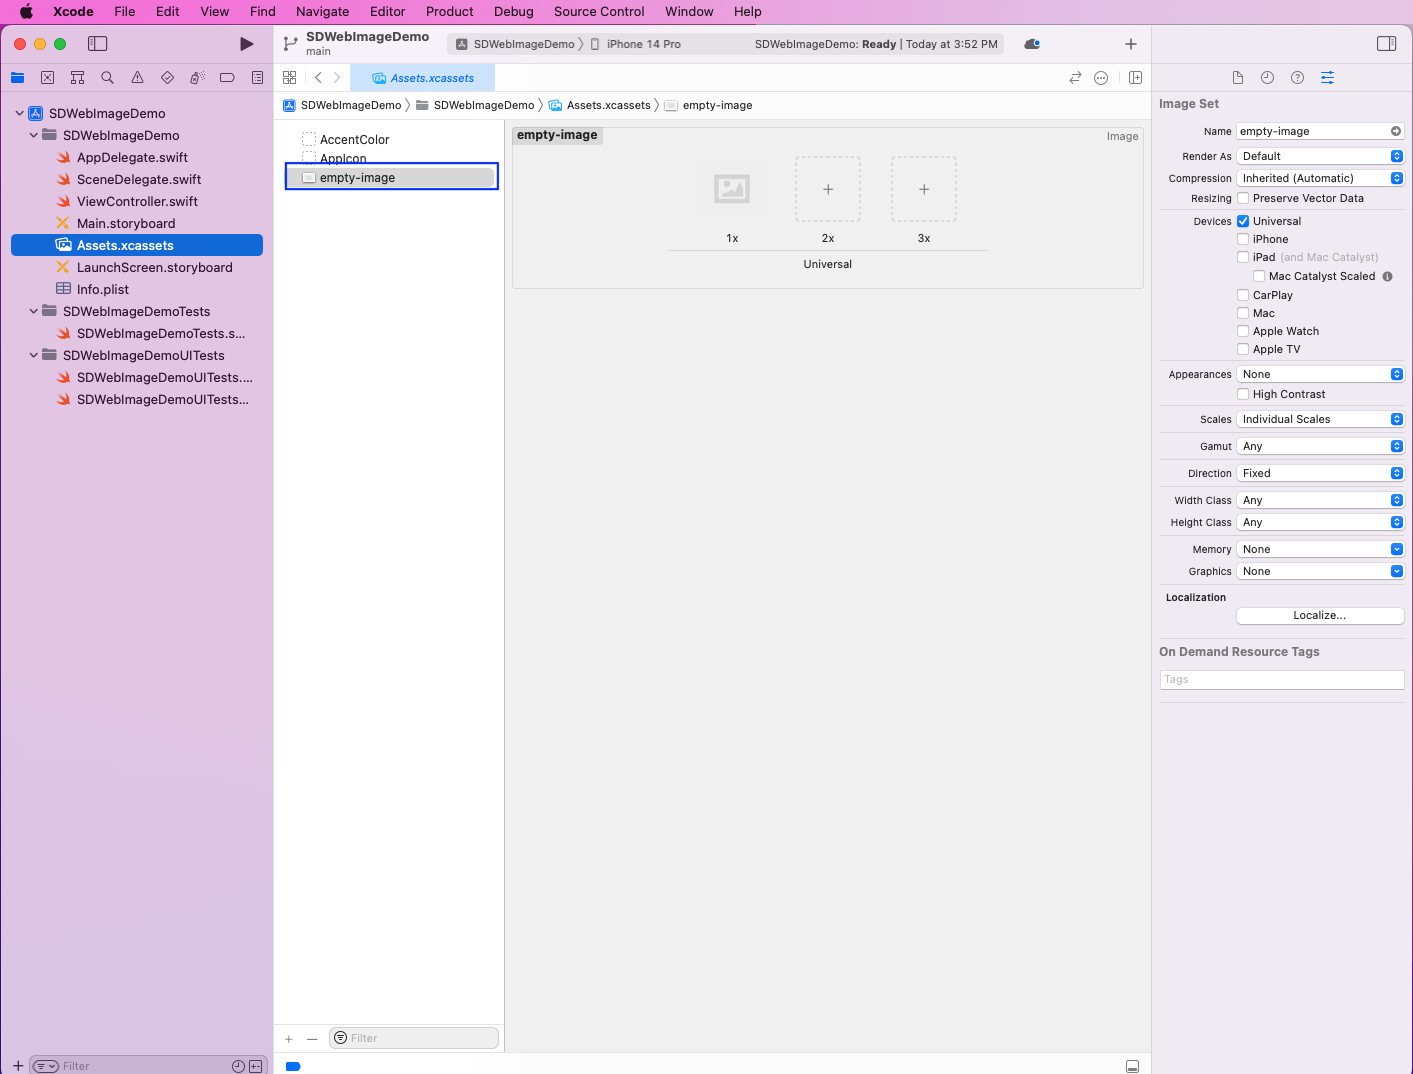
We'll now create our app to fetch images from a URL. The layout will be created through Xcode's Storyboard feature. But before that, we need to add an empty image in our app to act as a placeholder. To do that, drag an image to the Assets.xcassets file.
Using Various Object Library Components
Next, click the Main.storyboard file. It should show you an image of an iPhone screen. Then, open the object library by clicking the + sign in the upper-right corner.
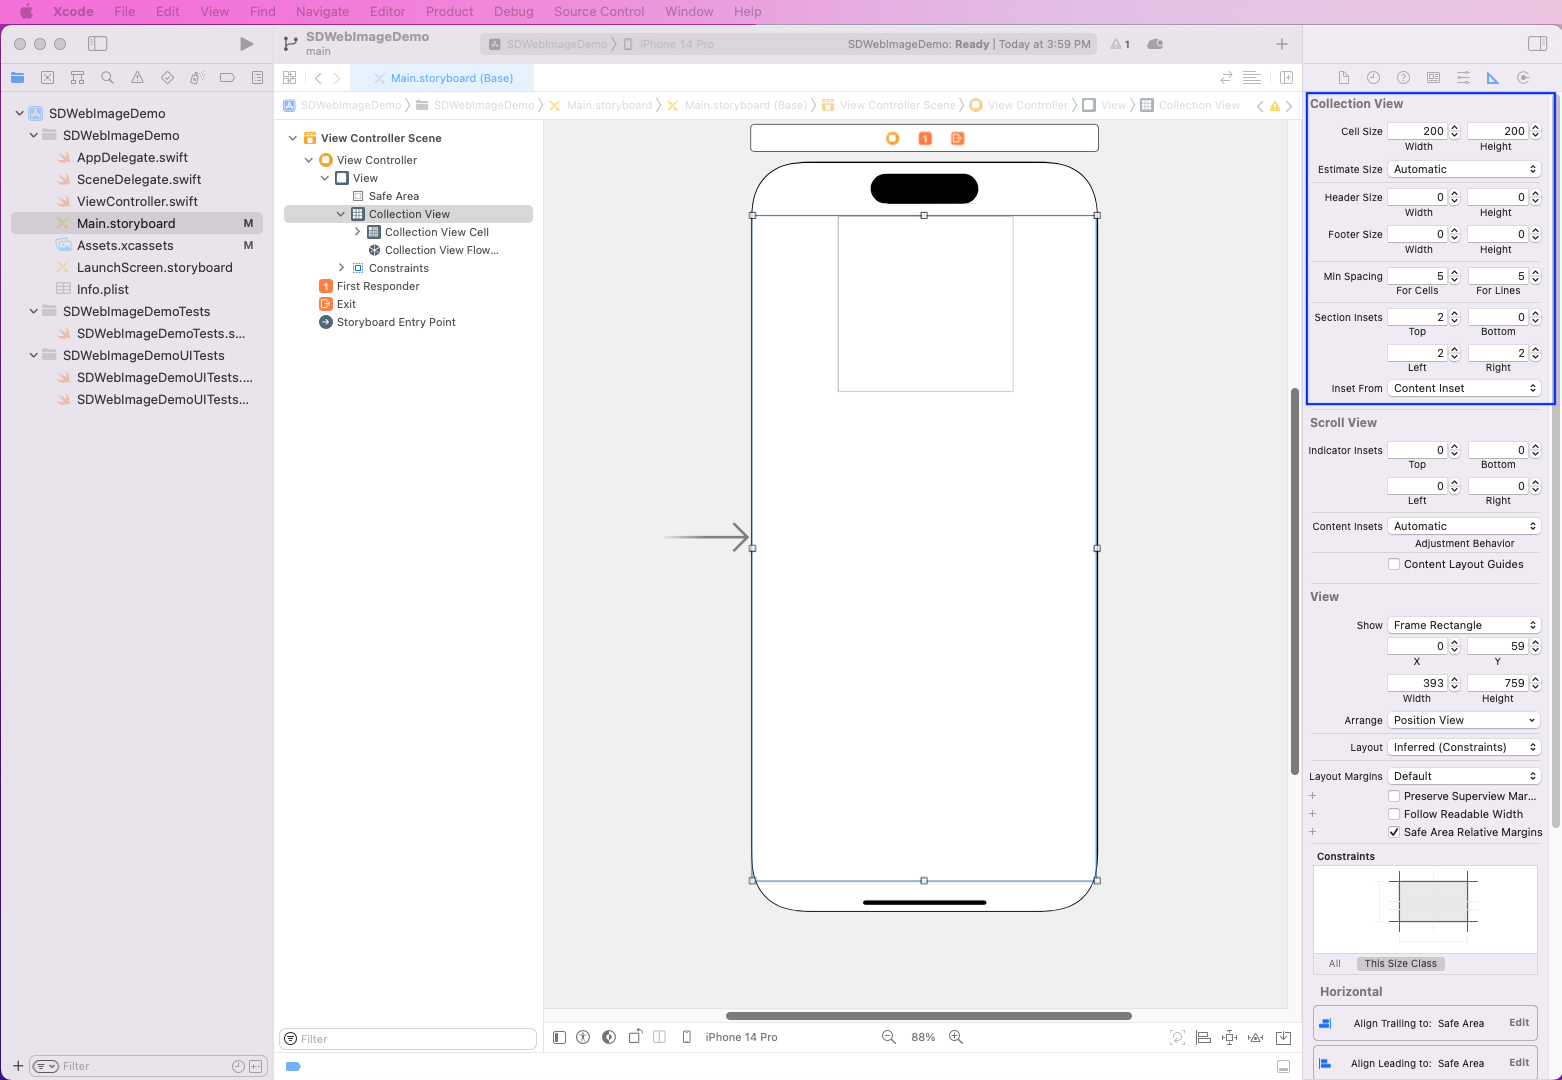
Search for "collection" and drag Collection View to the iPhone image.

Next, click the Add New Constraints icon on the bottom right of the screen. Make everything 0 and click Add 4 Constraints.

Click the Size Inspector icon and give the cell some width and height. Also, add some spacing and insets.
Again, open the object library by clicking the + sign and search for "Image View."

Drag the Image View onto the cell, then click the Size Inspector icon and give it a width and height.
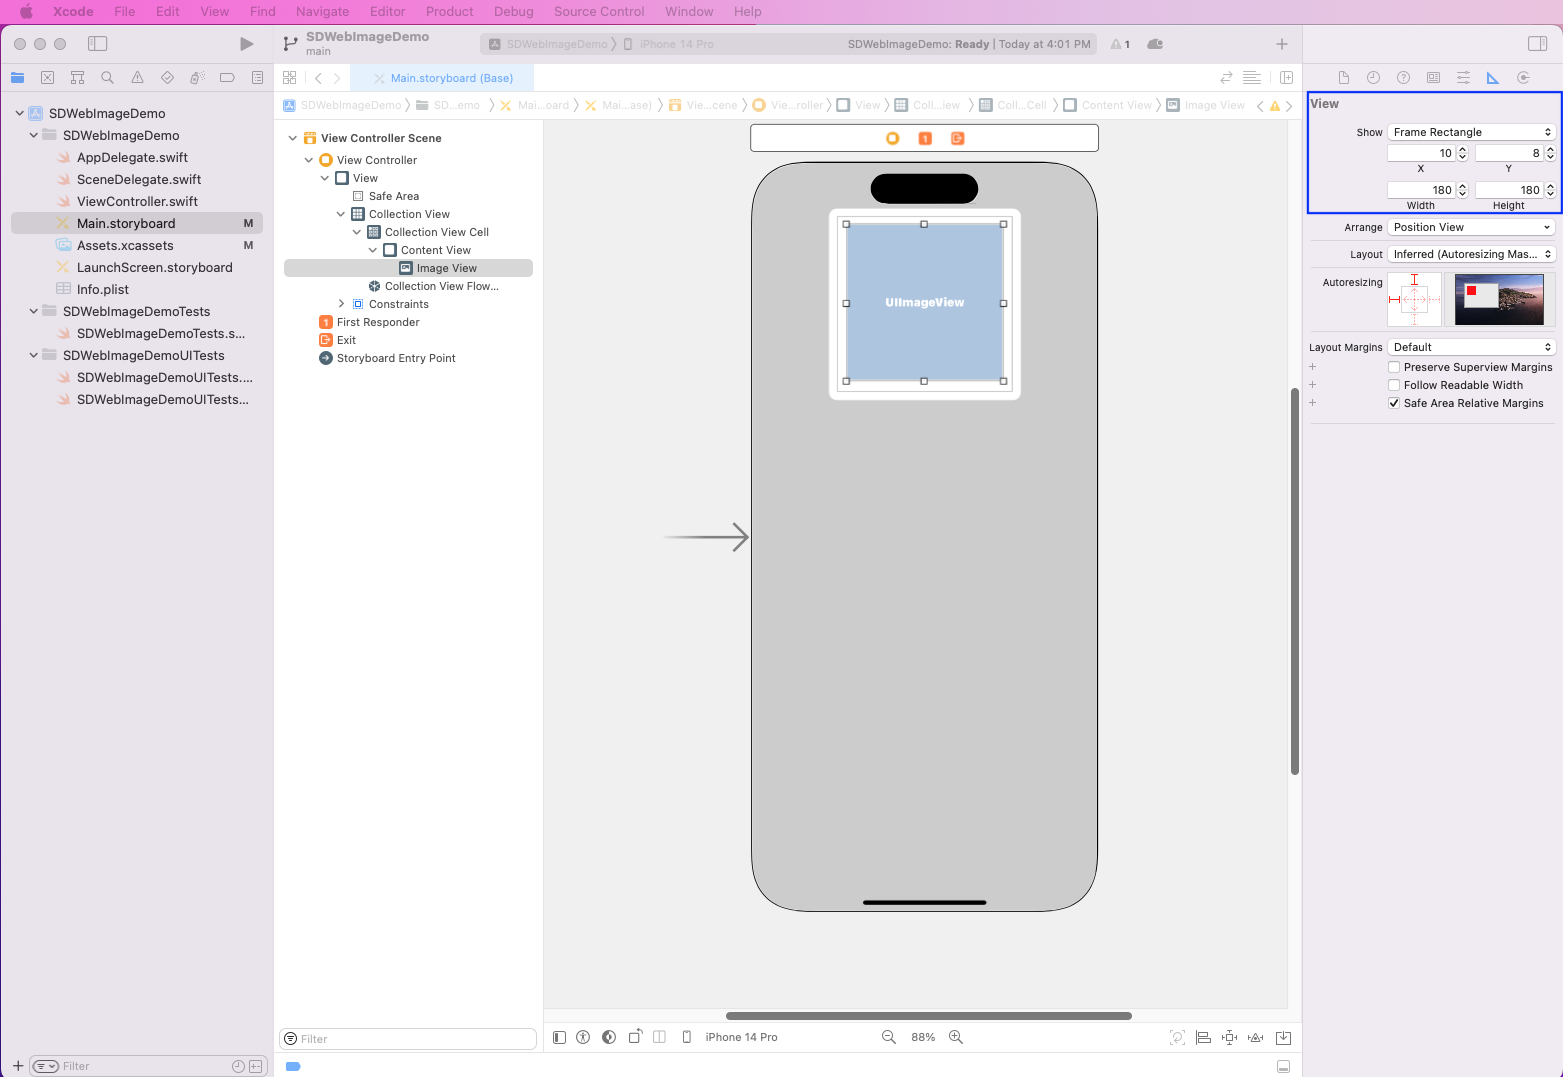
Now, click on the Content View, which will open the Image View. Select empty-image.

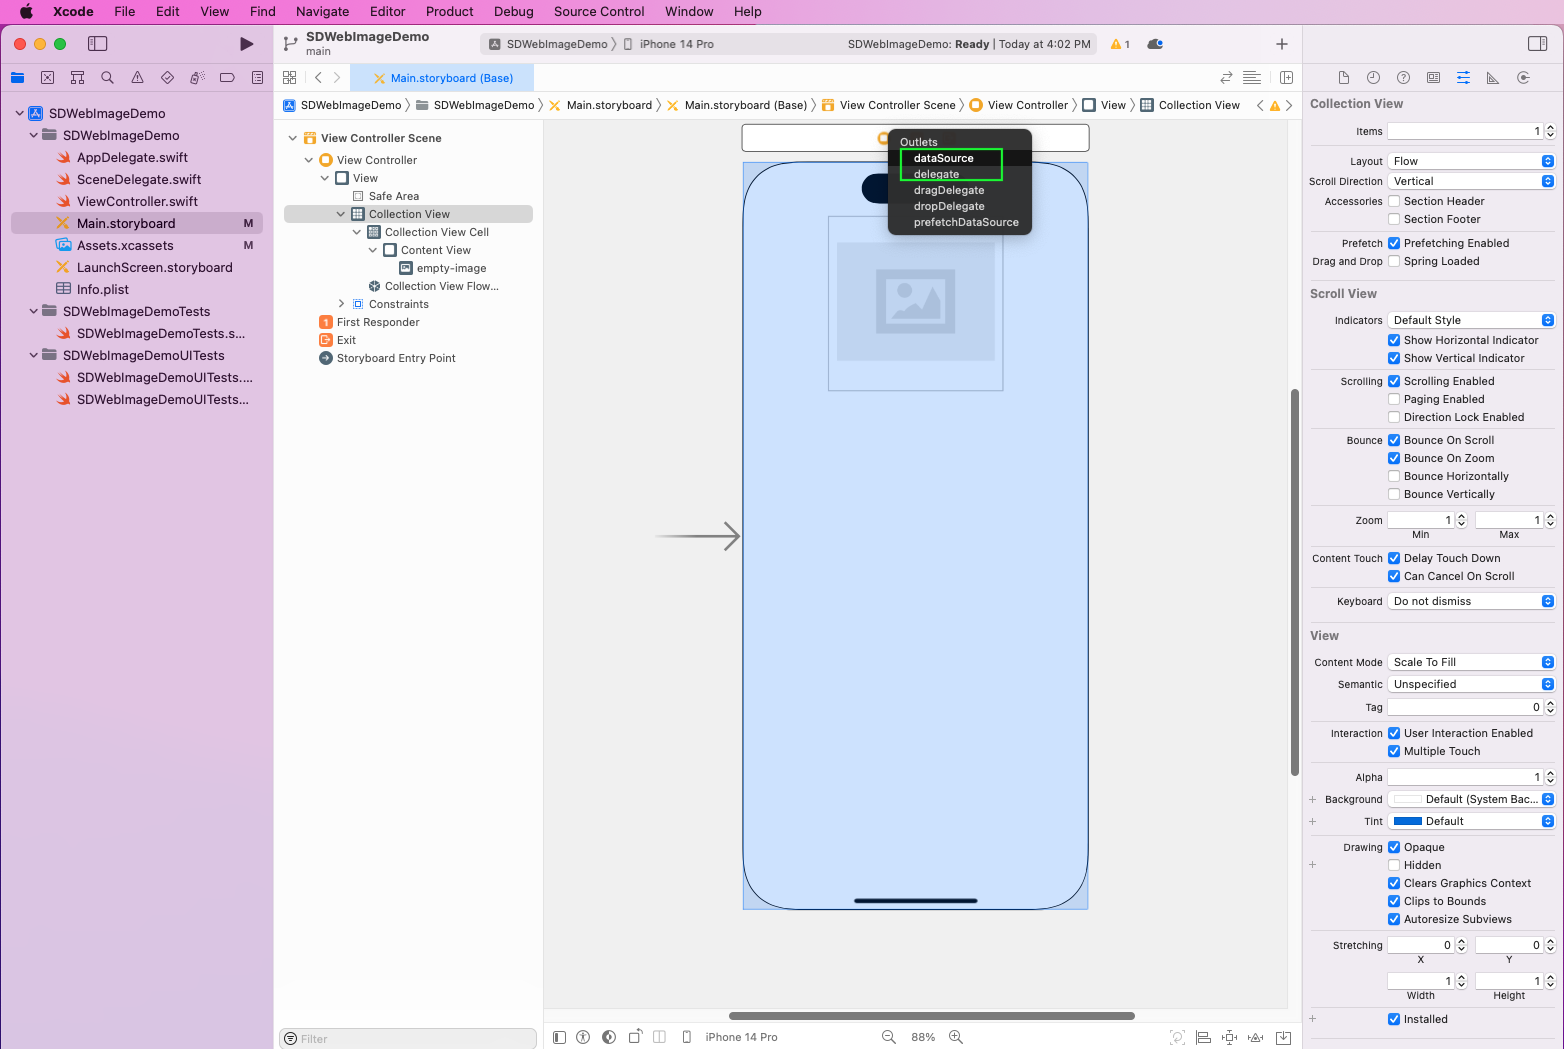
In Collection View, press the Ctrl key and then drag it to the View Controller. Then select dataSource and repeat the step, but this time select delegate.
Creating Cells and Outlets
Now we need to create a cell file. So create a new file and select Cocoa Touch Class.
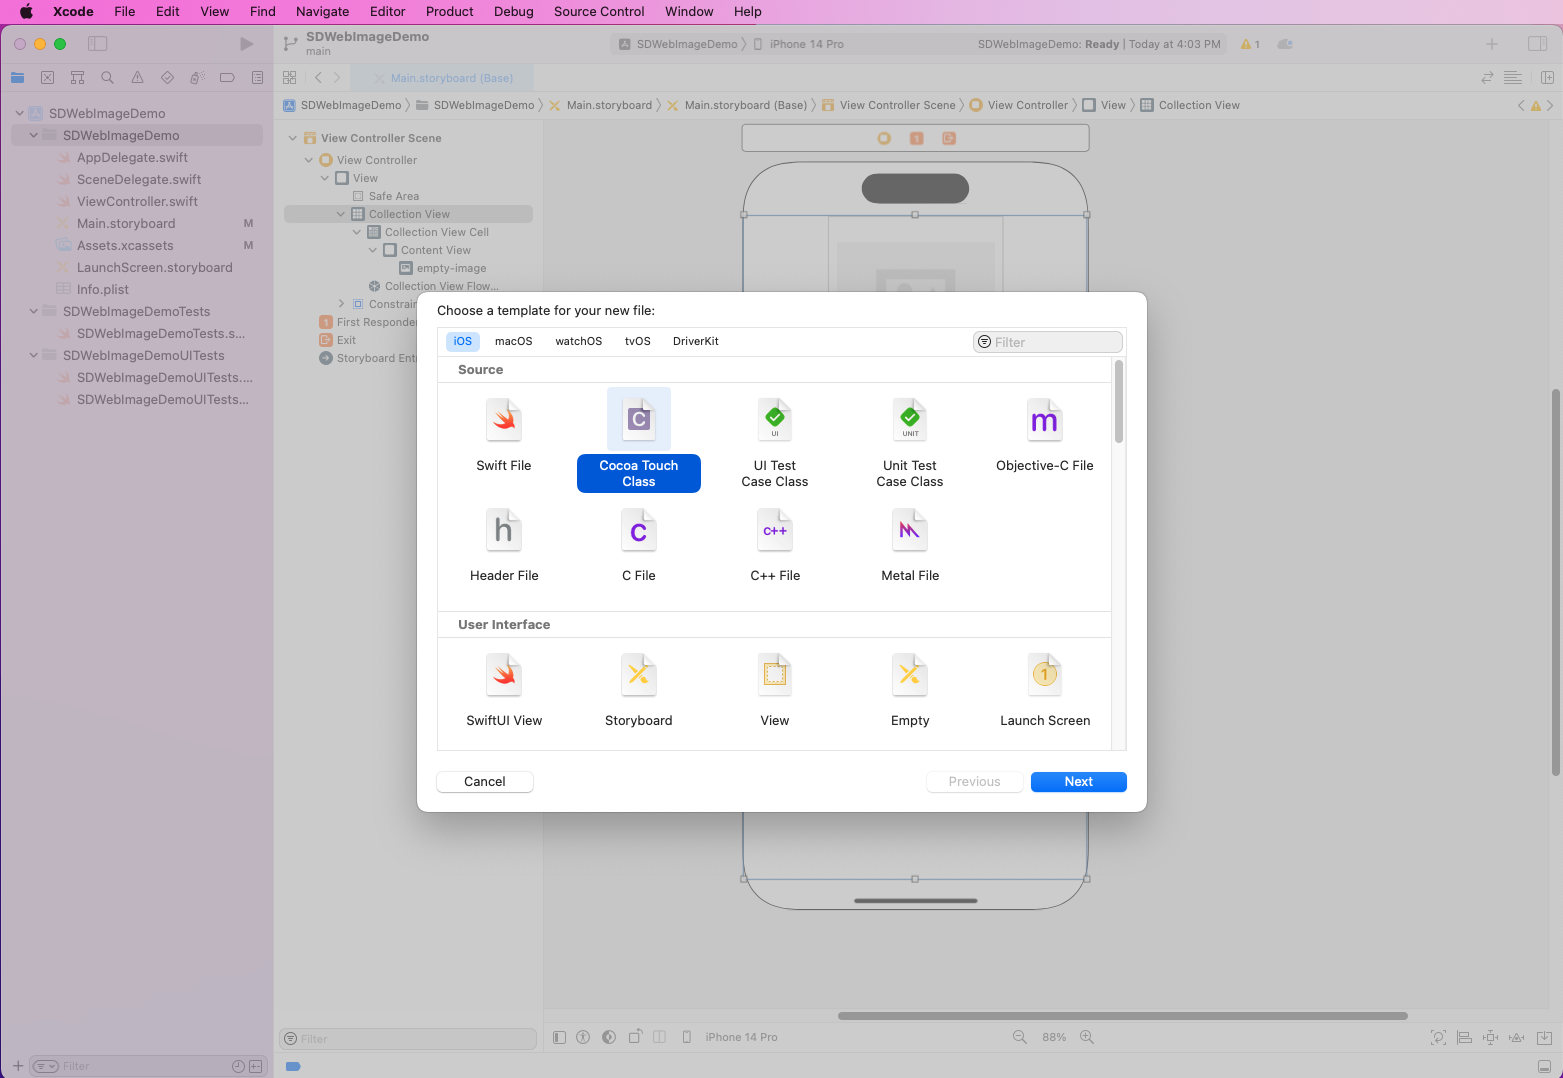
In the next pop-up, the subclass should be UICollectionViewCell. Give it any class name. You can name it something like TheCollectionViewCell, for example, as given below.

In the next pop-up, click Create.
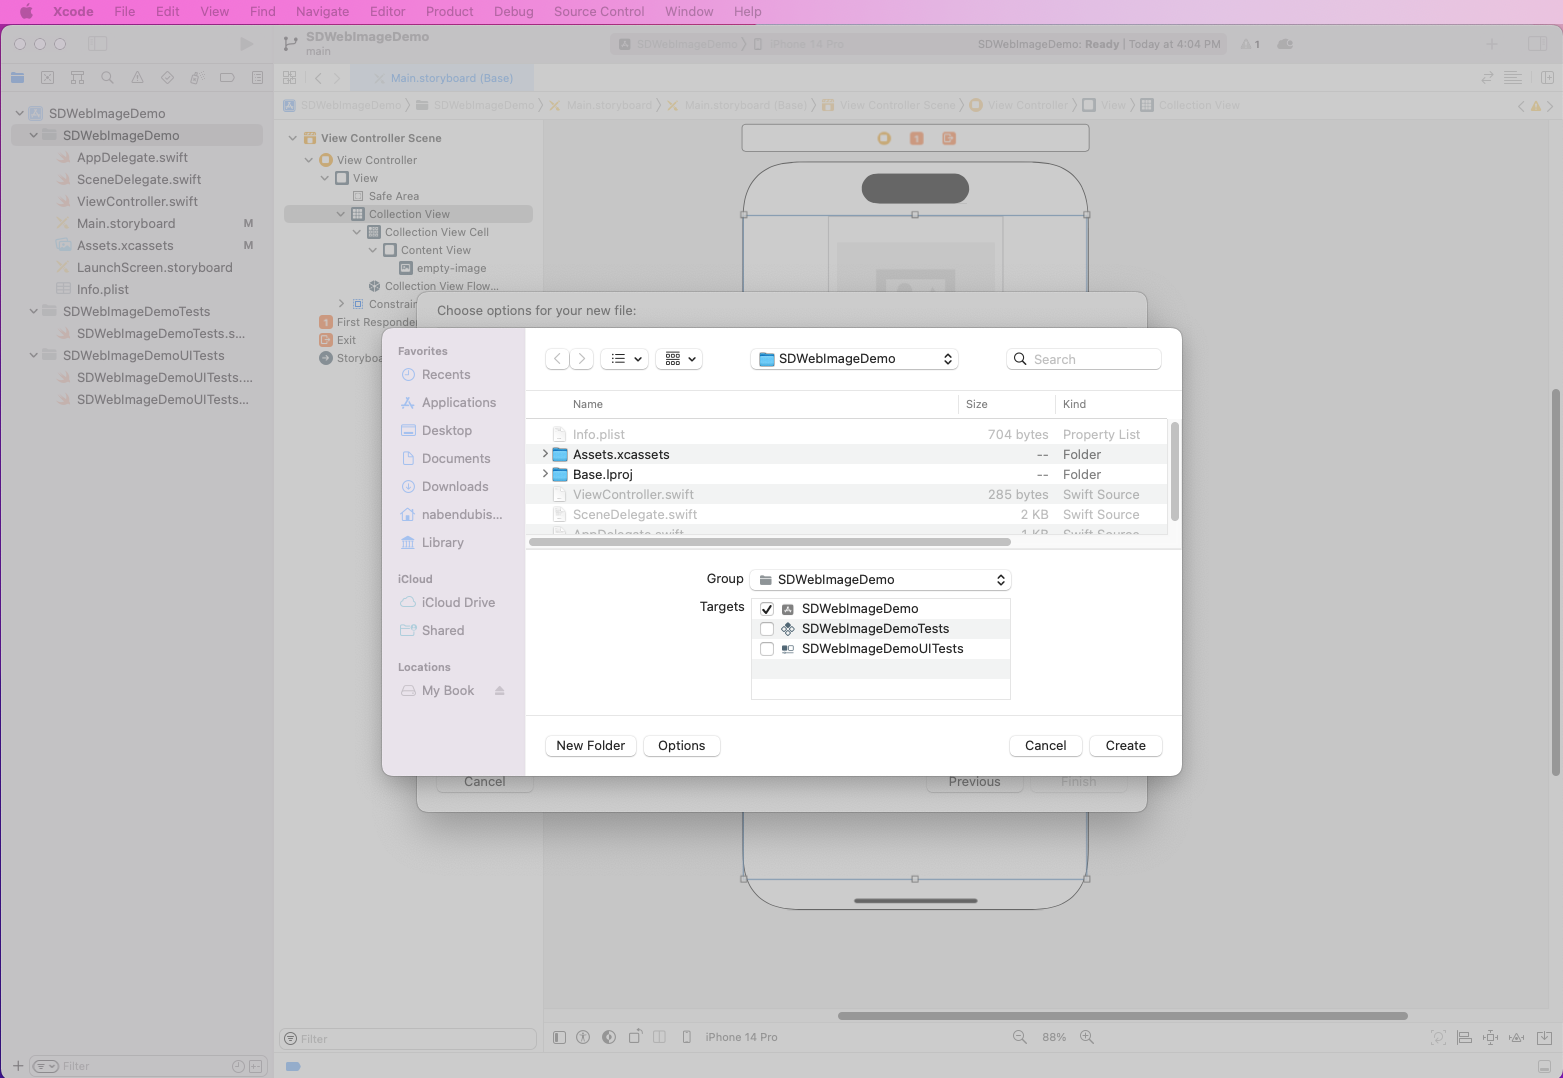
A new Cocoa class file called TheCollectionViewCell.swift will be created.

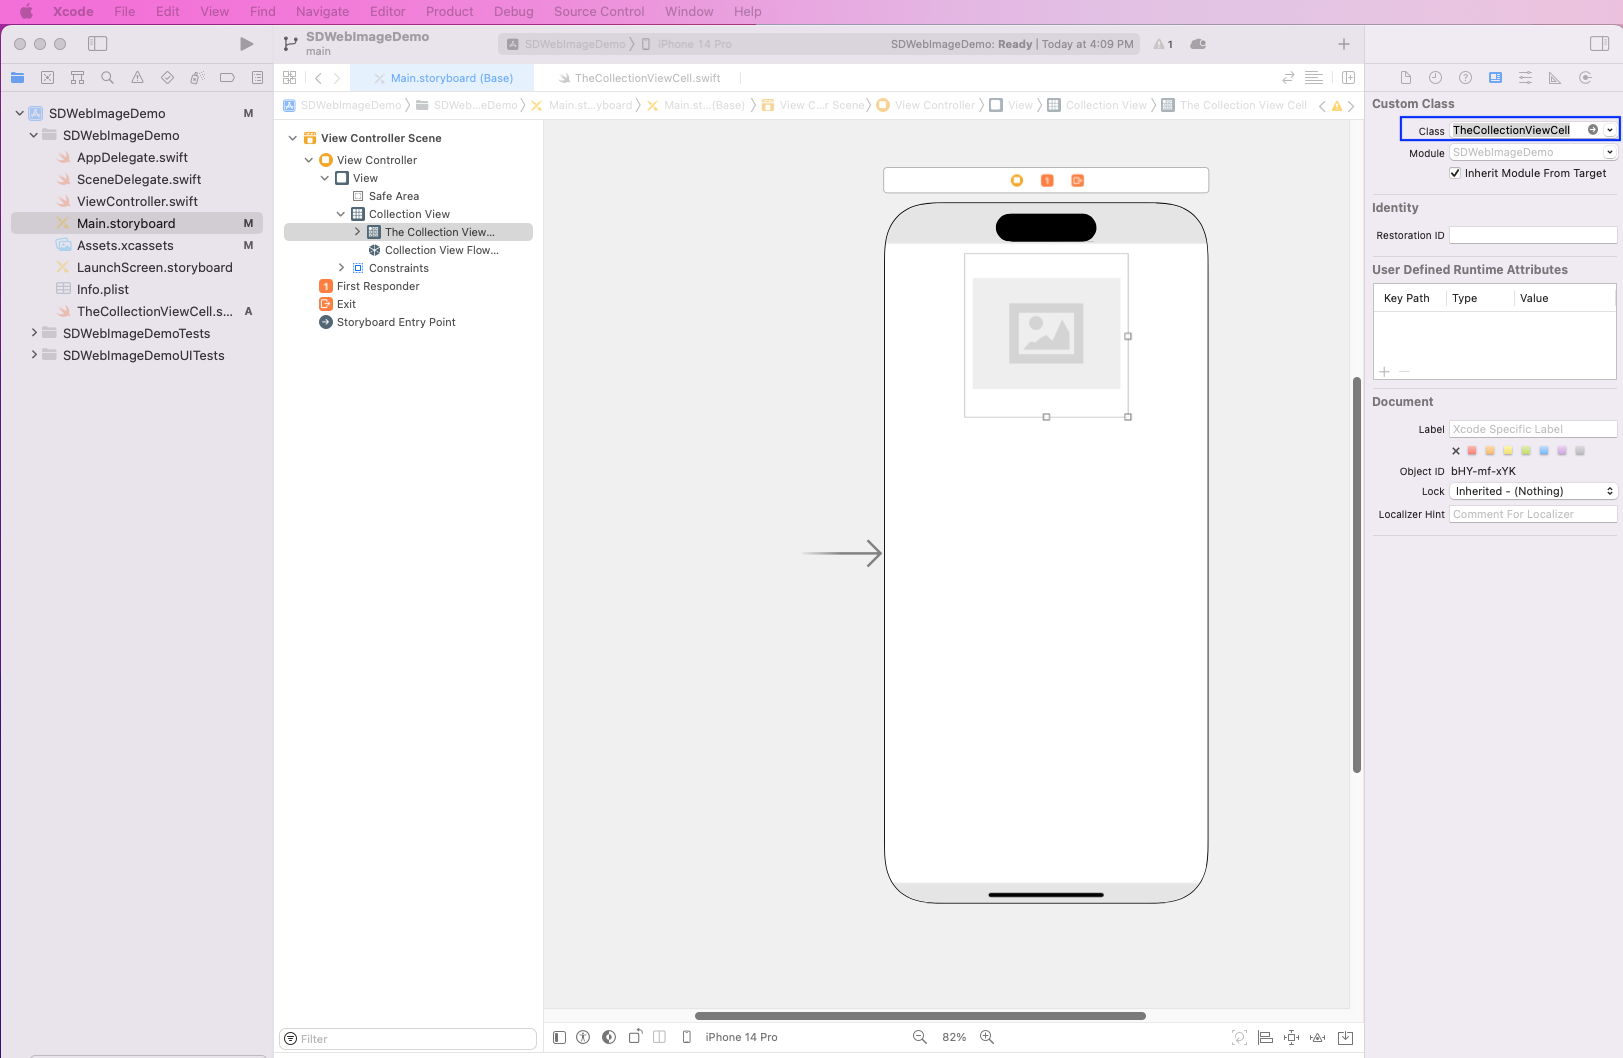
Back in the Main.storyboard file and in The Collection View, make the class TheCollectionViewCell.
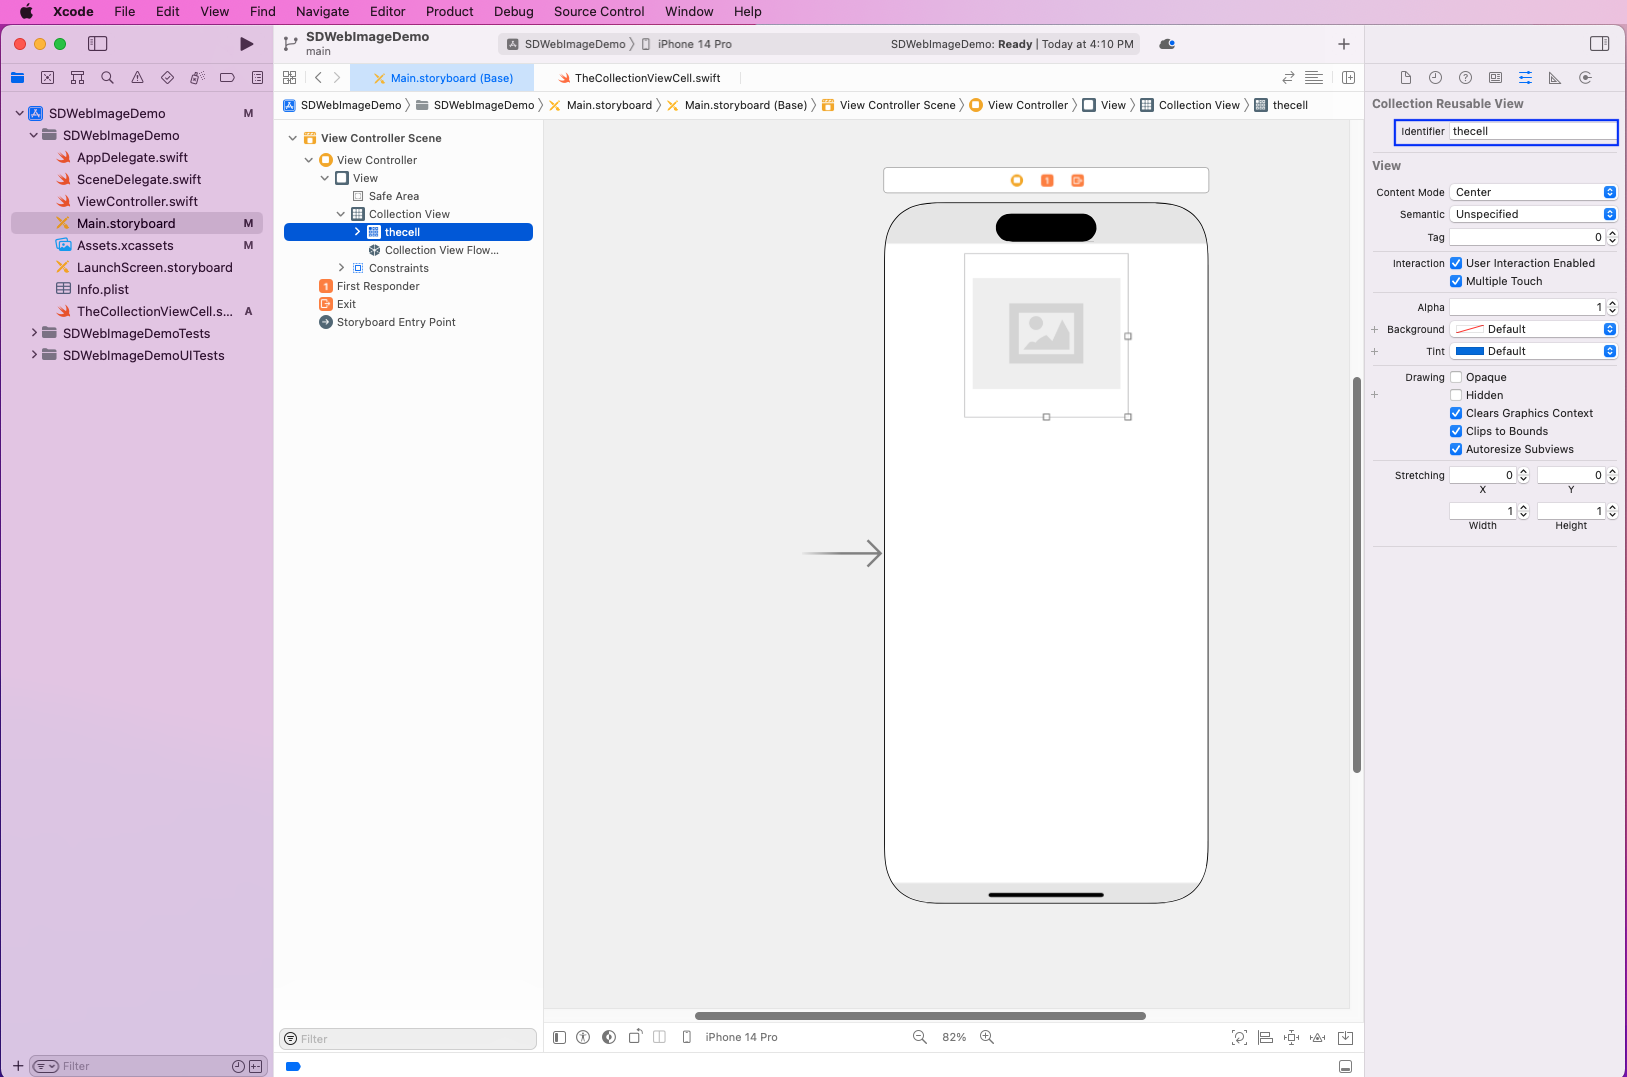
Give the cell an identifier, which should be thecell in this case.
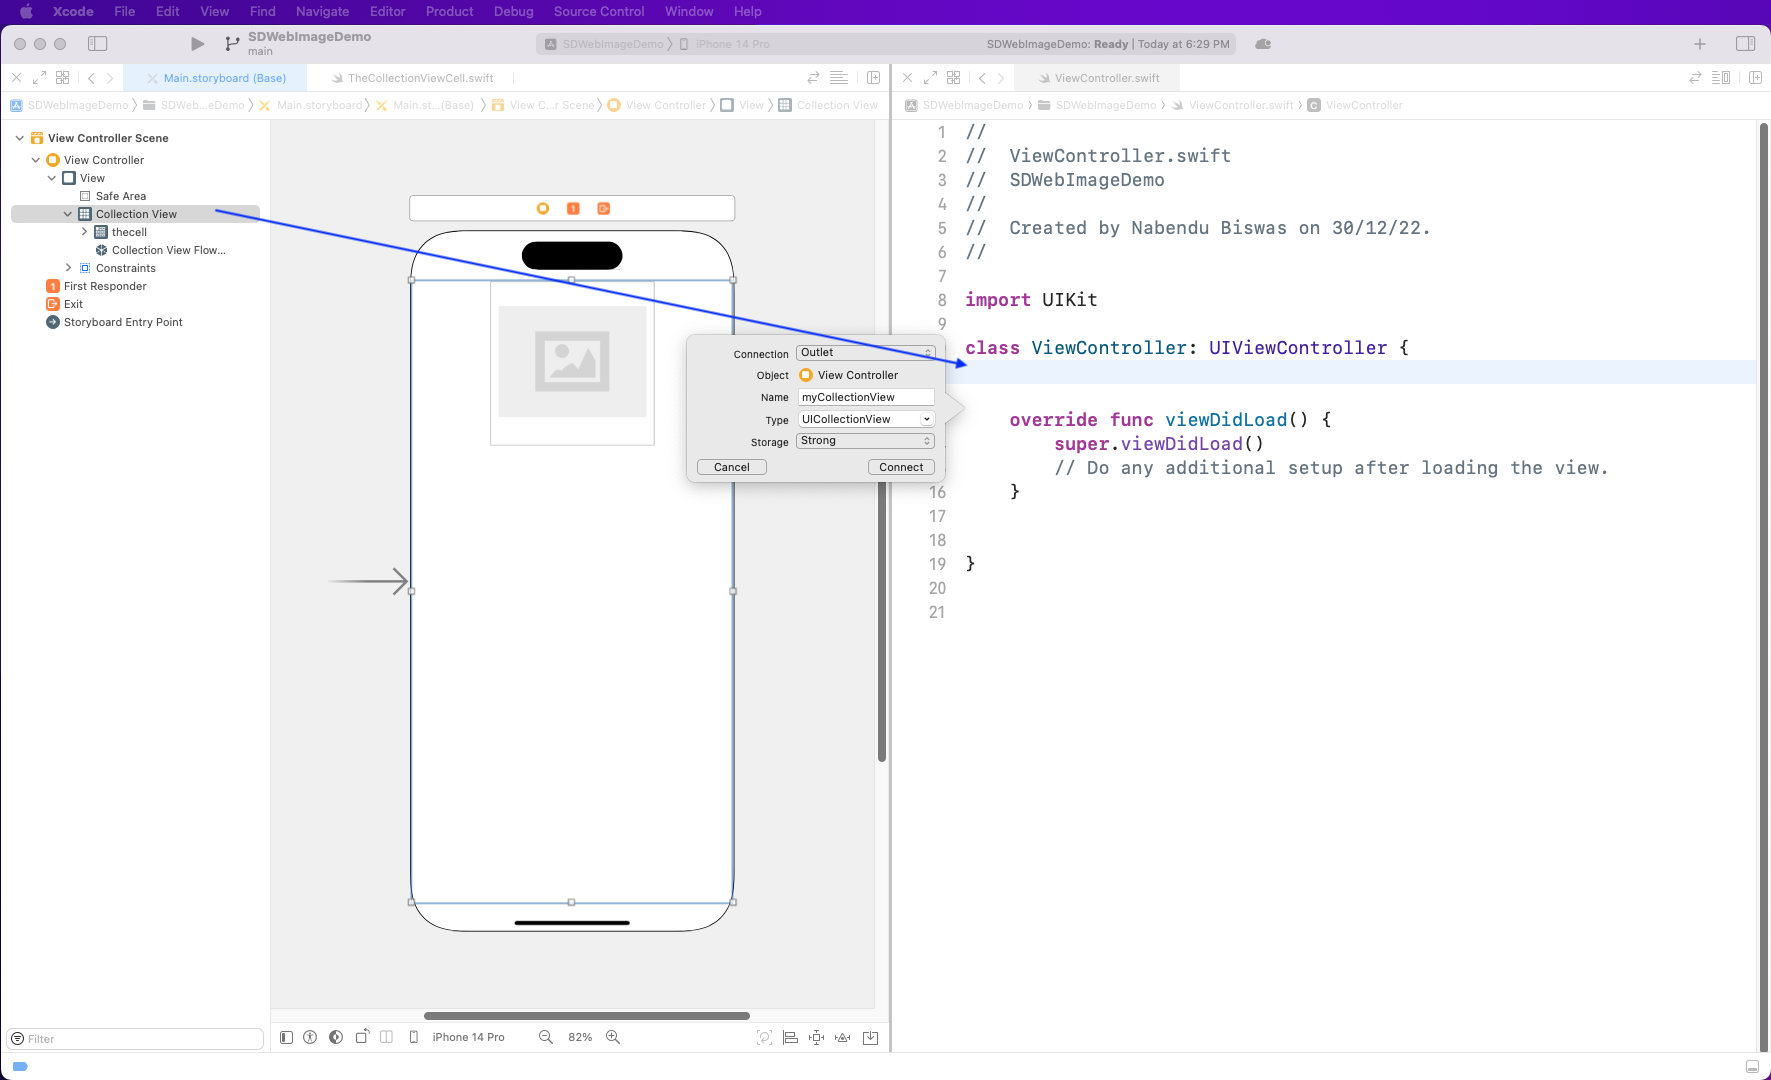
Now we'll create the outlets. Open the ViewController.swift file on another screen, then drag Collection View to this file. It should open a pop-up. Give it a name: myCollectionView.
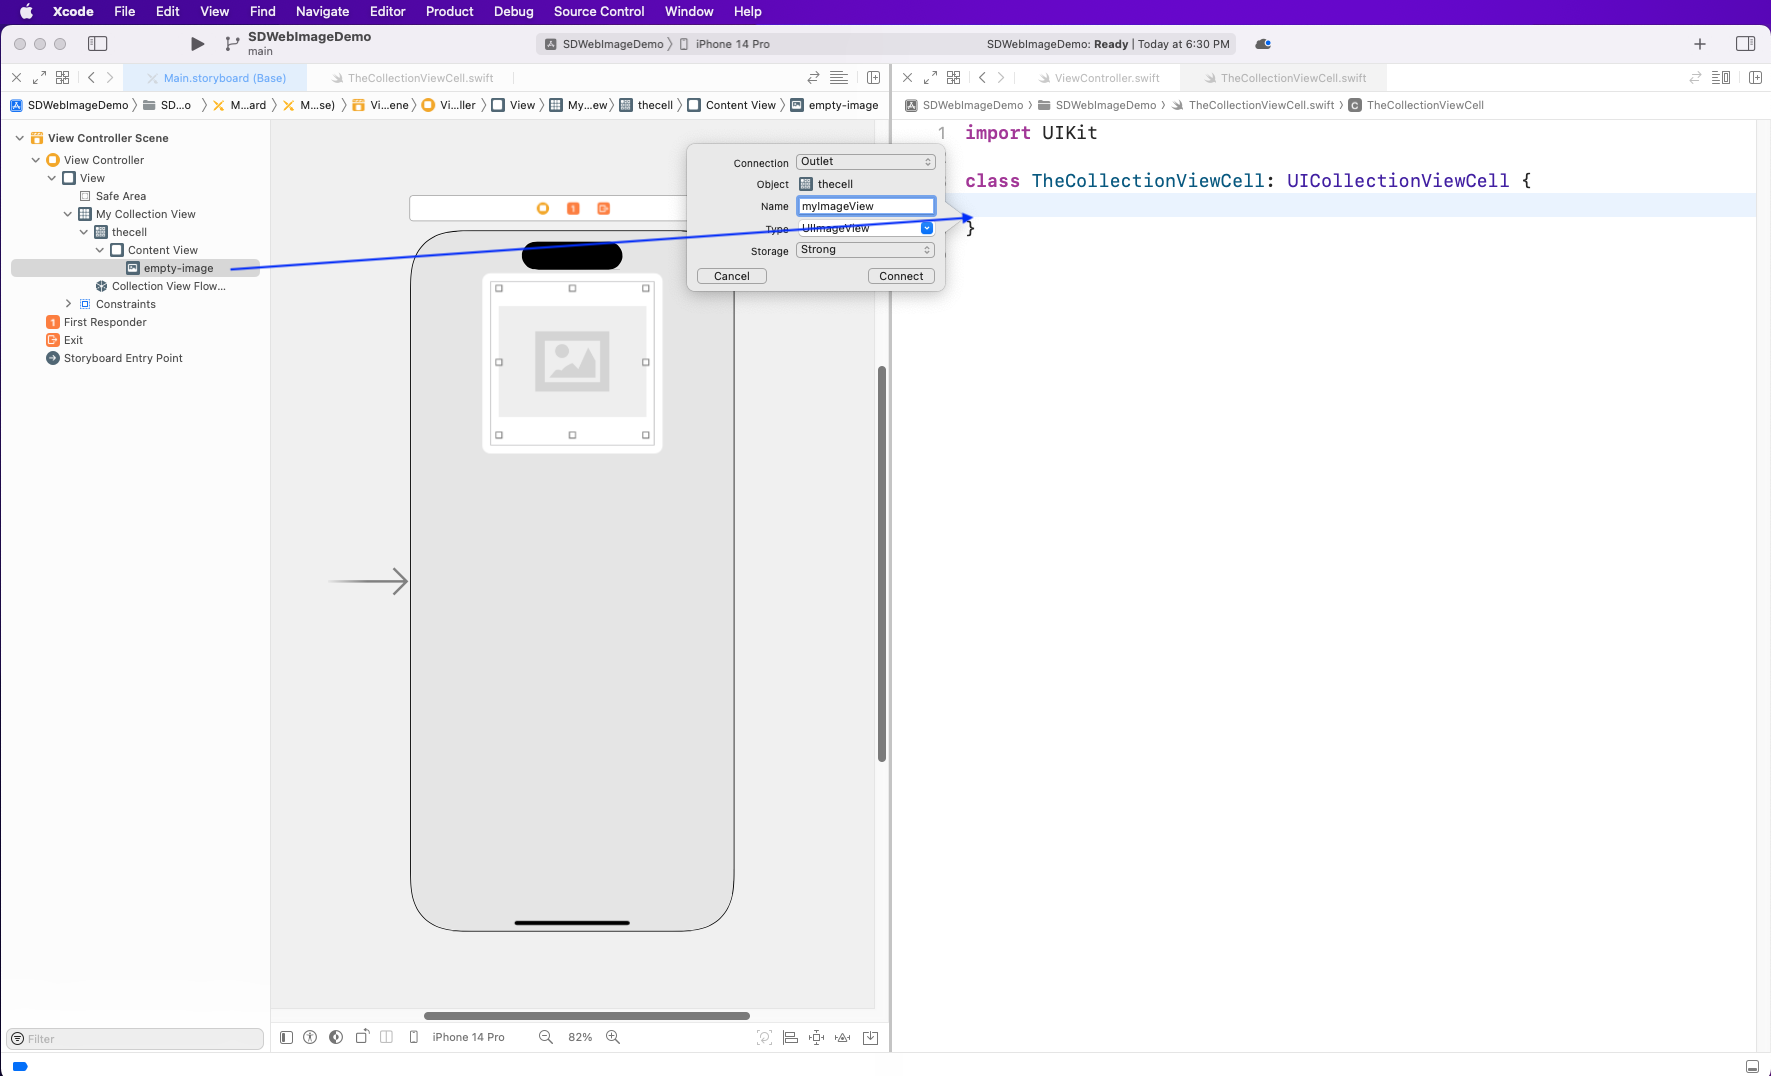
With the TheCollectionViewCell.swift file open on the other screen, drag empty-image to this file, and it will open a pop-up. Give it a name: myImageView.
Installing SDWebImage
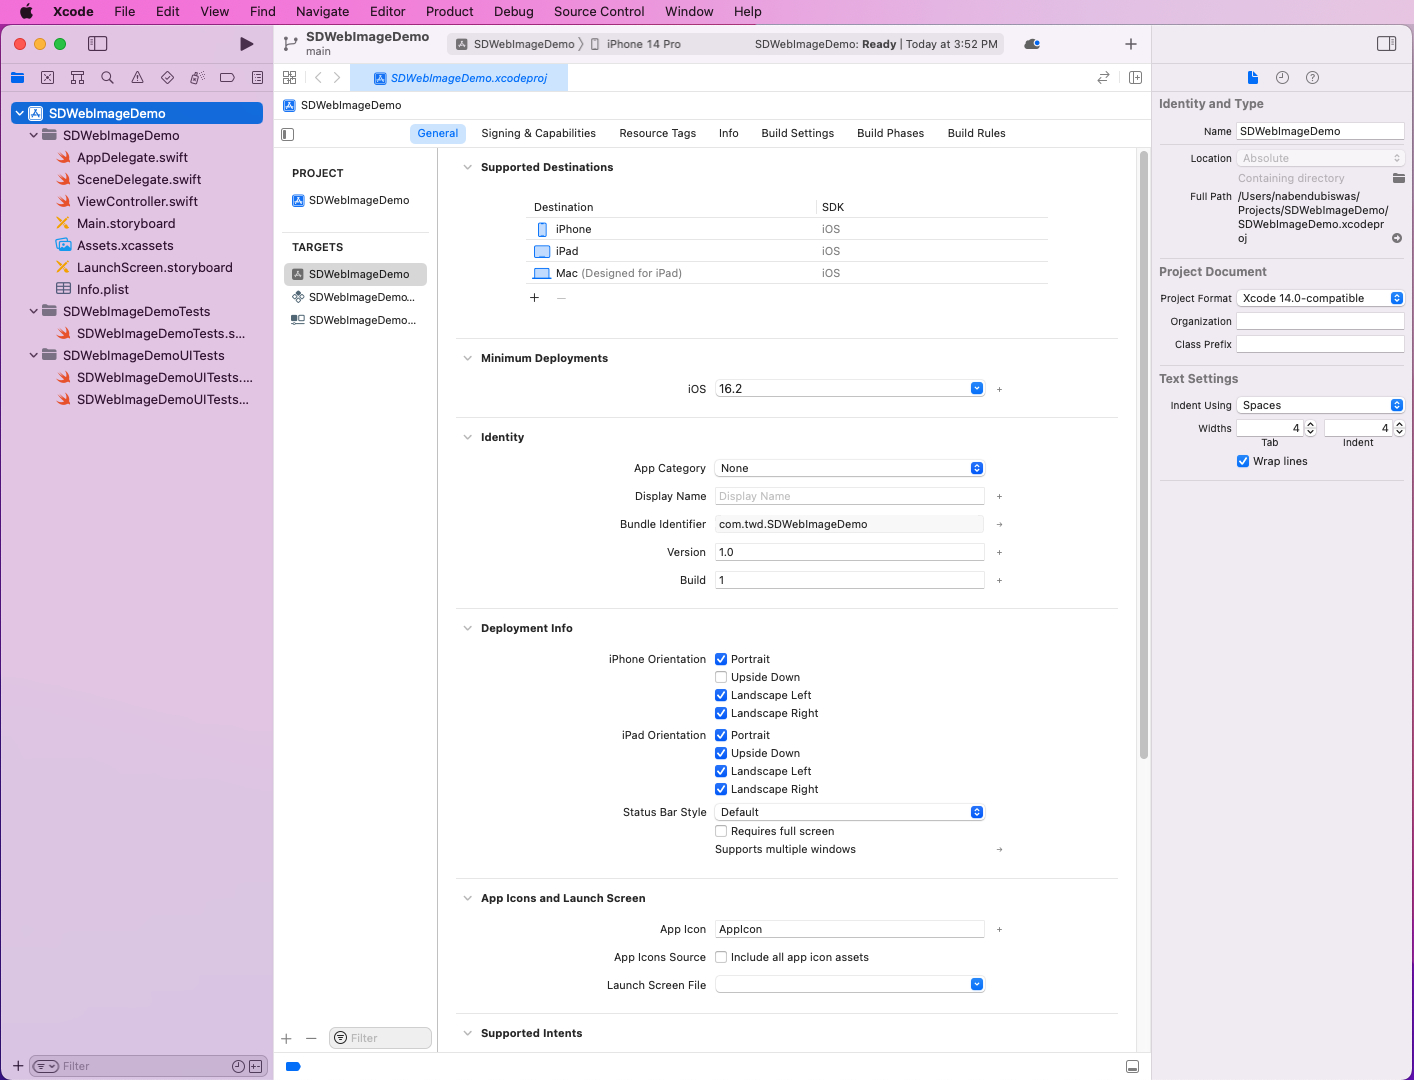
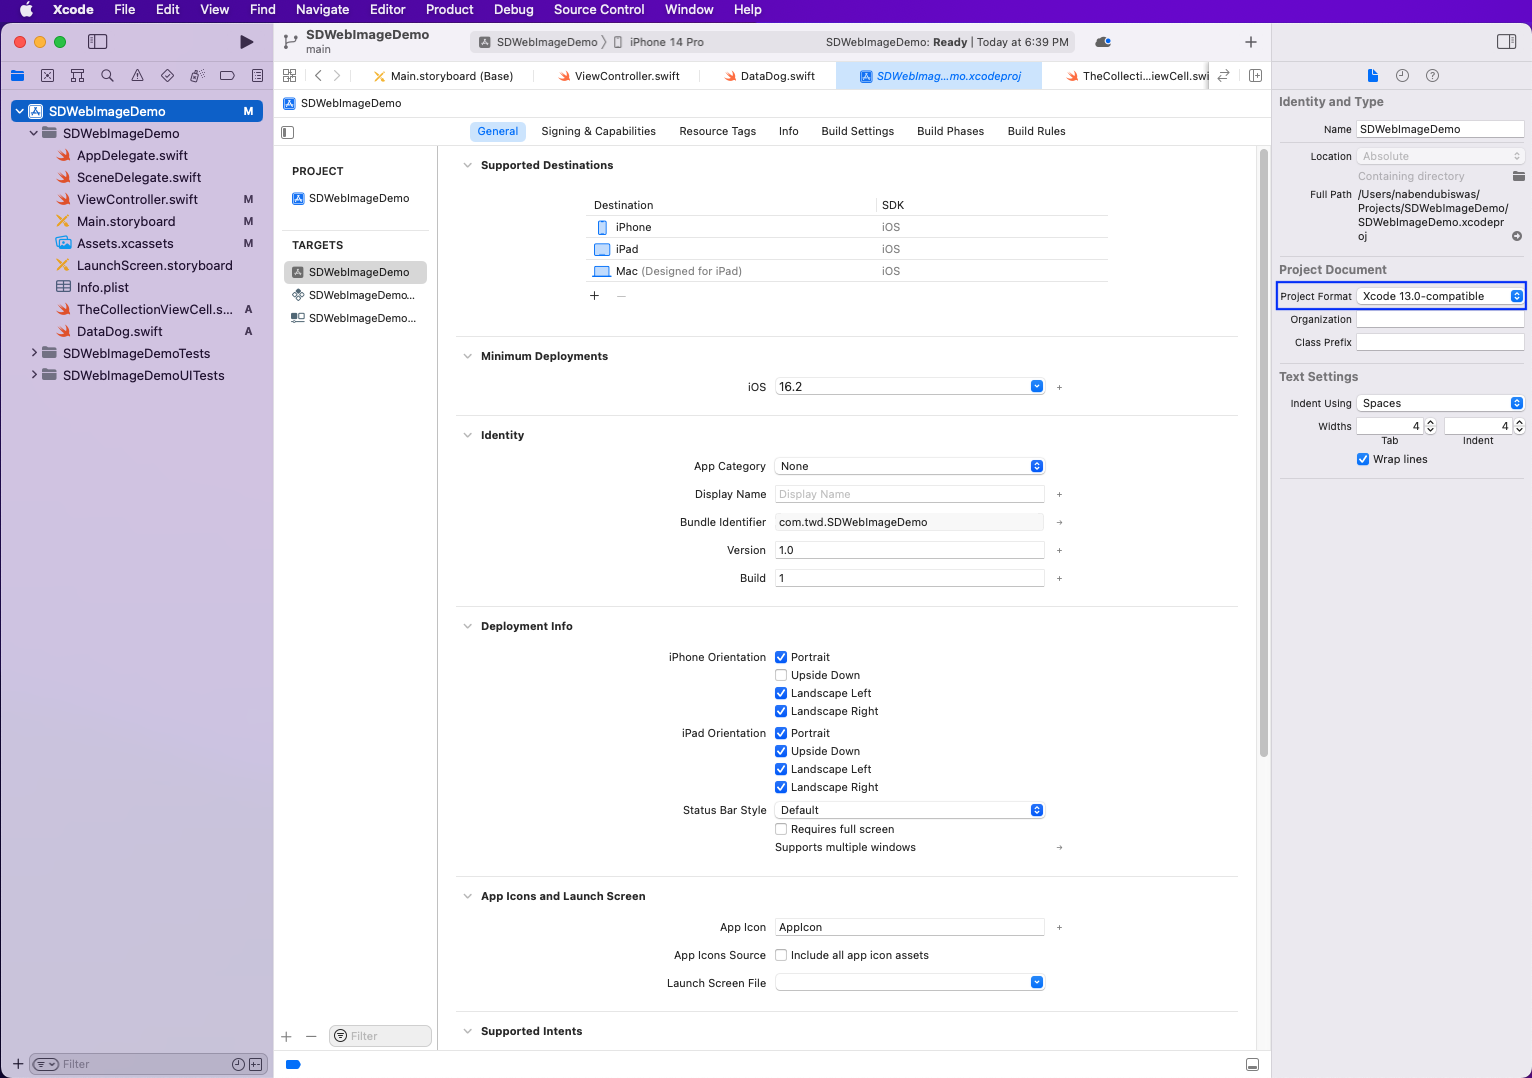
If you're installing through Cocoapods, you'll need to change the project format to Xcode 13.0-compatible because there are some issues with the version 14.0.
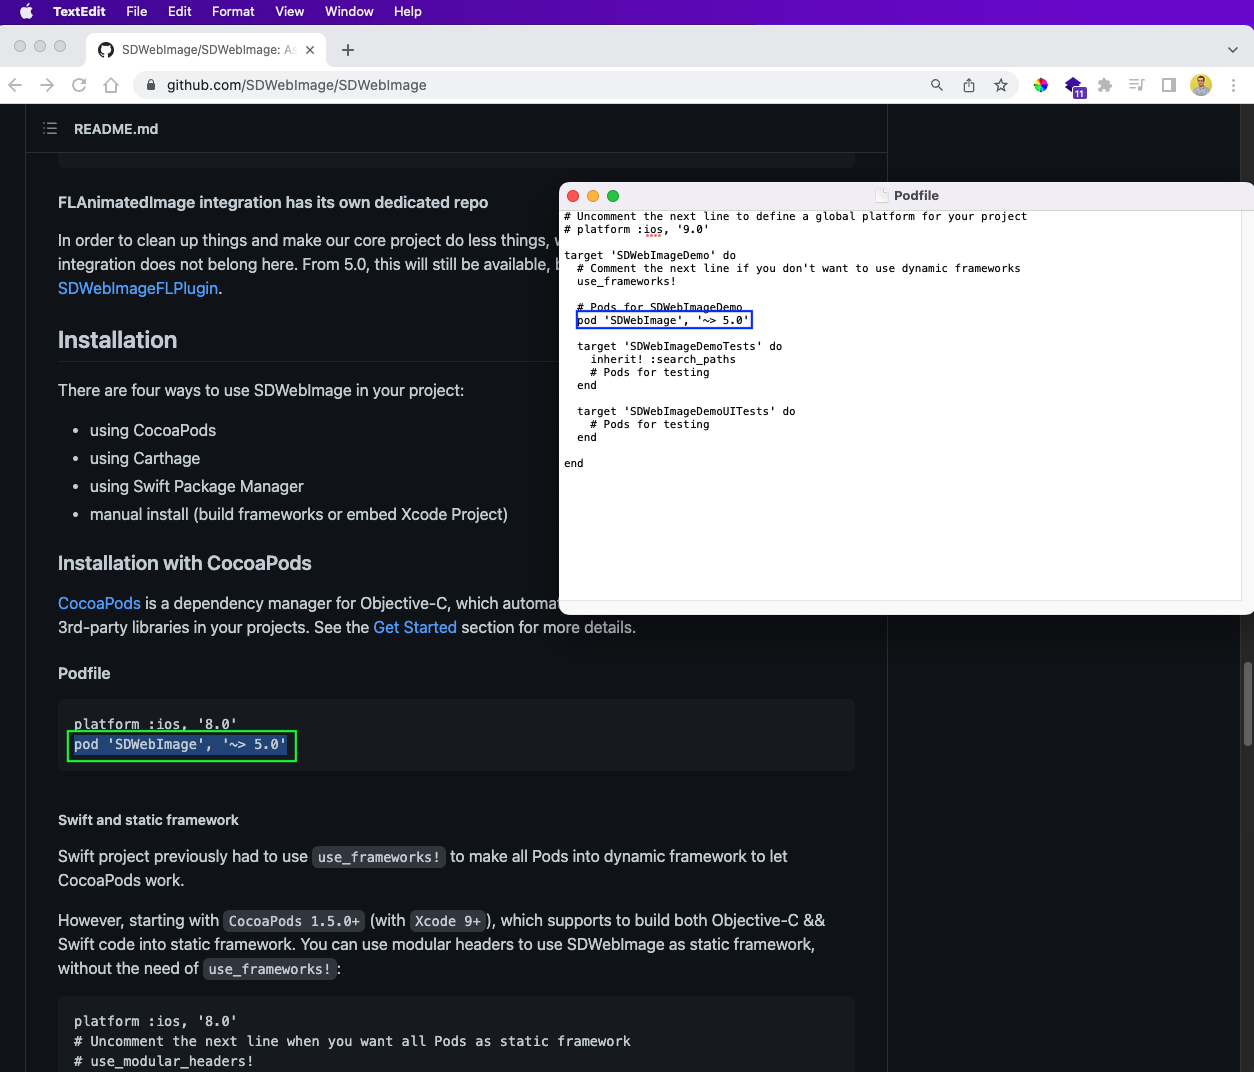
Next, from the project directory, type the pod init command. After that, the output of the ls command should show us the Podfile. Open the Podfile by typing the open Podfile command.

Next, as per the documentation in GitHub, add the line below in the Podfile:
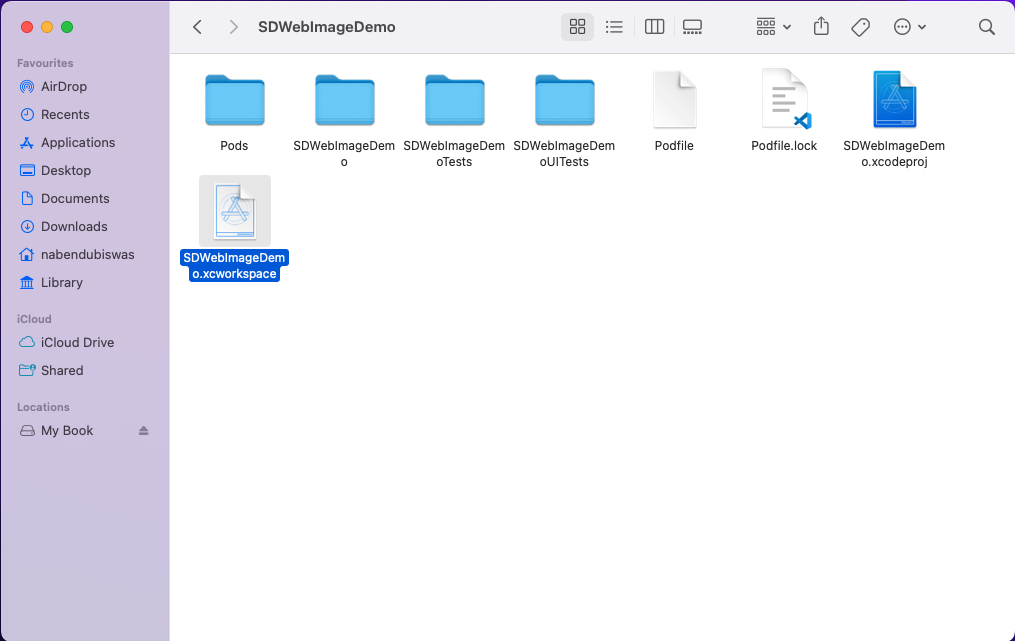
From the terminal, type the pod install command to install the package.

Now you should see a new SDWebImageDemo.xcworkspace file in the explorer. You need to open this in Xcode to use SDWebImage.
Showing Dog Images Through SDWebImage
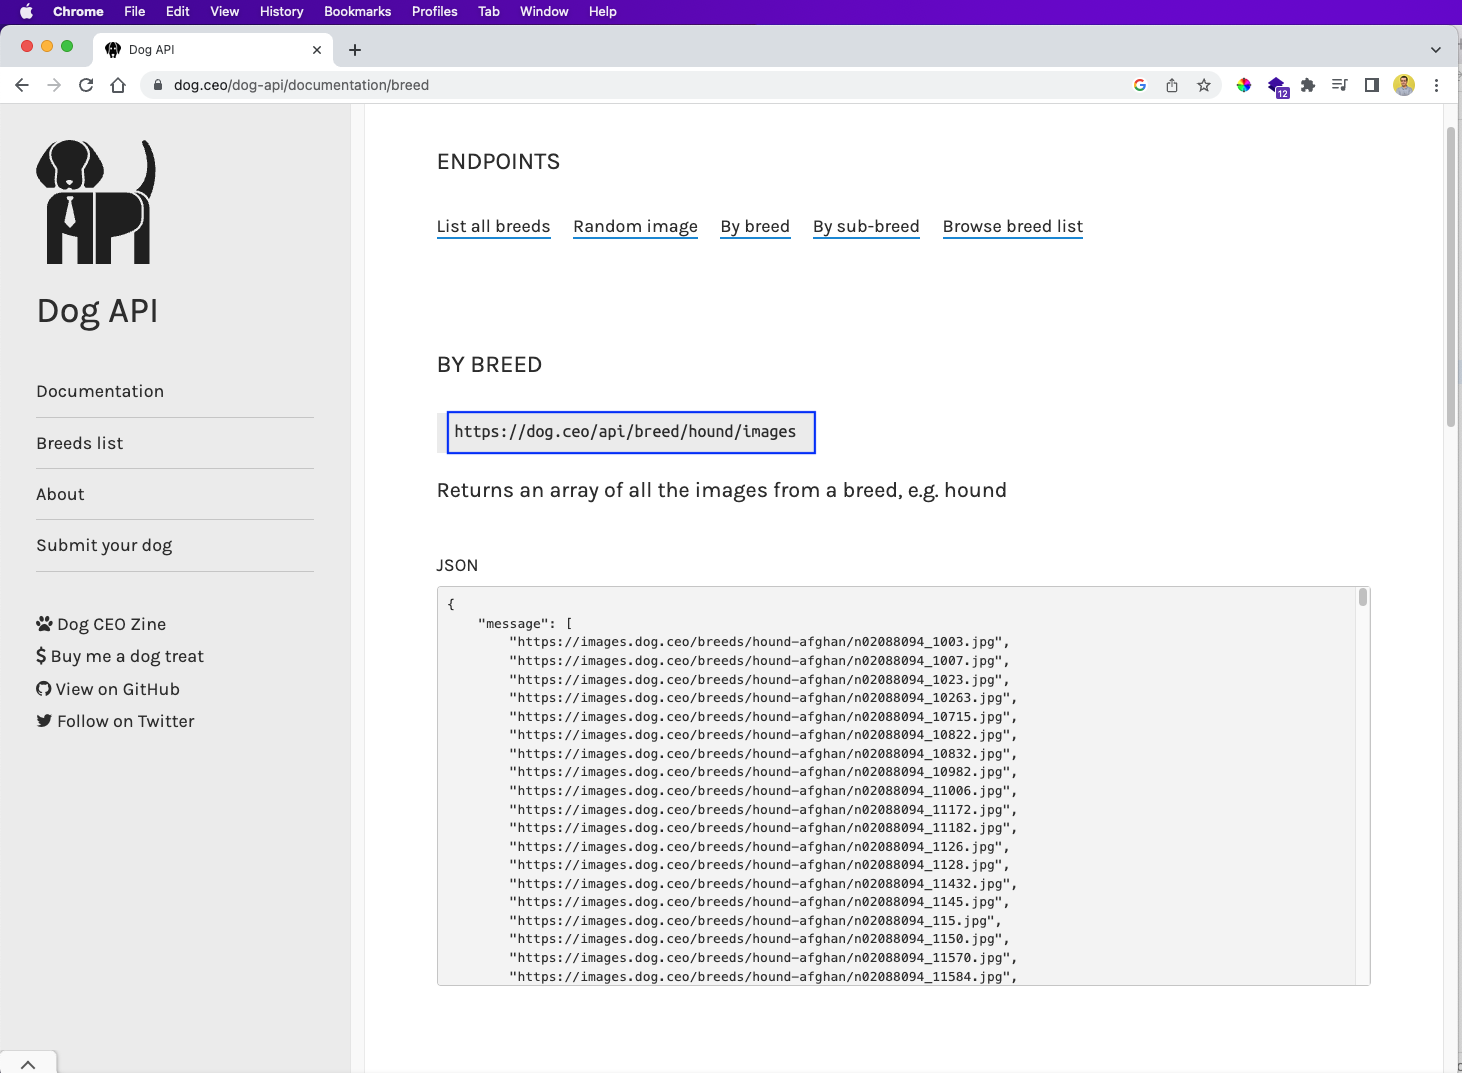
We'll use the famous Dog API to get the image URLs for our project.
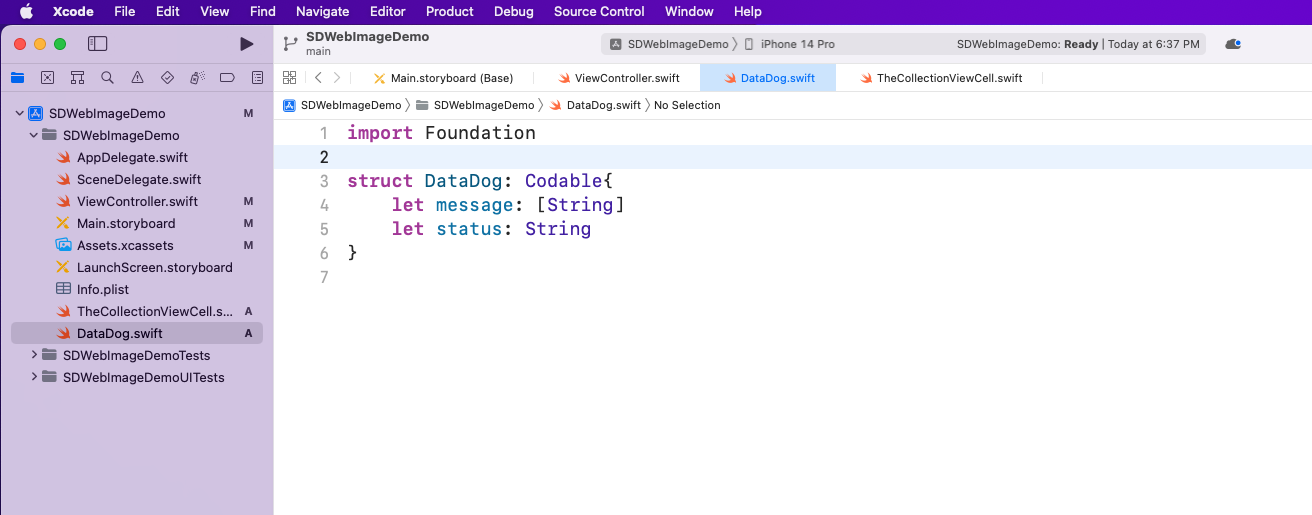
Create a file called DataDog.swift in which you'll put the basic structure, which is returned from the API call.
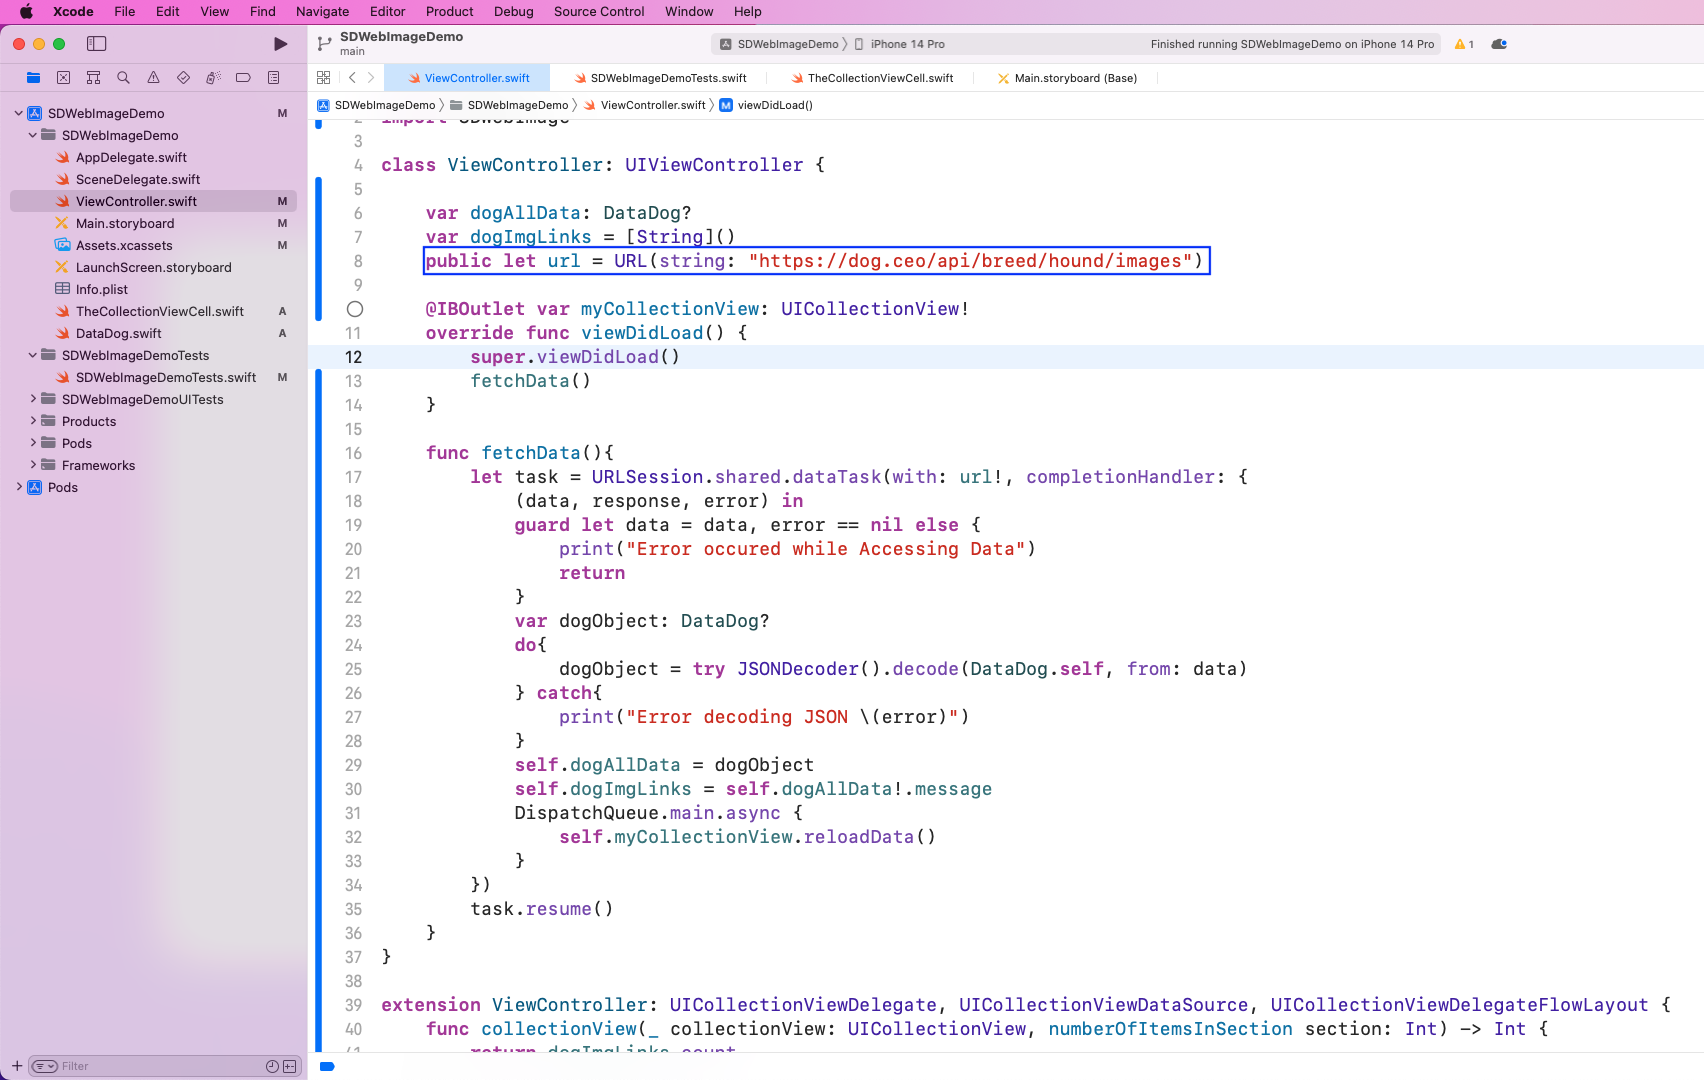
Now, in the ViewController.swift file, put the logic to hit the API endpoint and store it in the variables. Here, we have two variables, dogAllData and dogImgLinks. Next, we'll call a function called fetchData() from viewDidLoad().
Inside the fetchData() function, we'll use the inbuilt URLSession to hit the URL. After that, we'll use JSONDecoder to get the data in the correct format. Finally, we'll store all data in dogAllData and all images in dogImgLinks.

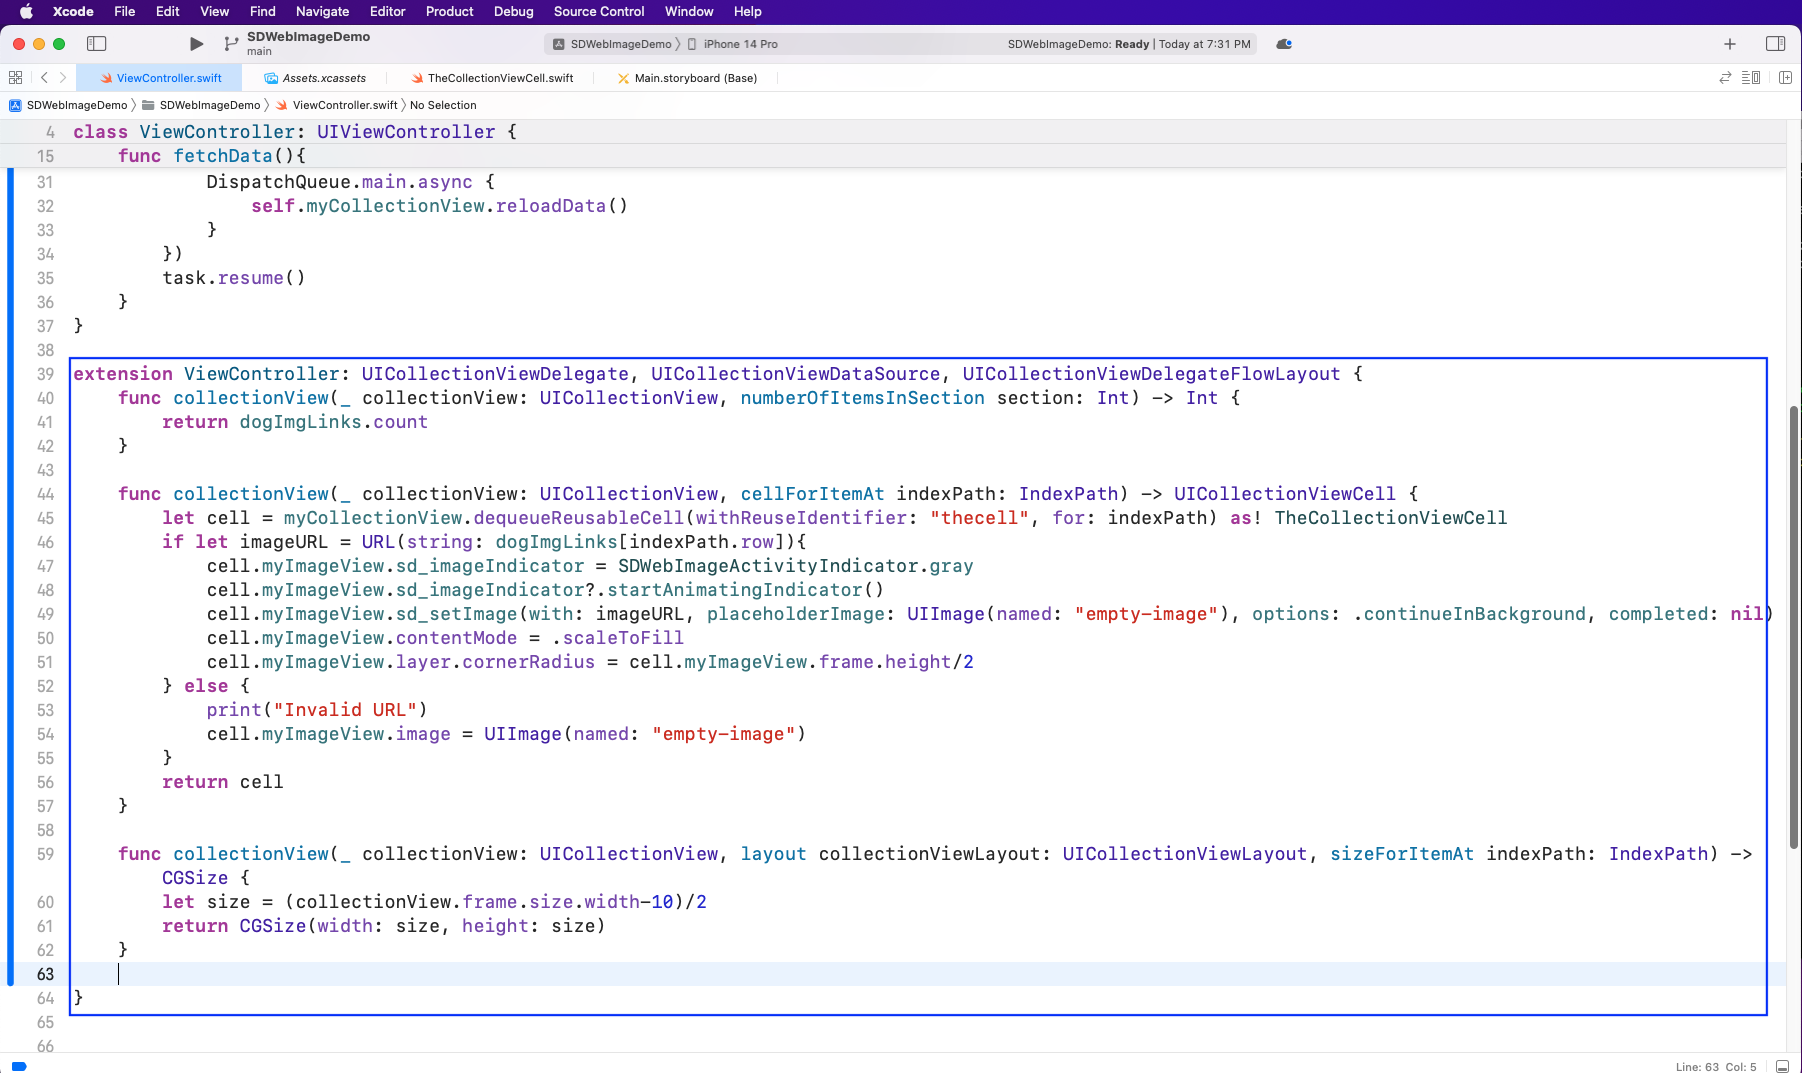
Now create an extension for ViewController. The first collectionView function is required to get the number count of the images. In the next collectionView function, we'll get the cell with the identifier thecell.
After that, we'll get an image from dogImgLinks. Next, inside the cell, we'll use the sd_imageIndicator property from SDWebImage to set a bit of animation. After that, with sd_setImage, we'll set this image, which is a placeholder for an empty image.
In the next collectionView function, we'll make the collection view rounded so that we can get rounded images.
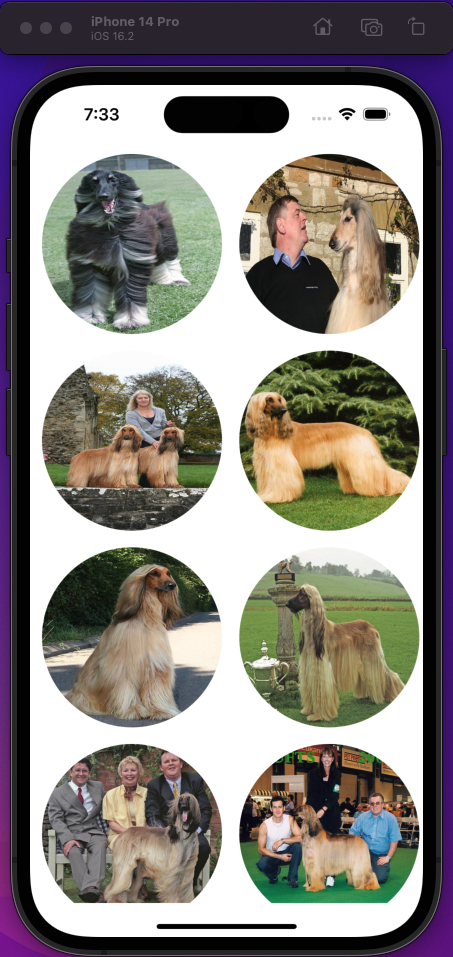
Run the app, and you should see some nice dog images. When you scroll the iPhone screen, you should see the placeholder empty-image for a moment before the image loads.
Testing the App
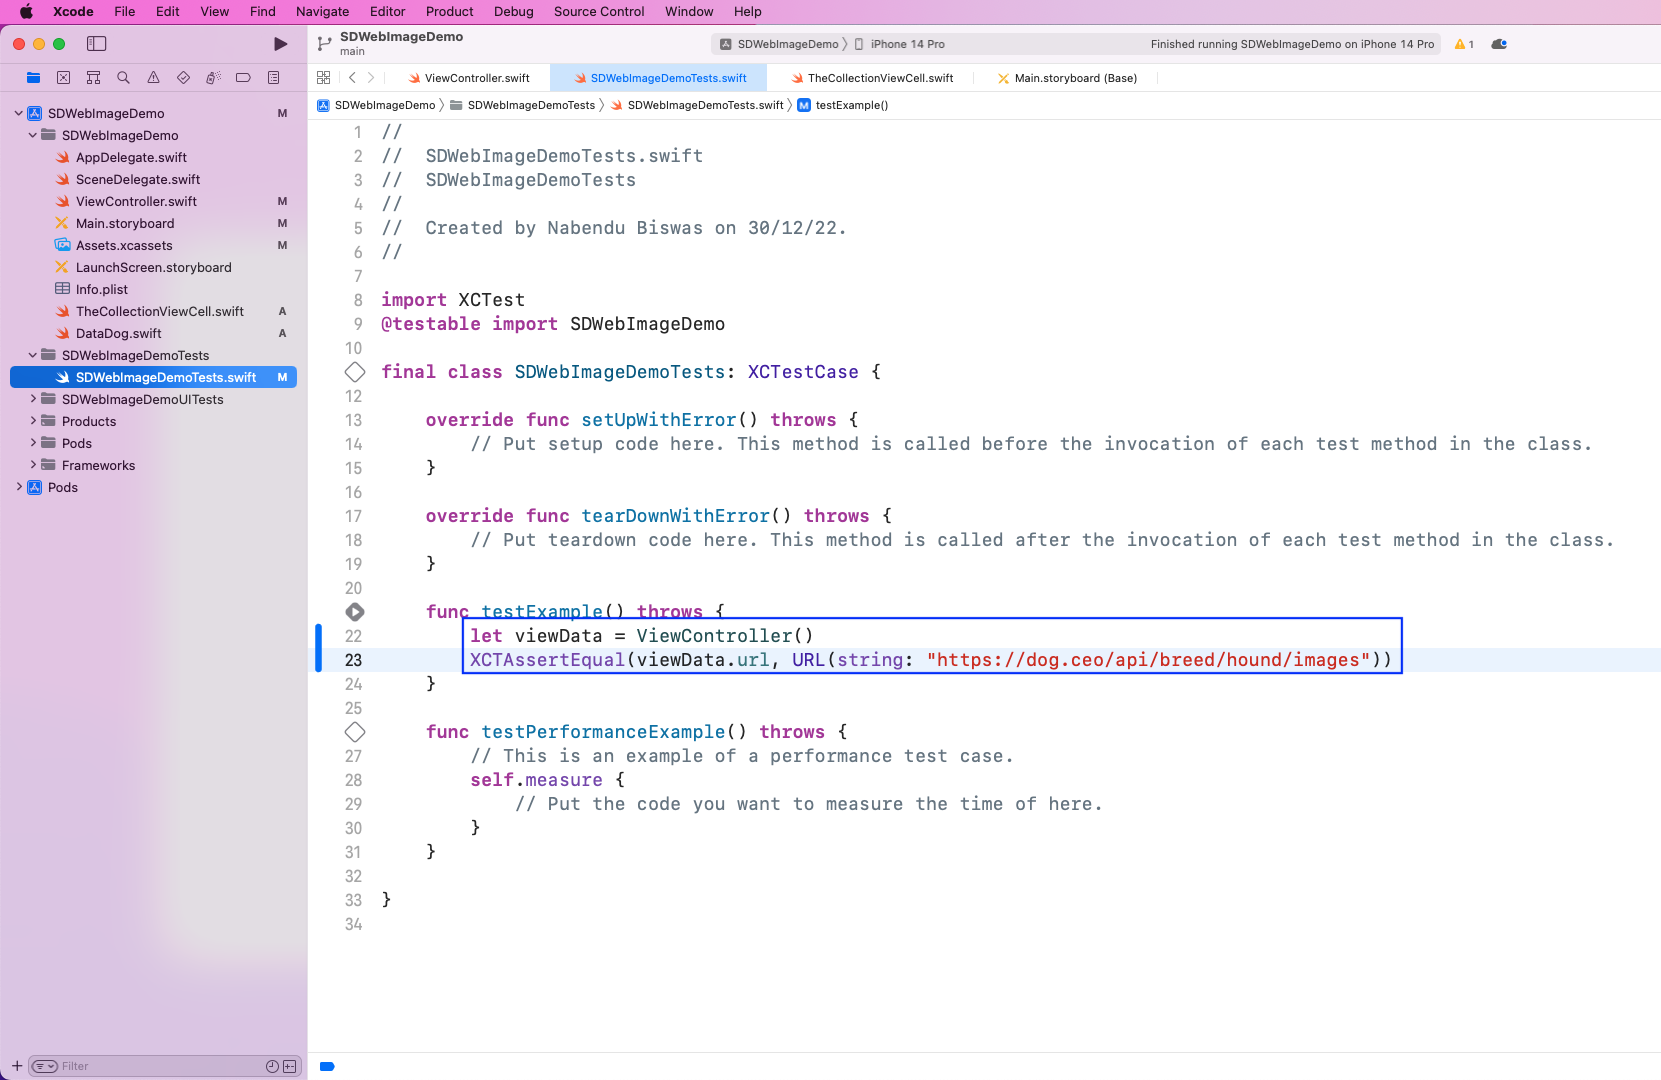
Now we'll do a simple XCTest in our app for the API URL. So we'll move the API URL outside and make it public in the ViewController.swift file.
Since we already set up tests when creating the project, just go to the SDWebImageDemoTests.swift file inside the SDWebImageDemoTests folder. Here, we'll create an instance of ViewController. After that, using the XCTAssertEqual function, we'll check whether the URL is equal to https://dog.ceo/api/breed/hound/images.
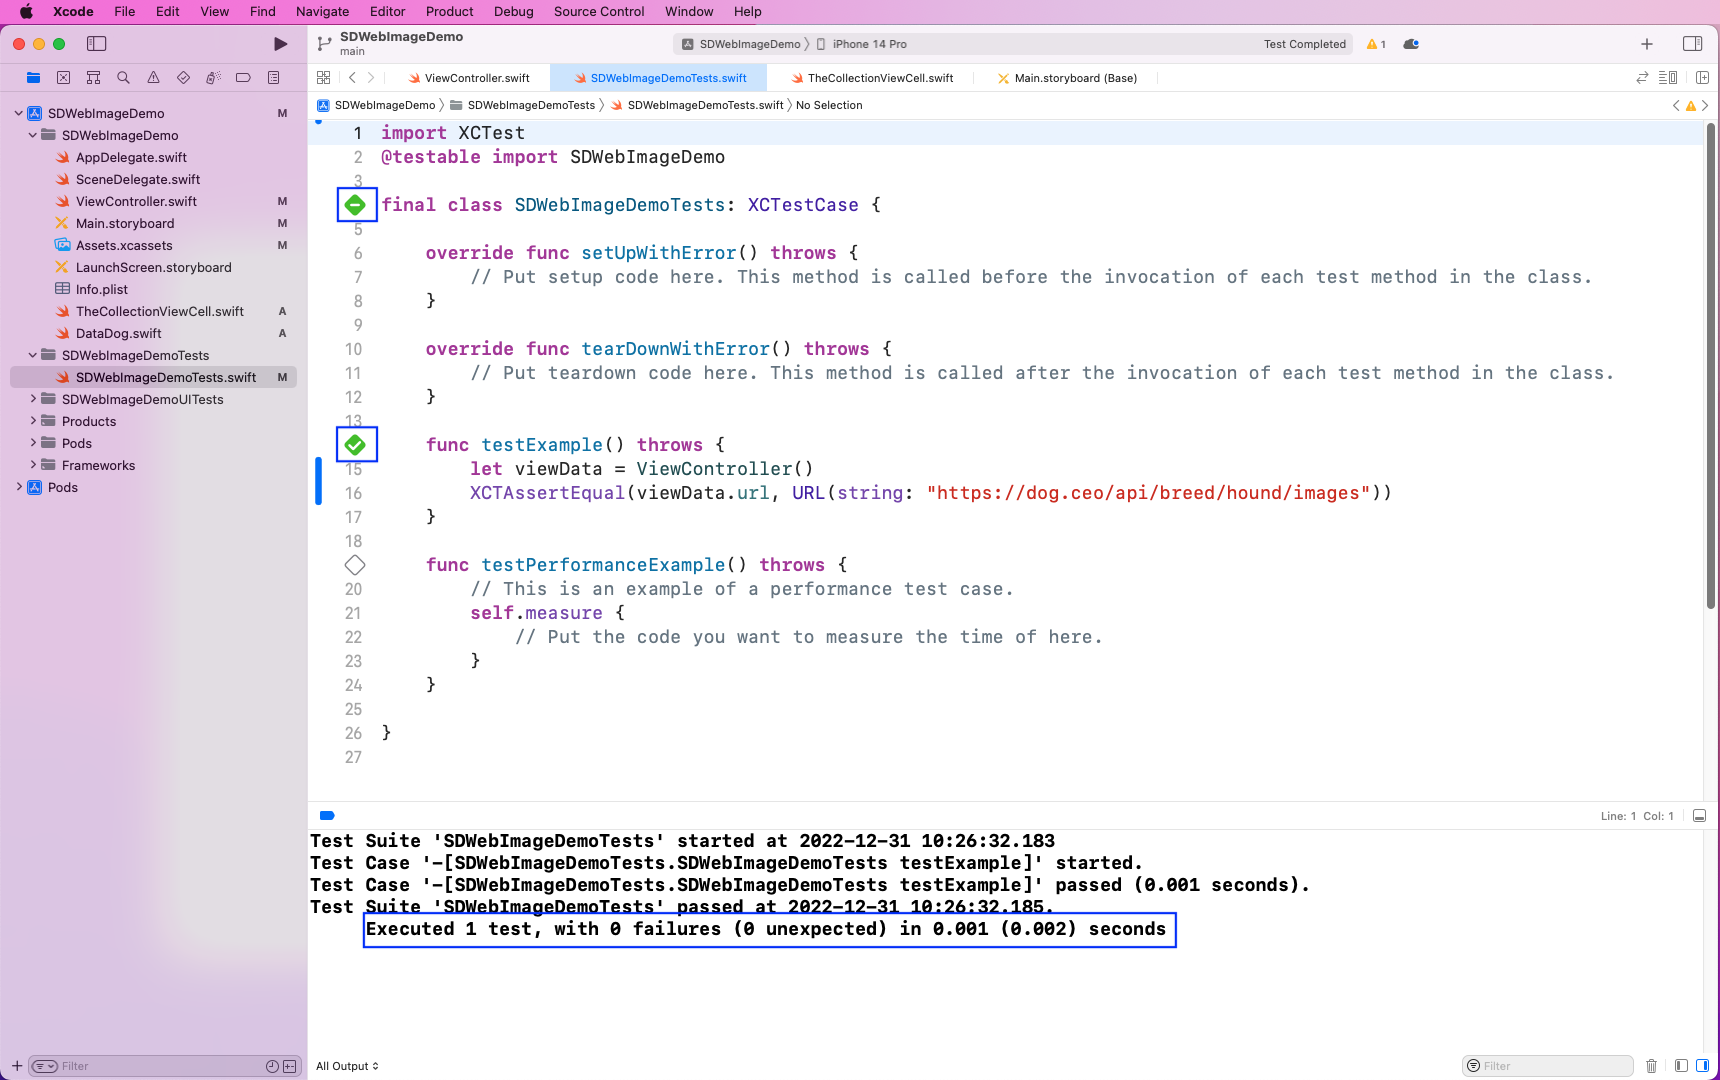
Next, we'll run this test by clicking Play next to the testExample(). All the tests passed, and the confirmation is in the console.
What You've Learned
In this post, we covered image caching and asynchronous image fetching in Swift using SDWebImage. We created a simple project in Xcode through Storyboard, then hit the Dog API endpoint. After that, we saw images using the open-source SDWebImage library. We also wrote simple test cases using XCTest.
But testing the network calls in this app is challenging, as it requires complex mocking logic. Instead, you can use the no-code testing platform Waldo to perform these tests. You'll only need to provide the APK or IPA file. Waldo will then automatically generate test cases and email you a report.
Read this article to learn more about end-to-end testing.
Automated E2E tests for your mobile app
Get true E2E testing in minutes, not months.


