


Images are always a problem in web apps and mobile apps. They take time to load, and if there are a lot of them, they can slow the app down. Imagine a social media app that has a lot of images. If the images are not loaded, when the user swipes up, then it will be a bad user experience. We can solve this problem with the image caching tool in Swift known as Kingfisher.
In this post, we will first talk about image caching, followed by an overview of Kingfisher. We are also going to create a simple iOS app and add Kingfisher to it to download images.
What Is Image Caching in Swift?
Image caching is like normal caching in relation to the web. When the API call has been made to an endpoint the first time, it might contain a lot of images. For example, an e-commerce website would likely contain a lot of product images. At this point, most of the images are downloaded and stored in the local storage of the mobile device, which is the phone's memory or disk. You can learn more about it in this article on image caching.
Images stored in memory can be accessed faster, but images stored in the disk are more persistent. With Swift, we can achieve the same in iOS apps through NSCache. But a better approach is to use a third-party solution like Kingfisher.
What Is Kingfisher in Swift?
Kingfisher is a Swift-based library that helps to download and cache images. We just need to pass the image URL and then use simple functions to display the images. The images can be displayed in the UIImageView and also set in the device memory and disk cache.
Kingfisher is a completely open-source and free-to-use library. Due to its popularity, it also has a very good community supporting it. You can find out more about it from its GitHub repo. But one of the main questions is, how can I download images in Kingfisher Swift? We're going to learn about this in the next section.
The Setup
We will first create a new project by opening Xcode and clicking on New > Project:
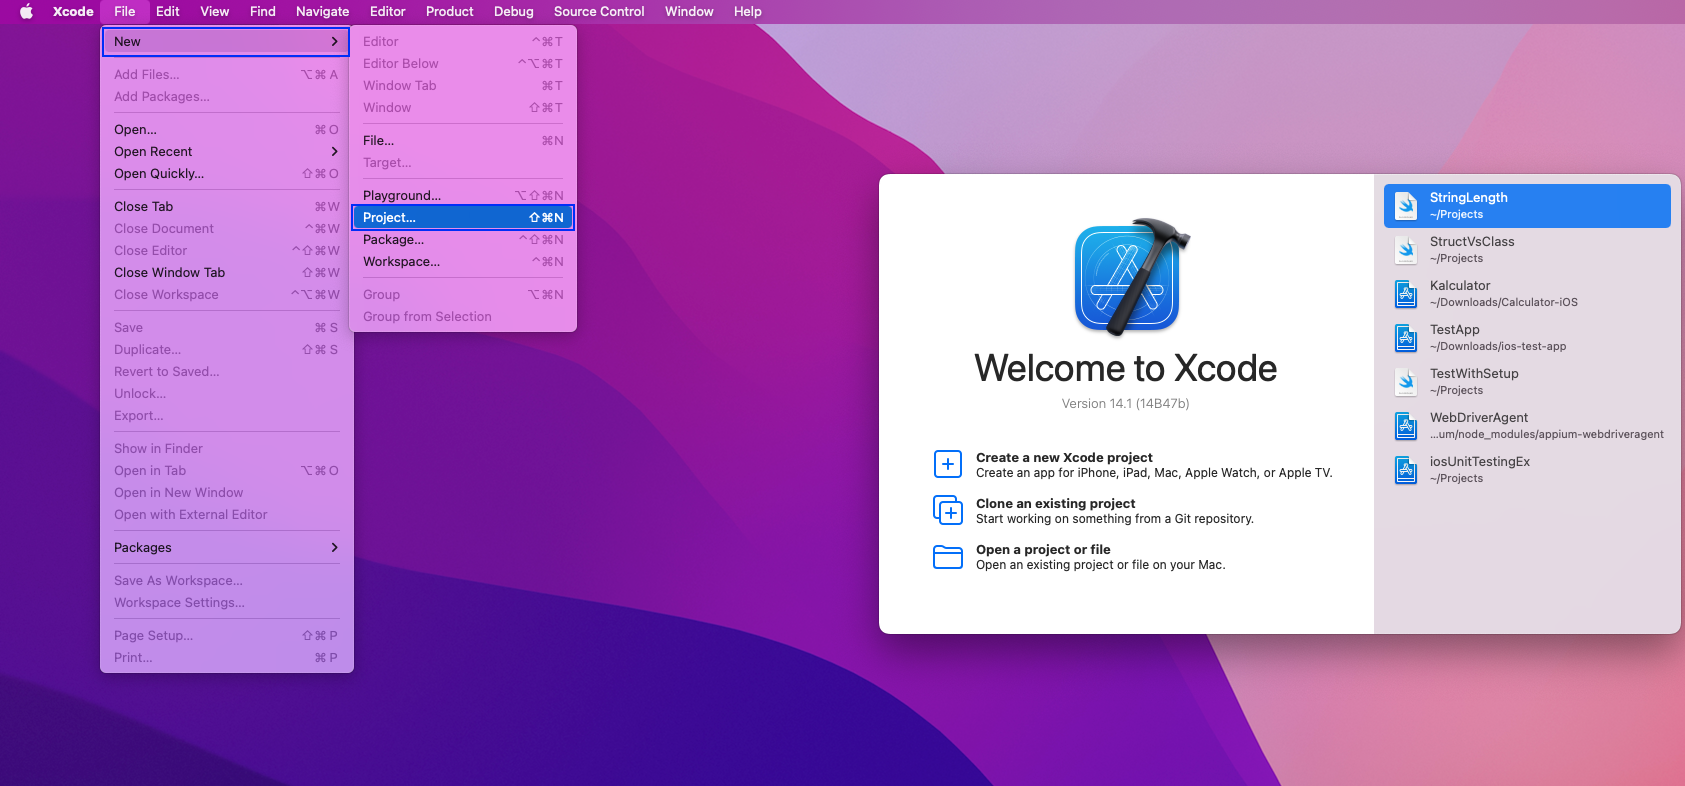
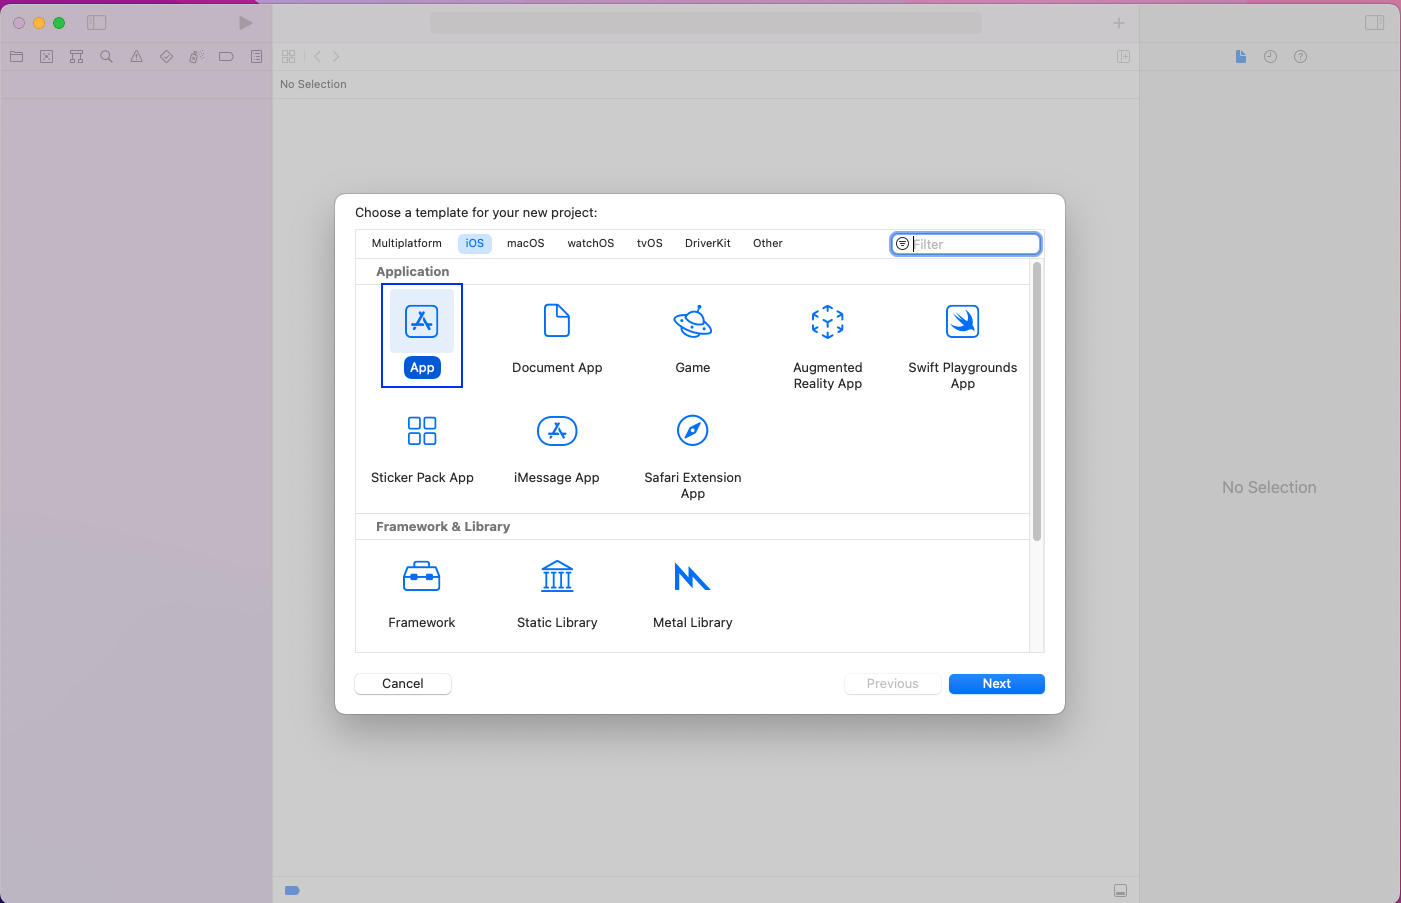
A pop-up will be opened. Click on App and then the Next button:
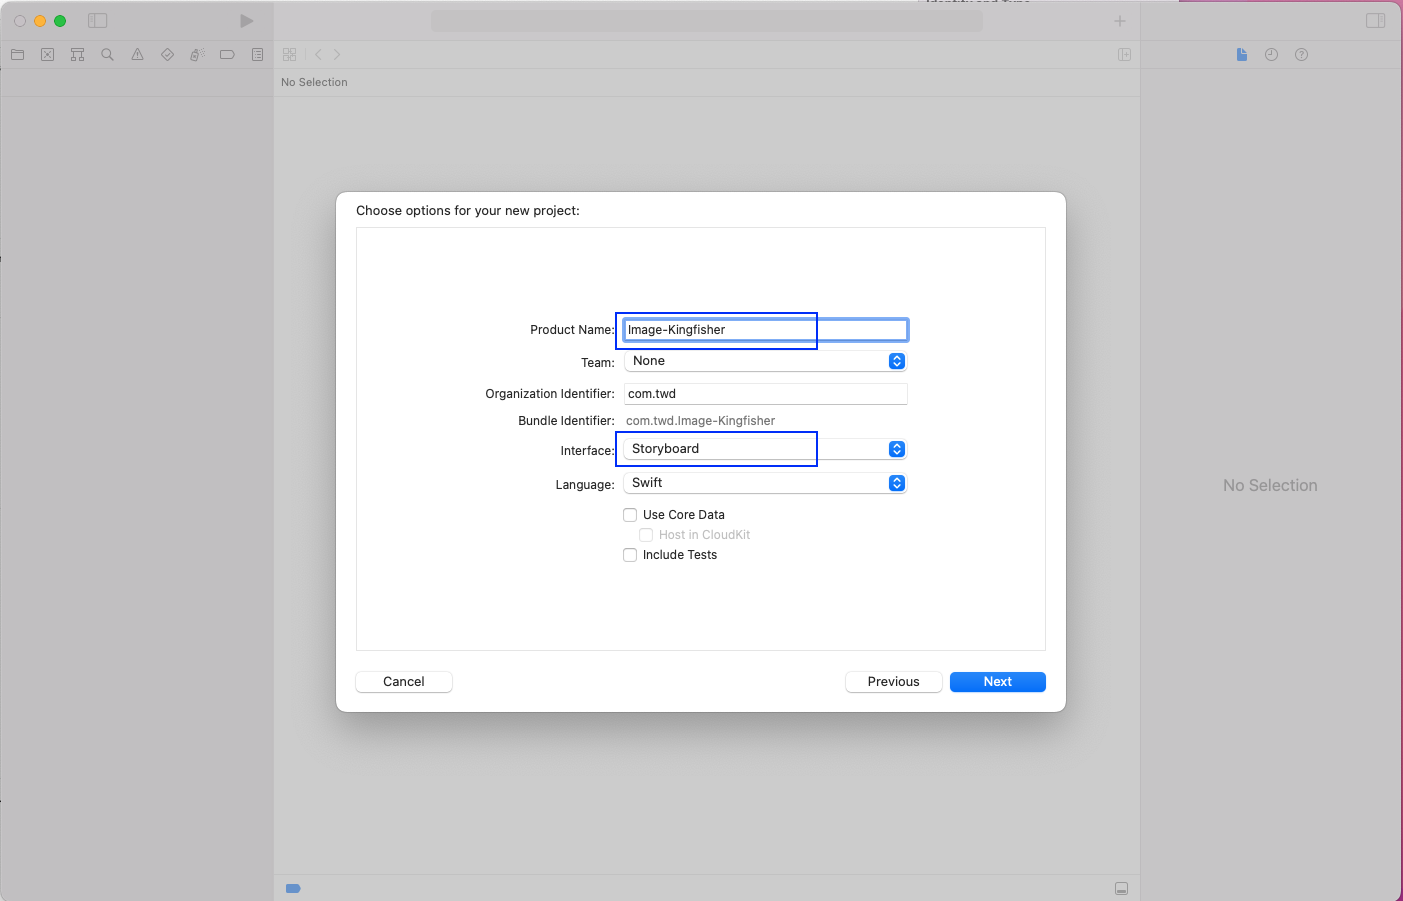
In the next pop-up, give the product name, which is Image-Kingfisher in our case. The interface should be Storyboard because we are going to use Storyboard to create our simple app:
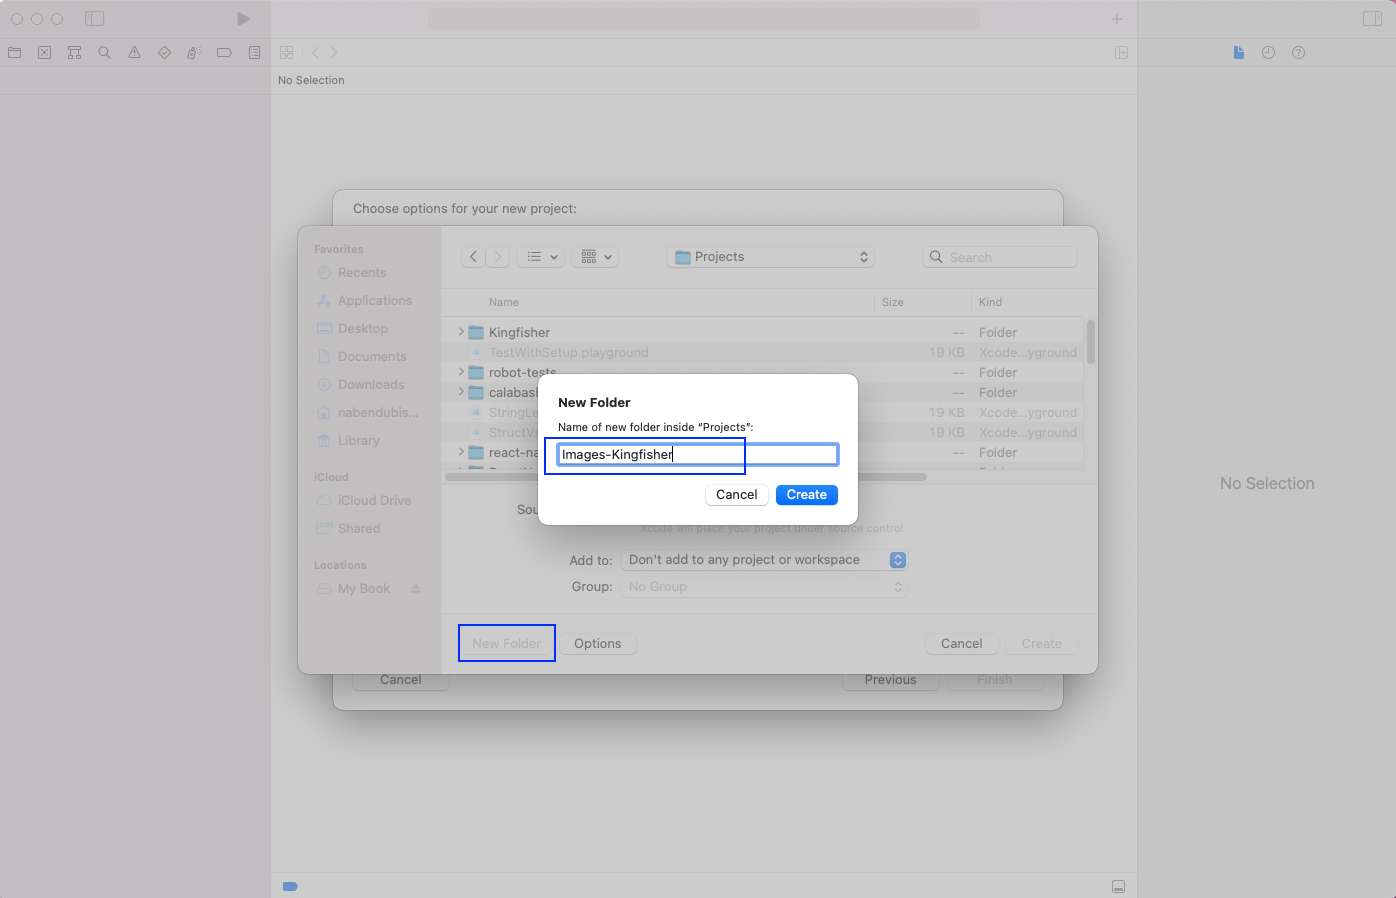
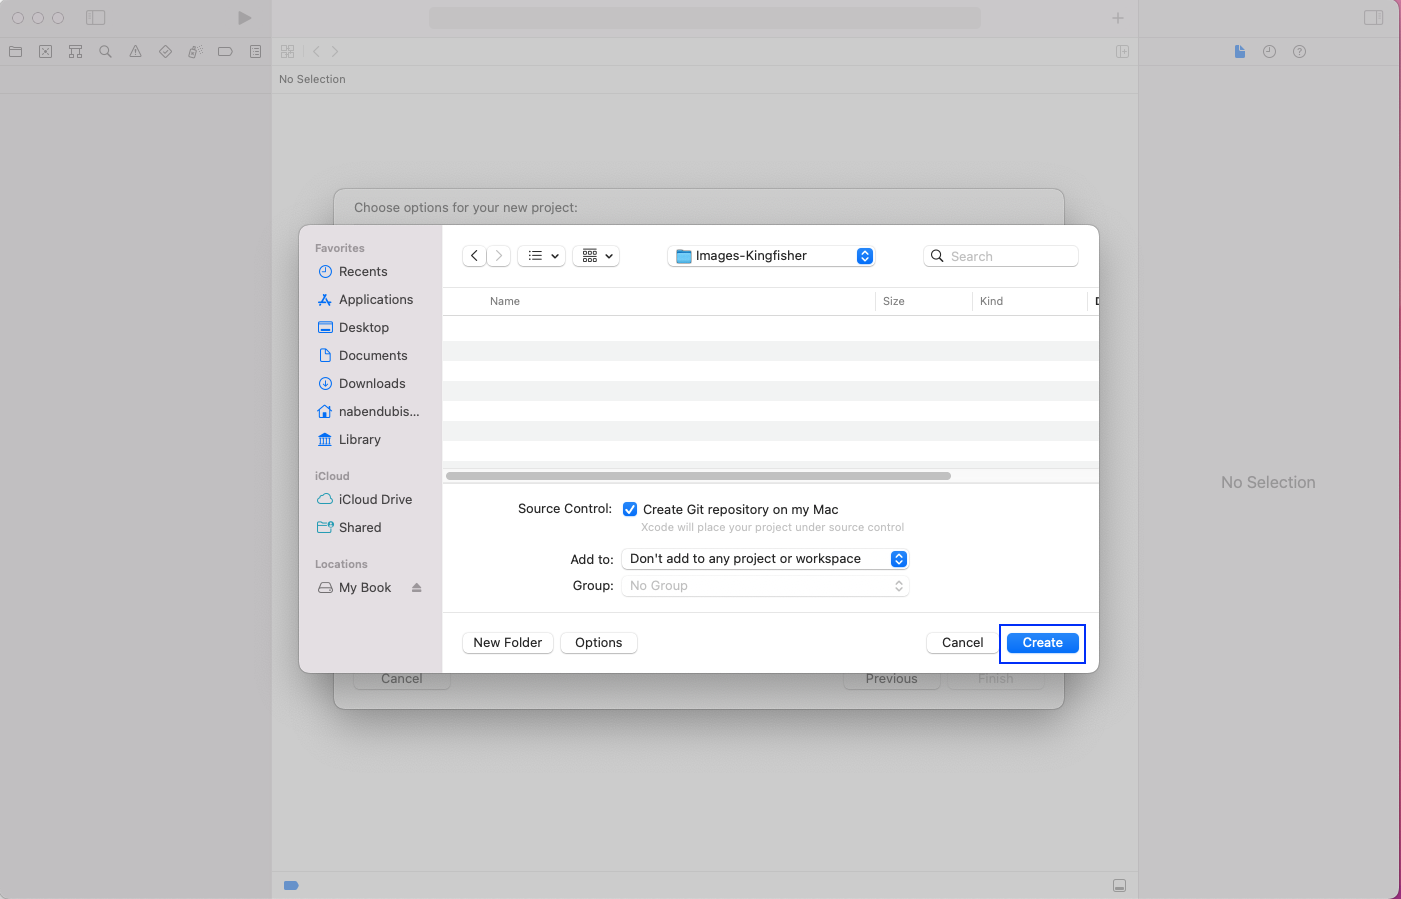
We will be asked to input the place to create the project. Notice that we have created a new folder called Images-Kingfisher:
In the next pop-up, simply click on the Create button:
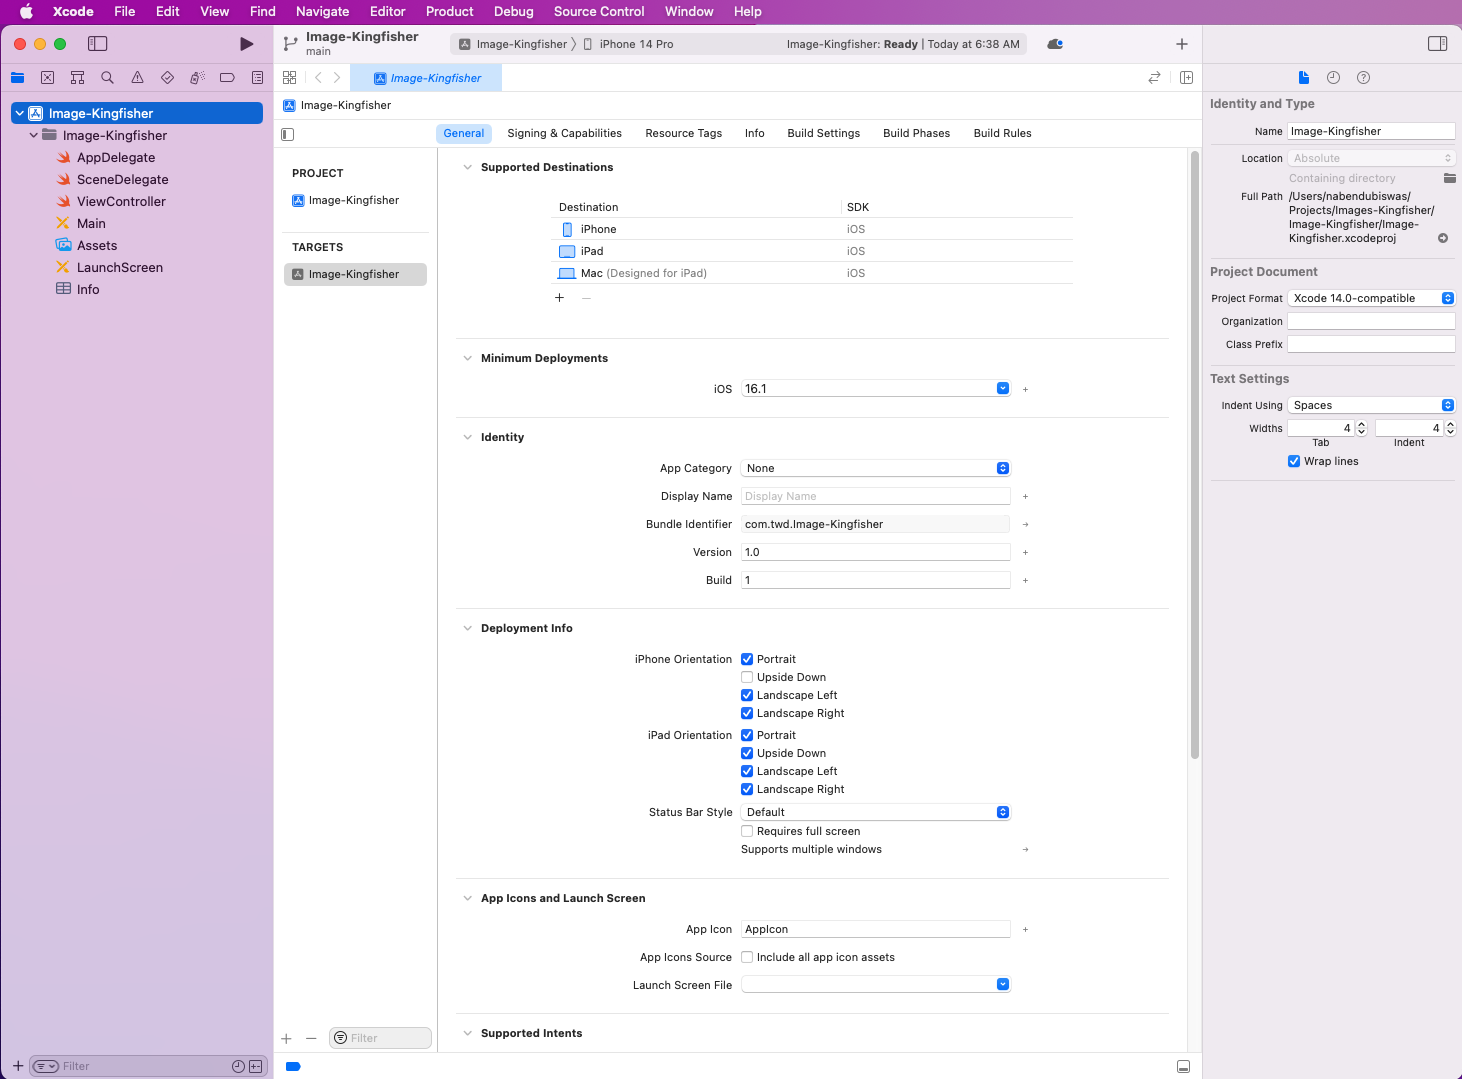
We will finally see our project in Xcode:
App Layout Through Storyboard
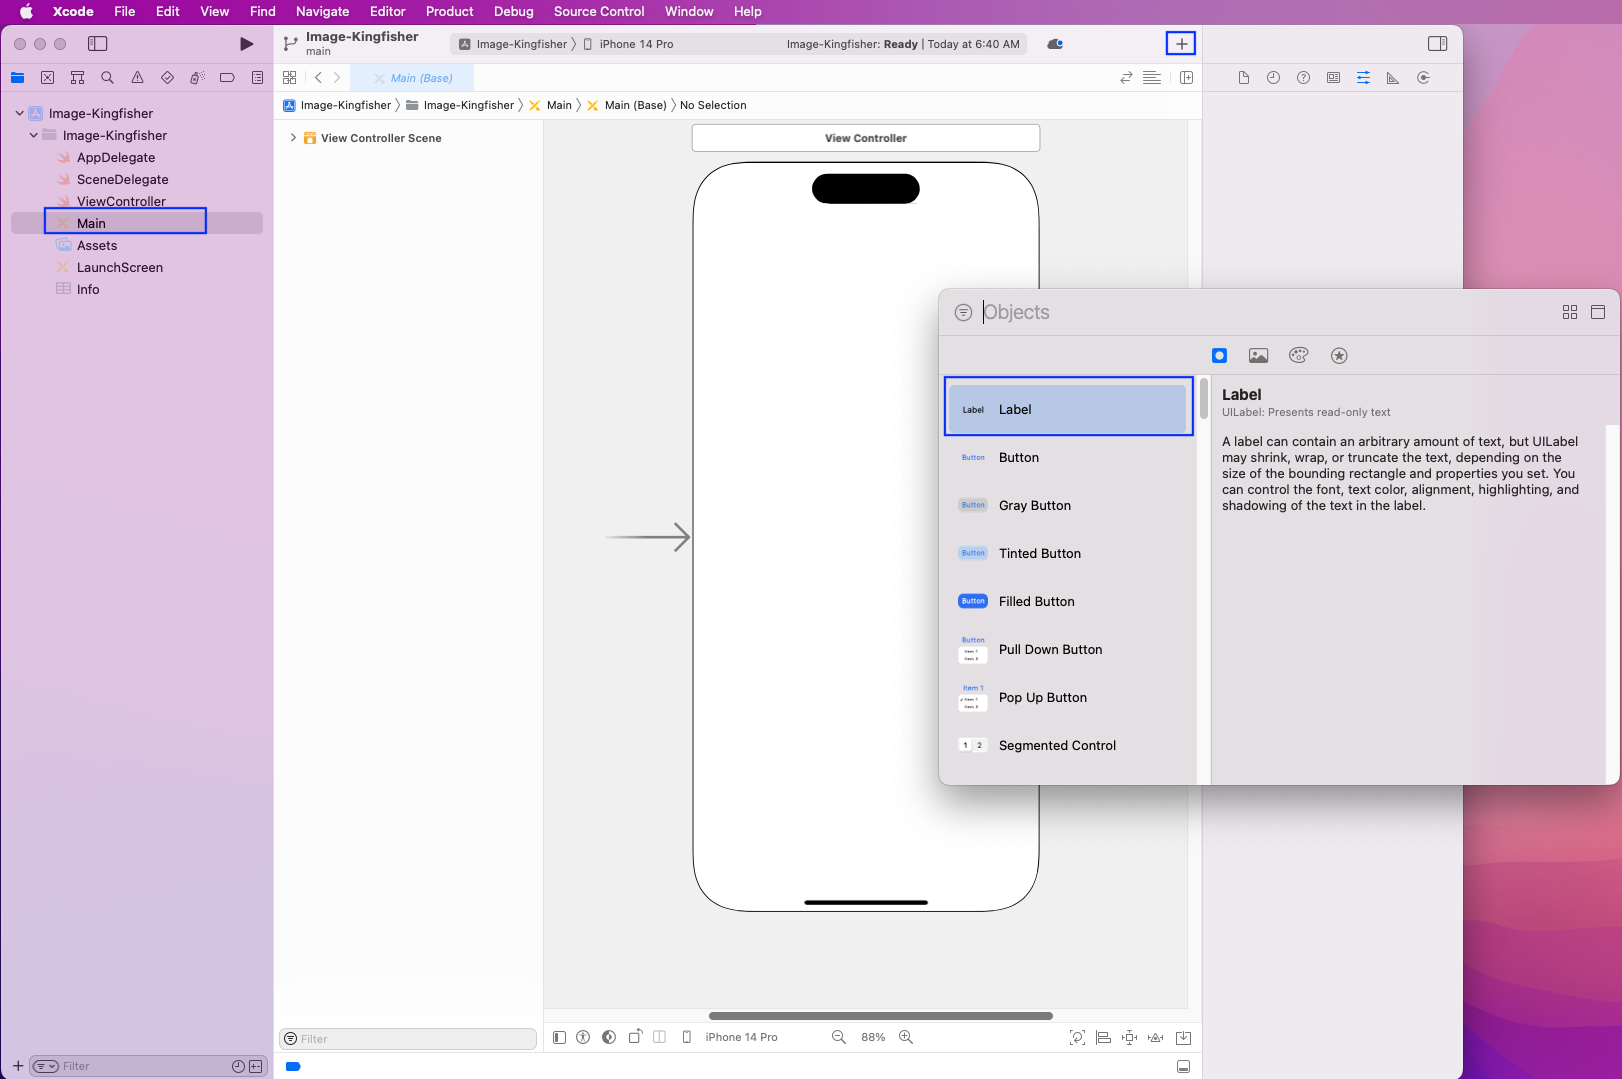
We will create our app to fetch an image from a URL through the Storyboard feature of Xcode. So, click on the Main file, and it will show an image of an iPhone. After that, open the object library by clicking on the + sign in the upper-right corner.
Here, click on Label and drag it to the iPhone image:
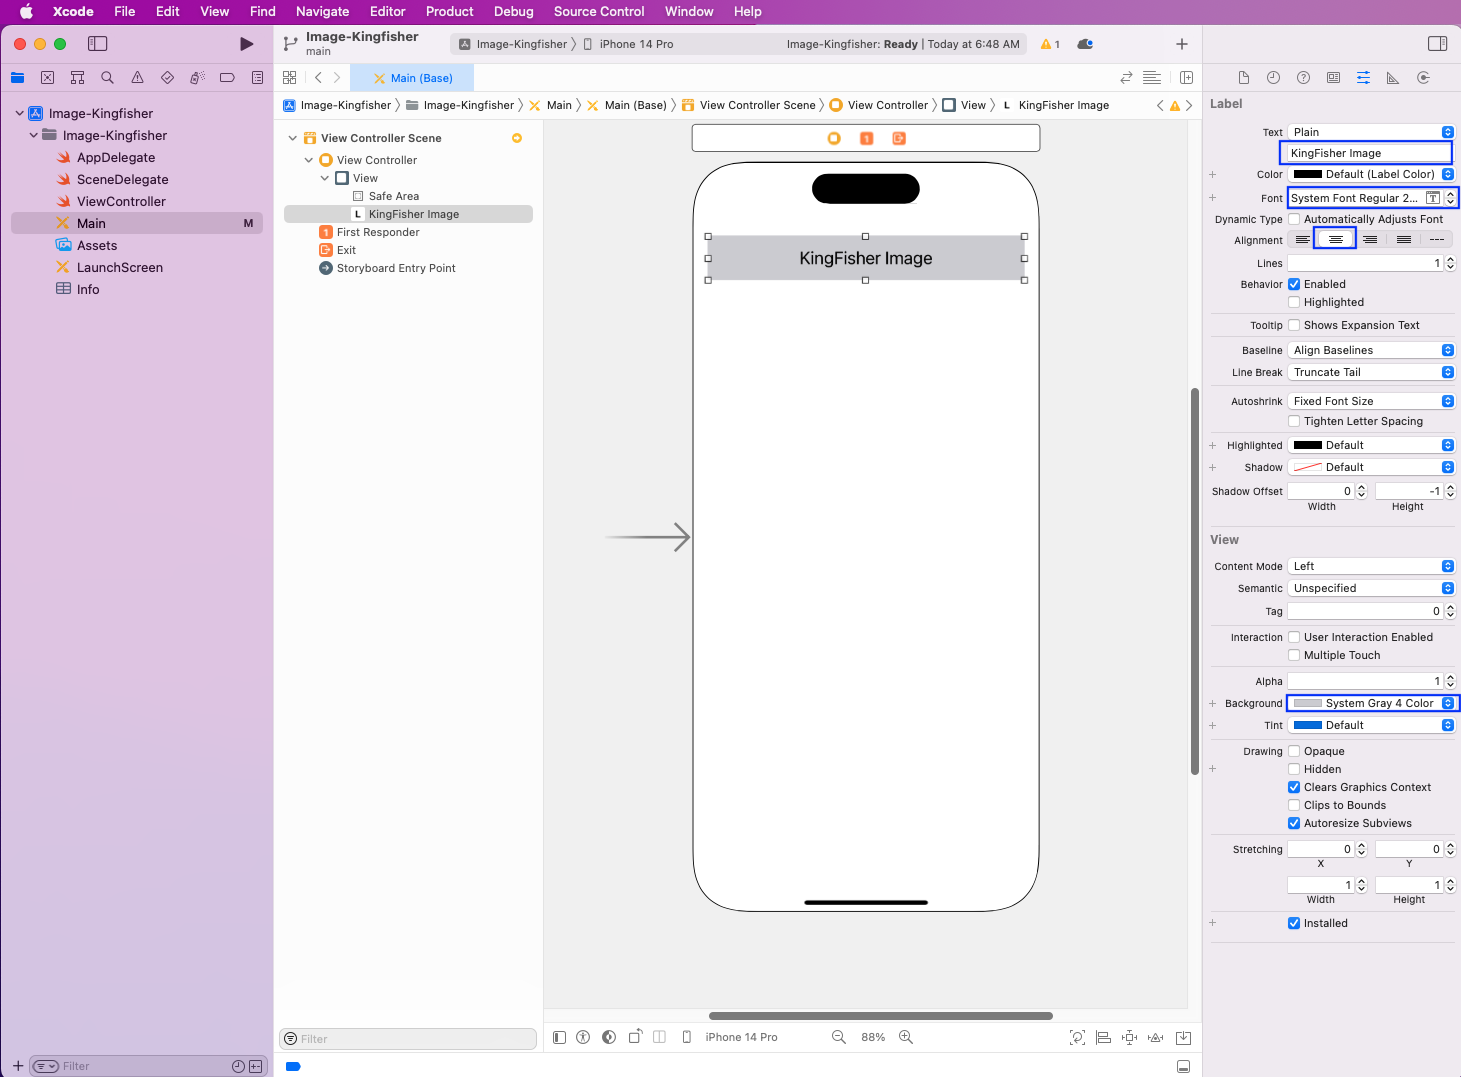
We have expanded the label to fill the whole width. Besides this, we have given it a name, increased the font size, and given it a background color:
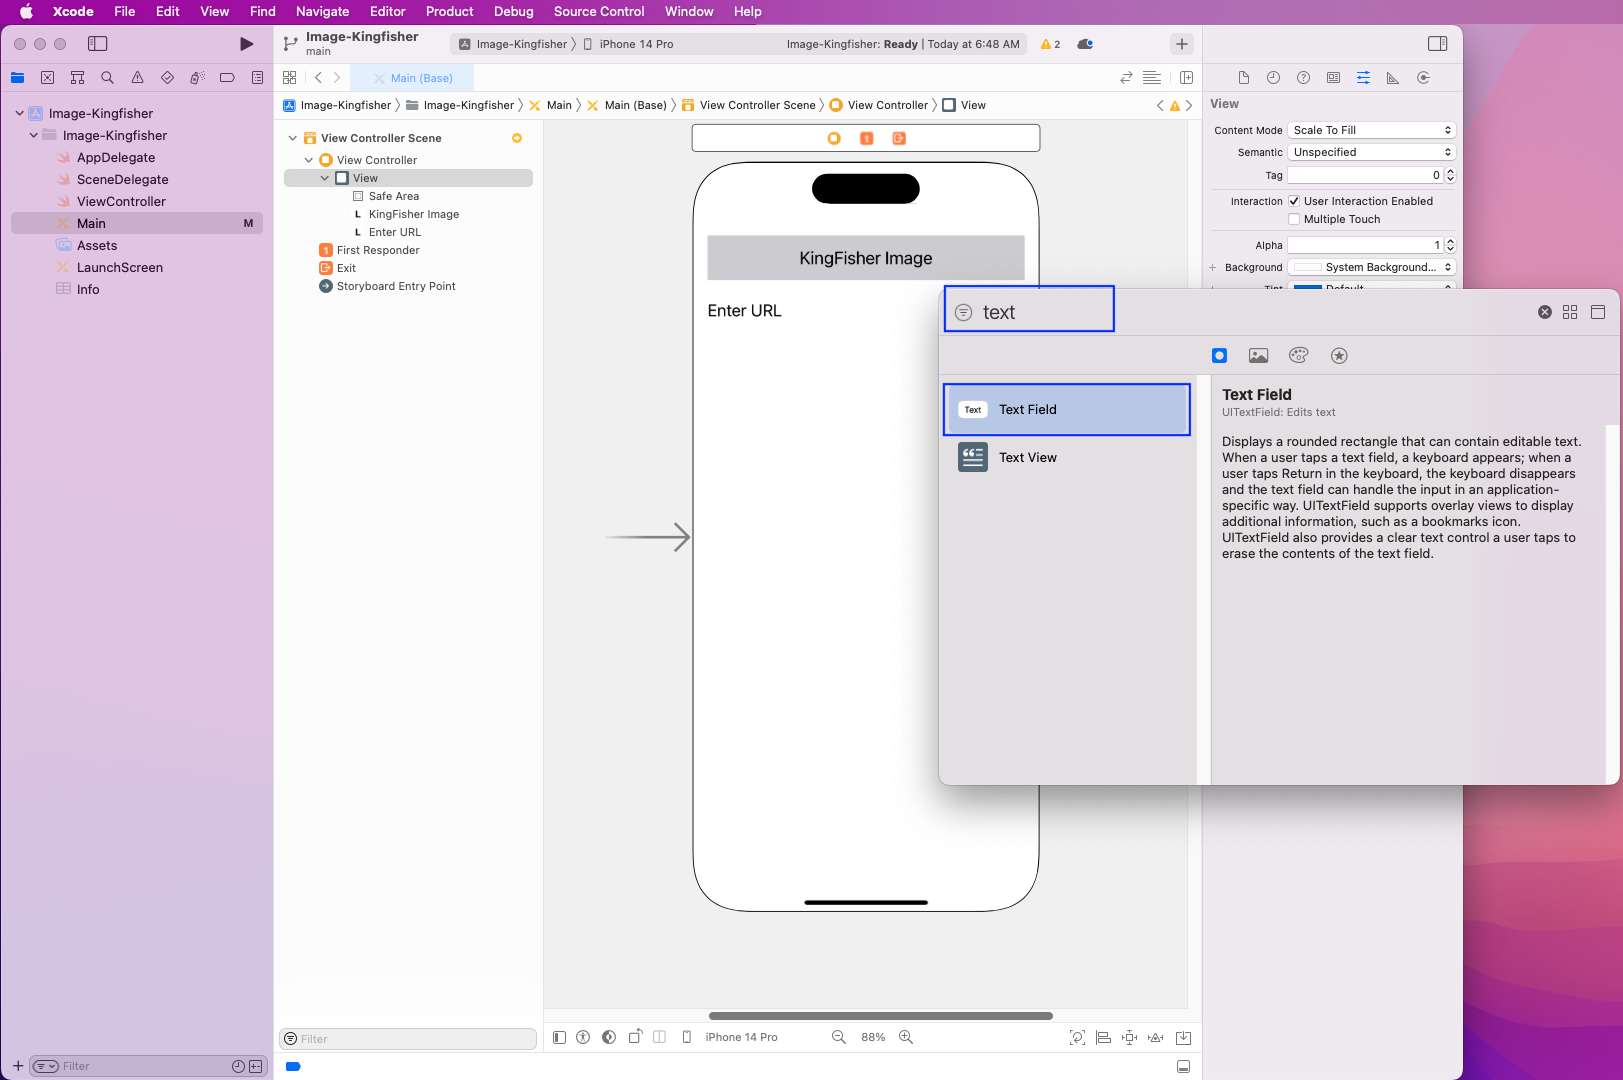
We have added another label and named it Enter URL. Next, we will again open the object library and write text in the search bar, then drag a Text Field to the iPhone image:
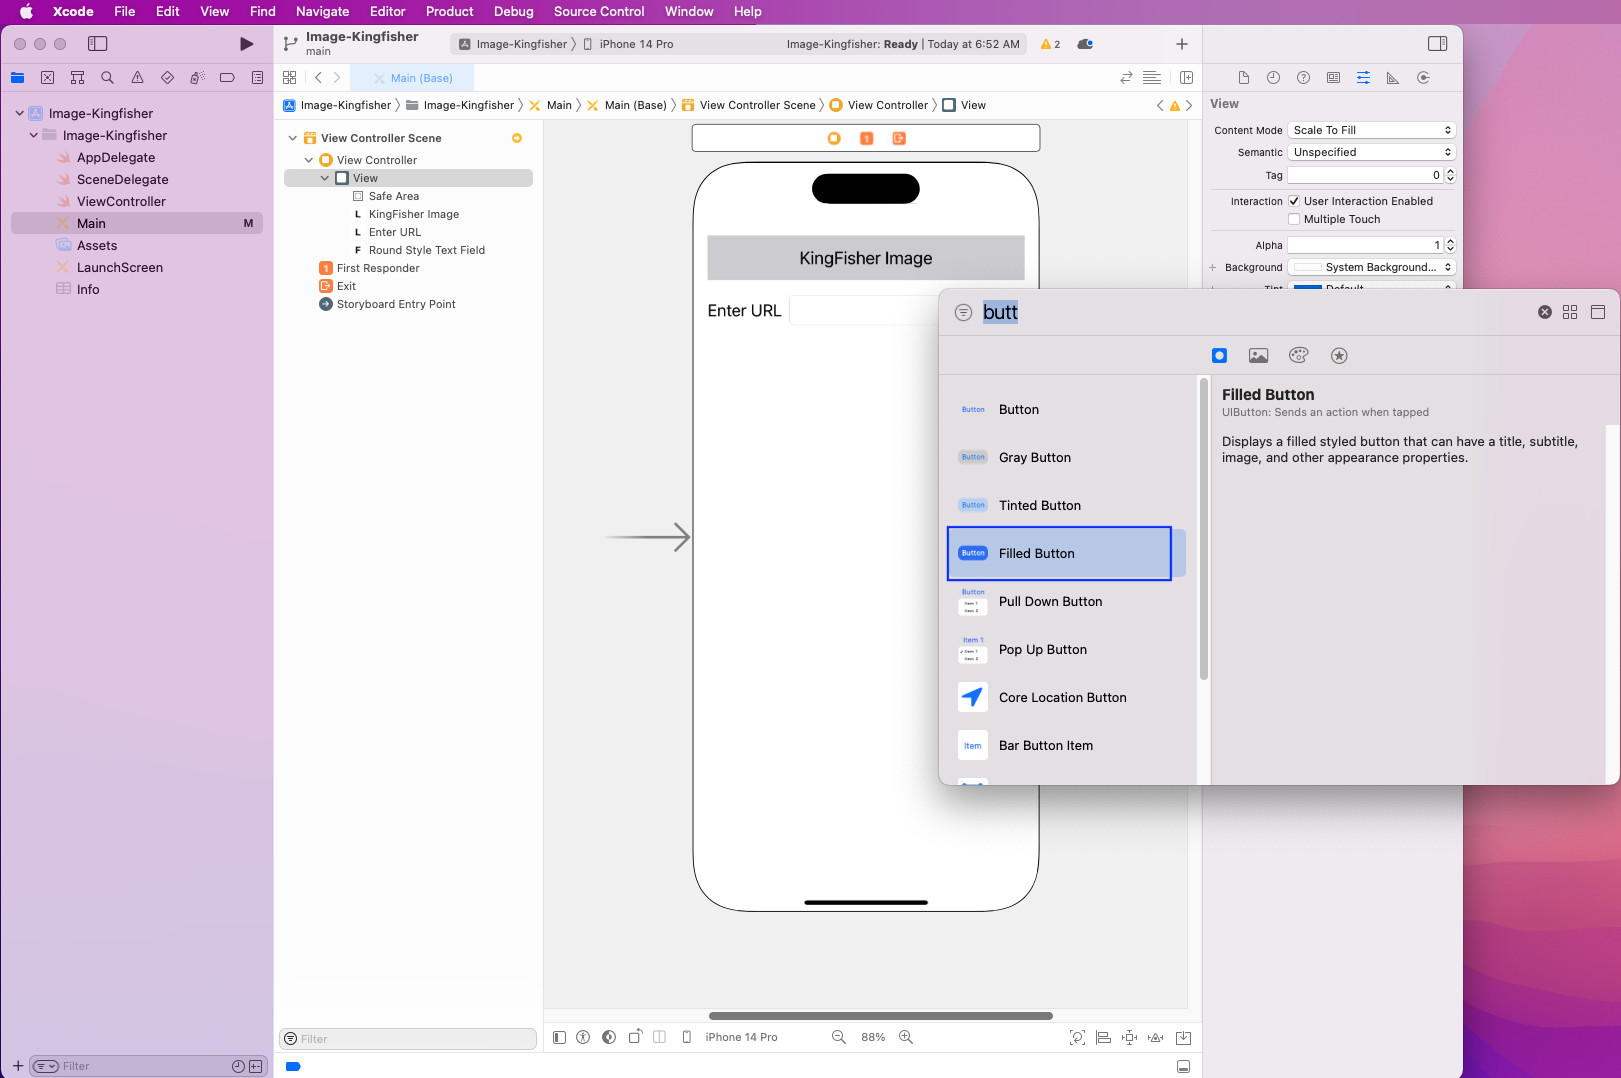
After placing the Text Field in the correct place, we will search for a button. Here we will drag the Filled Button to the iPhone image:
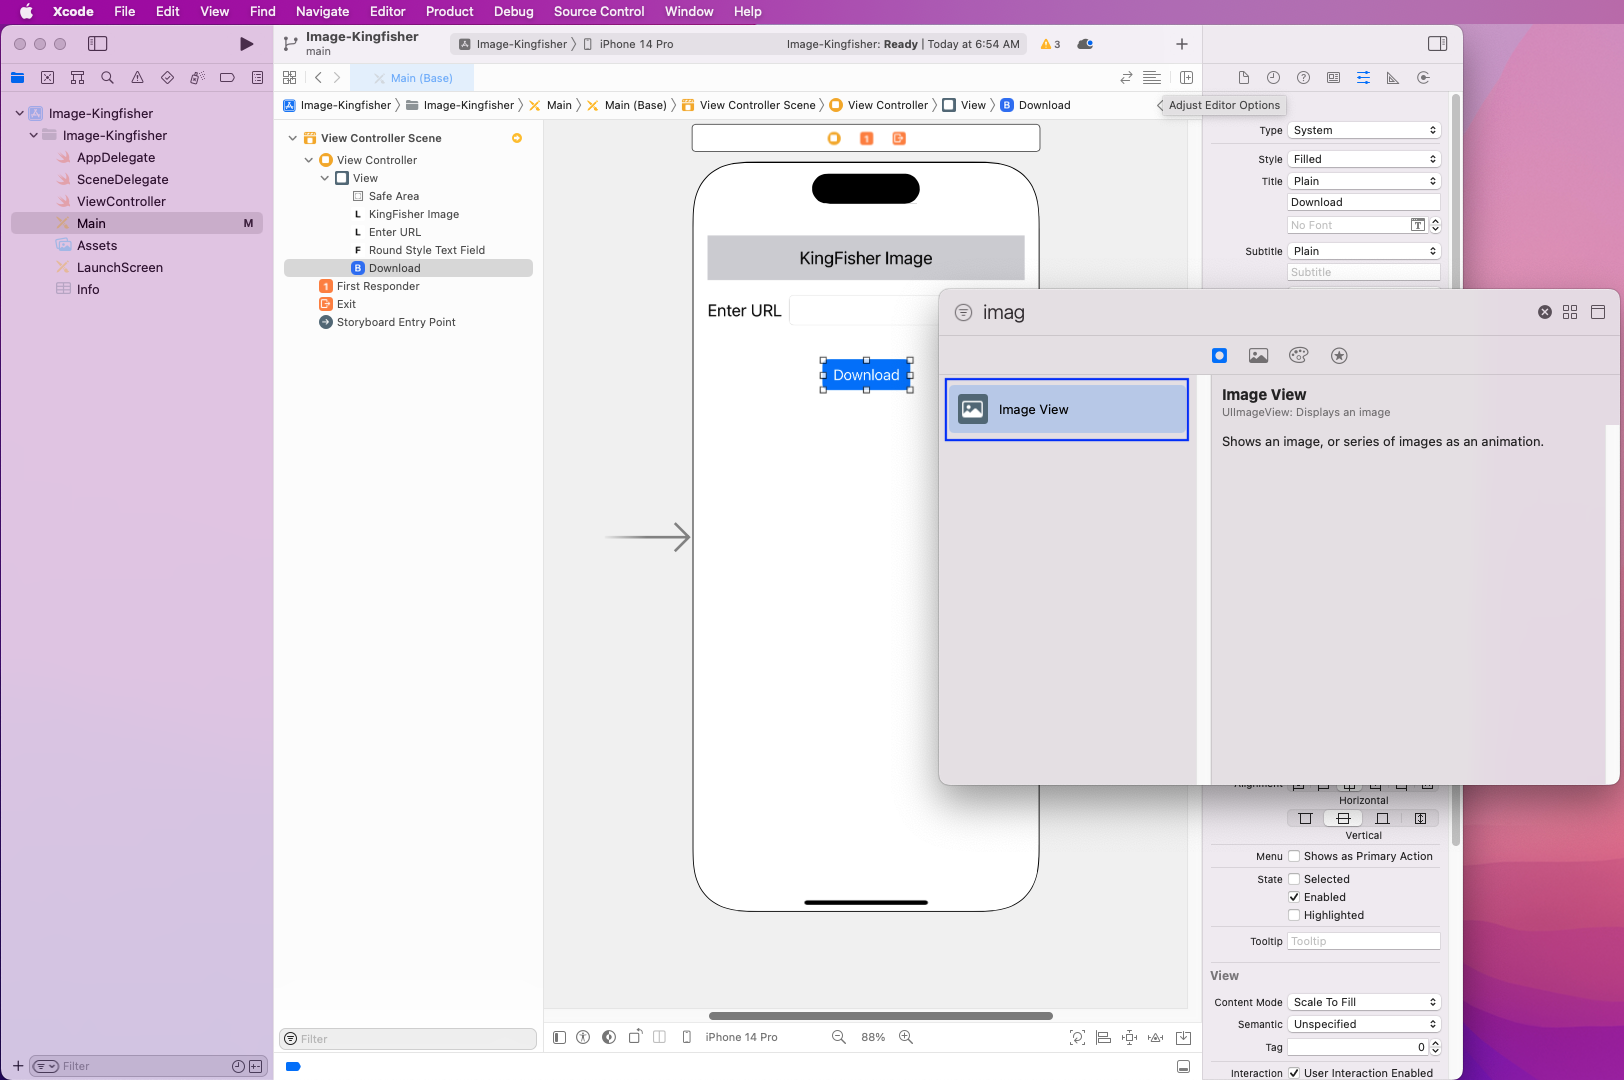
For the button, we have changed its name to Download:

Again click on the object library and search for an image. Here we will get the Image View, which we need to drag to the iPhone image:

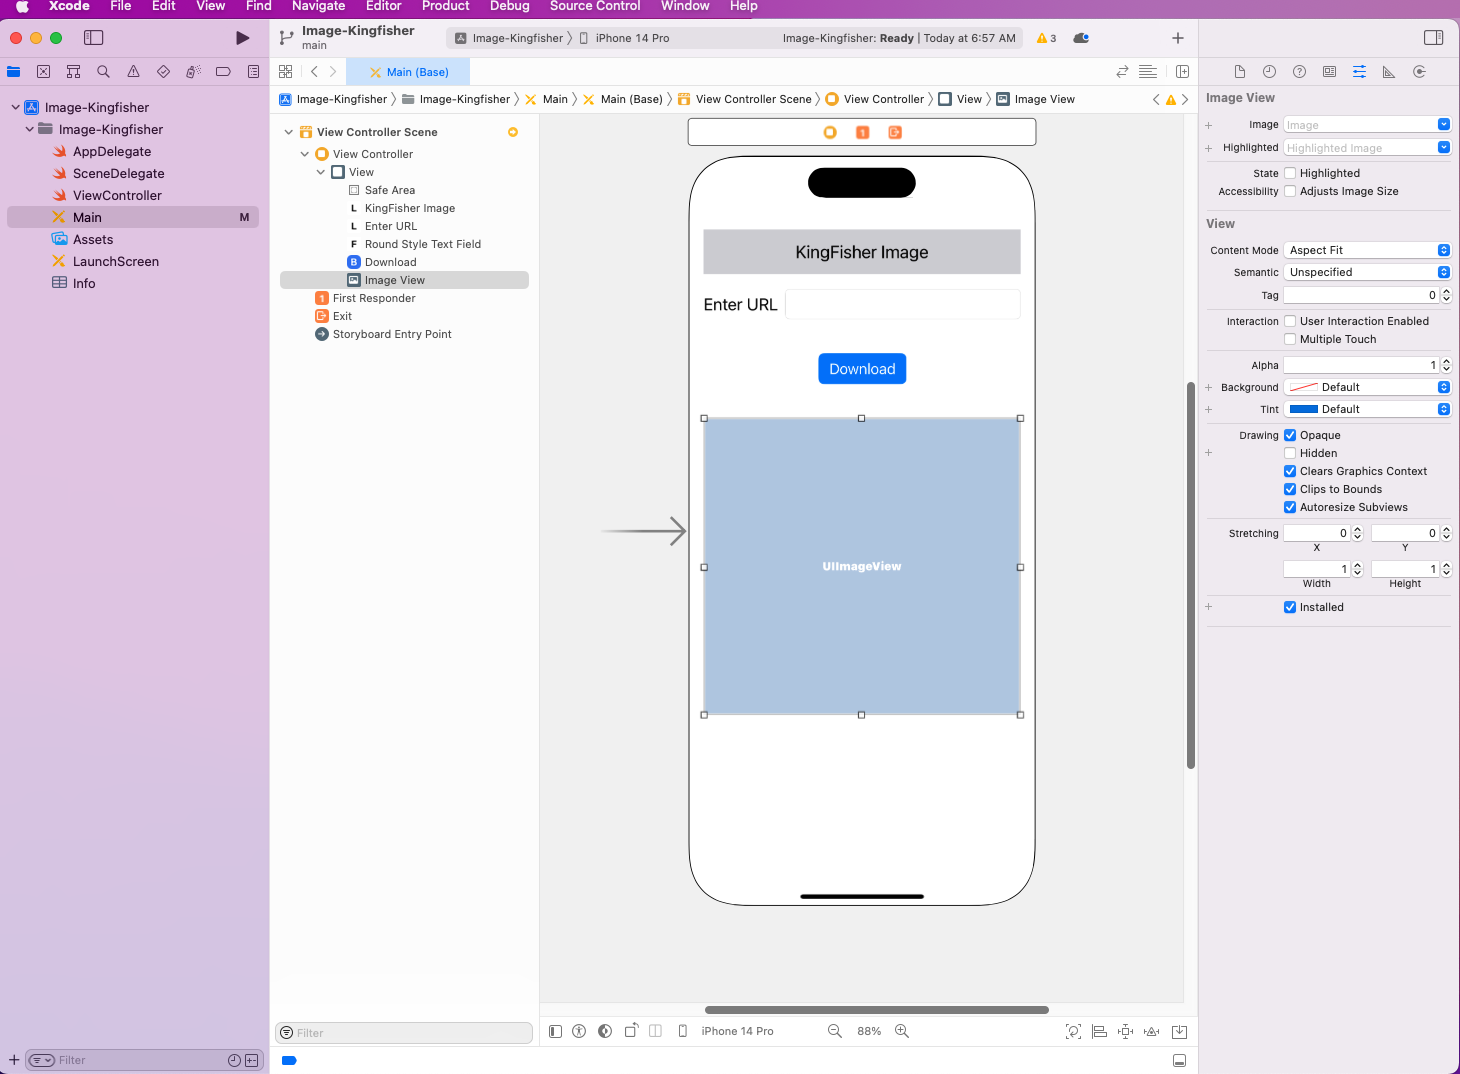
We will expand the Image View to the correct dimensions:
Now we will drop an image into the Assets folder. This will work as a placeholder for our app.
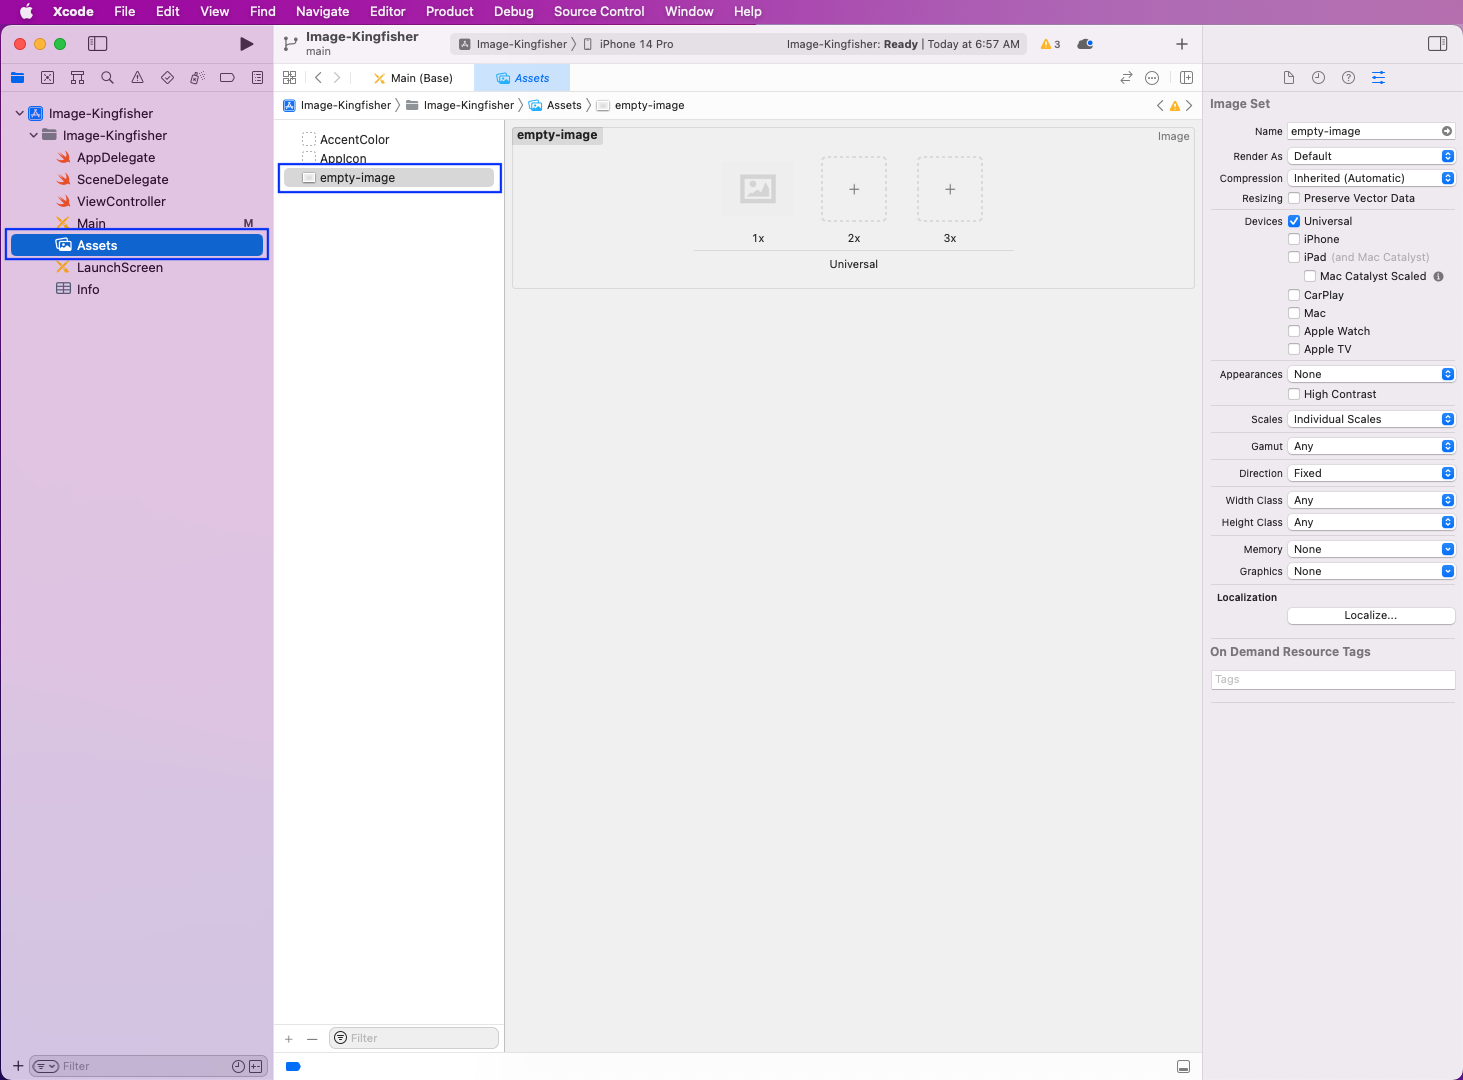
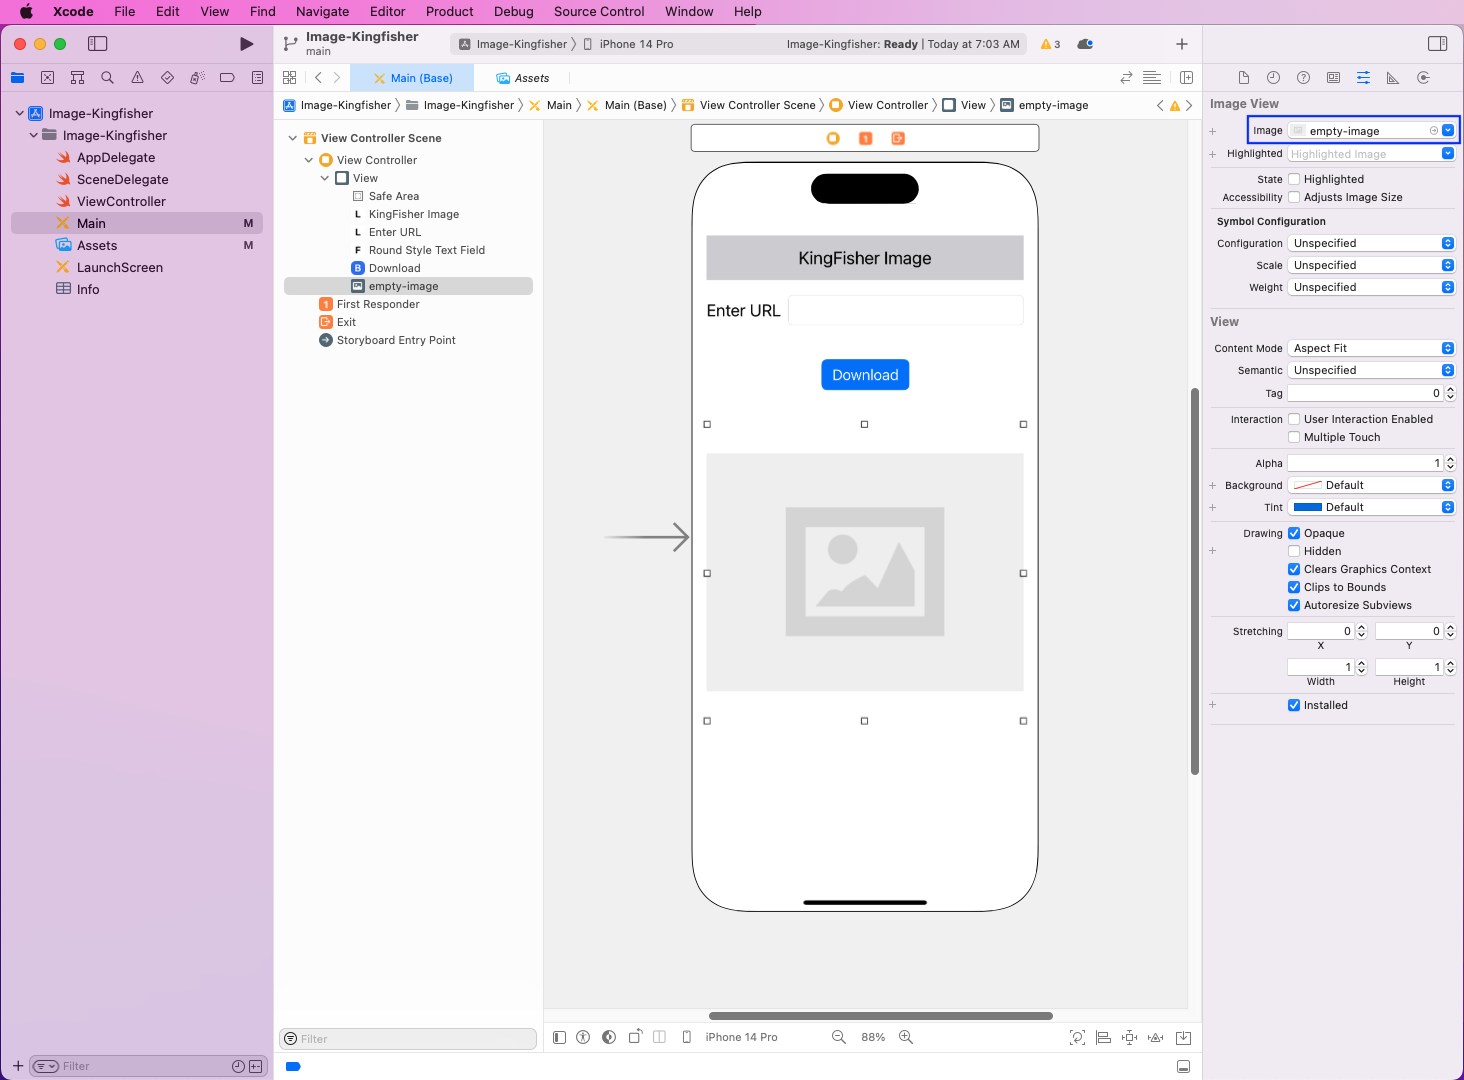
Go back to the Image View and select the uploaded image called empty-image in the Image field:
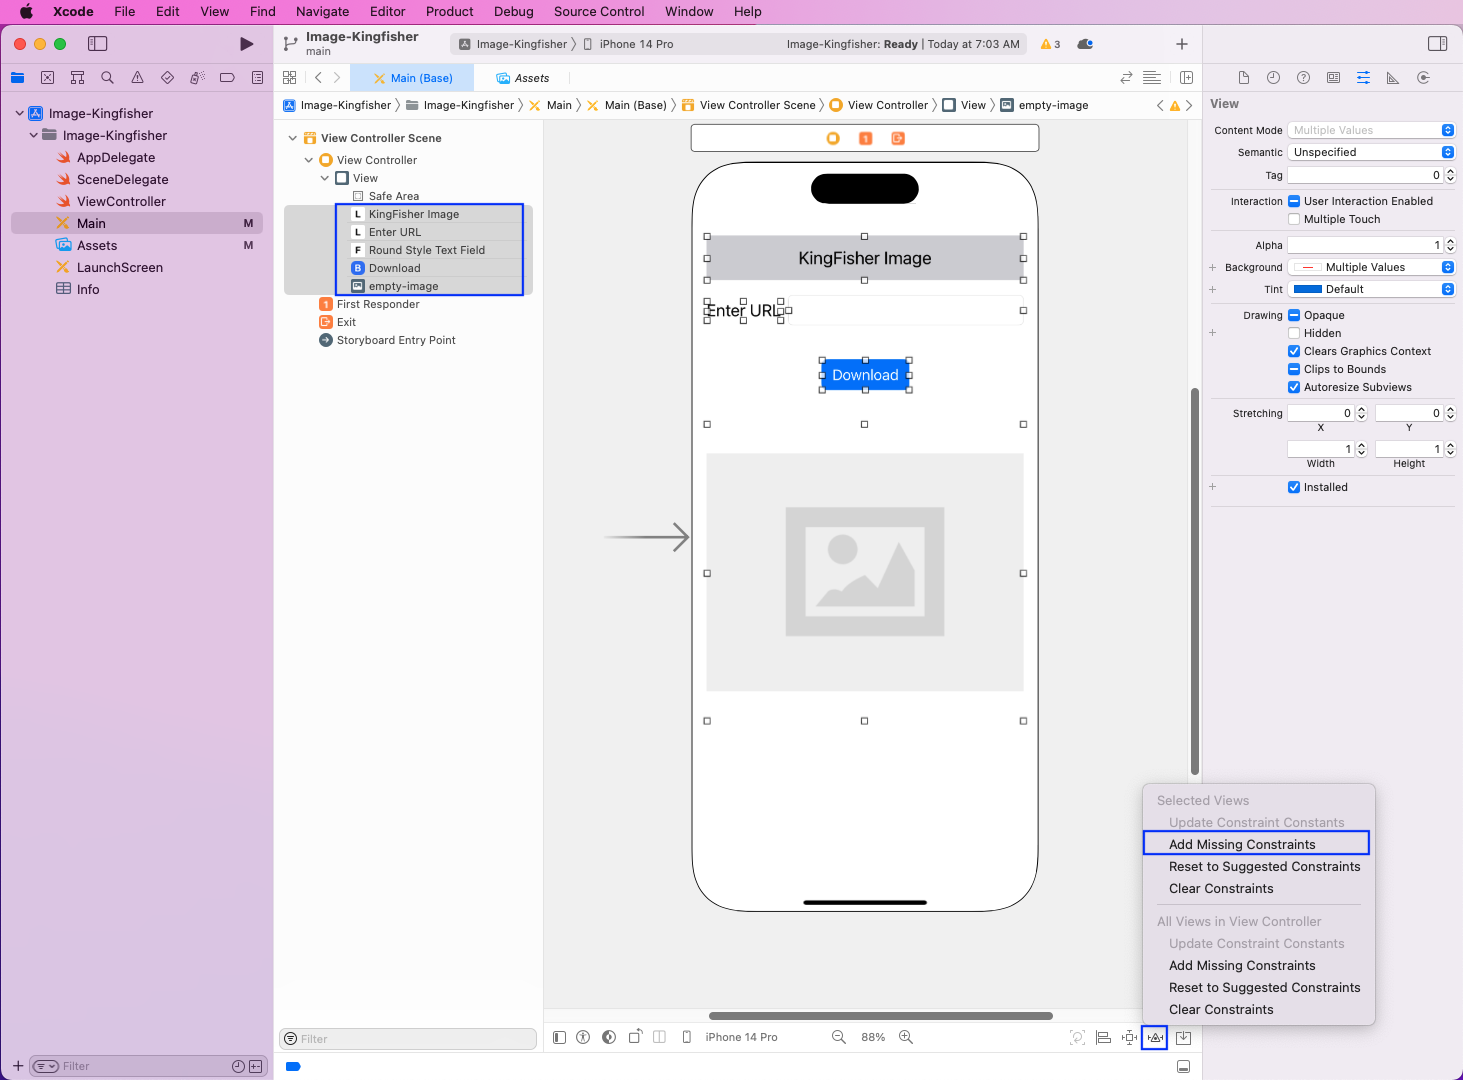
The layout is complete now. But we need to add constraints for our app to work properly. So, select all the elements and then click on the triangle on the bottom right. It will open a menu, so we'll click on Add Missing Constraints here:
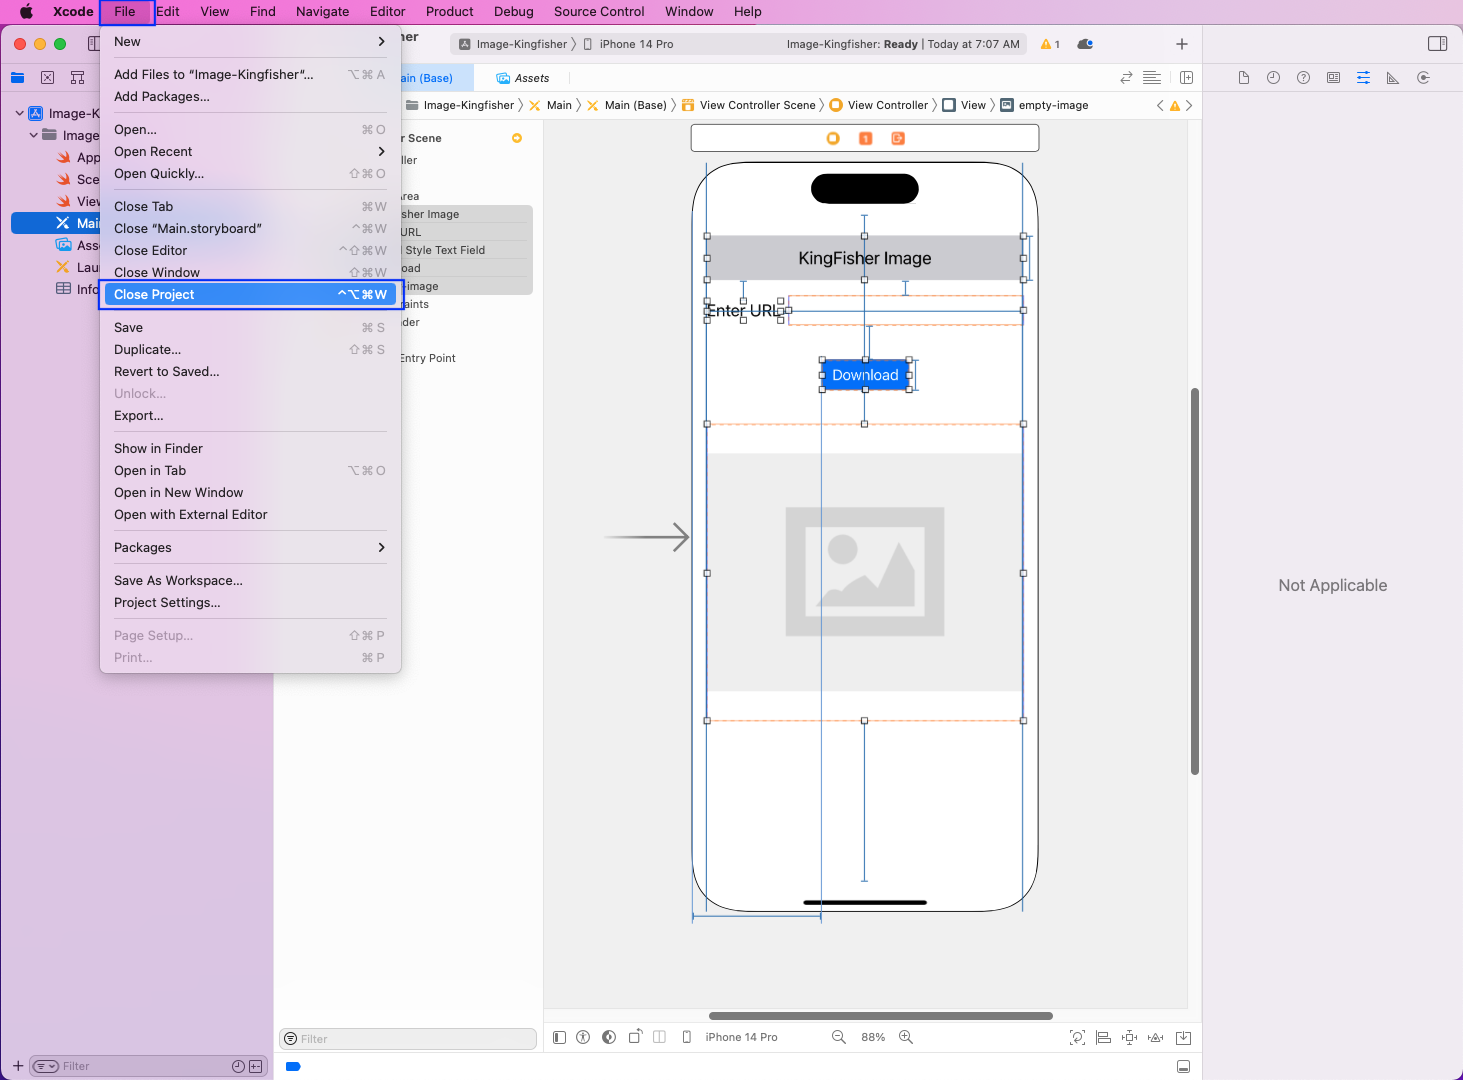
Finally, close the project by clicking on File > Close Project:
Installing Kingfisher
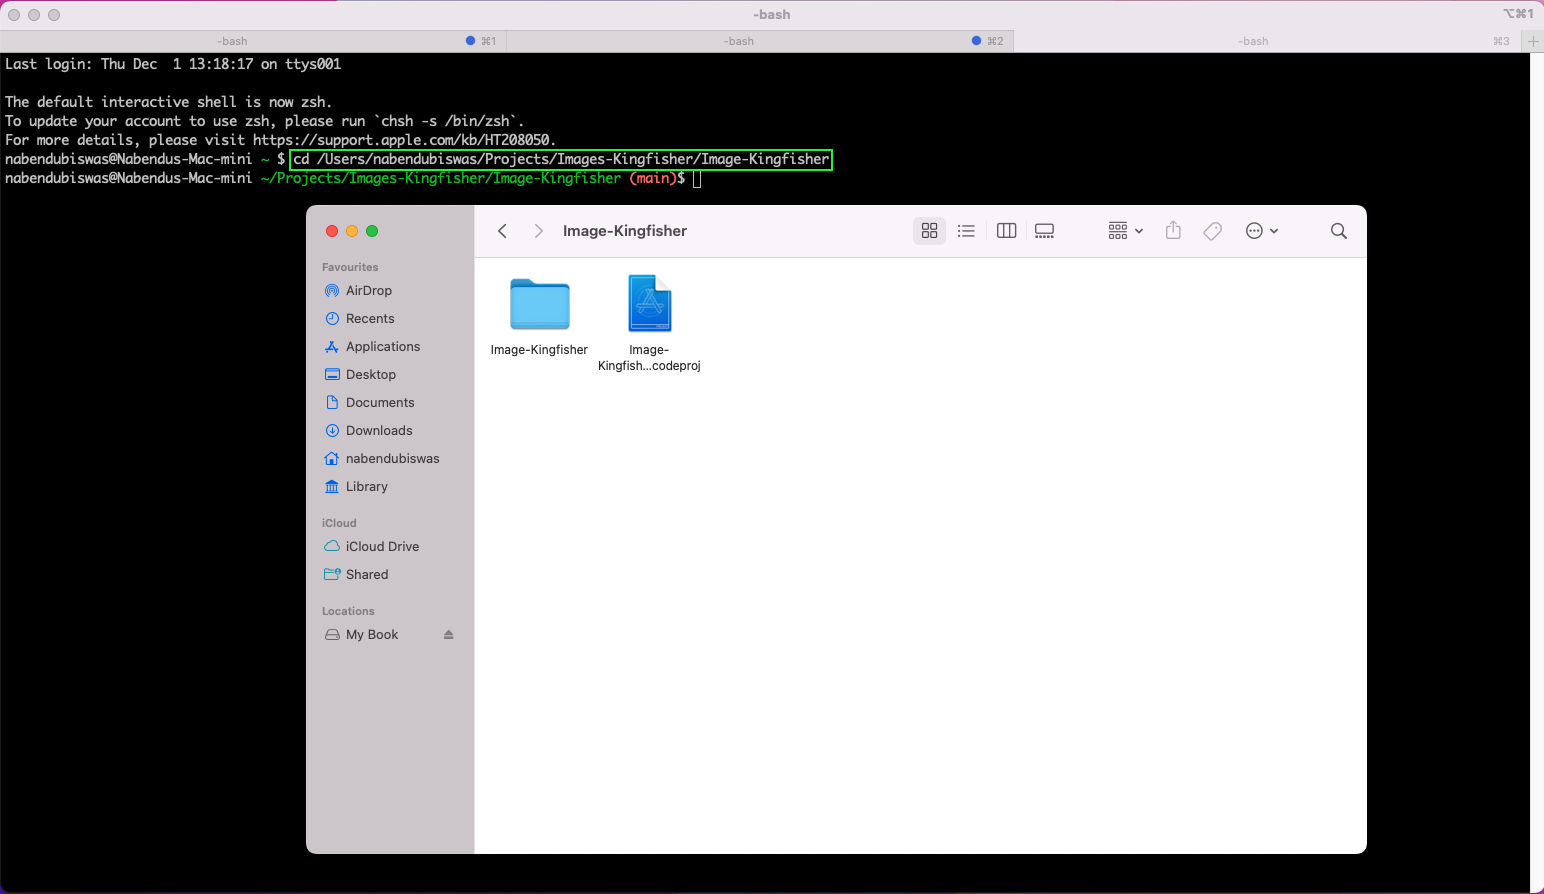
We need to install Kingfisher through the command line. For that, we need to go into the terminal and go to the correct location containing our Xcode project:
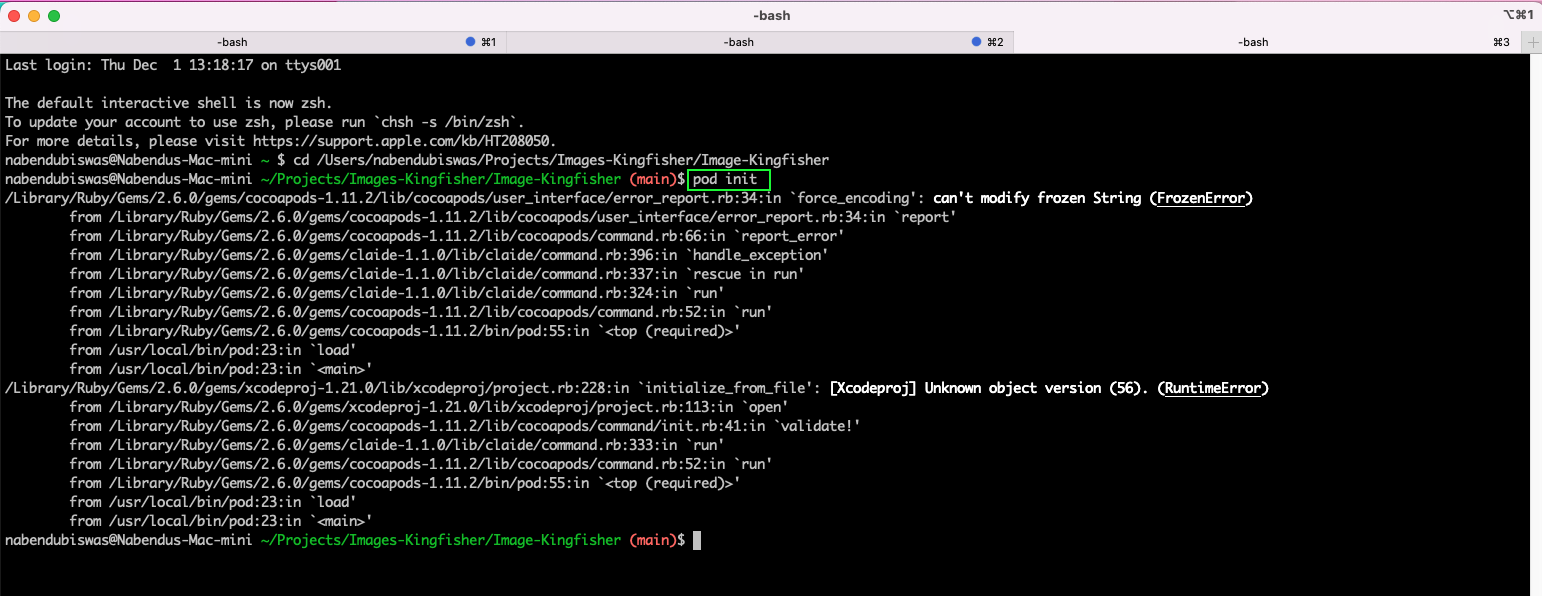
After that, we need to give the pod init command. But we have some issues, and the command didn't run successfully.
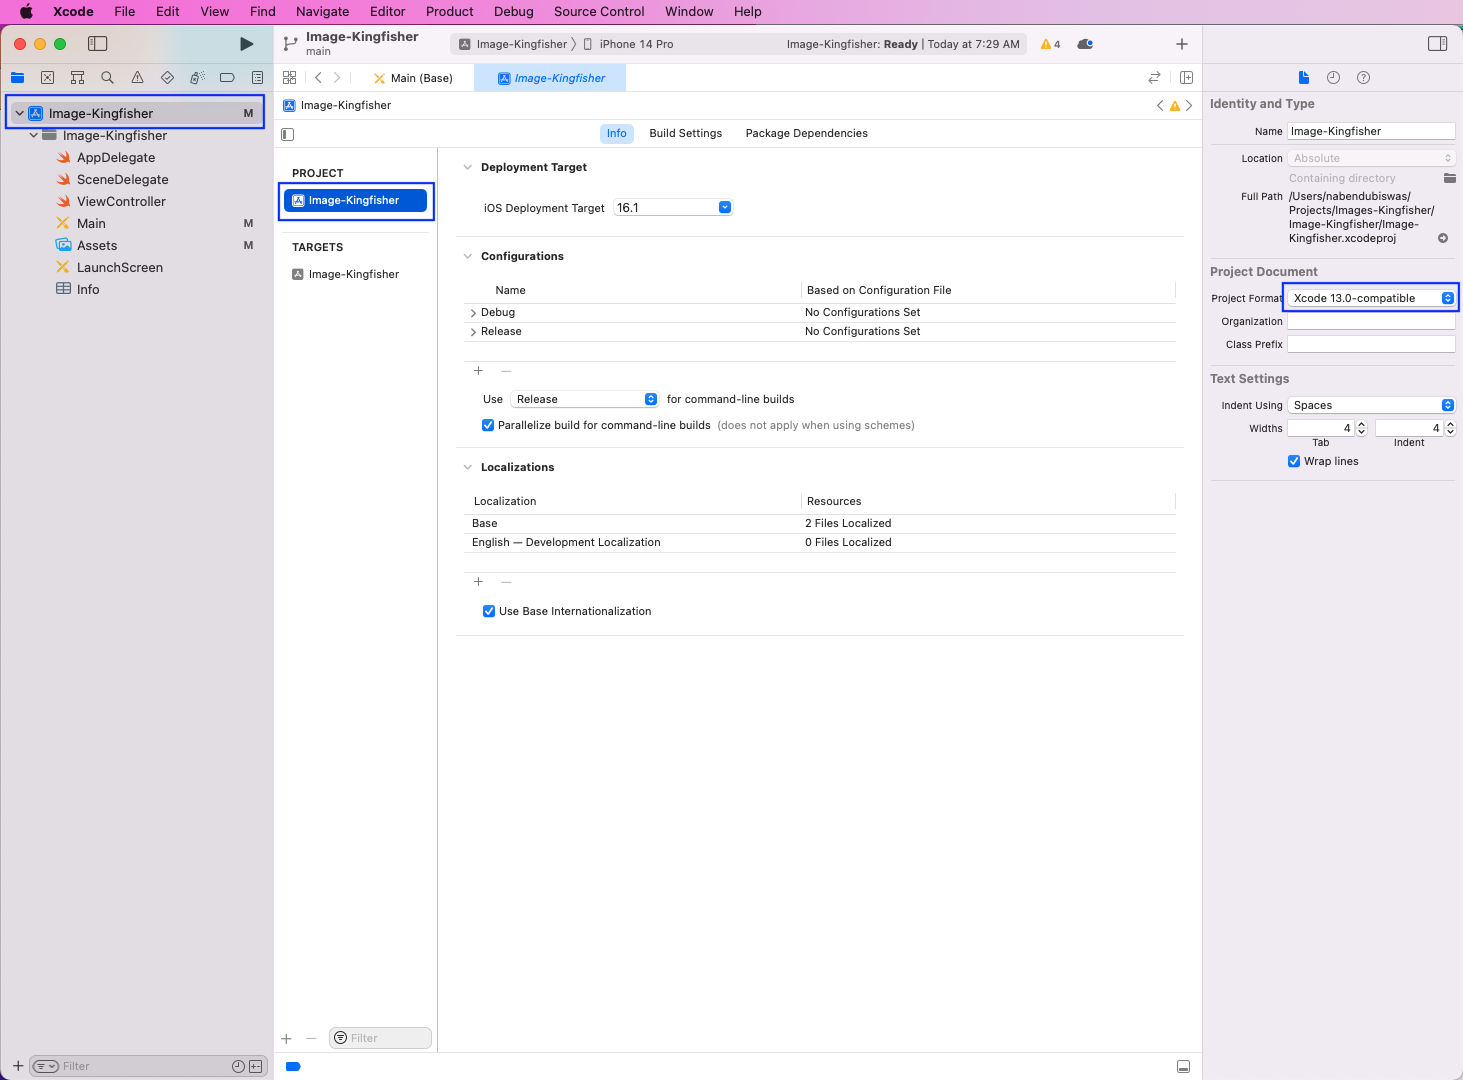
We've found out that the latest version of Xcode has some issues, so we open Xcode again and change the project format to Xcode 13.0-compatible:
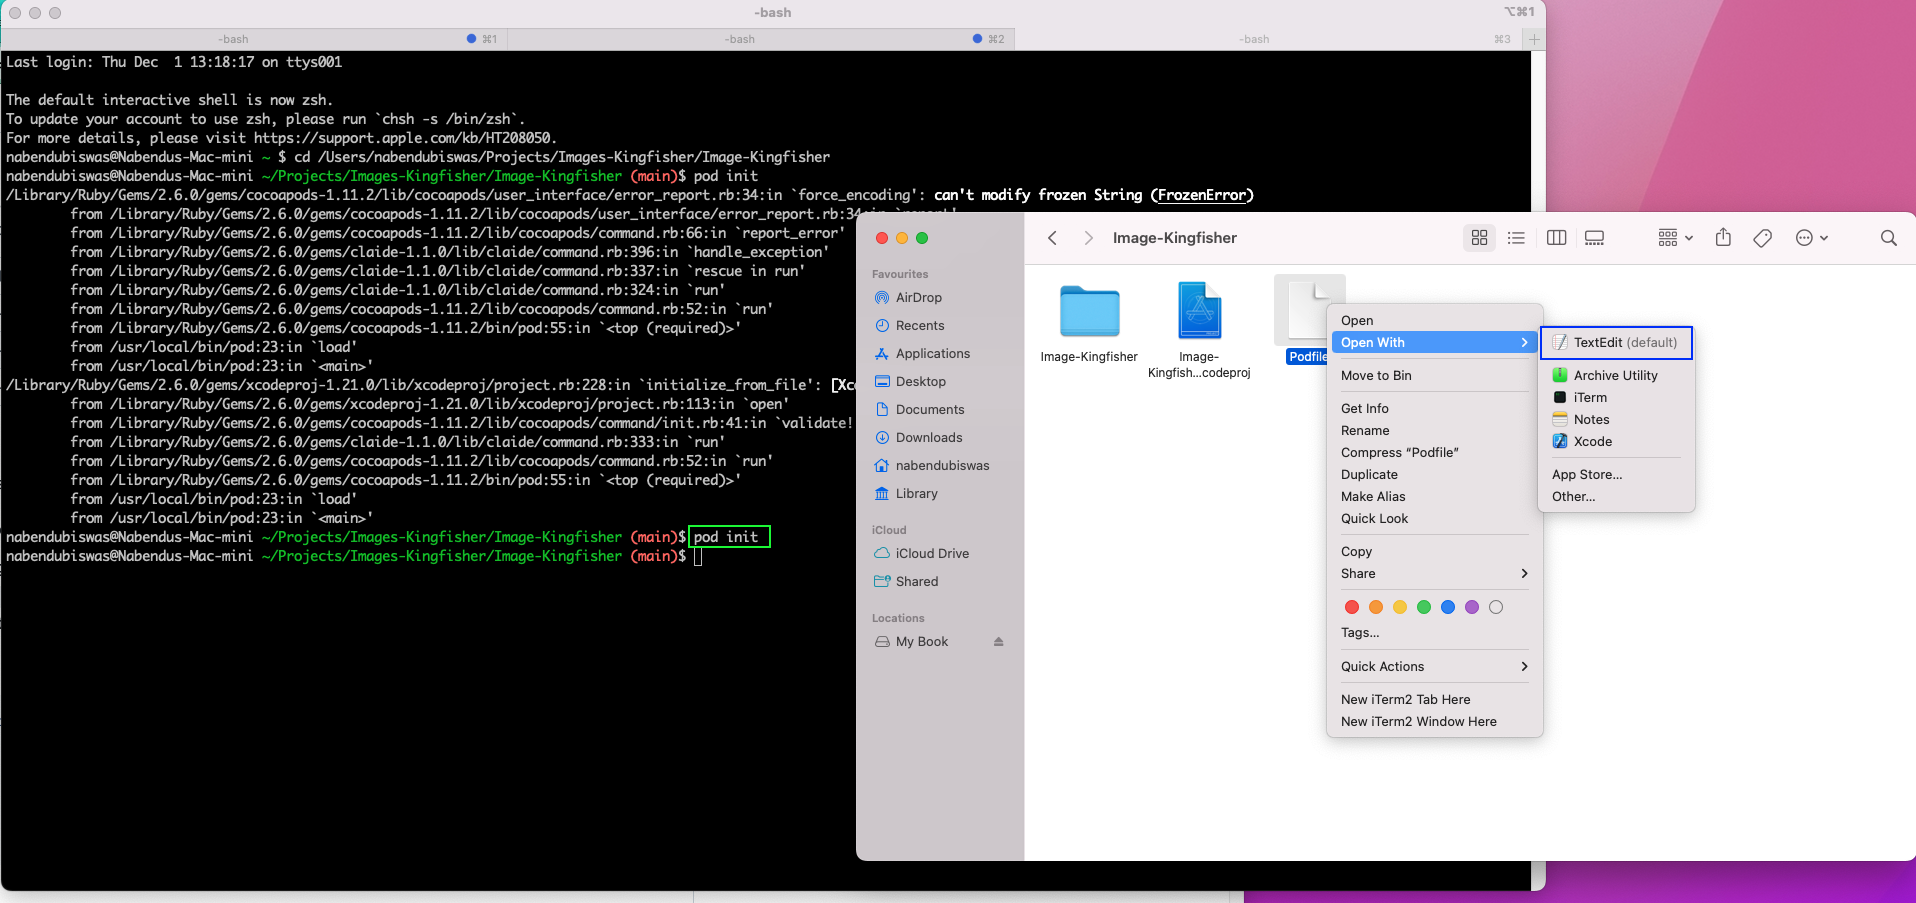
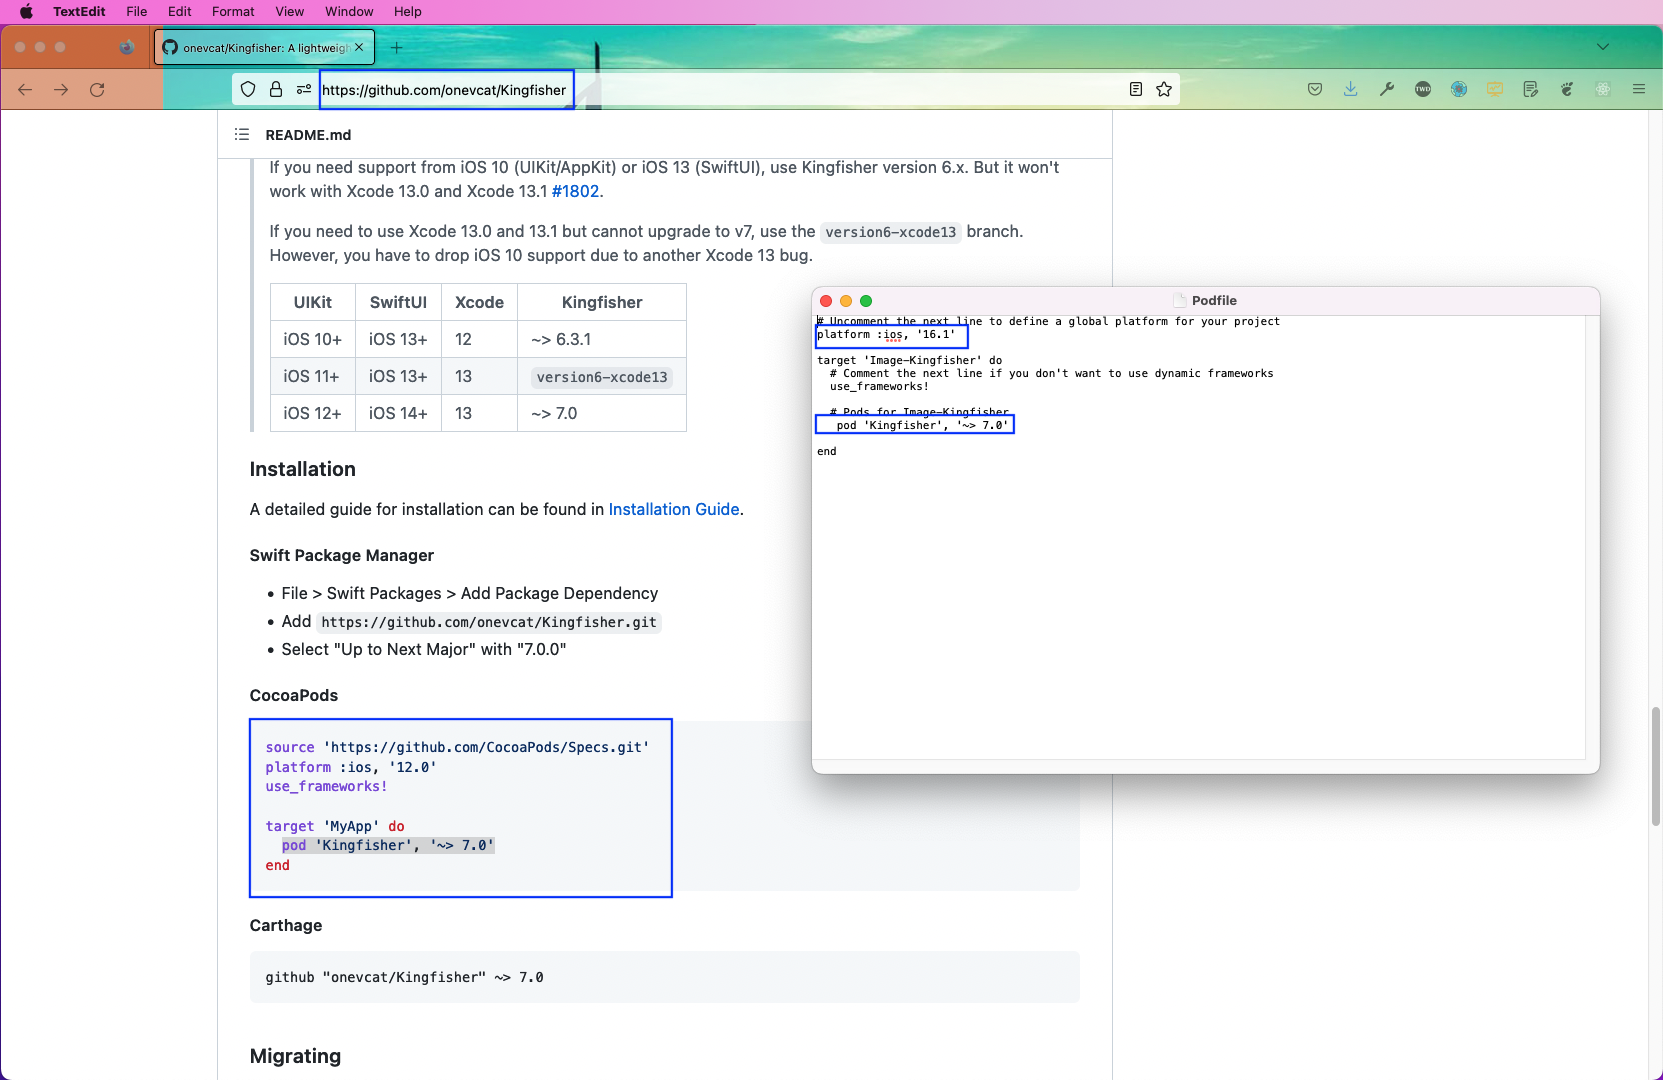
Back in the terminal, we will run pod init again. This time it will run successfully and create a Podfile. After that, right-click on it and open it with TextEdit:
Now, as per the official documentation, we need to add the platform and Kingfisher details in the Podfile:
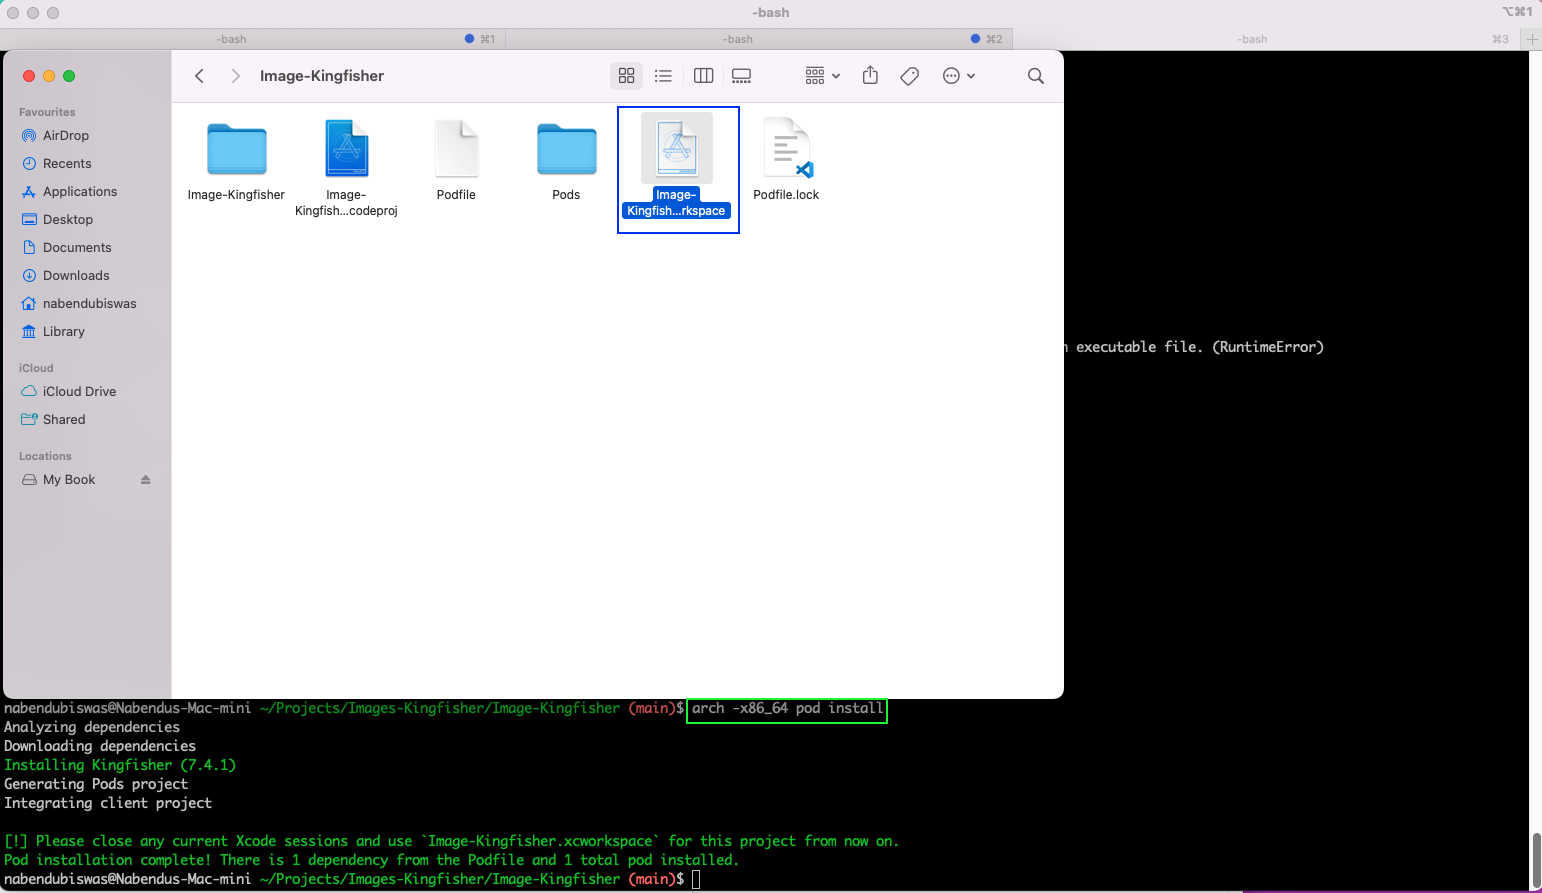
We will now run the pod install command from the terminal. Notice that we have run the command arch -x86_64 pod install because we are using a Mac M1 machine. So, if you are using these latest Macs, which have different architecture, you need to run this arch command.
This command will install Kingfisher and will also create a new Image-Kingfisher.xcworkspace file with a white background:
Using Kingfisher
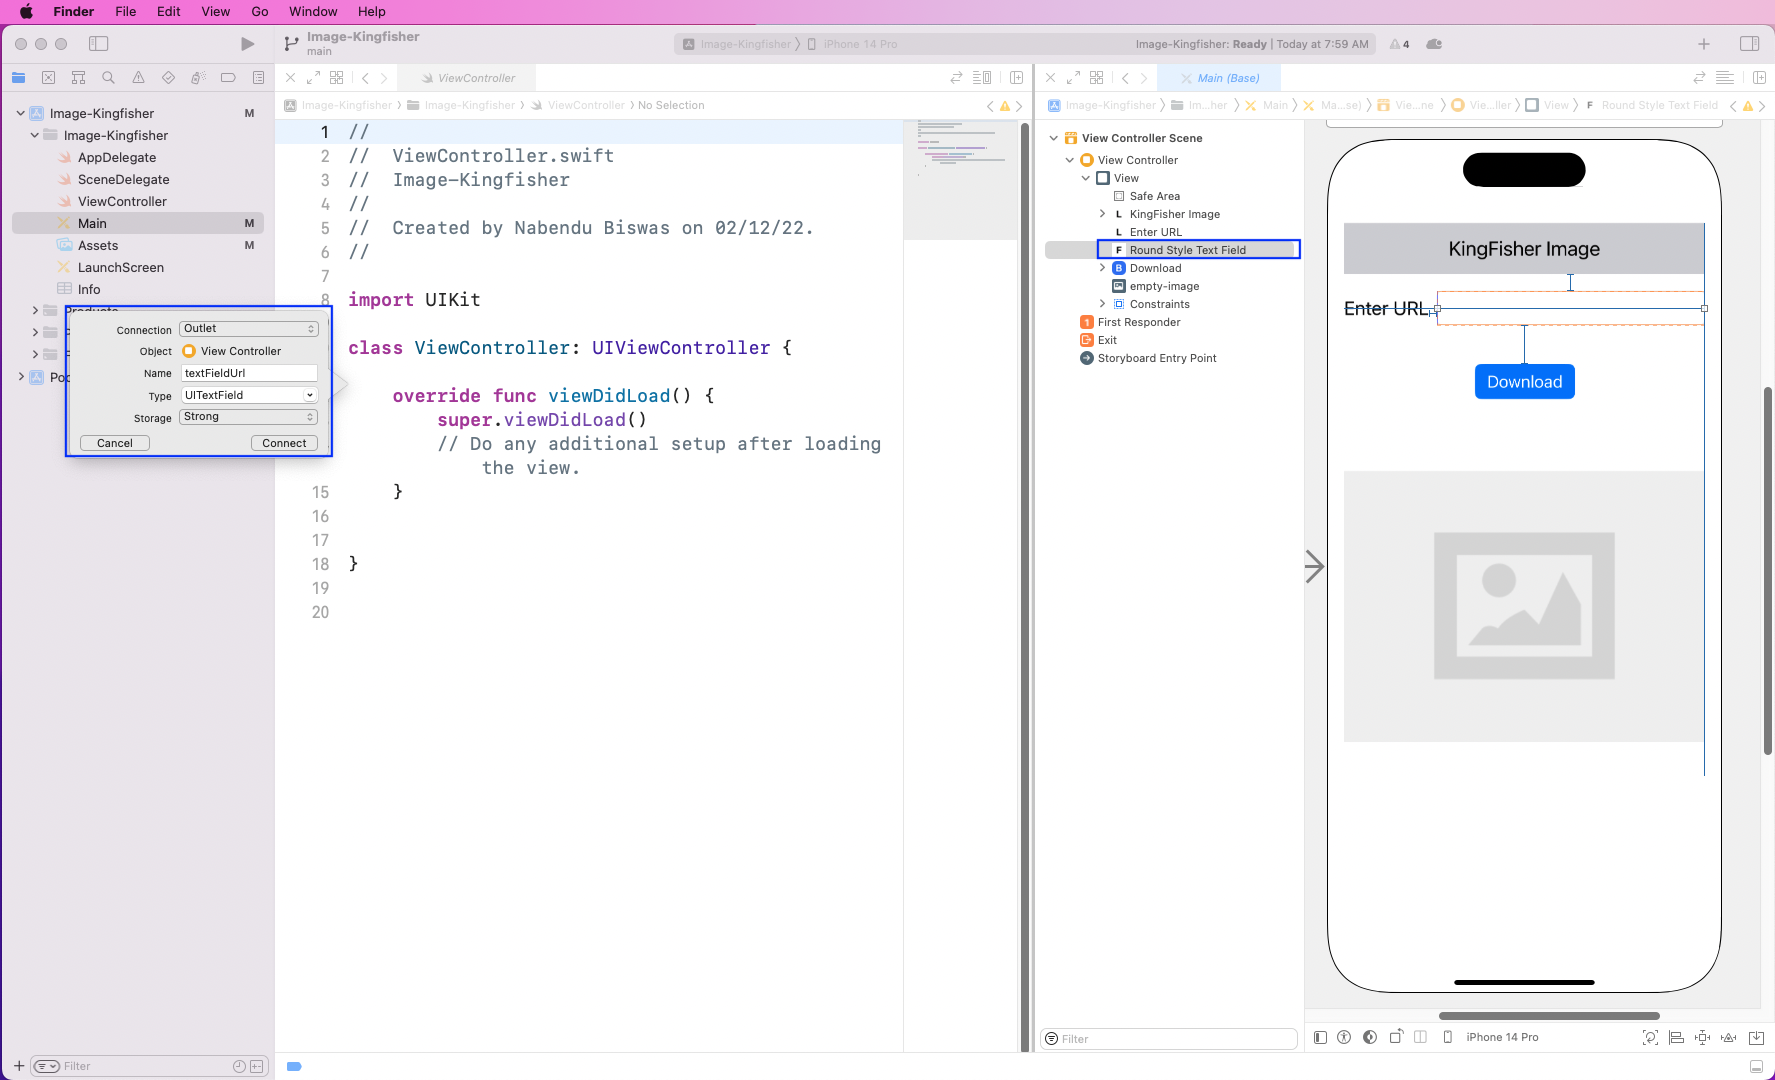
Before writing code for Kingfisher, we need to add the outlets to our ViewController file. We have opened the Main file on another screen. After that, press Ctrl and drag the Text Input field to the ViewController file.
It will open a pop-up, in which we have given the name textFieldUrl. The other options should be as shown in the screenshot:
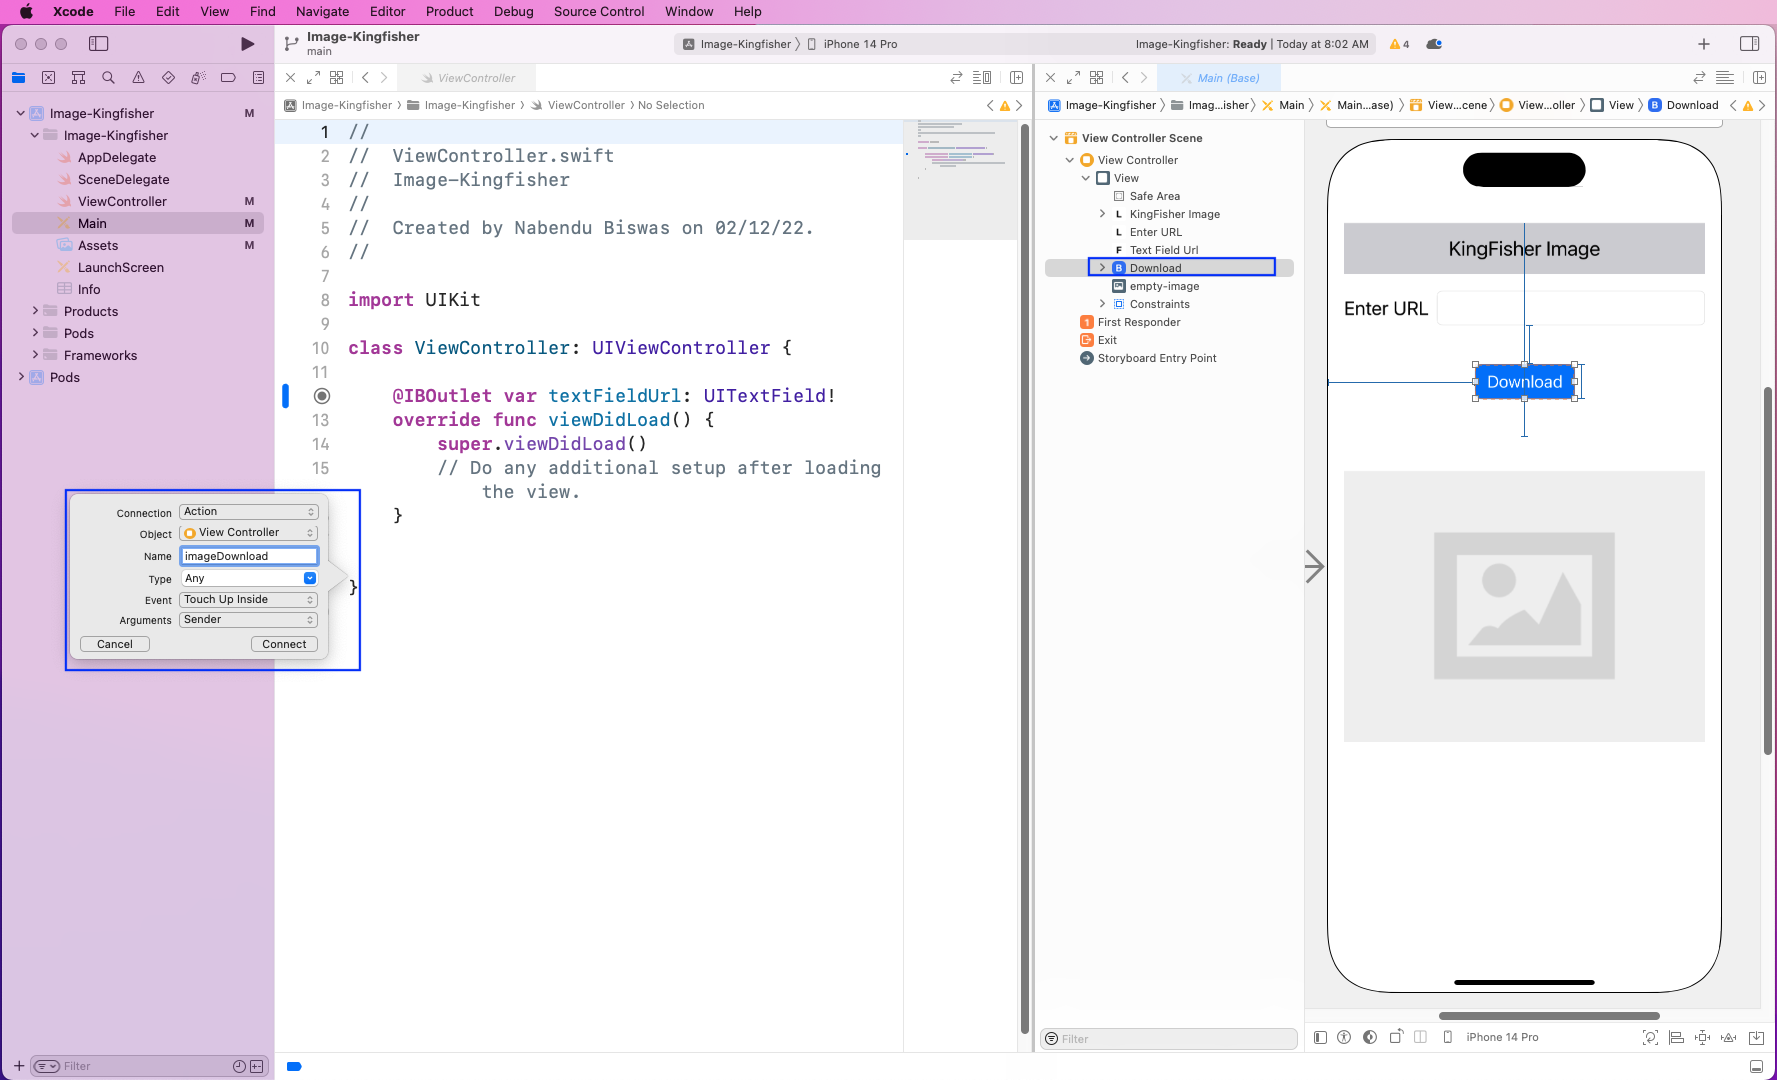
Now, open an outlet for the Download button by following the same procedure as above. Again we need to put a name, and we have given it the name imageDownload.
Finally, open an outlet for the Image View button. We have given it the name theImageView.
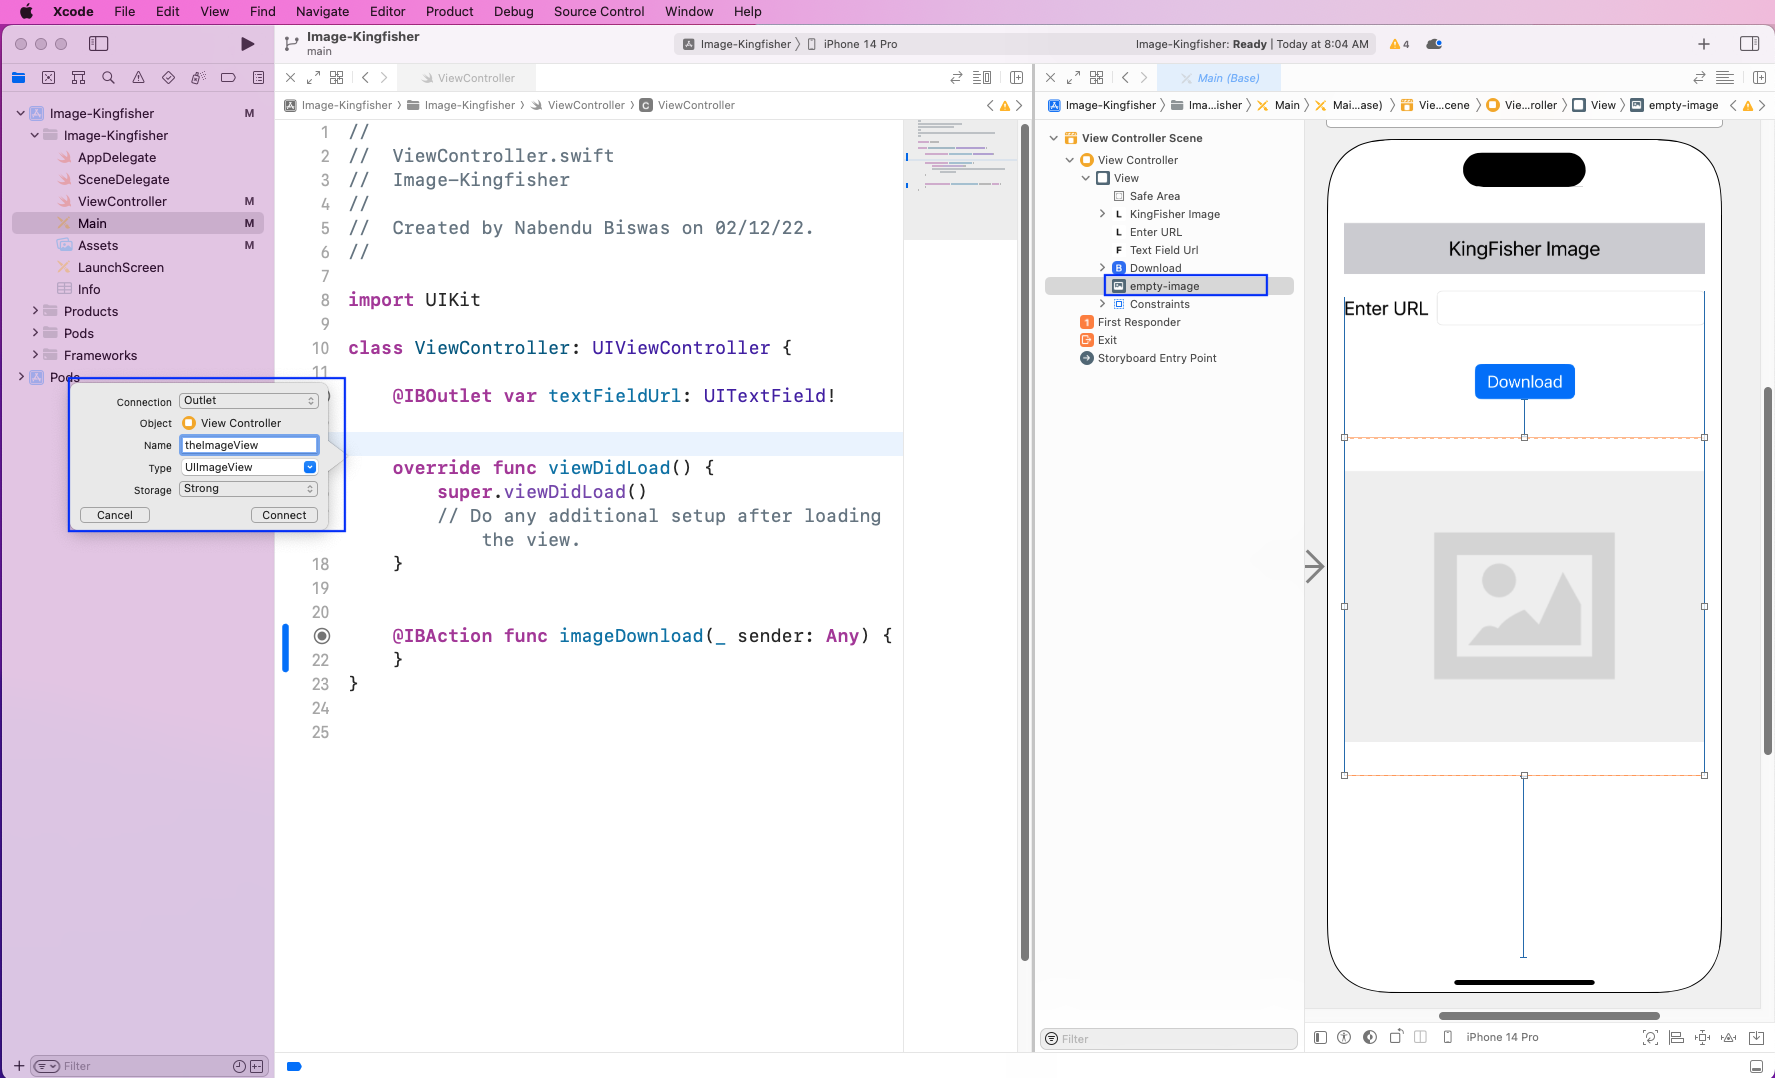
The three outlet functions are created in the ViewController file. We will now import Kingfisher into it. In the outlet for the Download button, we are first creating a variable imageURL. This will take the value from our textFieldUrl, which is our text field.
We are also using a guard statement here, so if the user enters a wrong URL, the else part will run. Finally, we are setting the image provided in the imageURL to theImageView. We are using the Kingfisher method of setImage() for this.
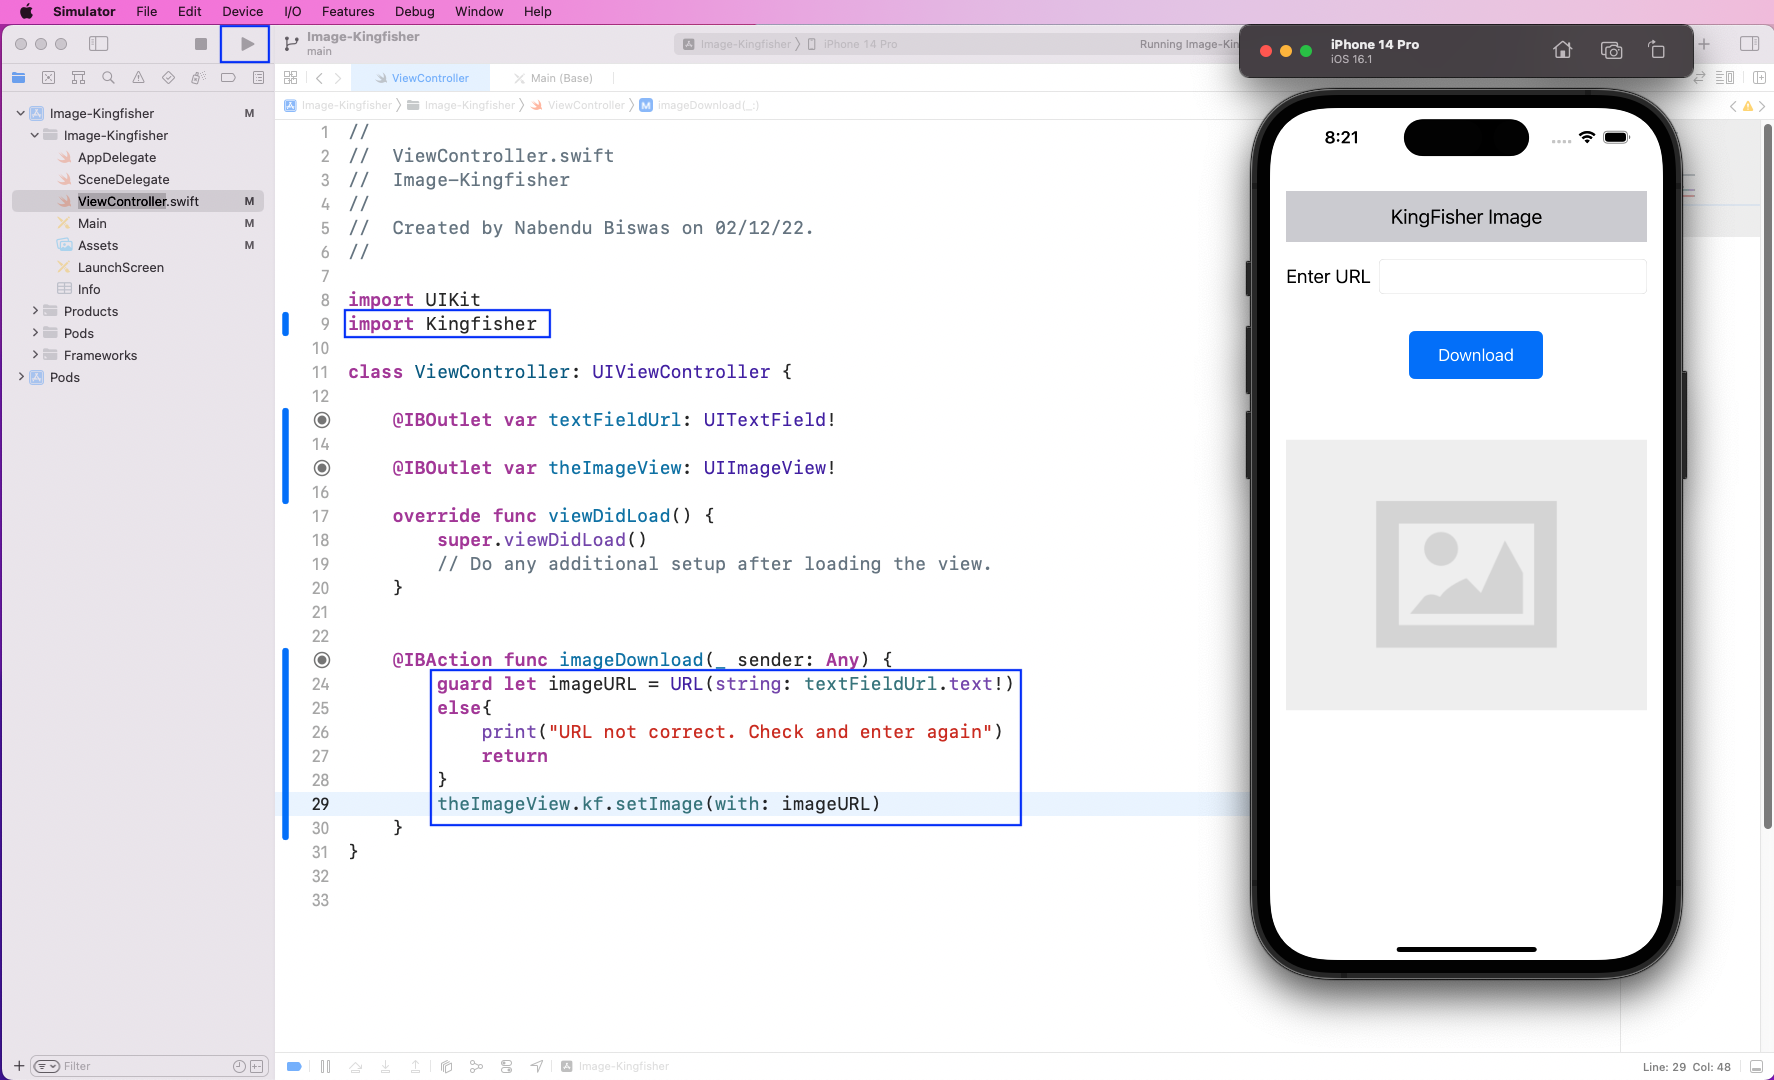
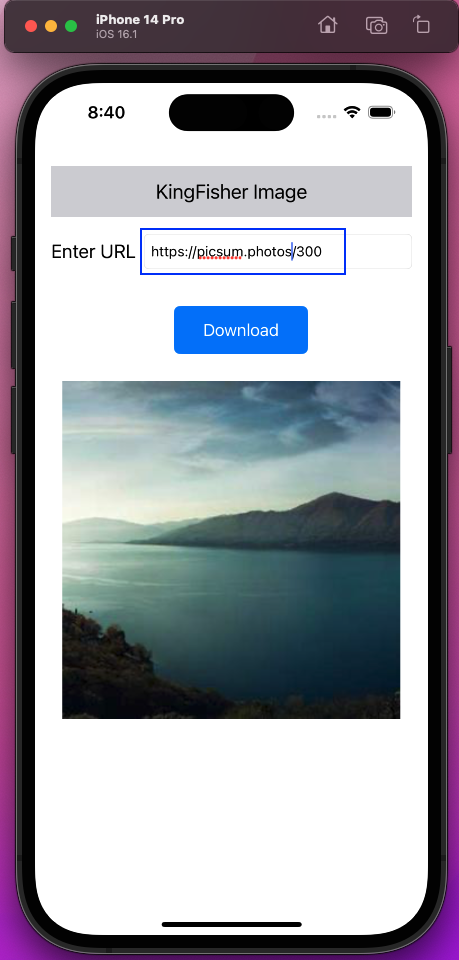
After starting our app in an iPhone simulator, we enter a valid image URL. When we click on the Download button, the image will be downloaded instantly.
Testing the App
We can test the app with the built-in XCTest and XCUITest in Xcode.
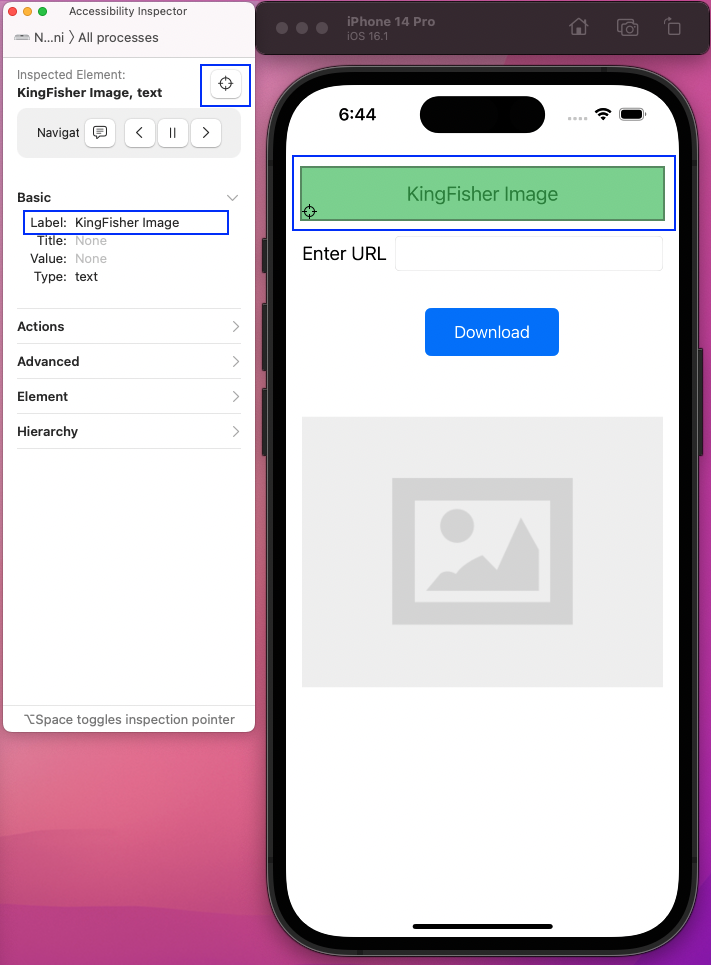
We'll need the unique ID for the element of our app for testing. We will use the Accessibility Inspector to get the unique IDs. Open it by clicking on Xcode > Open Developer Tool > Accessibility Inspector.
Also, open the app on the side, and use the pointer to click on different elements. Here we've clicked on Header to get its Label, or unique ID, which is KingFisher Image for this element. Similarly, we have also clicked on the button to get its unique ID.
Writing and Executing Test Cases
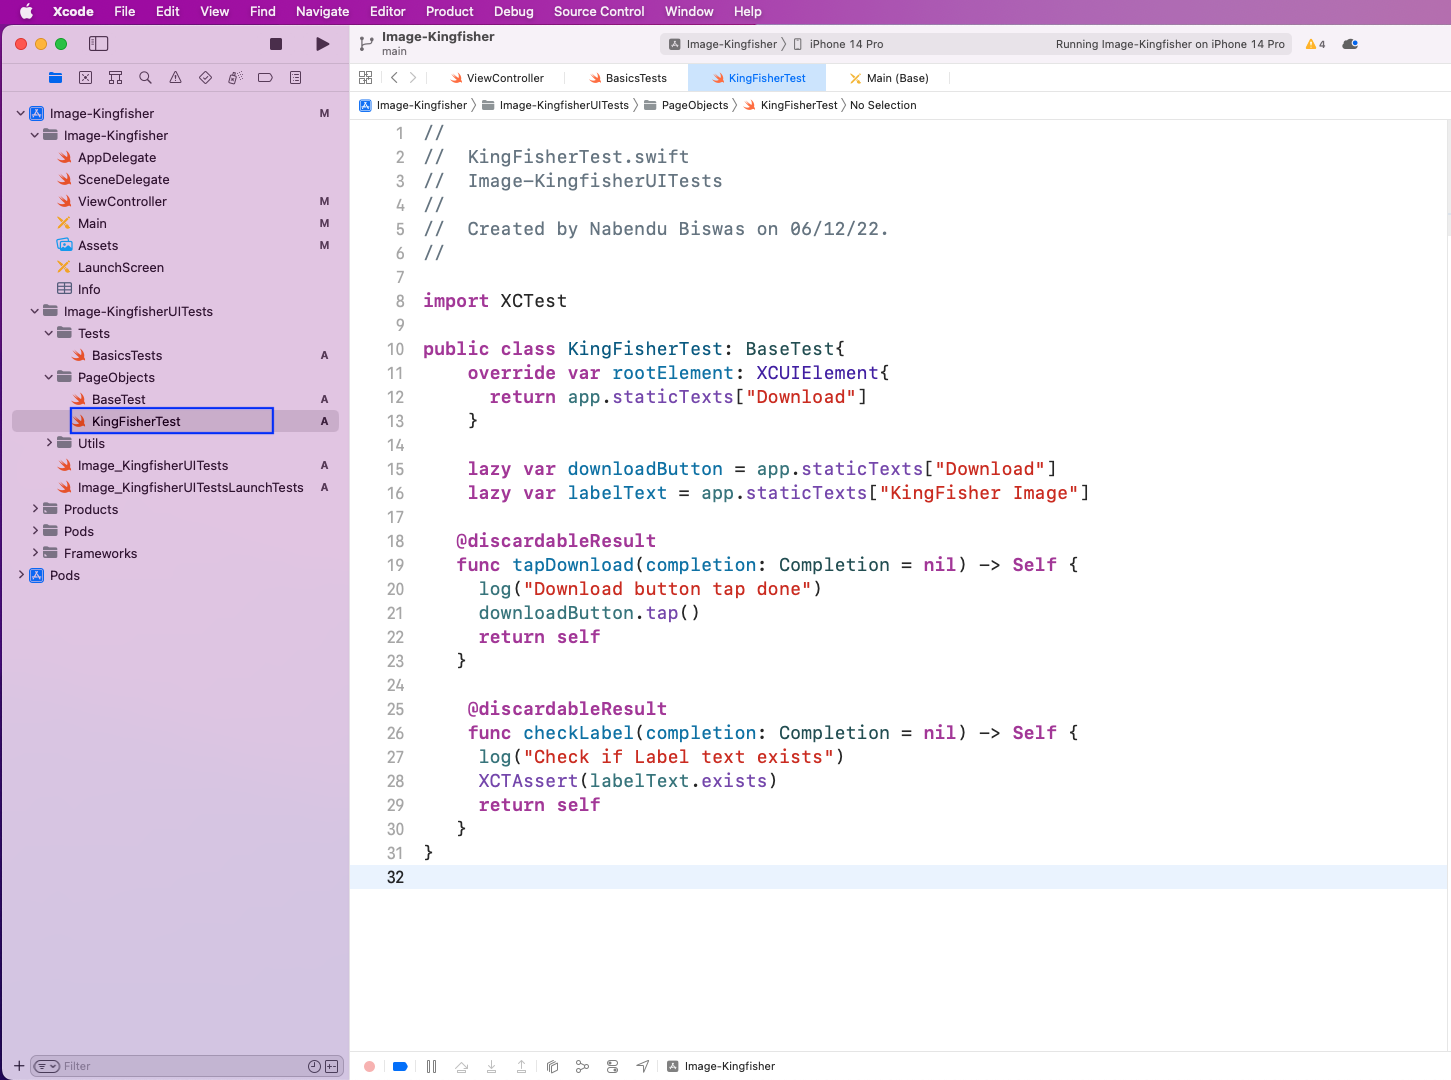
Now we'll write our test cases. Create the file KingFisherTest inside the PageObjects folder. Here we're overriding the rootElement to have staticTexts of the download.
Next, we'll create downloadButton and labelText variables to get both elements. We've created a tapDownload function, which will tap on the button download. And the other checkLabel function will use XCTAssert to check if the label exists.
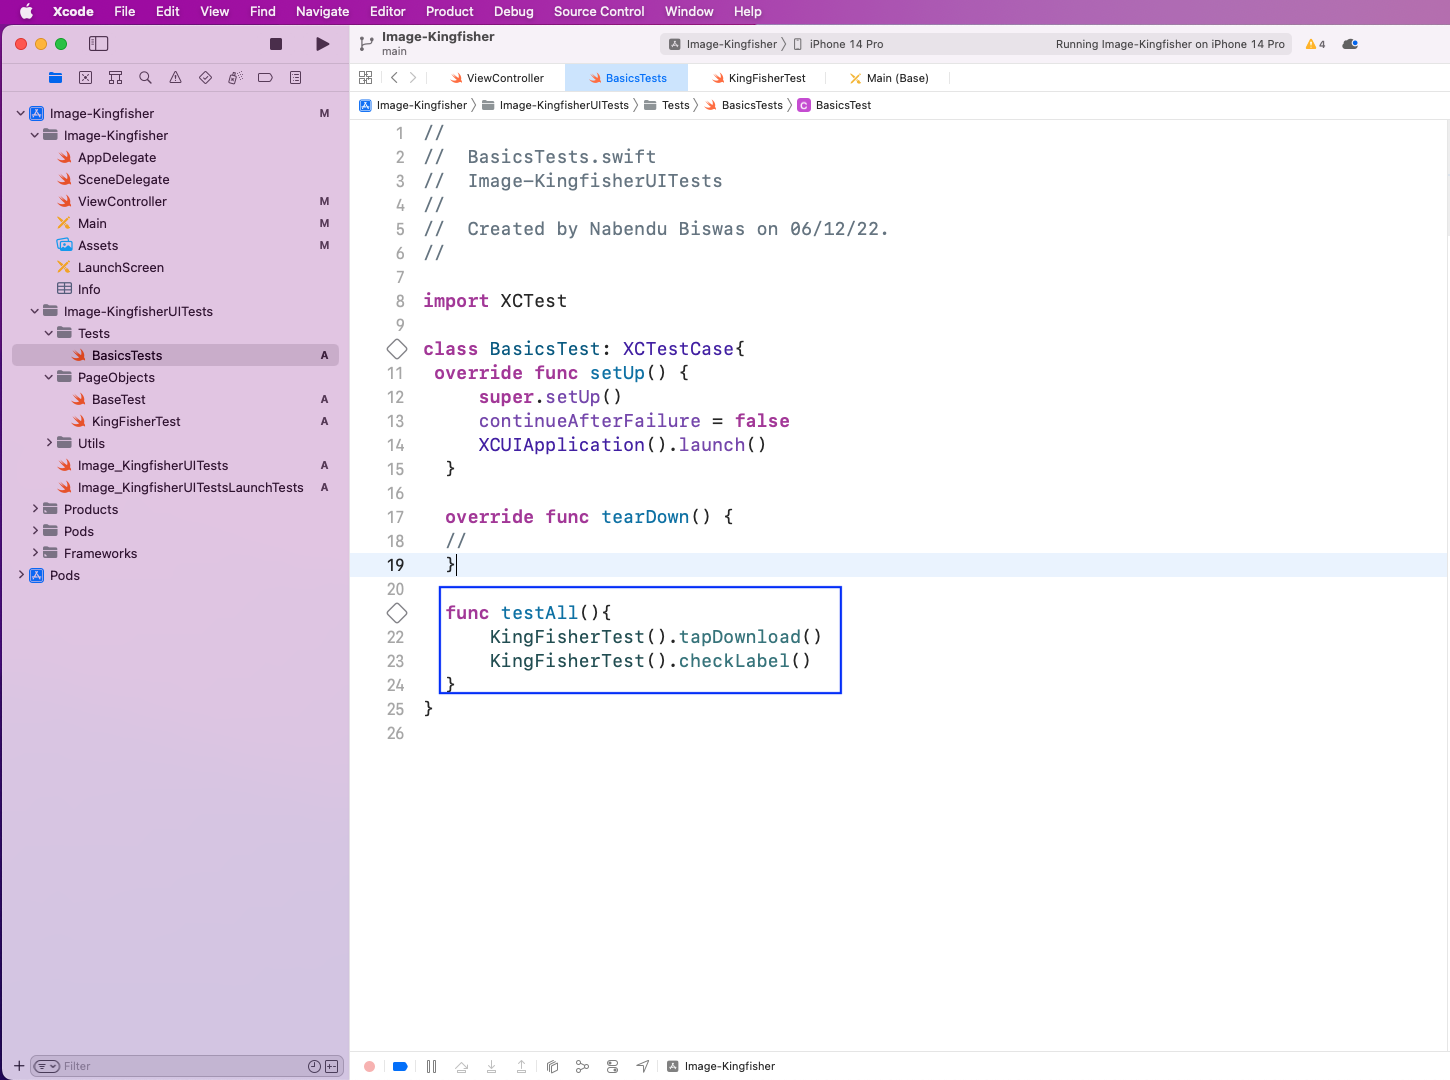
Next, in the BasicTests file, we'll call the KingFisher class and then the tapDownload and checkLabel function:
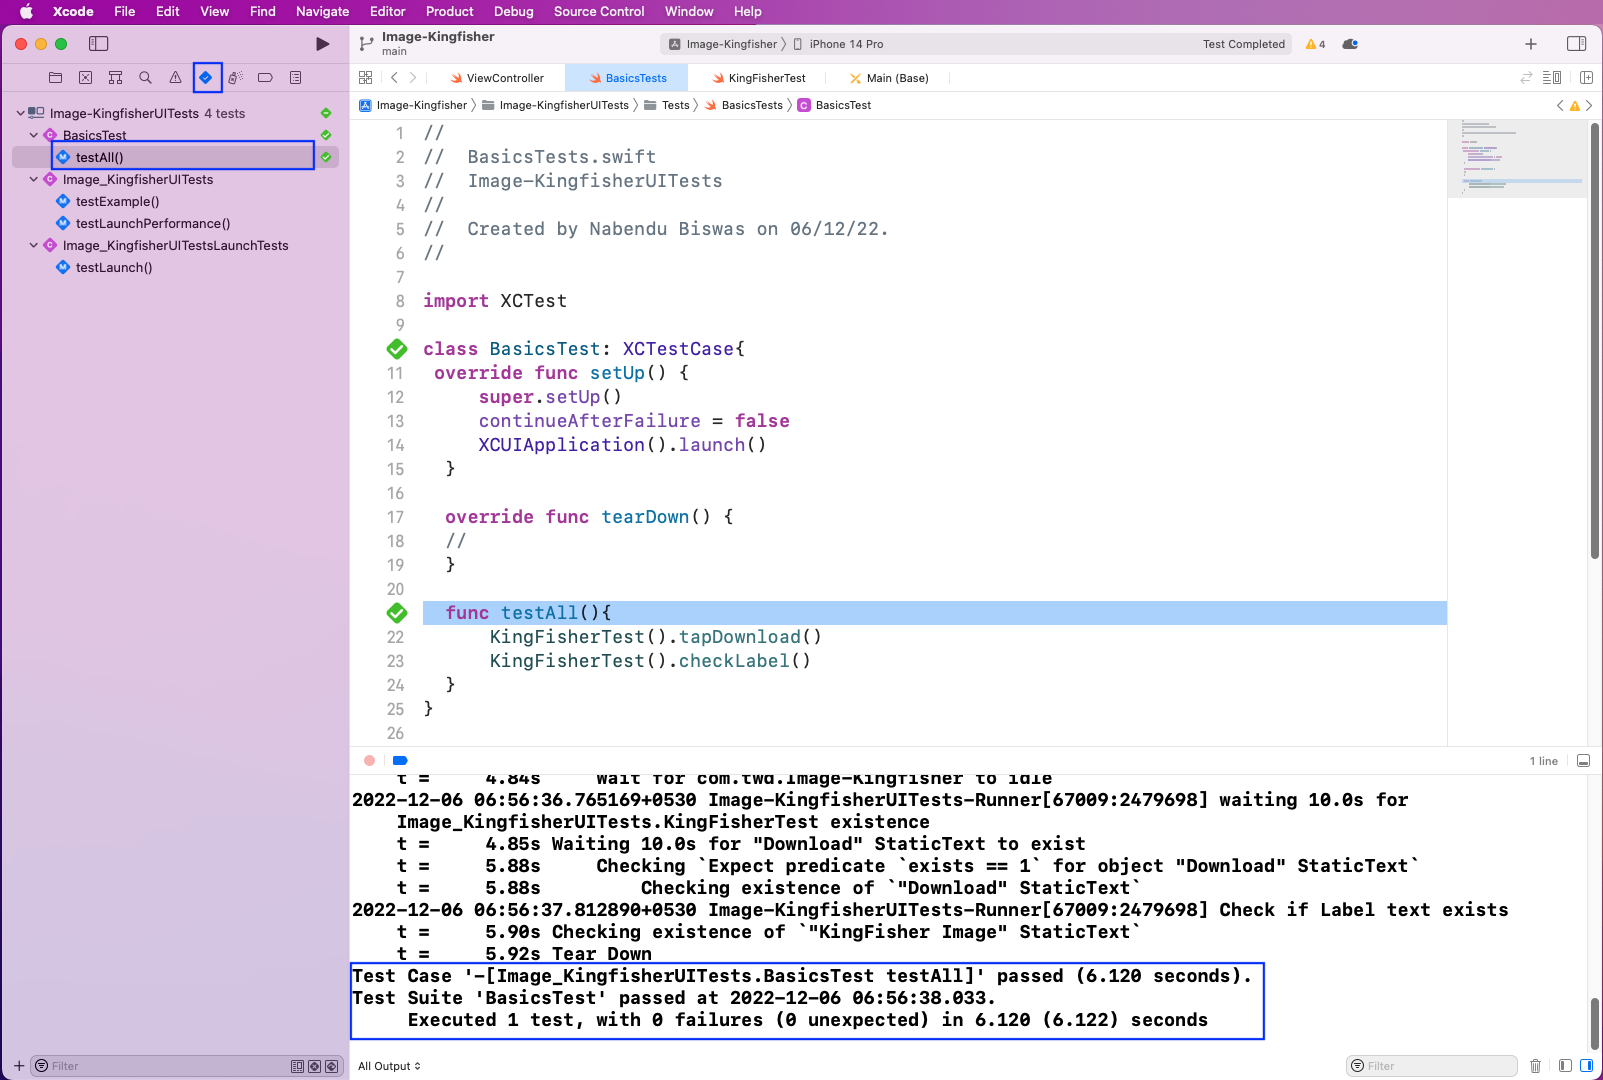
To run our test, go to the test tab by clicking on the tick icon. Then, in testAll, click on the play button to run the test. All our test cases ran successfully, and the logs confirmed that.
Kingfisher in Swift: What We've Covered
In this post, we talked about image caching in Swift using Kingfisher. We created a simple project in Xcode through Storyboard, then downloaded and cached images using the open-source Kingfisher library. We also wrote simple test cases using XCTest.
But the setup is very complicated. Writing test cases in XCTest is also complex, and knowledge of Swift is required.
To test your app without complicated setups or having to write test cases, try Waldo. You're only required to provide the APK or IPA (iPhone application) file. Then you get to interact with the mobile app like a real user. Waldo automatically generates test cases and emails you a nice report of the results.
Automated E2E tests for your mobile app
Get true E2E testing in minutes, not months.


