


Often, we need to store data locally in the React Native app. For this, we can use Async Storage, a feature of React Native that's similar to local storage of a browser.
A use case is when we login to an app on our phone. We can store the user data in Async Storage so the user doesn't have to login to the app every time.
In this post, we're going to create a small application using React Native. We'll implement Async Storage by installing the small package called @react-native-async-storage/async-storage. The original package of Async Storage is deprecated. This is the most used and maintained community package.
The user should have some knowledge of JavaScript, ReactJS, and React Native to follow along. We'll be using MacOS and Xcode for this project. The setup steps with Windows and Android Studio are a bit different.
Setup
We'll use the React Native CLI in this project. The official docs show how to set up the environment variables and XCode, so we won't go into them in too much detail here.
Once the setup is complete, the next step is to create a React Native project. To do this, simply navigate to a directory in the terminal and then create a new project using the command npx react-native init.
We also need to install the Async Storage package in our application, with the command below:
Starting the AsyncStorage Project
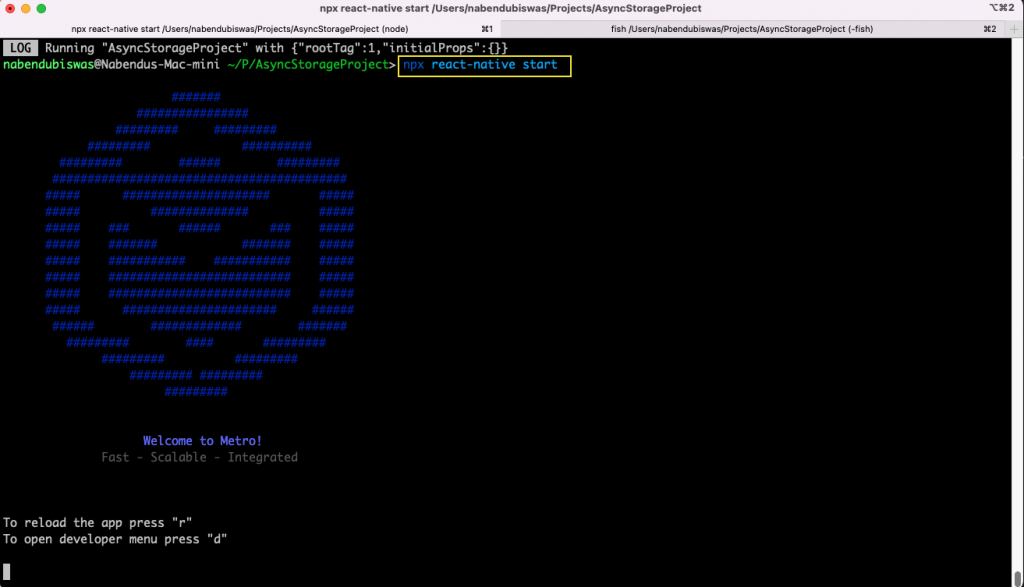
Access the project by navigating to the folder in the terminal. Then run the command npx react-native start.
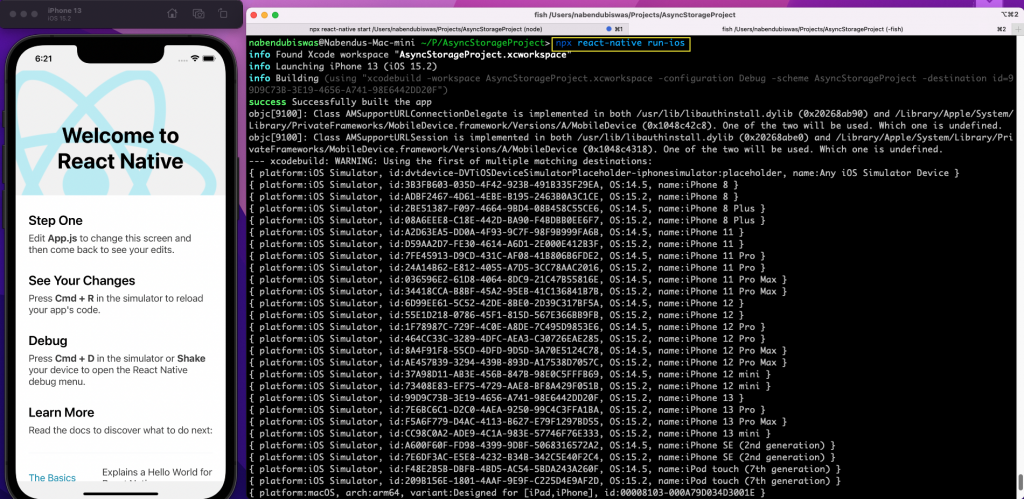
Now, in another terminal, run the command npx react-native run-ios. It will start the React Native app on the ios simulator.
Initial Code
Open the code in your editor and remove everything from App.js file. For our simple application, we'll do all of our code here.
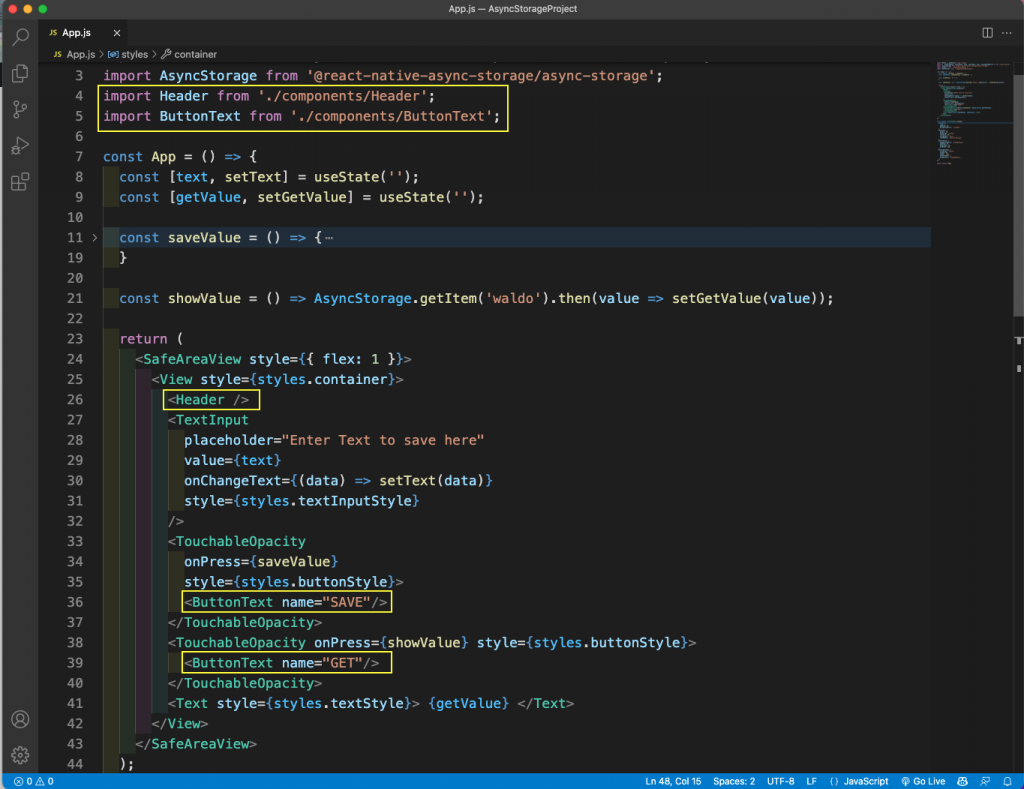
Here, we first import the required packages. Then, inside the app, we've created two state variables using useState. We've also created two empty functions, which we're going to update soon.
Inside the return statement, we're showing our React Native app. Here, we have a TextInput to take the user's input. We also have two buttons to Save the users input and to get the user data from local storage.
Below is the updated code for App.js file.
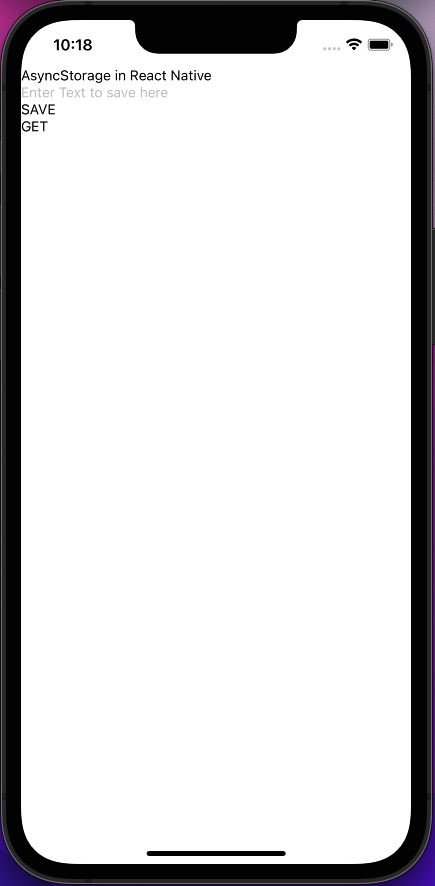
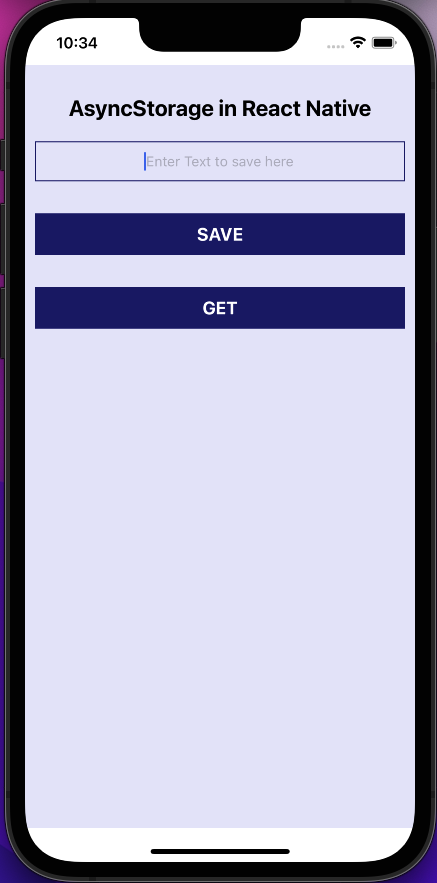
The image below shows our app without any styling, on the emulator.
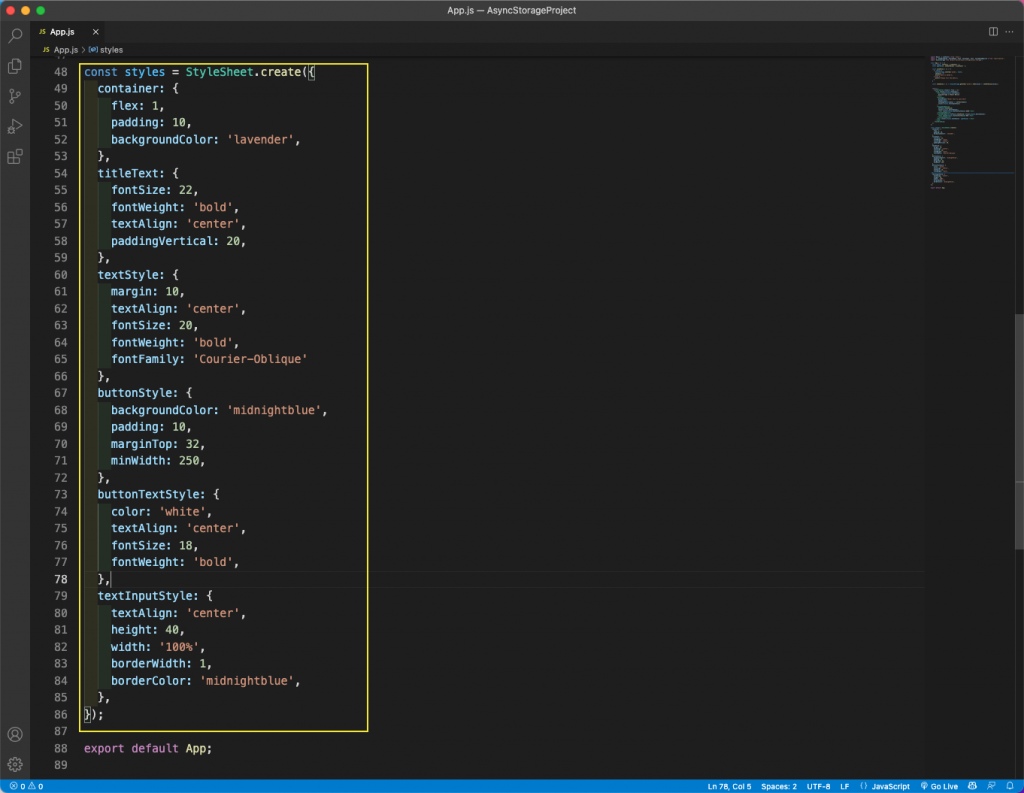
Styling Our App
Next, we will style our small app. We've already added the styles name for it. Here, we're adding the styles in StyleSheet.create, which was blank earlier. We're adding styles, as per the camel case notation of React Native.
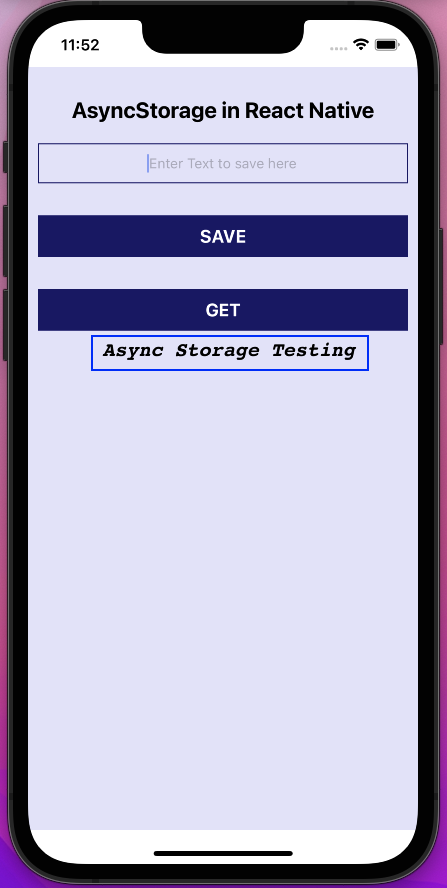
Now our app is looking great with a Title, input field, and two beautiful buttons.
Adding AsyncStorage
Finally, we'll add Async Storage in our app. The Async Storage code works quite similarly to the local storage code. Here, we have to use AsyncStorage.setItem to save the data in Async Storage. After that we need to use AsyncStorage.getItem to get the data.
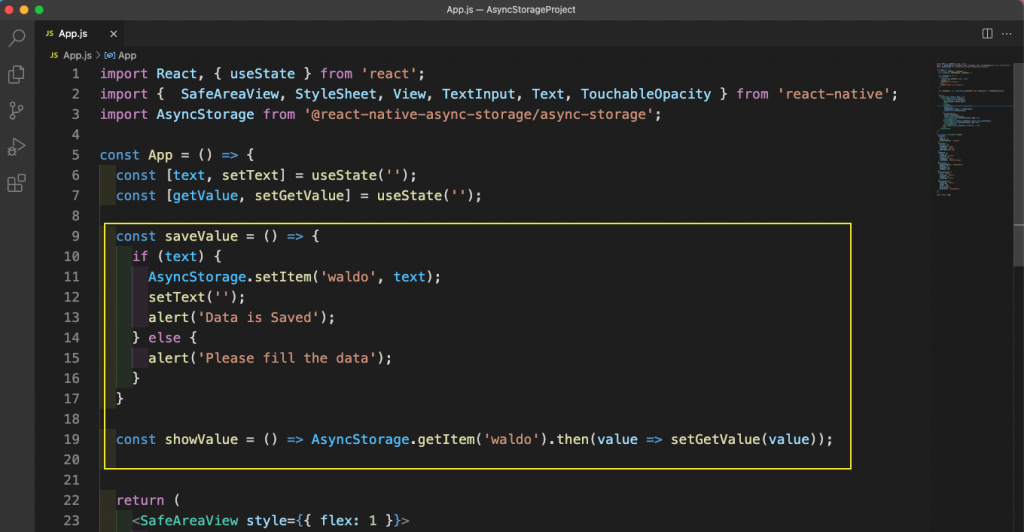
In our app, when the user clicks on the SAVE button, we're calling the function saveValue. Here, we're checking if the user has entered the text before clicking the button. If the user has entered the text, then we're saving the value with AsyncStorage.setItem. Notice that we have to use a key, and we're using Waldo.
Now when the user clicks on the GET button, we're calling the showValue function. Here, we're using the AsyncStorage.getItem to retrieve the item. We're setting the value to our state variable of getValue.
Using the App
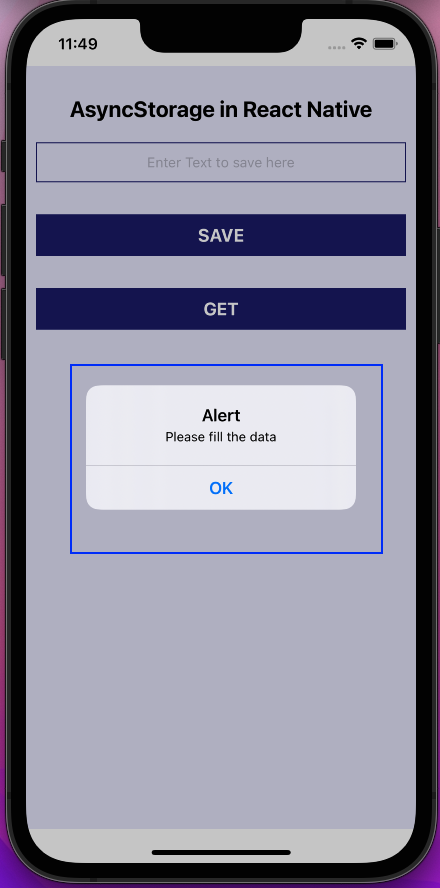
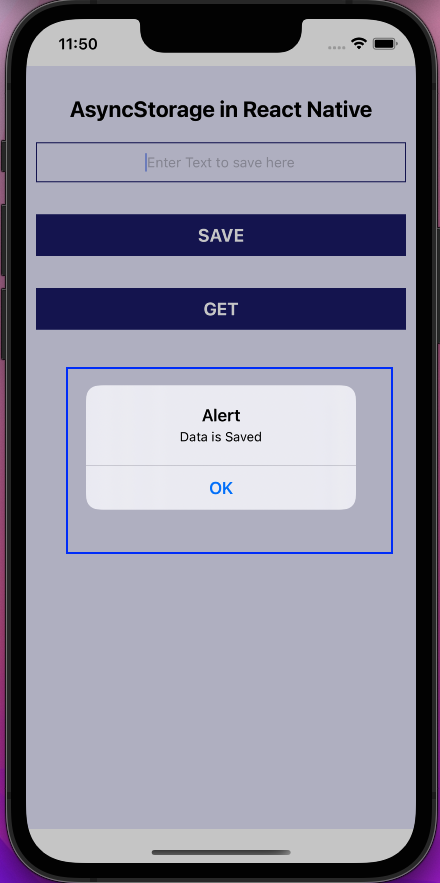
Our app is complete, and it's time to use it. If we click the SAVE button without entering any data, we'll get this alert:
When we enter some data and press the SAVE button, we'll get the following alert:
Clicking on the GET button will show our stored data.
Optimize the App
We will optimize our app next by creating smaller components in it. This optimization will also help in snapshot testing in the next part. Create a components folder in the root directory and add two files in it: Header.js and ButtonText.js.
In the Header.js file, add the content below. Here, we've moved the Header text and style from App.js file.
Next, in ButtonText.js file, add the content below. Here, we have added the Button Text and styles. We've also added a props of name in it. This props will be passed from App.js file, with a different name of SAVE and GET.
Now, in App.js, we'll use these components by importing them first. We put these components of Header and ButtonText in the appropriate place by deleting the earlier code. And we've also deleted the unused styles from StyleSheet.
Our app is working the same, and we'll add test cases in next section.
Snapshot Testing
We'll write snapshot test cases in our app. React Native app comes with the automated testing framework of Jest built-in. In the __tests__ folder, remove the earlier file. Add the two files ButtonText-test.js and Header-test.js to the folder.
In the Header-test.js file, add the content below. This simple snapshot test checks whether all tags match that of the Mobile layout.
In the ButtonText-test.js file, add the content below. It's again testing the Mobile layout for consistency.
Now, we only need to run the npm run test for all the test cases to run.
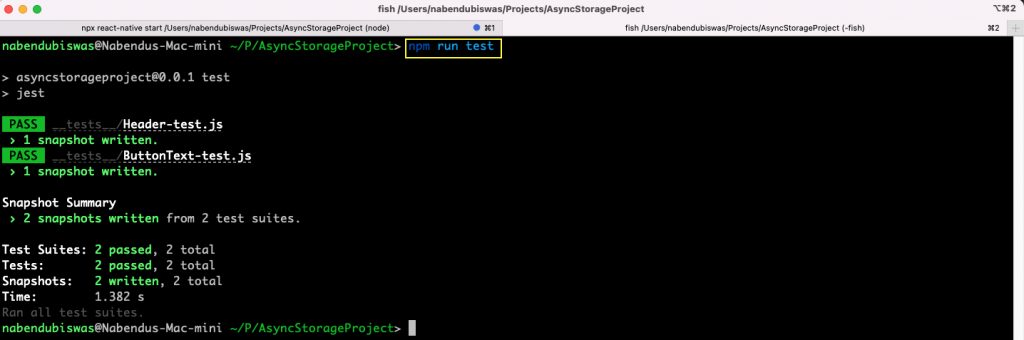
As we can see, all of our test cases ran successfully. We have to write a lot of code for simple testing. Adding the react native Async Storage also to the testing would have required us to write more complicated test cases. The user iterations are another problem in testing.
Instead of writing all test cases manually, we can use the awesome No Code platform of Waldo. We need to just generate the APK or IPA file and upload it to Waldo. After that, we can do all tests with real user interactions. Create a free Waldo account here and test its features.
Conclusion
In this post, we learned to use react native Async Storage in a small project. We used a small package called @react-native-async-storage/async-storage to achieve the same.
After that, we also optimized our app to contain smaller components. We tested our app through Jest by writing simple test cases. But we can test our app in an easier way without writing any unit tests by using Waldo. So, give it a try.
Automated E2E tests for your mobile app
Get true E2E testing in minutes, not months.


