


To run a React Native app on an iOS simulator or physical device, you need a Mac. There's a dependency on Xcode, which is the Apple Integrated Environment for development. Xcode runs on macOS only.
Also, with the introduction of M1 chips in Mac, the architecture has changed to an ARM-based processor. Earlier, with Intel-based processors running Mac, most software used to run to a similar Windows-based system. Now, most software requires additional commands, as most of them aren't optimized.
So, if you have a MacBook Pro with the latest M1 chip, some additional steps are required. For the earlier, Intel-based Macs, these steps aren't required.
We're first going to learn about the initial setup in React Native CLI. Then, we're going to run a React Native app on an iOS simulator. We're also going to learn to run the app on different devices and in different orientations.
To follow along with this tutorial, you'll need a basic knowledge of React Native.
The Setup: React Native CLI
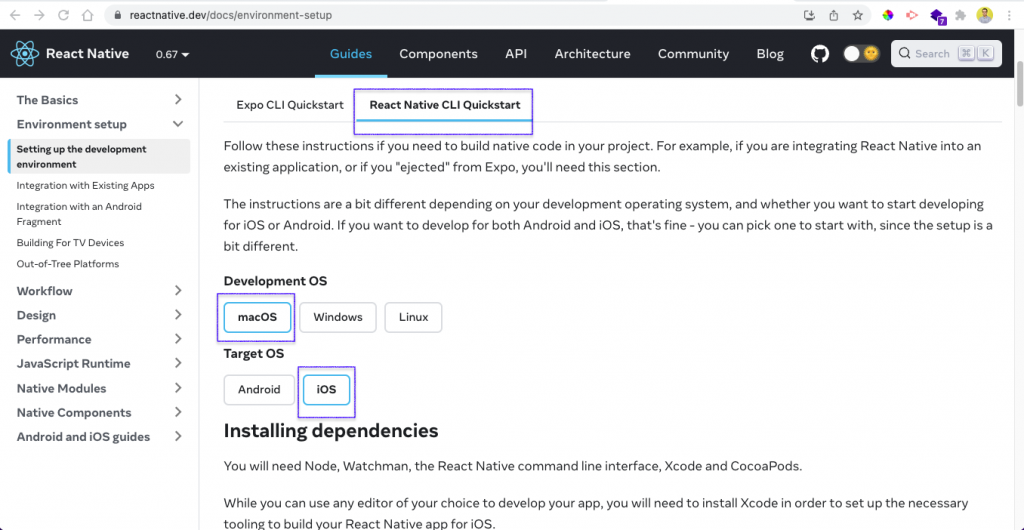
The best place to refer to when you're doing initial setup is the official documents. Here, we have to click the tab for React Native CLI Quickstart. After that, choose the Development OS as macOS and Target OS as iOS.
We need to install Node and Watchman on our Mac system. As recommended in official docs, we should install it with Homebrew. If Homebrew isn't installed, we can install it following these instructions. Open the terminal program on the Mac and give these commands.
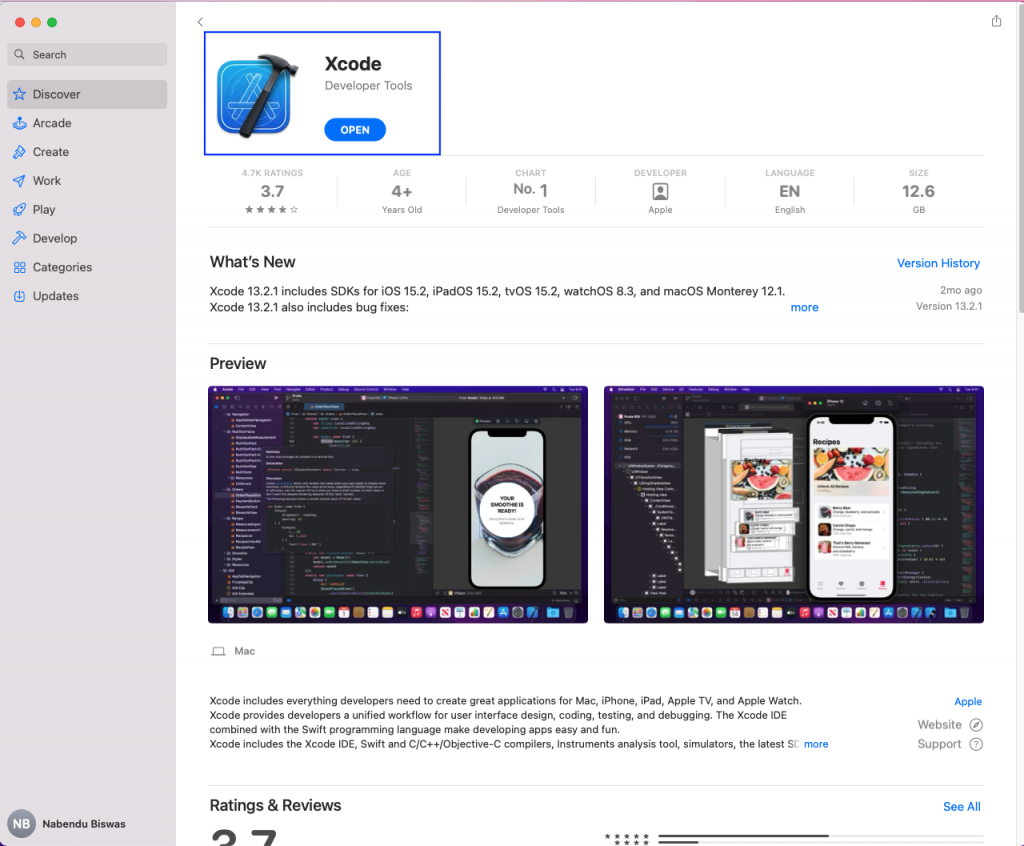
Xcode is required software to run iOS simulators. So, go ahead and install it from the official Mac App Store.
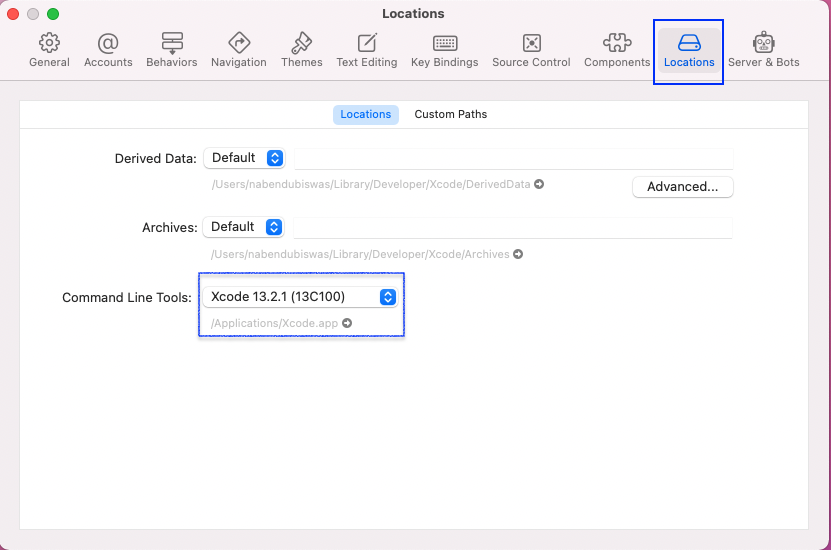
After Xcode is installed, we also need to install command line tools. To install them, open Xcode, and then open Preferences. Now, click the Locations tab. After that, from Command Line Tools, choose the latest tool to install it.
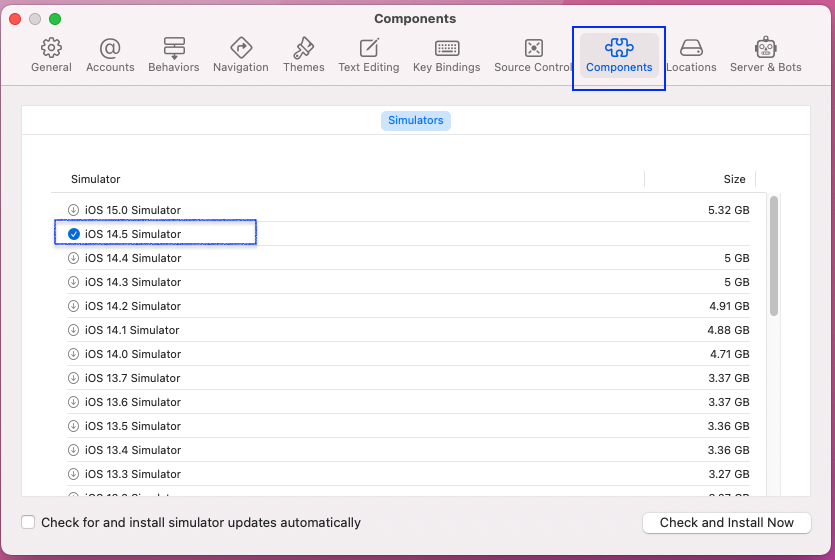
After that, we also need to install an iOS simulator. So, go to Components and install the latest one. Click the download button next to the simulator name.
iOS apps also require CocoaPods to be installed on the system. Again, open the terminal program on the Mac and give this command.
If we face any issues during this installation, we can refer to the official docs here.
Creating a New App
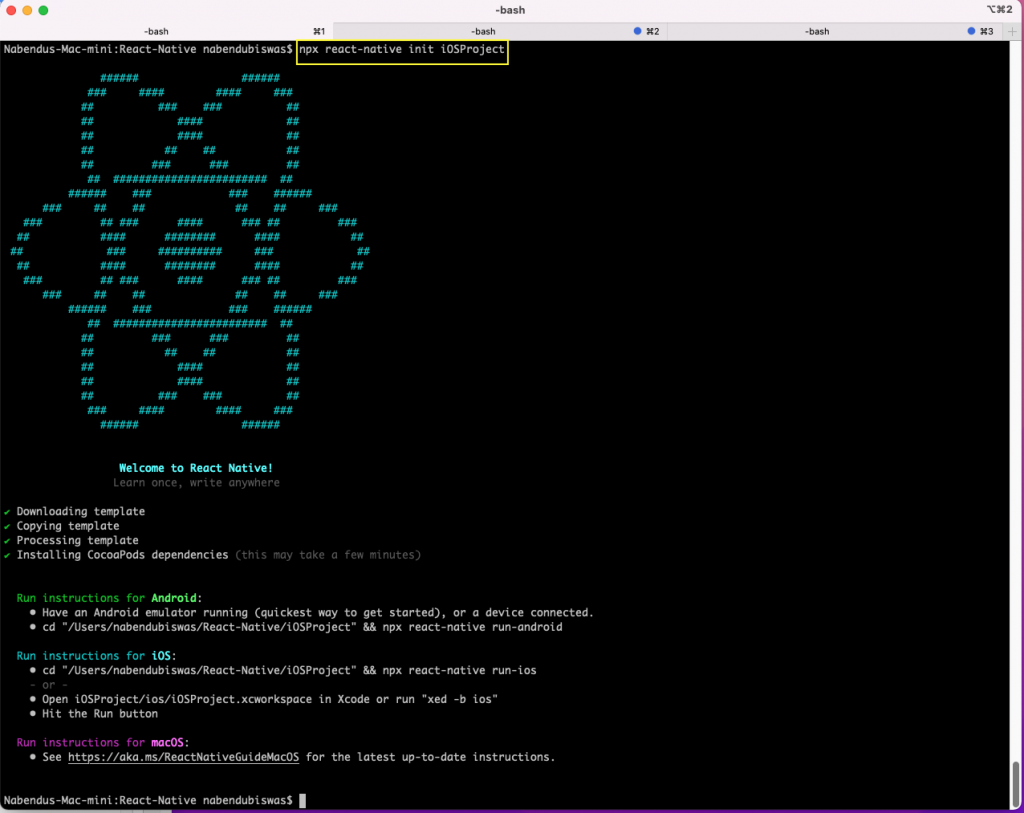
To create a new app through React Native CLI, go to any terminal and run the command npx react-native init <project-name>. Here's an example.
If the command is successful, you'll get the screen below.
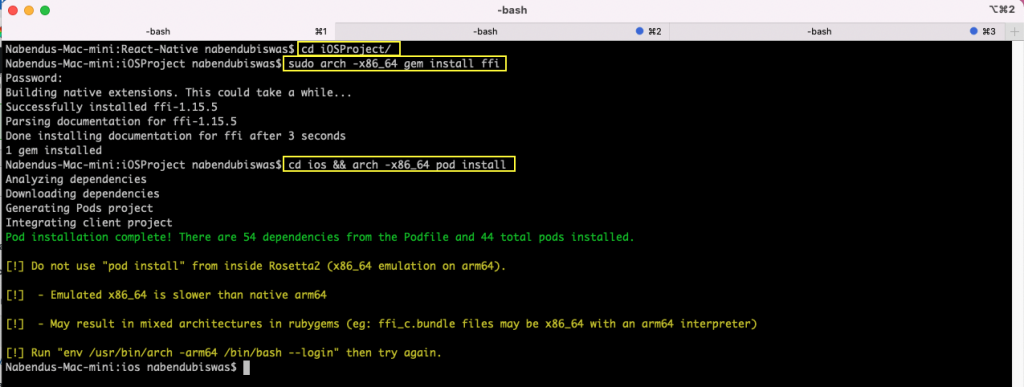
A Mac running on the latest M1 chip requires additional setups. So, in the project directory, run these commands. These steps aren't required if you're using an Intel-based Mac.
Running the Project
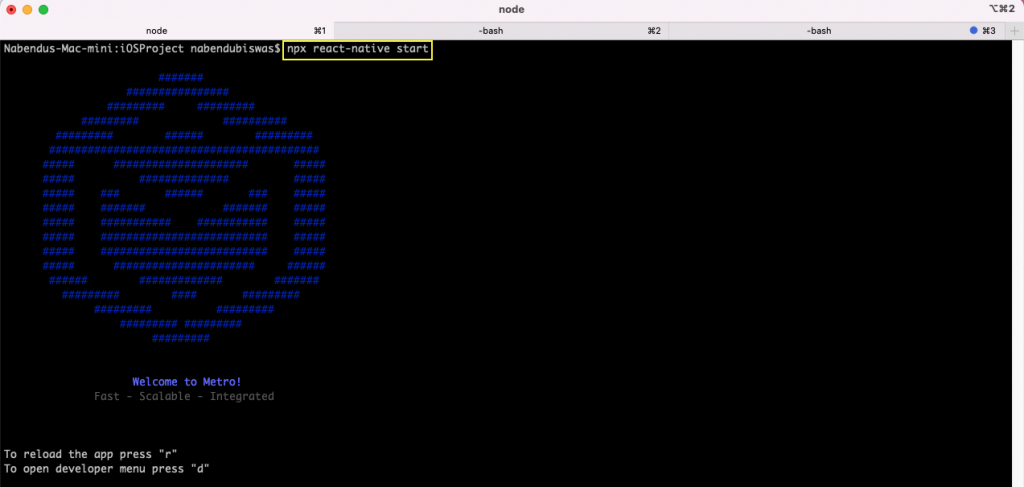
To run the project, give this command.
If successful, it'll give us this screen.
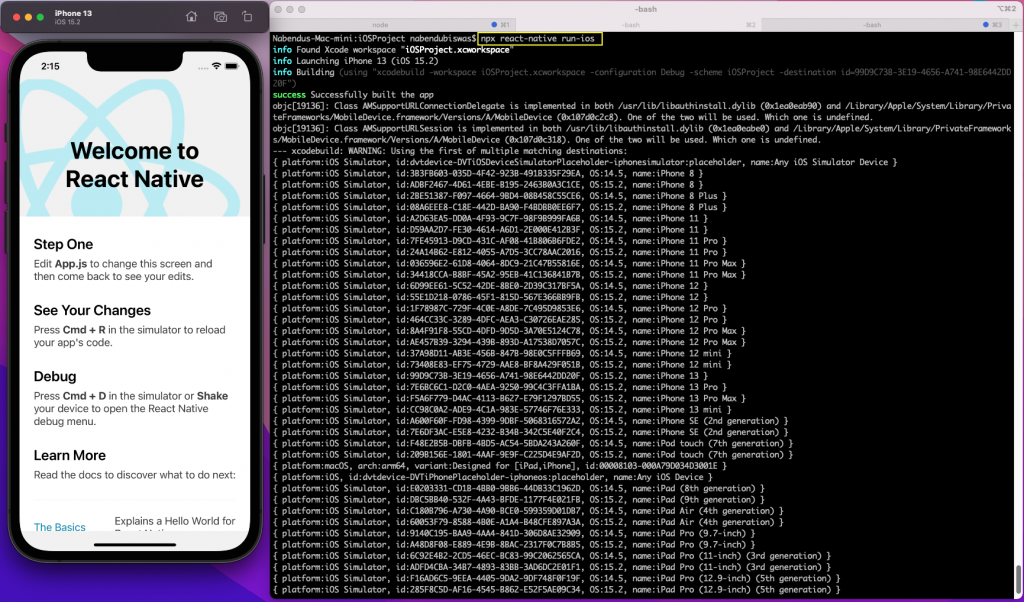
To run the project in the iOS simulator, open a new terminal in the project directory. Give this command.
If the build is successful, we'll see the basic React Native app running on the iOS simulator.
Creating a Basic App
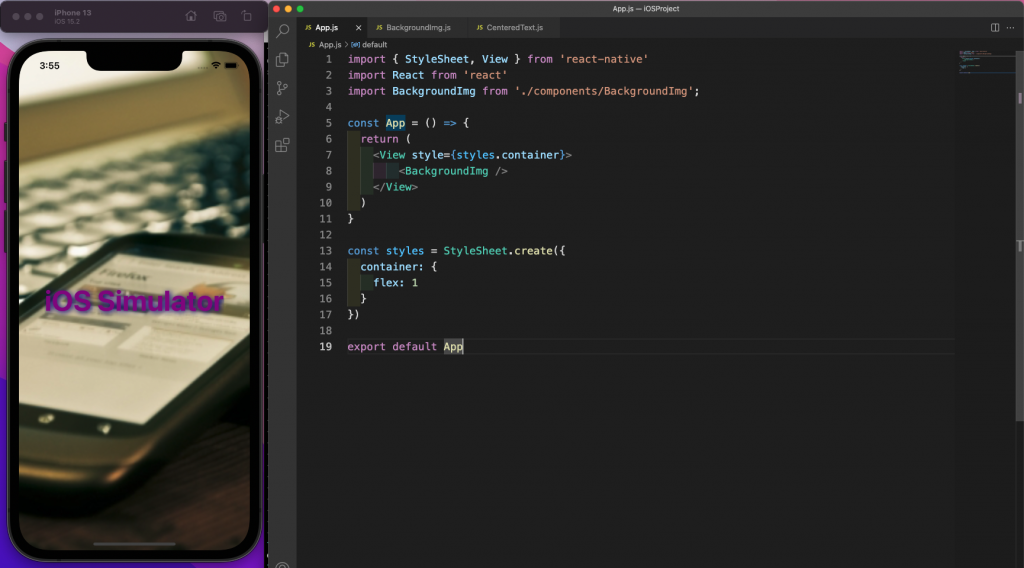
We'll create a basic app before checking the way to run it on different devices through the iOS simulator. First, we'll create the components for our project. In the root directory, create a components folder. Create a file called BackgroundImg.js inside it.
It contains an ImageBackground field. We're showing an image from placeimg.com in it. We also have some style for this image field.
Here, we're also calling a CenteredText component. So, create a CenteredText.js file inside the components folder. Here, we have a Text field with shadow style text.
Now, remove the content from the App.js file and show the BackgroundImg component in it. We'll get a nice random image with centered text in the iOS simulator.
Changing Orientation
We can easily change the orientation in an iOS simulator. By default, it's Portrait, but we can easily change it to Landscape. Click the square icon at the top-right corner.
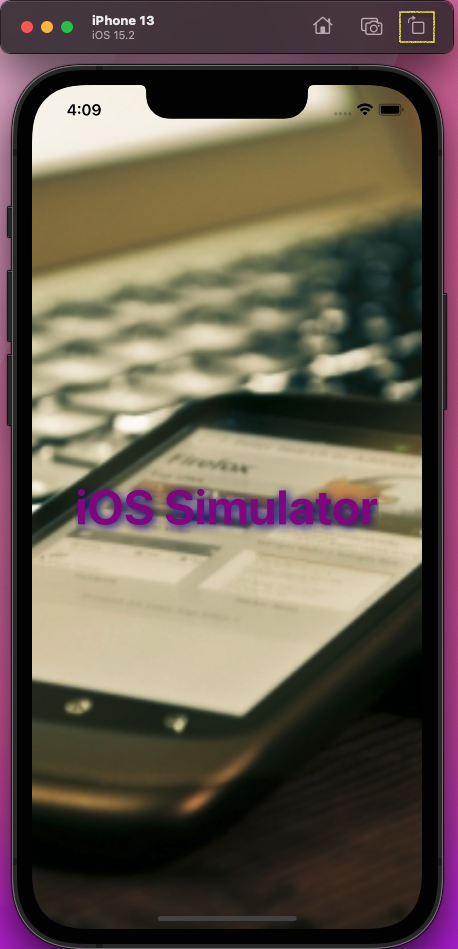
And the orientation will change to Landscape.

Running on Different Simulators
We can run the iOS simulator on different devices, not just the default iPhone 13. For this, first start Xcode and click Window -> Devices and Simulators.
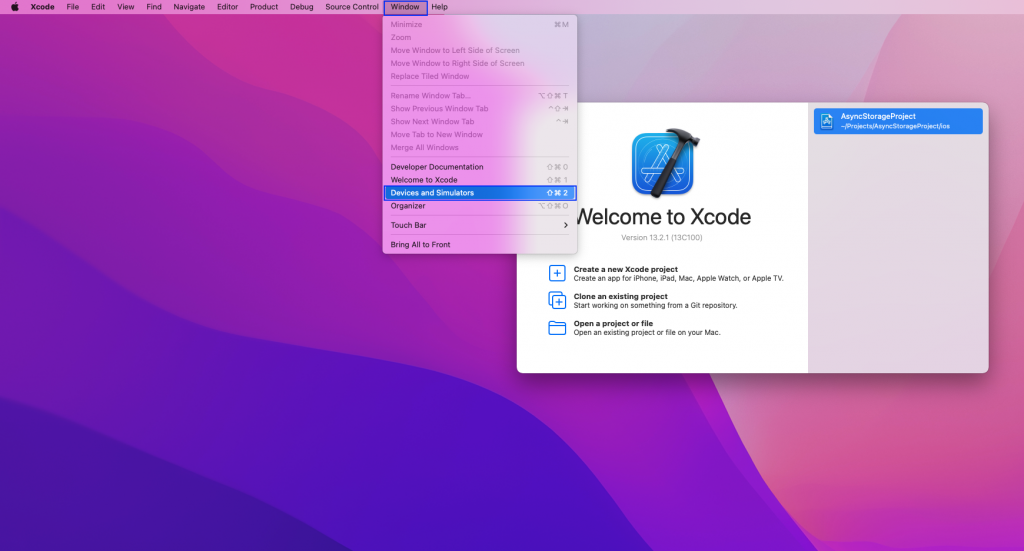
After that, we'll get a pop-up. And in it, we can see the list of all available simulators.
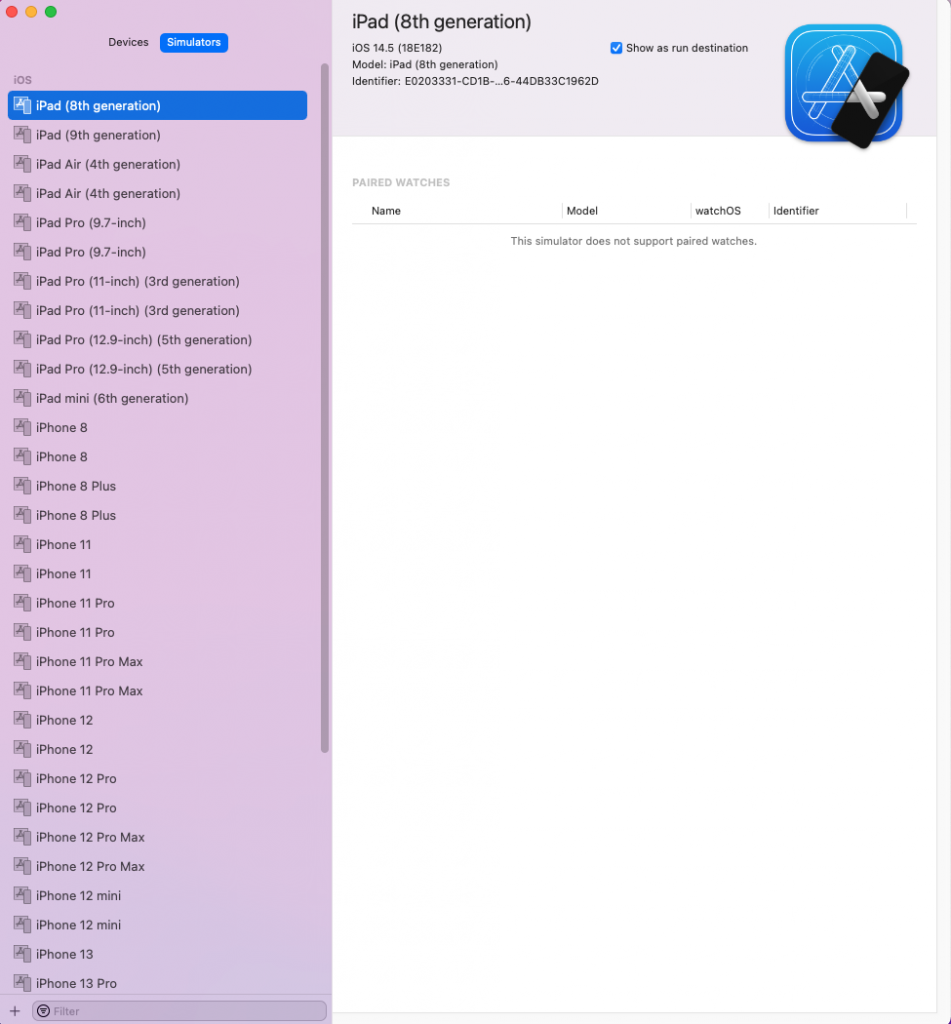
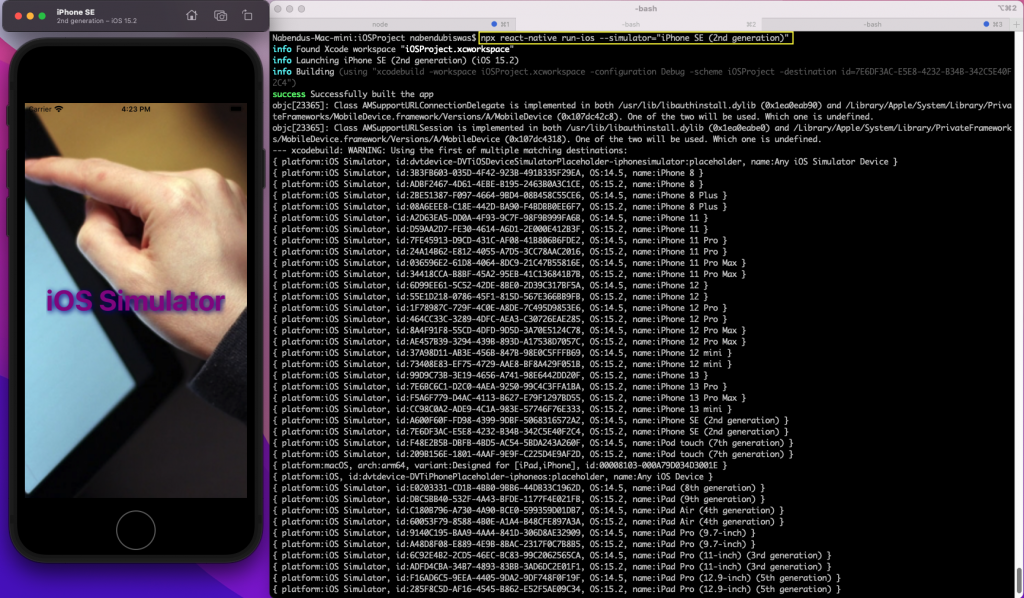
We just need to copy the name of the device name from the above pop-up. After that, we need to go back to the terminal and run this command.
Here, we're running for iPhone SE (2nd generation), and you can see it in the simulator.
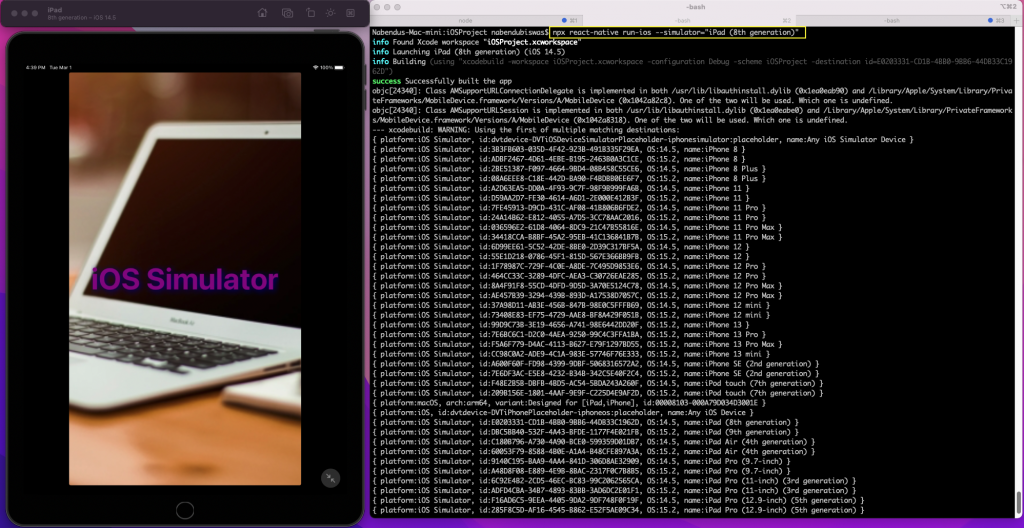
Similarly, by giving the command below, the output will display in iPad (8th generation).
We can also change the orientation of the device by clicking the square button on the top-right side.

Features of Simulators
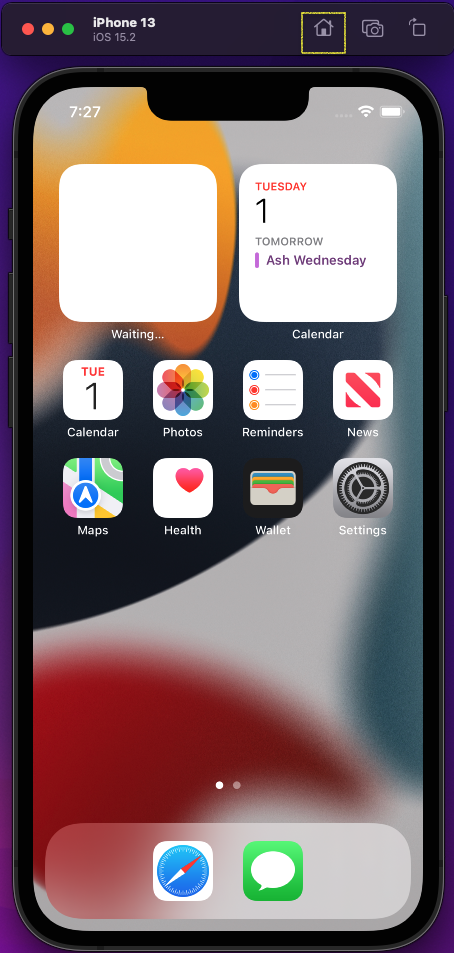
On a phone simulator, we have features that let us rotate the screen, take snapshots, and go to Home. Clicking the Home button will take us to the home screen of the simulator.
Now, we have some extra features on a tablet simulator. Here, we also have a Capture Pointer option. Choosing it enables the touch option inside the simulator.

We can also take a screenshot by clicking the Camera icon of any device. The snapshot will contain the screen only, as shown below.
Testing With Snapshot
Now, we'll test our app through snapshot testing. Jest is the in-built testing framework in React Native CLI. First, in the __tests__ folder, remove the file App-test.js. Now, add two files to the folder: CenteredText-test.js and BackgroundImg-test.js.
Now, in the CenteredText-test.js file, add the content below. We're using a simple snapshot test to check if the components are rendered correctly.
In the BackgroundImg-test.js file, add the content below. Again, we're testing if the components are rendered on mobile correctly.
To run the test files, we need to run this command for the terminal.
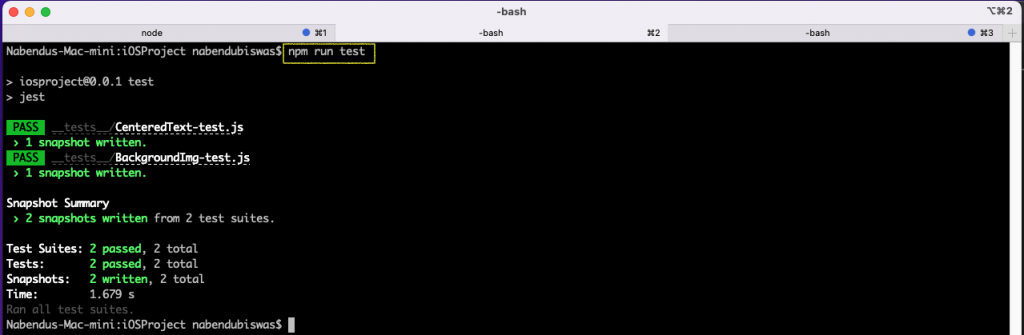
From the screenshot above, we can see that our test cases ran successfully. But we wrote test cases for only simple snapshot testing. Adding interactivity would require us to write more complicated test cases.
We can use the awesome no-code platform of Waldo instead of writing all test cases ourselves. For testing with Waldo, we just need to just generate the APK or IPA file. In Waldo, we can do real user interactions. So, give Waldo a try here and test all its features. There's also a helpful blog with lots more information on React Native.
Conclusion
In this post, we've learned to install React Native CLI on a Mac system. After that, we learned to create a new app on Mac and also to run it.
Next, we created a simple app and ran it on different iOS simulators. We tested our app using snapshot testing by writing simple test cases. And using Waldo lets us test our app in an easier way.
Automated E2E tests for your mobile app
Get true E2E testing in minutes, not months.


