


One of the most essential aspects of an application's visual identity is the navigation bar and the header element that comprise it. For the most part, the navigation header is the most universally understood component of an application's basic structure. It's such a ubiquitous component that we immediately identify it in every application we use and are surprised when it's absent.
This is why learning how to implement a header component and, by extension, a navigation structure is one of the first steps in all programming courses. So let's get into that.

For this article, we'll closely examine how to implement a header component in React Native. Moreover, we'll supply you with a comprehensive introduction to navigation structures in React Native so that you have a solid starting point for future development projects.
We'll first describe React Native header components and what makes them unique. Then we'll provide you with some direction on implementing your navigation structure more effectively. Finally, we'll explore some common examples of header components that you can modify to suit your needs.
By the end of this article, you can expect to have a good grasp of React Native header components, which should give you the confidence to develop more complex solutions for your endeavors.
Note: Given that the matter discussed in this article might be explored by developers starting their journey with the technology, we'll provide a brief introduction to how to create a basic React Native project. However, please skip this part of the article if you already have a project or find this irrelevant.
.png)
Starting with React Native
Start by creating a new React Native project.
You'll use the Expo CLI Command Line utility, NodeJS runtime, and Visual Studio Code for the development environment. Setting this up requires just two commands and takes no time.
First, you need to install NodeJS on your system. To install it, you can either go to the official NodeJS portal and download the installer or use the package manager that comes with your OS through the command line. If you use macOS, you can use homebrew and input the following command on the terminal:
Now you can proceed to install the Expo CLI. All you have to do is use 'npm,' the package manager that comes with NodeJS, and input the following command on the terminal:
That's it.
Now, if you don't have Visual Studio Code already installed, you can find it here. Additionally, you can find more information about the setup process on the React Native developer website here.
The next step is to create your project. All you have to do is type the following command and let expo know what kind of boilerplate project you want to build:
The 'HeaderTest' is just a placeholder for the project name, and you can pick any name you like.
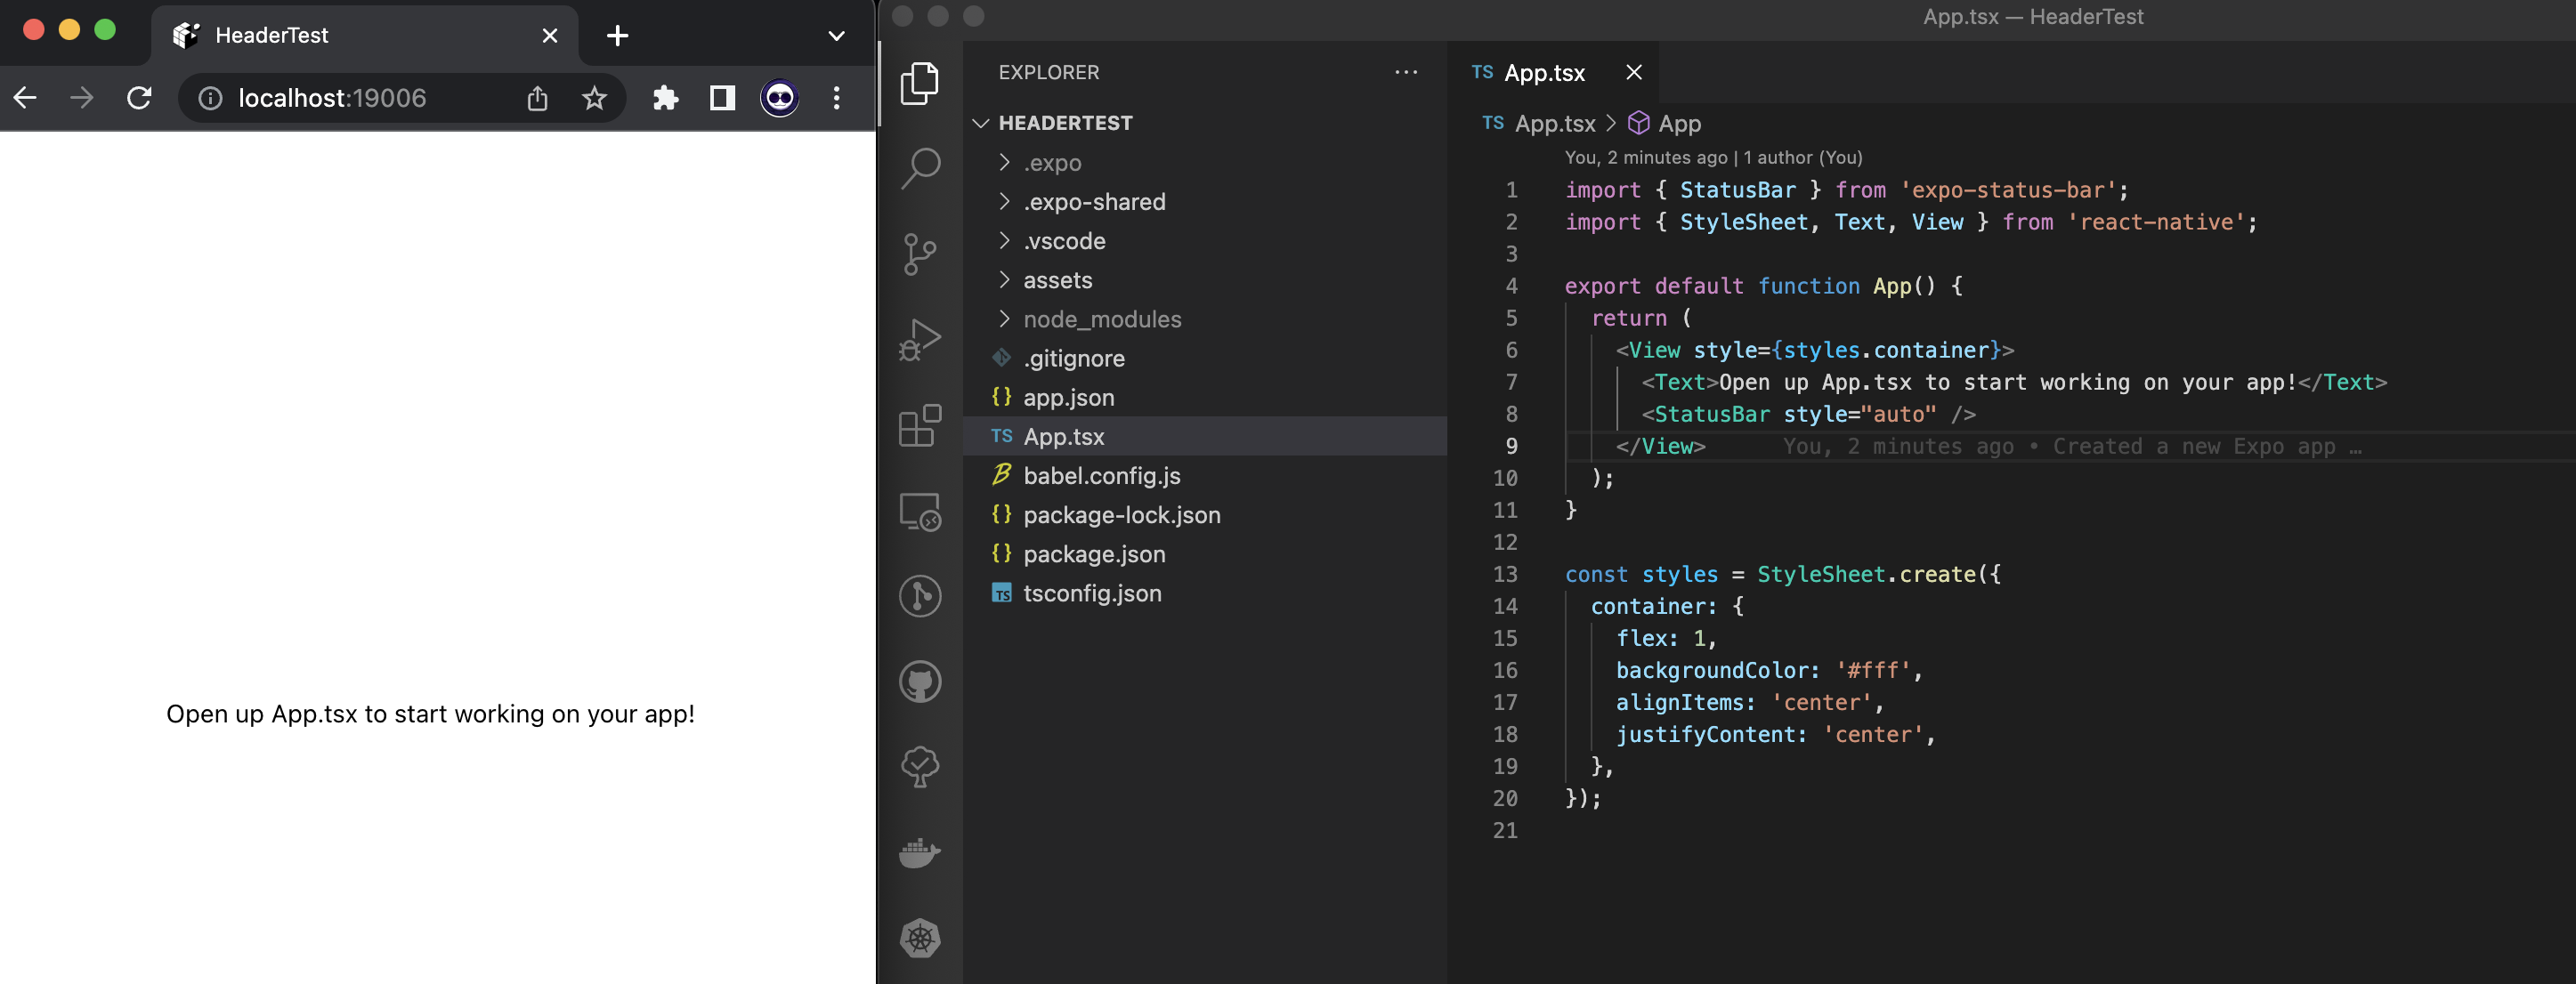
Finally, run the following command, and the application will be up and running:
The result should look like this:
Understanding Navigation Stacks
Much like how browsers handle user navigation, React allows users to move between screens in a navigation stack. This allows users to move back and forth between screens and provides some coherence to the user experience.
React Native does not have a one-to-one mechanism for navigation compared to a browser. Still, it provides a similar experience by wrapping and abstracting the intricate navigation idiosyncrasies of Android and iOS into a familiar history-based navigation stack resembling a standard browser.
To do this, React Native uses the native stack navigator library, which handles navigation and is one of the building blocks of navigation-based apps.
Run the following commands to install it:
Now, you must modify your application entry point, the App.tsx class file, to wrap the app in a NavigationContainer component.
Exploring the React Native Header
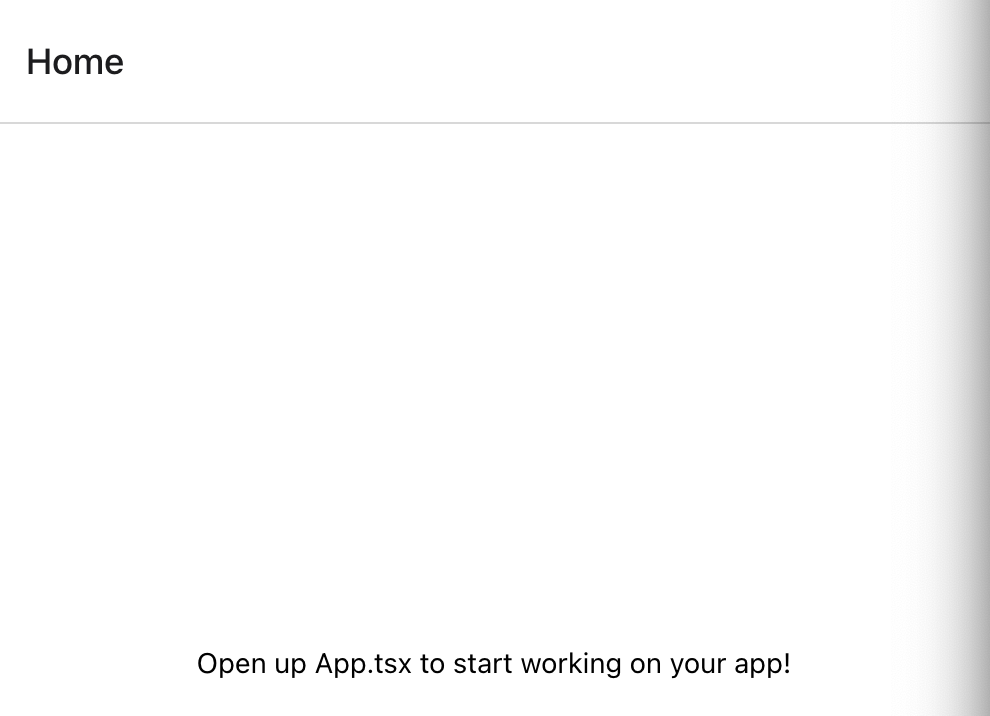
As you can see, no navigation header is visible yet. To make it visible, you need to follow the proper stack and screen structures available in React Native.
Alright, now you can see the header.
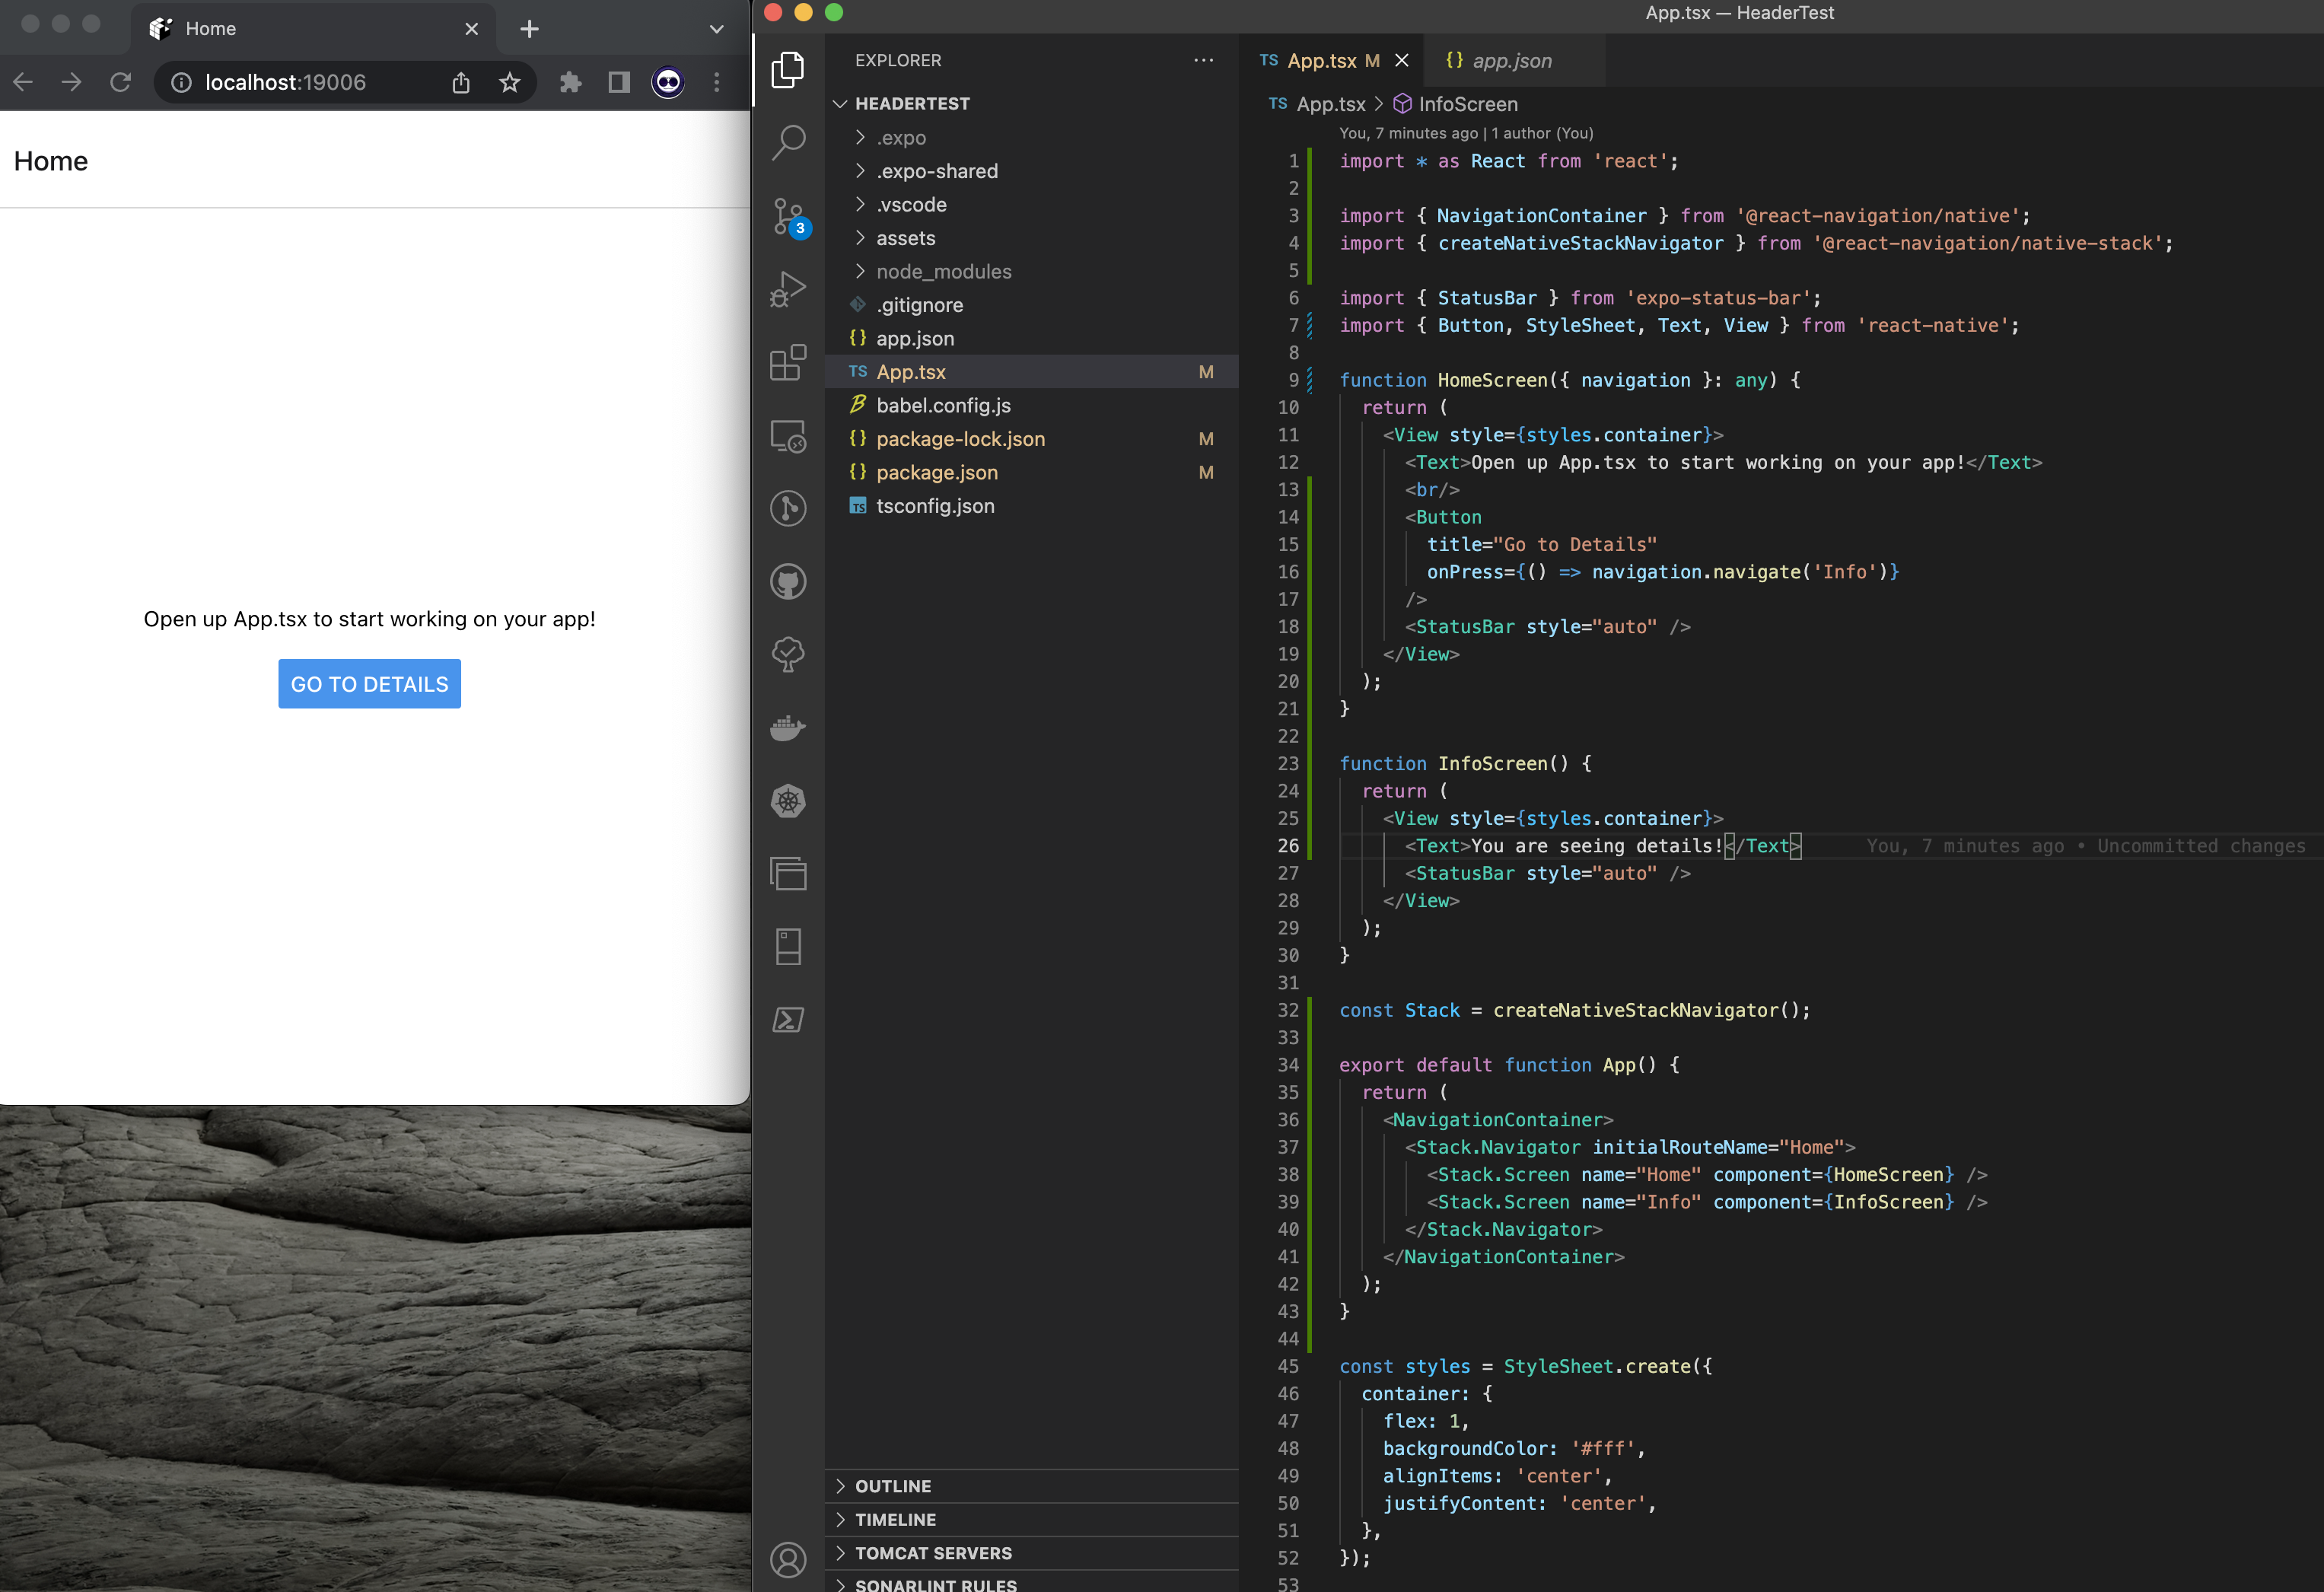
Next, add a second screen to which you can navigate with a button.
You must keep adding screens into the navigation stack so that they're available. Additionally, in the home screen button, the navigation function is provided with the name of the screen that it should display when tapped.
There are many more intricacies involved when implementing a robust navigation mechanism. That's beyond the scope of this article, but we'll explore it in a future article. Nevertheless, you can learn more in the official documentation here.
In the process of adding the basics of stack navigation to your application, you've already added a header element. A lot of this is dictated by the screen component in the navigation stack element. Let's explore it.
The header title is inherited by the screen title provided in the screen component. However, you can provide a header title directly by passing it as an optional property in the screen component.
Customizing Your React Native Header
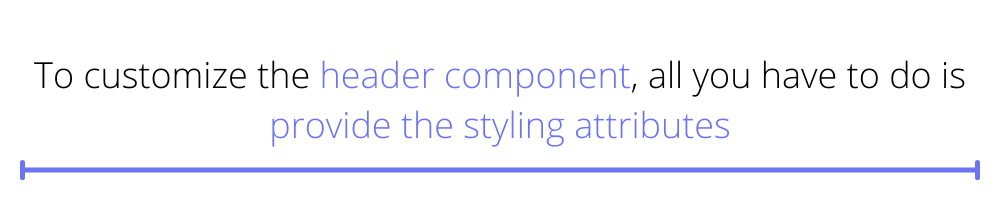
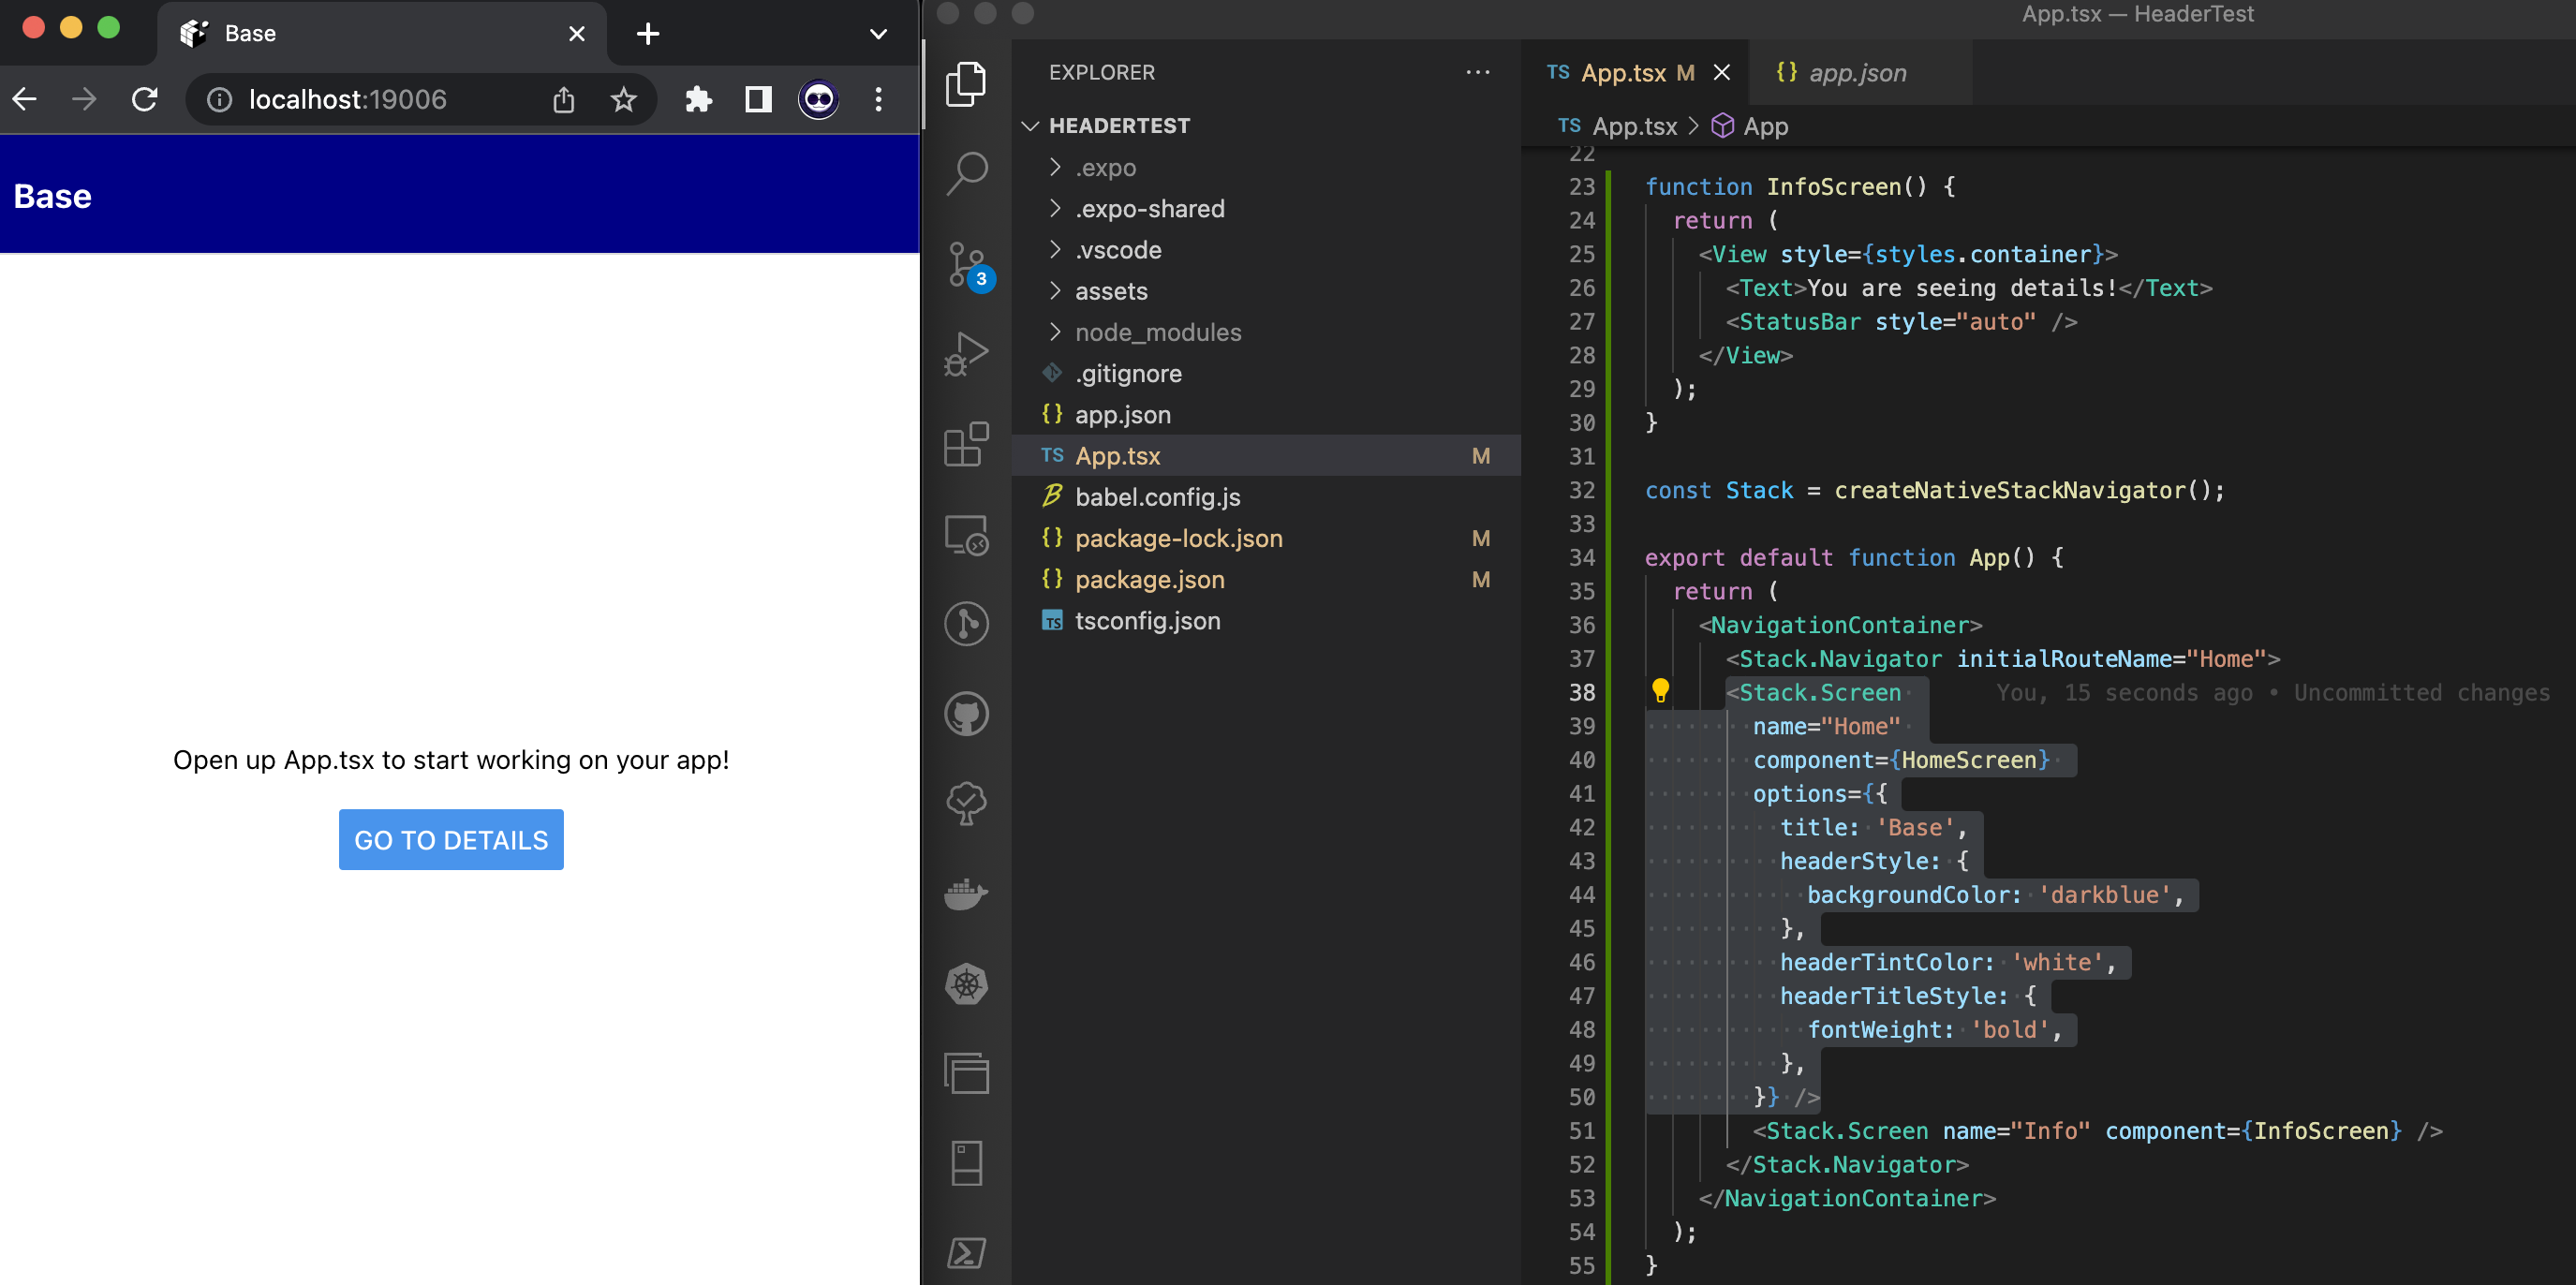
To customize the header component, all you have to do is provide the styling attributes. Just like how you added the title property, you can tell React Native how to render the header.
Which will result in the following screen:
This is great, but the styling doesn't apply globally. This means that if you navigate to the info page, you will see the old style.
To solve this, you can apply the styles to the navigation component itself.
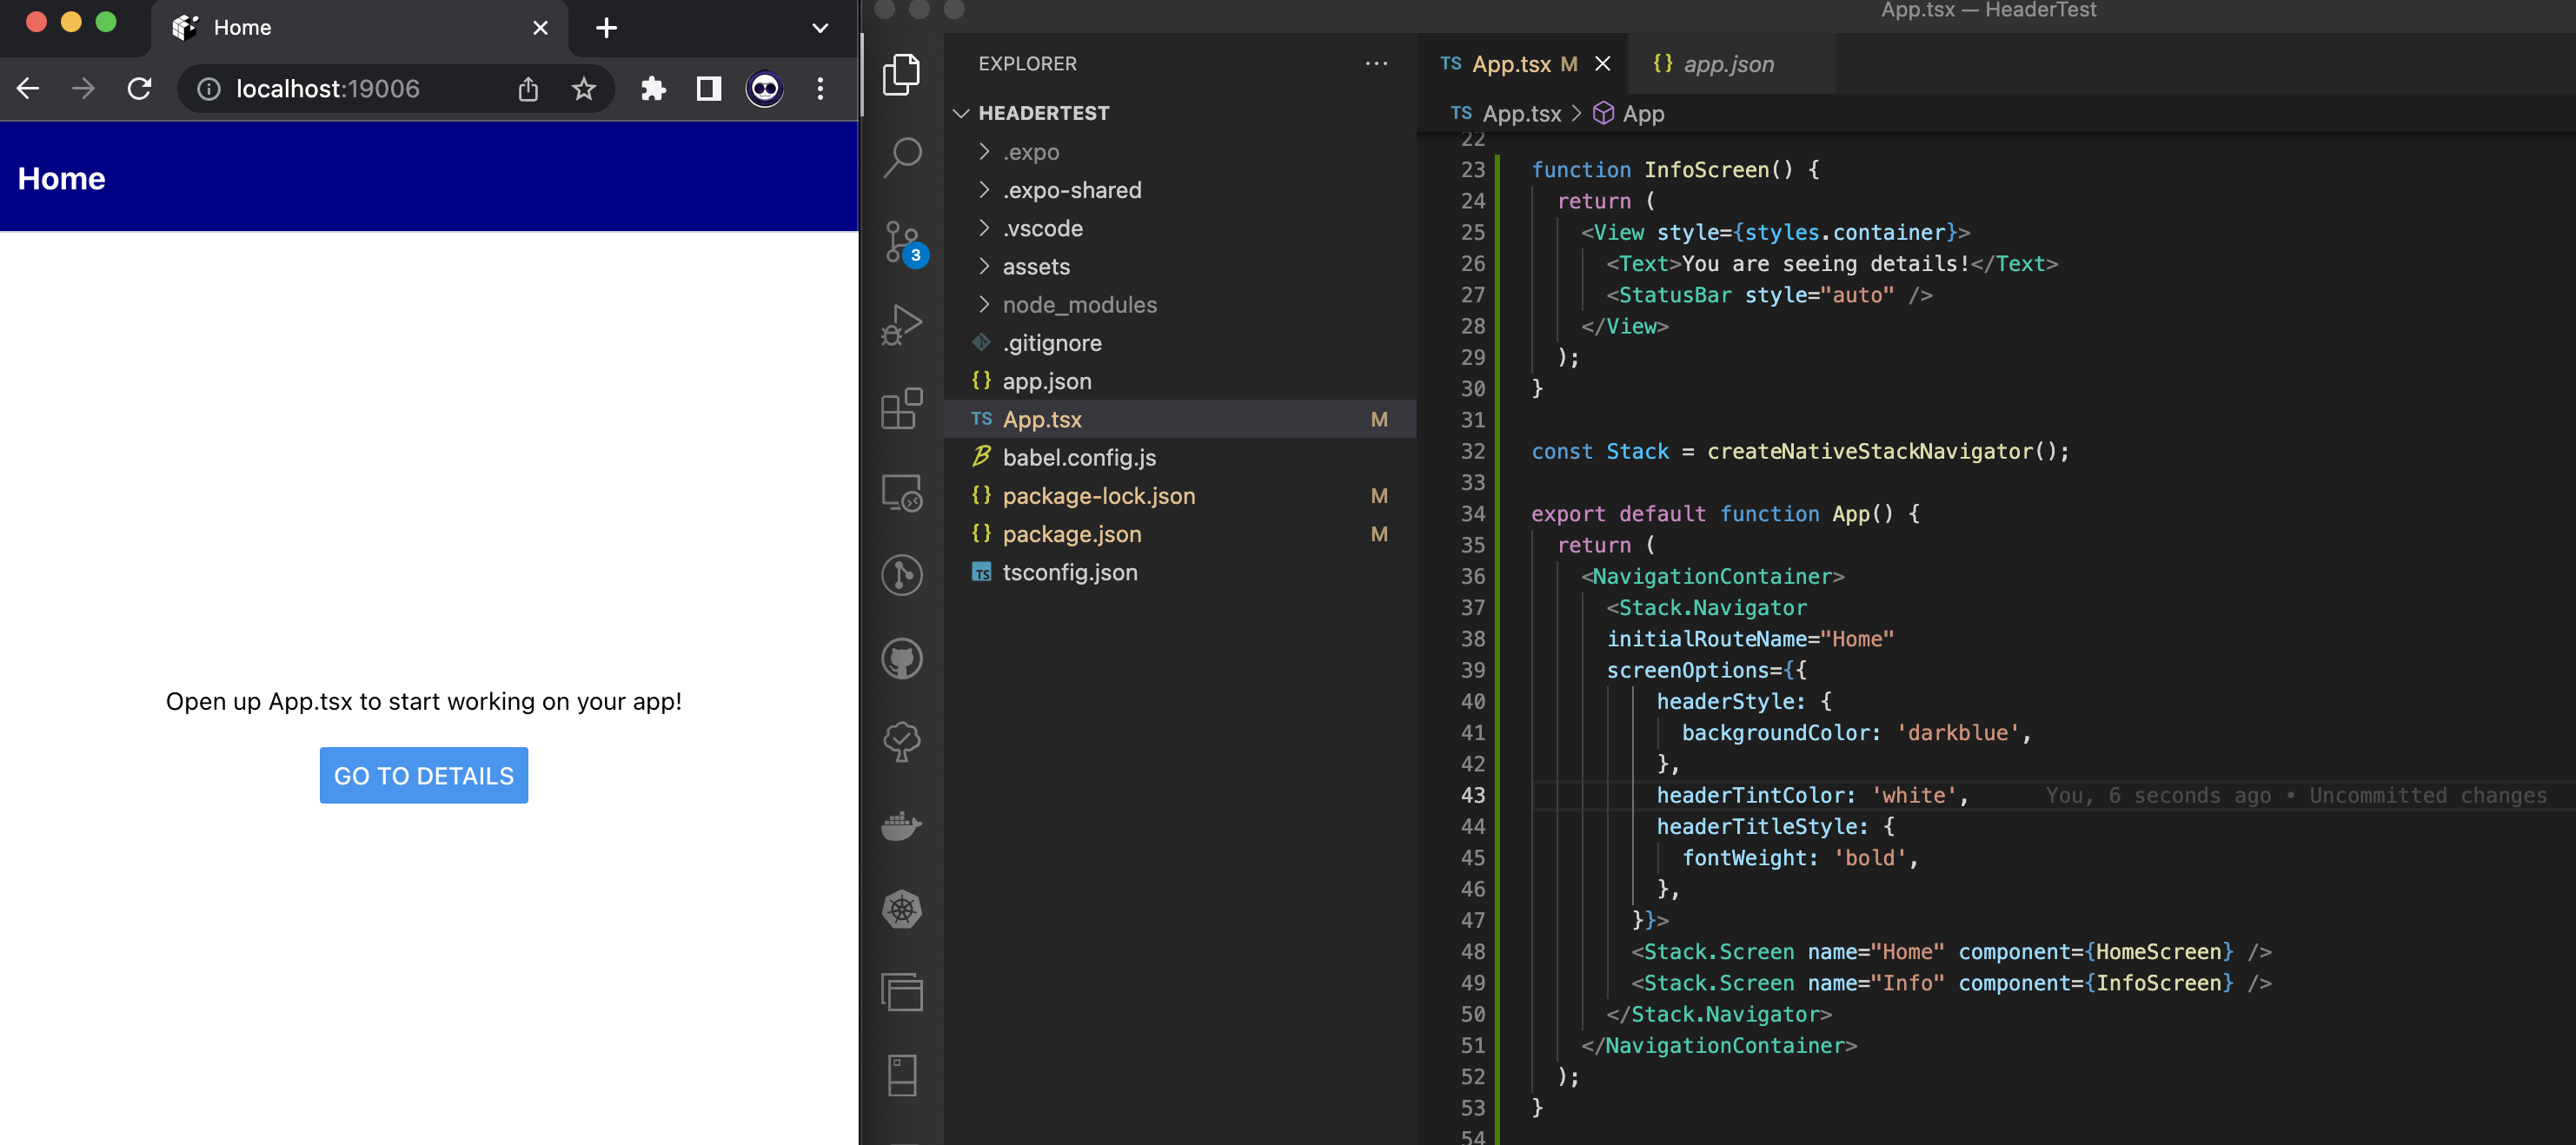
You need to change the 'options' attribute to 'screenOptions' for the change to work.
Finally, if you want to add something other than text to the header, you can do so by providing a custom component as a function to the screen.
Which would look something like this:
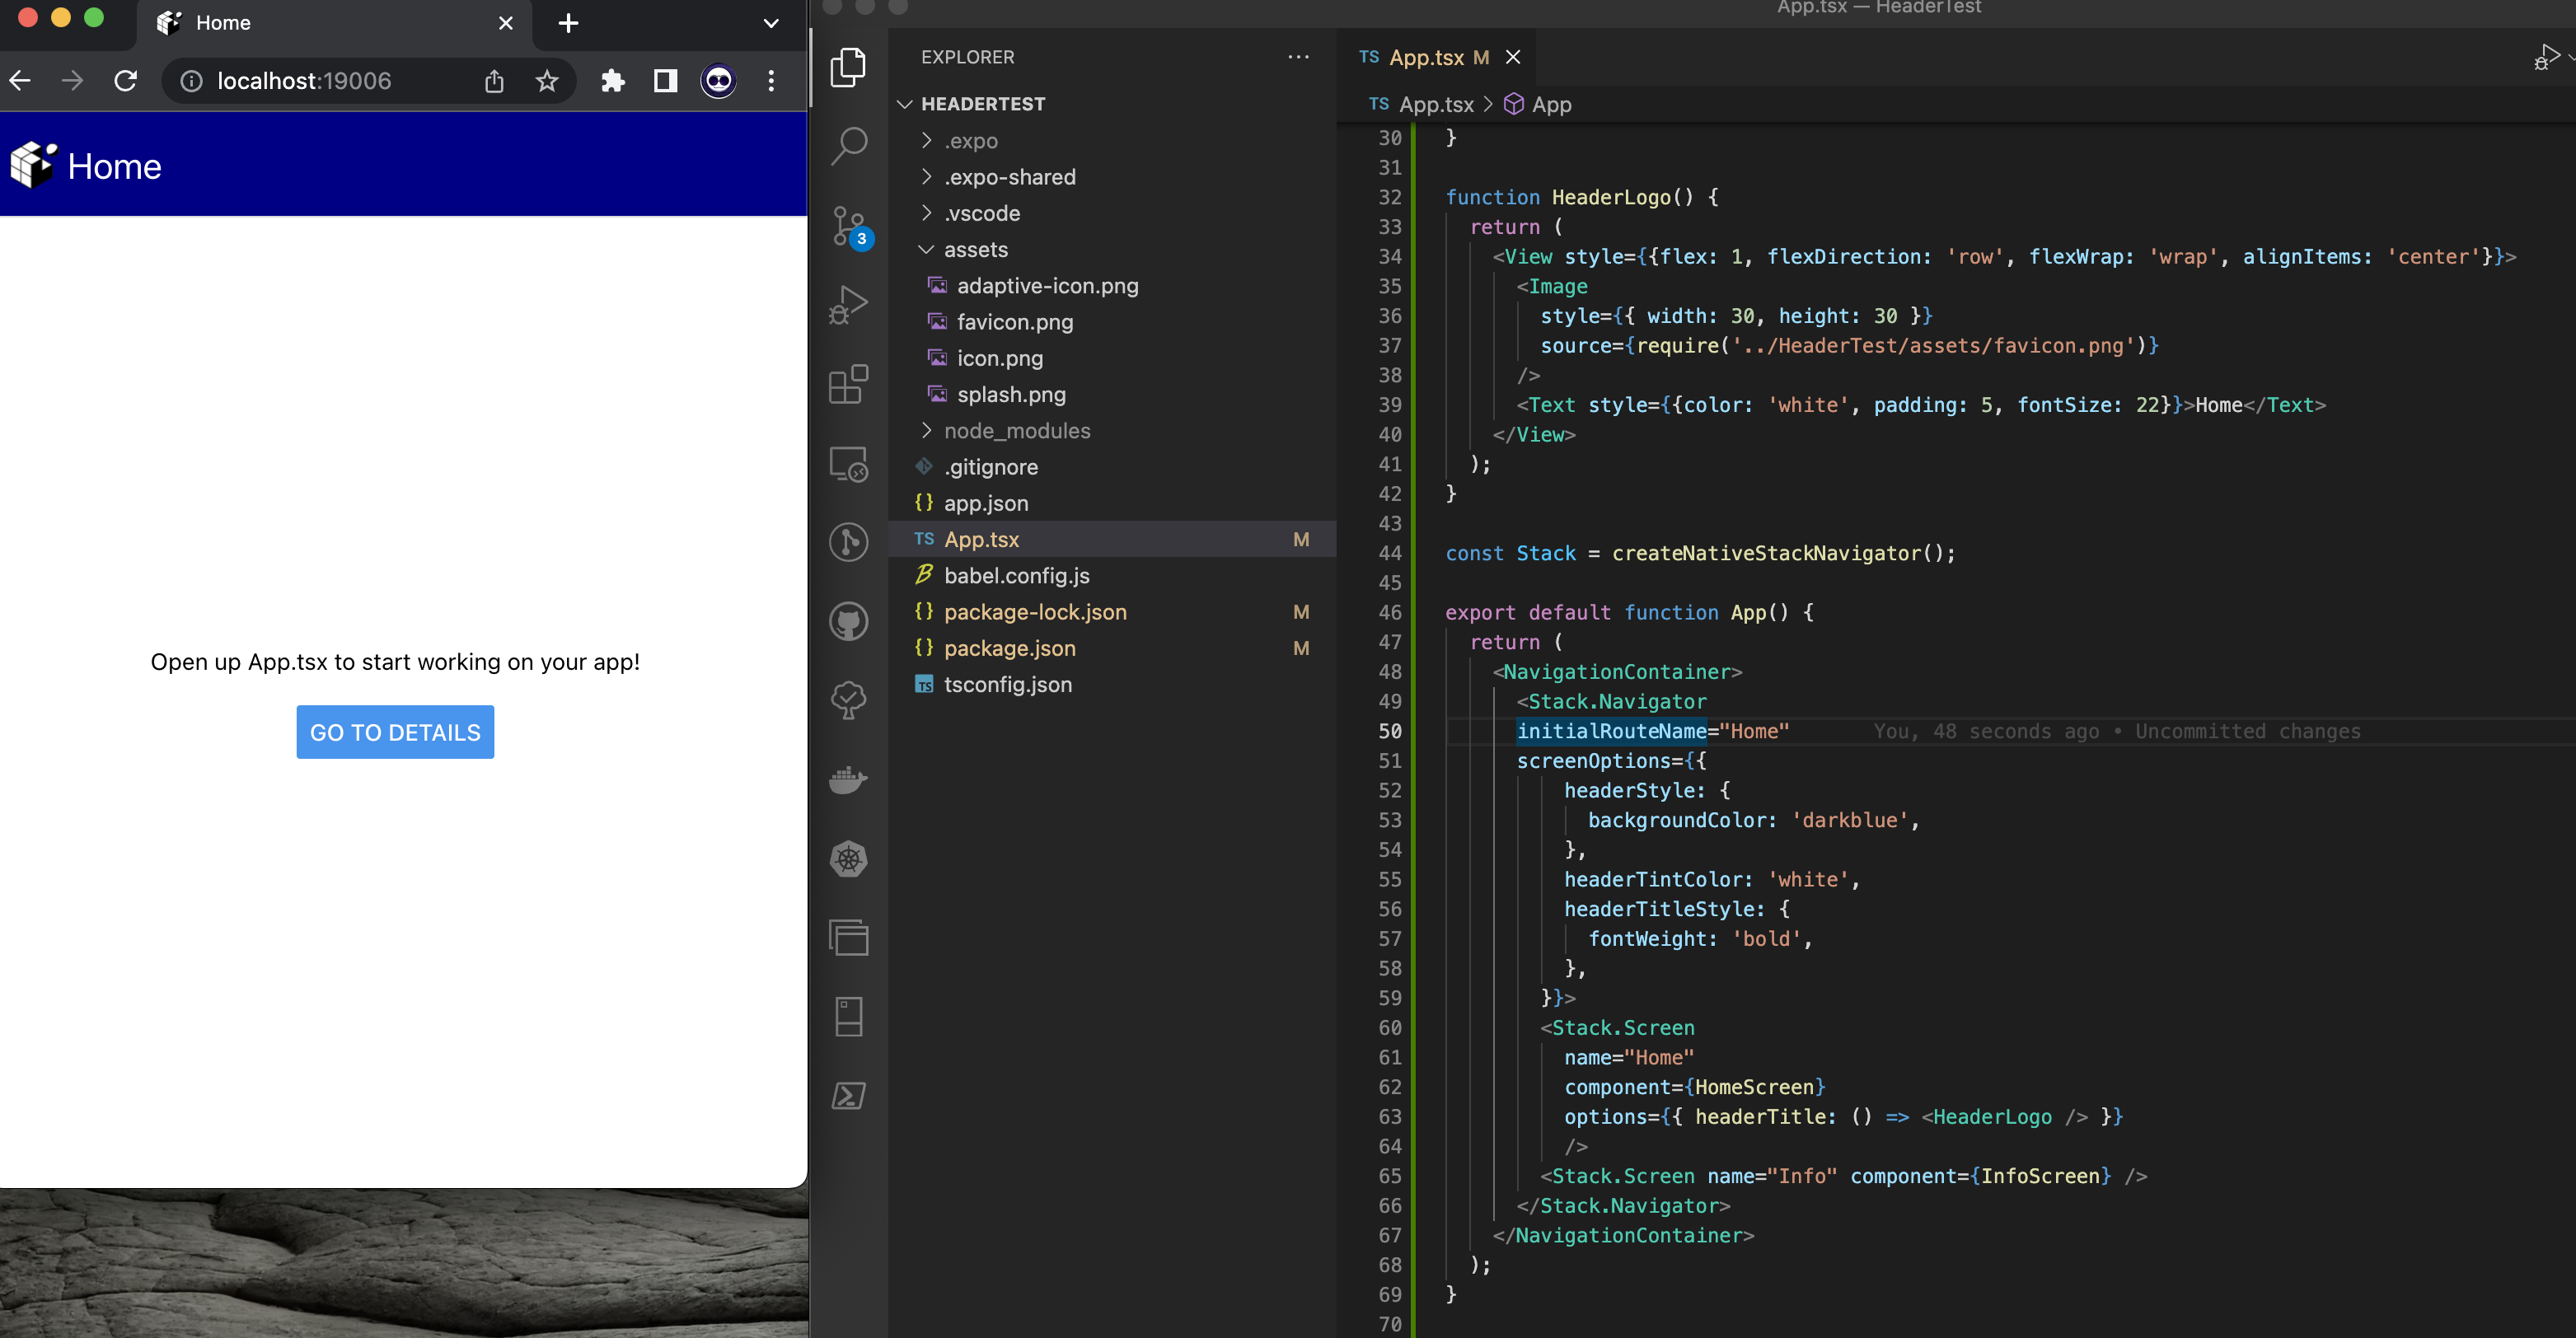
Brilliant.
Moving on
Making sure that your application is stable and ready for production can be a hassle, especially when your stakeholders are breathing down your neck, anxious to release their product. That's why it's essential to have a streamlined and straightforward solution that takes care of your testing needs. Waldo's code-free testing solution will give you the peace of mind of knowing that your code is well tested and bulletproof so you can focus on what matters: creating exciting and innovative solutions for your clients.
You can learn more about it here.
Automated E2E tests for your mobile app
Get true E2E testing in minutes, not months.


