


Debugging your Android Studio projects using a real device comes with many advantages. One such advantage is that a real device will run faster on a low-end computer than an emulator. Also, the process of using a real device can be as simple as just connecting the device to your computer via a USB cable.
A common issue with using a real device with Android Studio is the case of Android Studio not recognizing the device. In this post, you'll learn what you should do when this issue occurs.
First up, we'll explore some reasons why Android Studio may not recognize your device.
.png)
Why Is Android Studio Not Recognizing My Phone?
The following are the usual causes of Android Studio not recognizing a device:
1. USB Debugging not enabled: Most Android phones have USB Debugging disabled by default. As a result, if you pick up such a device and connect it to your computer, Android Studio will not recognize it.
2. Missing device drivers: Your computer must have the correct drivers for your phone in order for both devices to communicate properly. In a case where these drivers are missing, Android Studio may fail to recognize your phone.
3. Selecting the wrong USB mode: When you connect your phone to a computer, you may see a prompt asking you to select a USB mode. For some devices, activating the Media Transfer Protocol (MTP) mode will cause Android Studio to not recognize the device.
4. Damaged / non-data USB cable: A damaged USB cable or one that only supports power delivery may charge your phone without any issues. However, such cables will not support the USB Debugging option; hence, Android Studio will not recognize your device while using the cable. A damaged USB port on your device may also cause the same issue.
How to Fix Android Studio Not Recognizing a Device
In the last section, we looked at some reasons why Android Studio may not recognize your device. Now, let's walk through some ways to fix the issue.
1. Enable USB Debugging
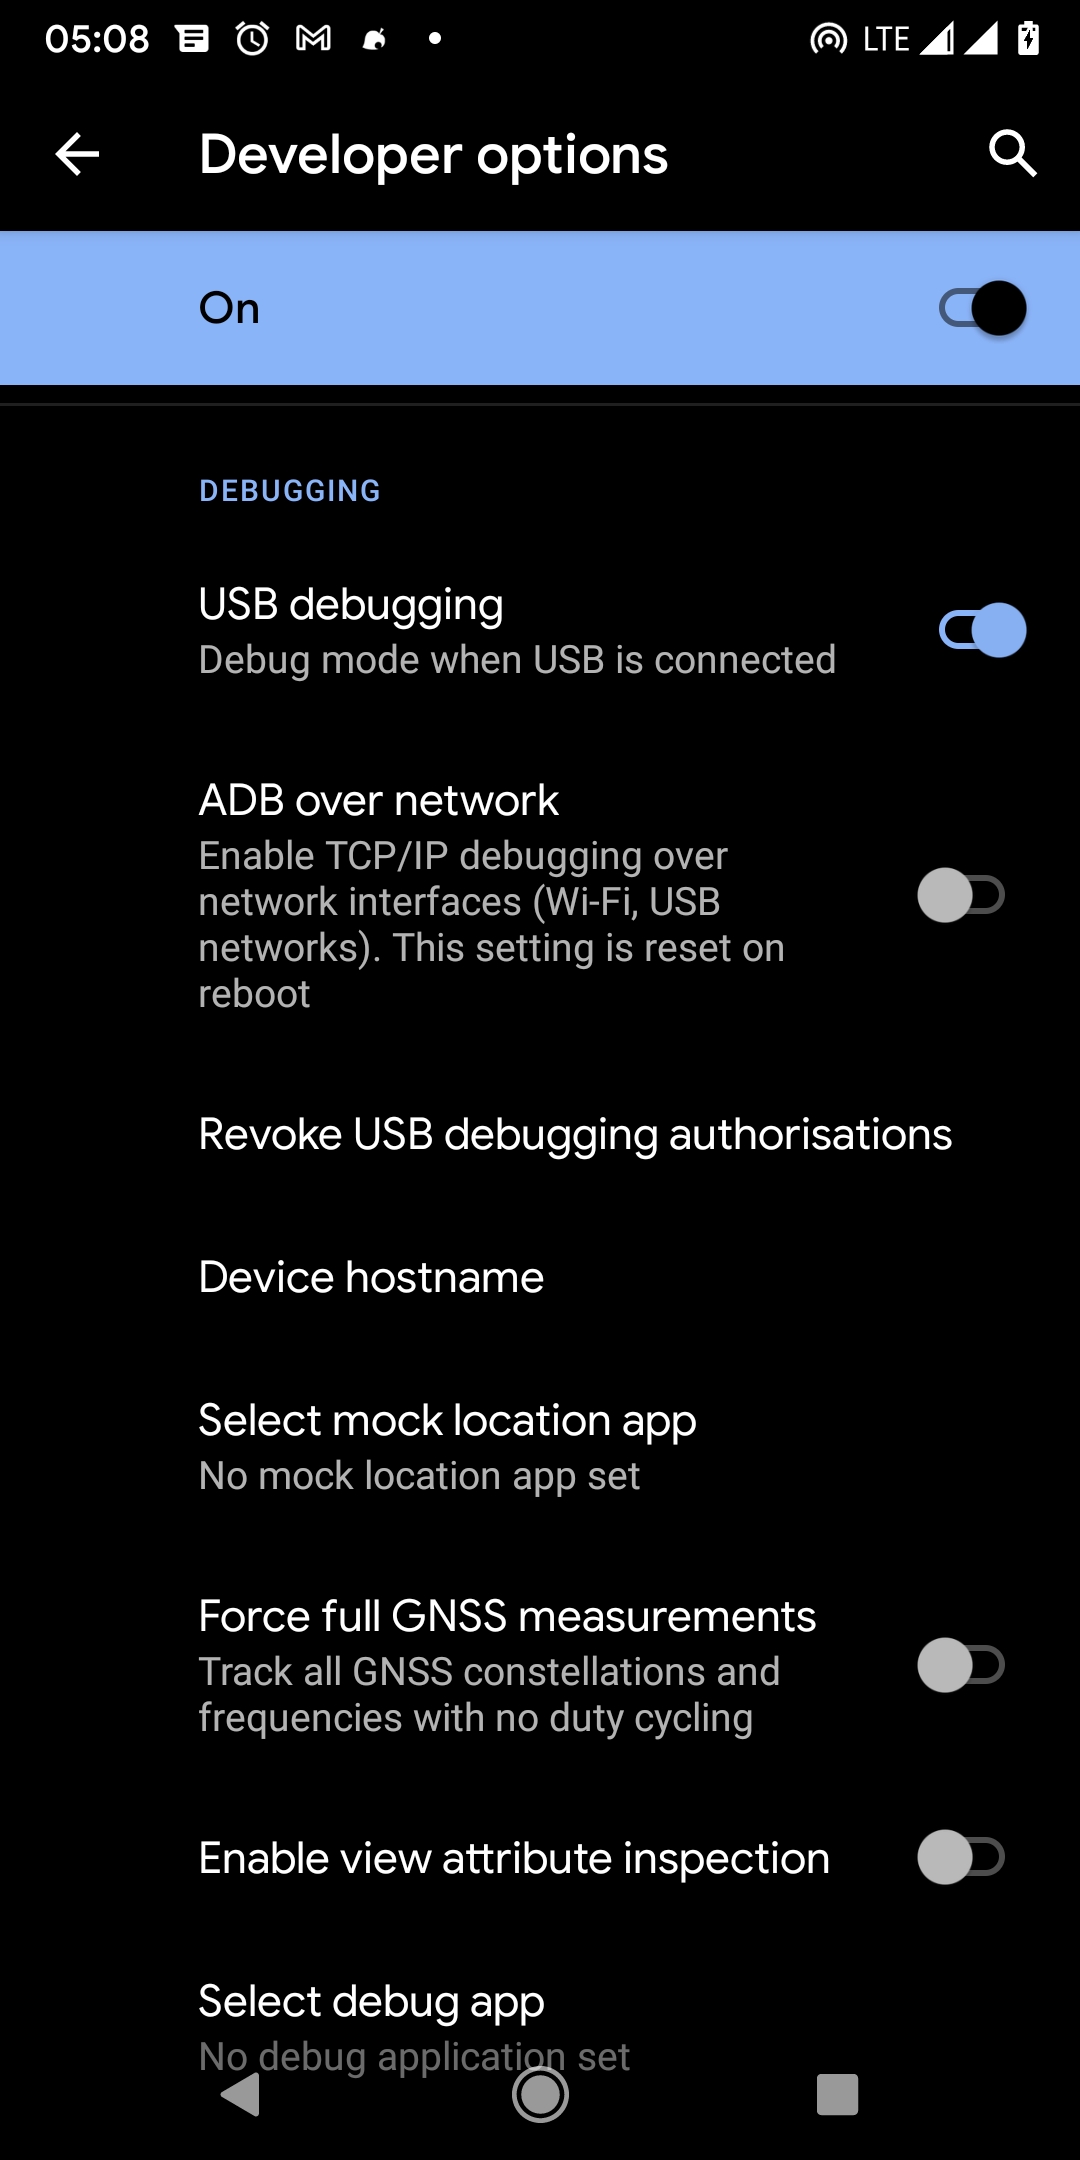
You can enable USB Debugging from the special Developer Options menu. This menu is hidden by default, and you can activate it from Settings > About Device on your phone. On the About Device page, tap on the build number until you get a "You are now a developer" message.
Next, go back to the main settings screen, and you should find Developer Options. Open the Developer Options and toggle USB Debugging on.
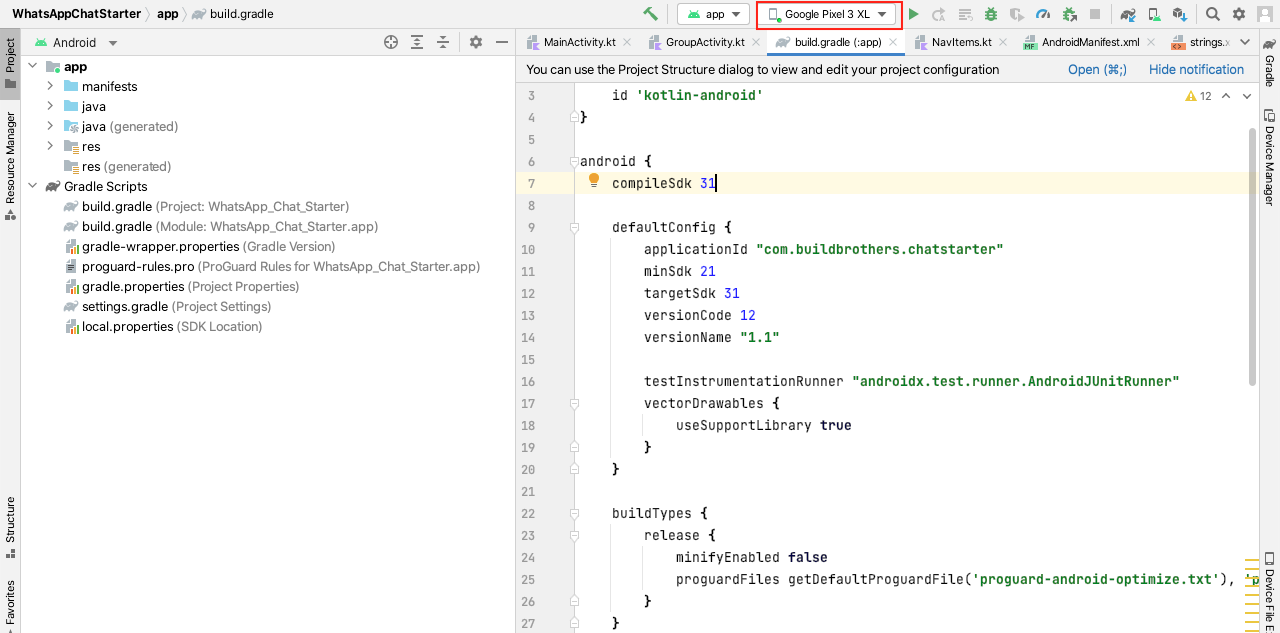
Once that is done, connect your phone to your computer using a USB cable that supports data transfer. You should see a prompt on your phone requesting permission for USB Debugging. Once you accept the prompt, you should see your phone name and model in Android Studio like this:
2. Install Device Drivers
If you followed the first step and Android Studio still doesn't recognize your device, the issue might be missing drivers. There are several ways to obtain the correct driver for your device. For example, you may check the phone manufacturer's official website for drivers. To make the process of searching easier, click here to find links to the download pages for different manufacturers.
On macOS and Linux, Android Studio should be able to recognize your device without any extra driver installation.
Google also provides generic USB drivers. These may come in handy if you try the first option and the error does not go away—or if you are unable to find any drivers from the device manufacturer.
There are two options for installing this driver. The first option is via the SDK Manager in Android Studio. To do that, open Android Studio and navigate to Tools > SDK Manager, then switch to the SDK Tools tab. From the SDK Tools tab, look for Google USB Driver, check it, then click on Apply to download the driver.
You can also install the Google USB Driver by manually downloading the files. You can get the Google USB Driver file here.
3. Configure Correct Settings
Even with USB Debugging enabled and the correct drivers installed, wrong configurations on your device may cause Android Studio to not recognize it. The following are some configurations you should double-check to fix the error:
- For some older devices, selecting the MTP mode will temporarily disable USB Debugging. To fix this issue, simply disconnect the phone and reconnect, then confirm that MTP is not selected. Usually, the normal charging mode (just connecting your device to the computer) works fine with USB Debugging.
- Make sure you accept the USB Debugging permission request from the prompt. You should also check the "Always allow from this computer" option to avoid repeating this step every time you connect your phone. If you accidentally cancel the request, reconnect your phone to see the prompt again.
4. Use a Good USB Cable
The next fix we'll be considering is changing your USB cable. A damaged USB cable may be able to charge your device. However, it may not support data transfer or USB Debugging.
Another type of USB cable that Android Studio will not recognize is one that supports power delivery only. Usually, this type of cable has just two wires inside and is much thinner. Its only job is to send an electric current to your device for charging. Hence, make sure to use a cable that's not damaged and that supports data transfer.
In addition, a damaged USB port on your device may also behave like a damaged or charging-only USB cable.
.png)
5. Scan for Devices in Device Manager
If Android Studio is still not able to recognize your device, you should try verifying from your system's device manager whether your device is connected properly. On a Windows device, you can find the device manager from the control panel.
In the device manager, click on the Scan for Device button and wait. Look for your phone or ADB Interface in the device list. If you find your phone under the "Other devices" group, it means there was an issue and Windows could not recognize the device.
Right-click on your device and select Update Driver. On the next screen, select "Let me pick from a list of device drivers." On the new screen, click on the Have Disk button, then browse your computer for where you extracted the Google USB Driver. Follow the wizard and accept all prompts until the installation is complete. Once you're done, Android Studio should recognize your phone.
Summing Everything Up
In this post, we covered ways to fix errors that cause Android Studio to not recognize a phone.
First, we listed some of the issues that lead to this error. The top reasons include not enabling USB Debugging, missing device drivers, and bad USB cables.
Next, we saw different ways to troubleshoot and fix the various issues that may cause Android Studio to not recognize a phone. In short, some of the fixes are making sure USB Debugging is enabled, installing device drivers, and using USB cables that support data transfer.
The main purpose of running Android Studio projects on a real device is to test the app you're building. This kind of test is called manual testing. In addition to manual testing, it's recommended that you do automated testing. Automated tests are faster and easier to repeat. If you'd like to try out automated testing that is user-friendly, you should try Waldo. Waldo is a mobile testing tool that makes testing less technical as it does away with writing test scripts.
Using the tips above combined with Waldo, you should be well on your way to easy manual and automated testing for your apps. Learn more here.
Automated E2E tests for your mobile app
Get true E2E testing in minutes, not months.


