


Switch statements are control mechanisms that are available in all languages. They are similar to if/else statements, which are, again, available in all languages.
Switch statements in Swift are a bit different than other languages like C, C++, and JavaScript. In Swift, we don't need to write "break" in every case because it is there by default. Also, we have a fallthrough option in Swift switch statements, which is not available in other languages.
In this post, we will first look at a basic switch statement. After that, we will go into a switch statement with fallthrough, as well as a case of no implicit fallthrough. Lastly, we will look at interval matching and tuple matching in a switch statement.

The Setup
Since we are learning about switch statements and not creating an app, we will run our code in Xcode Playground. The playground is an awesome extension in Xcode, in which we can run small programs and see the result in the console.
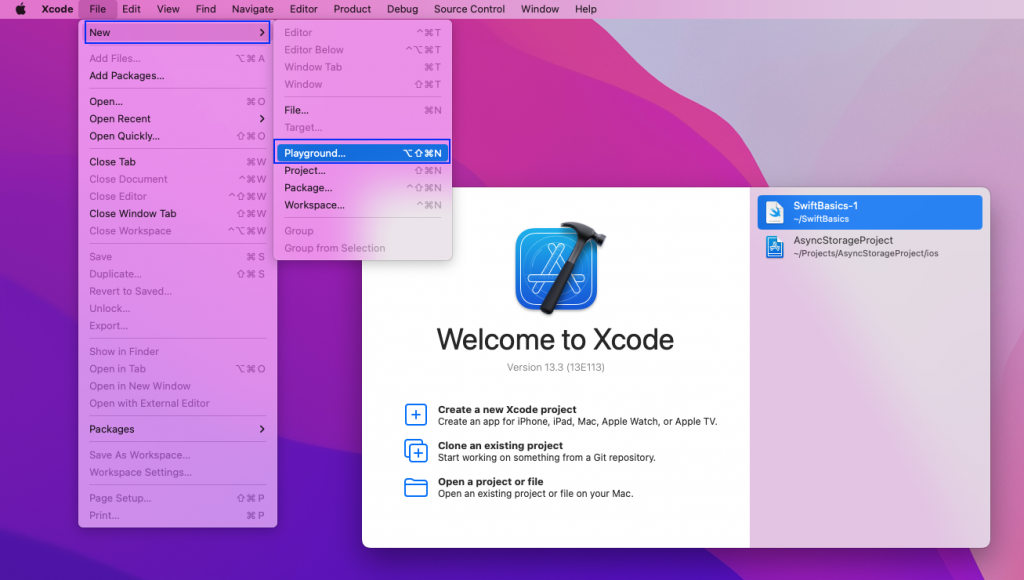
First, open Xcode and then click on File > New > Playground.
In the pop-up screen, select iOS and Blank. After that, press the Next button.
Give the playground the name "SwiftSwitch."

Next, the playground will be opened, in which we can write the code.

Switch Basics
The switch statement is a conditional statement and works similar to an if/else statement. We check for some condition and if we find it, then we do some tasks.
Let's consider a simple case of an if/else statement where we are checking whether the color is the supplied color.
There is a constant color as "red". When the if/else statement is run, it will check each of the conditions. If it matches the color red, then it will be printed.
The moment a match is made, the other conditions are not checked. If no color was matched, then the else condition will be executed.

We can convert the same into a switch statement. Here we have all the code wrapped with the switch keyword. In it, we pass the condition to be checked, which is the color in our case.
Inside the switch, we have a different case. It will compare the passed color "red" with different colors like "blue," "purple," "brown," and "red." Each of the cases is equivalent to an if/else condition. We also have a default case at the end. It is equivalent to the else part and will run if no condition matches.
When we run the code, we will get the color red.

A Missing Break Statement
As you might have noticed in the above switch statement, we don't have a break statement in each case. The break statement is mandatory in all other languages like C, C++, and JavaScript.
The break statement is given in those languages because, after a match, we need to get out of the switch statement. If we don't give the break statement, it will go to the next case in these languages.
But in Swift, the break statement is there by default and we don't have to give it. However, we can mention it and it won't give any error.
When we run the code, we will get the color purple.

The Fallthrough
Swift has a special statement known as a fallthrough. As the name suggests, it will fall through the next case if it matches.
We have updated our earlier switch statement to have a fallthrough in the purple case. Also, notice that we have updated our brown case print statement.
When we run the code, we will get the statement that the "color is purple or brown."

If we change the color to brown, it will also print the same statement.

In other languages, the equivalent of a fallthrough is to omit the mandatory break statement.
In the below example, we have an equivalent of the above Swift code. We are writing JavaScript code in an online editor. Notice that we have omitted the break statement in the purple case.

The Required Fallthrough
In Swift, if any case doesn't contain a body, it will give an error. If we try to do something like the above example of the Switch case in JavaScript, it will give us an error.

So the fallthrough statement is required in such cases where we are combining statements.

Matching Interval
In Swift, we have the concept of matching intervals in switch statements. With this, we can match a range of numbers.
We will first see an example with an if/else statement in which we are trying to get numbers between different slots. To achieve this in each condition, we have to use the and(&&) operator to check the range.
When we execute the above statement, we get "Number between 40 and 60" printed.

We can achieve the same in a switch statement using ranges. Here, in each switch case, we are giving a range. So, "80..<10" means numbers between 80 and 100, which doesn't include 100.
When we execute the above statement, we get "Number between 60 and 80" printed.

Matching Tuple
In Swift, we have a special type known as a tuple. Tuples are given with normal brackets and can hold multiple data types like Int or String. They are accessed using the index number, which starts with 0.
In the below example, we have a tuple called "complexTup." It contains two integers and one string. Now, we are accessing each item by "complexTup.0", "complexTup.1", and "complexTup.2".
When we execute the above statement, we get the three items printed.

We can match tuples using a switch statement. In the below example, we have a tuple called "tup" with a value "(66, 67, 69)". In the switch cases, we are matching different tuples.
When we execute the above statement, we get "(66, 67, 69)" printed.

In the third case, we are matching a range for the tuple. So when we pass "(32, 43, 56)" in this case, this case is executed.
And we get the output of "(30 to 36, 40 to 46, 50 to 56)."

The Testing
We will now test the playground code with the Swift framework of XCTest.
For testing, we need to create a file called "TestRunner" in the Sources folder. Then add the below code to it. Here we are doing the required imports and then writing a struct called "TestRunner." The struct has a function called "runTests," which will run the test cases passed to it.

Next, in the SwiftSwitch playground file, we are doing the required imports first. Then we are writing a class called "SwitchTests," where we have a function testShouldPass(). Inside it, we have one of the simple switch statements we checked earlier. Lastly, we are doing the "XCTAssertEqual()" to check if the color is purple.
After that, with the TestRunner created earlier, we are running the runTests() function. Here we are passing our SwiftSwitch.
The code for PlaygroundTestObserver is required in order to run the test cases in Playground. When we execute the program, it will show the test case to be successful.

Our test case ran successfully. But we have fairly complex logic when we create apps and have switch statements in them. For that, we are required to write complex test cases. Instead of doing so, we can use Waldo, the no-code testing platform.
In Waldo, we just need to generate the IPA file from the app and upload it. The test cases will be generated automatically, and the test results will be sent to our inbox.
.png)
Wrapping Up
In this post, we did the basic Playground setup to look at a basic swift switch statement. Then we explored a swift switch statement with fallthrough, along with the problem that occurs if we don't give it. Finally, we looked into interval matching and tuple matching.
In the end, we also tested the app through the XCTest framework. Instead of doing all this, though, we can test our app easily through Waldo. Give it a try today.
Automated E2E tests for your mobile app
Get true E2E testing in minutes, not months.


