


Are you looking for a way to include an alert in your React Native app? If yes, read on to learn how.
Alerts are very common components in mobile apps. For example, a good application will show a confirmation message before performing a delete operation.
In this post, we’ll learn how to set up a React Native alert. In addition to that, we’ll look at some examples of different React Native alerts. Finally, we’ll wrap up with learning how to test alerts.
Prerequisites
Here’s what you’ll need to follow along:
- Knowledge of Javascript
- A code editor (I recommend VS Code)
- Node JS installation

Creating a New React Native Project
You can skip this section if you’re already familiar with the process of creating a new React Native project.
We will use Expo CLI for the entire tutorial. However, if you prefer the React Native CLI, you can still follow along. With that said, let’s get started!
First, we’ll need to install the Expo CLI. To do that, open a new Terminal window or Command Prompt if you are on a Windows PC. In Terminal, run the following command to install Expo CLI.
TIP: If you are on macOS and get a permission-related error while running the above command, check out this thread on StackOverflow for a possible fix.
With the Expo CLI installed, run the following command to create a new React Native project:
After running the command, you might get a prompt asking you to choose a template. Select the blank option.

Once the new project is ready, a new directory is created inside your current directory. This is where all the files for your new projects are saved.
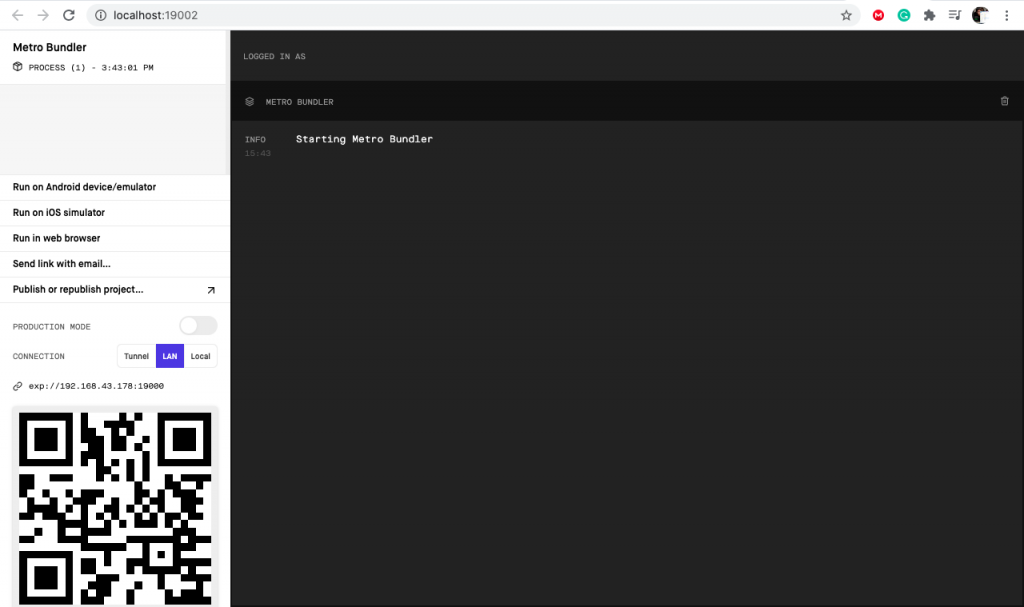
To see your new React Native app in action, run the following commands:
and
An instance of the expo server will be started. On the expo tool, you can choose how you want to run the app. That is, you can decide either to run the app on an emulator or a physical device.
React Native alert() Method
Before we start looking at examples, let’s take a look at the nature of the alert() method.
The alert() method has four parameters. The only required parameter is the title; the other parameters are optional.
Below is a more detailed look at each parameter.
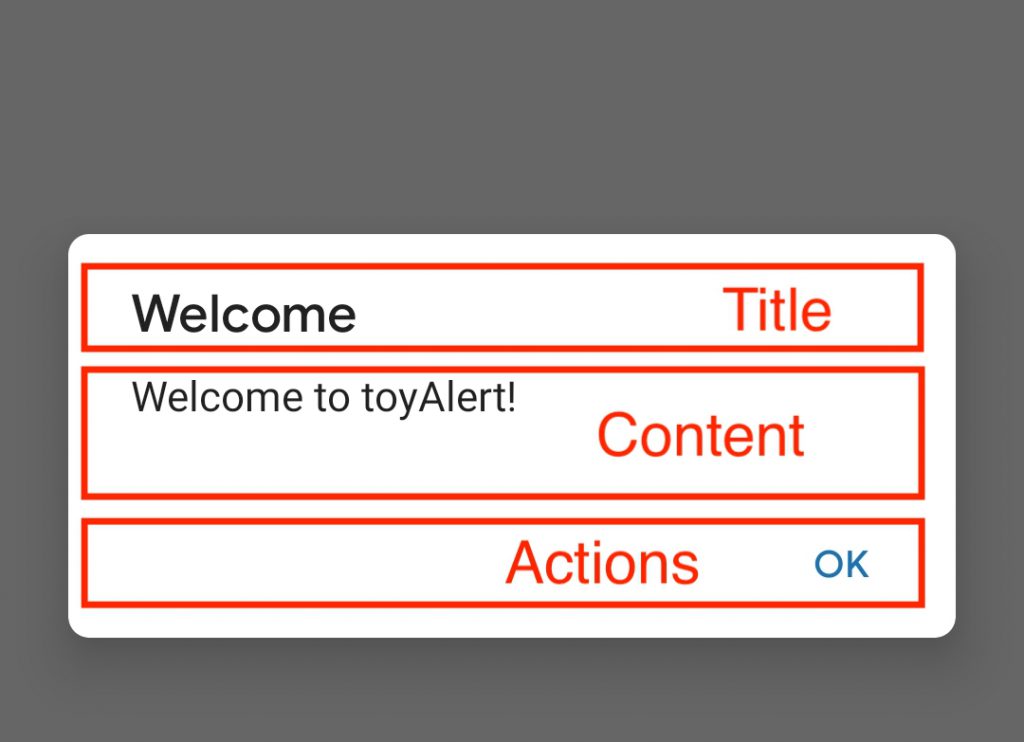
- Title: This is a bold text that appears on the topmost part of an alert dialog. The expected data type is a string. It is a required parameter and must be supplied.
- Message: Unlike the title parameter, this is an optional parameter, meaning it can be excluded. The expected type is also String.
- Buttons: This is another optional parameter. When it’s empty, you get an alert without buttons. In Android, this is a list with a maximum length of three. That means you can only display at most three buttons on Android. Each button is declared as an object with properties like text and onPress.
- Options: Just like the message and buttons parameters, the options parameter can be excluded. It configures options like whether the user can dismiss the alert dialog by touching outside the dialog in Android.
1. Adding a Simple Alert to the App
Now that we have our project set up, let’s add a simple alert to it. To do this, open the app.js file and add the following code on a new line just after the import statements:
Next, verify and make sure that you import Alert from react-native. Here’s an example of the import statement:
Now, let’s take a closer look at what the above piece of code does. The Alert.alert() method creates a new alert. The first parameter is the alert dialog title, while the second and third are the message (content) and action(s), respectively.
Notice that the action parameter is an array with an object. This enables us to build a dialog with more than one action. For the simple alert we are creating, there is only one action: the OK button.
Now that we understand the function of the code we just added earlier, let’s include a button in our app. This button will open the alert once it is pressed. Still in the App.js file, add the following code inside the return statement:
The complete code for App.js at this point will be:
I have excluded the code for imports and style for clarity.
After that, when you run the code, you should see a screen with a button. When you tap the button, you should get an alert with the message “Welcome to toyAlert.”

Tapping on the OK button will dismiss the alert.
2. Creating an Alert With Two Actions
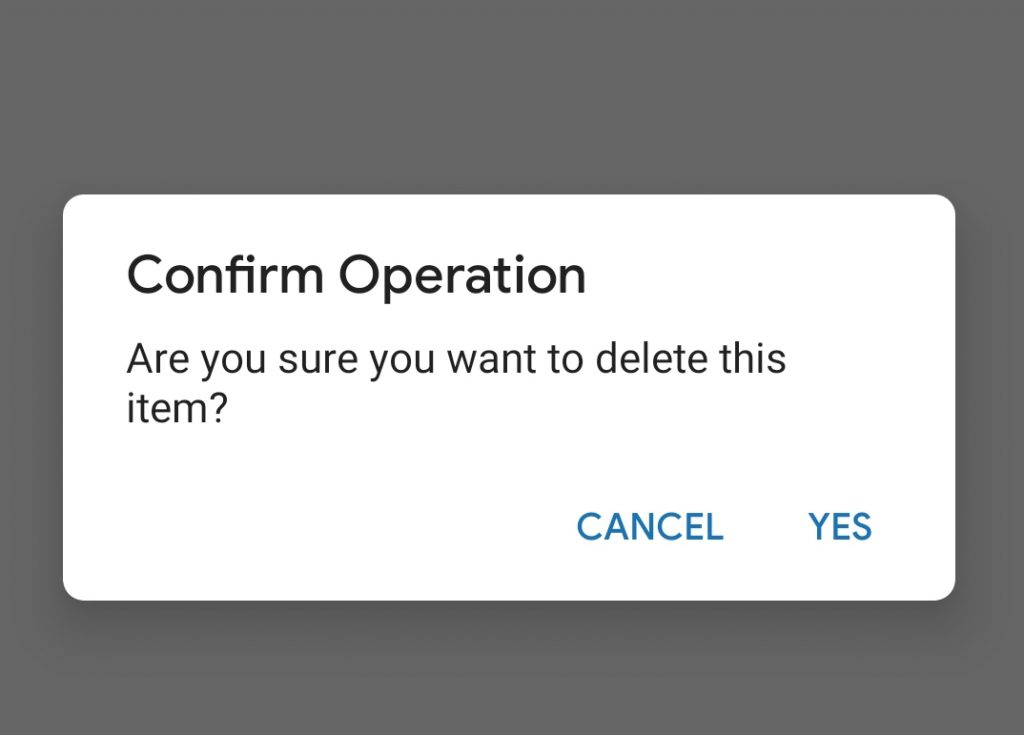
At this point, we know how to create a simple alert that has a title, a message, and one button. Let’s look at another example. In this example, we’ll create an alert with two buttons. A two-button alert might be a confirmation alert shown to a user before an action like deletion is completed.
In App.js just below the simpleDialog method, add a new method that generates a two-button alert using the following code:
Also, add the following code just below the Welcome user button to add a second button to the app:
Pressing the second button will launch an alert dialog that has two action buttons. For this example, the alert displays a message asking the user to confirm a delete operation. The actions are “Cancel” and “Yes.”
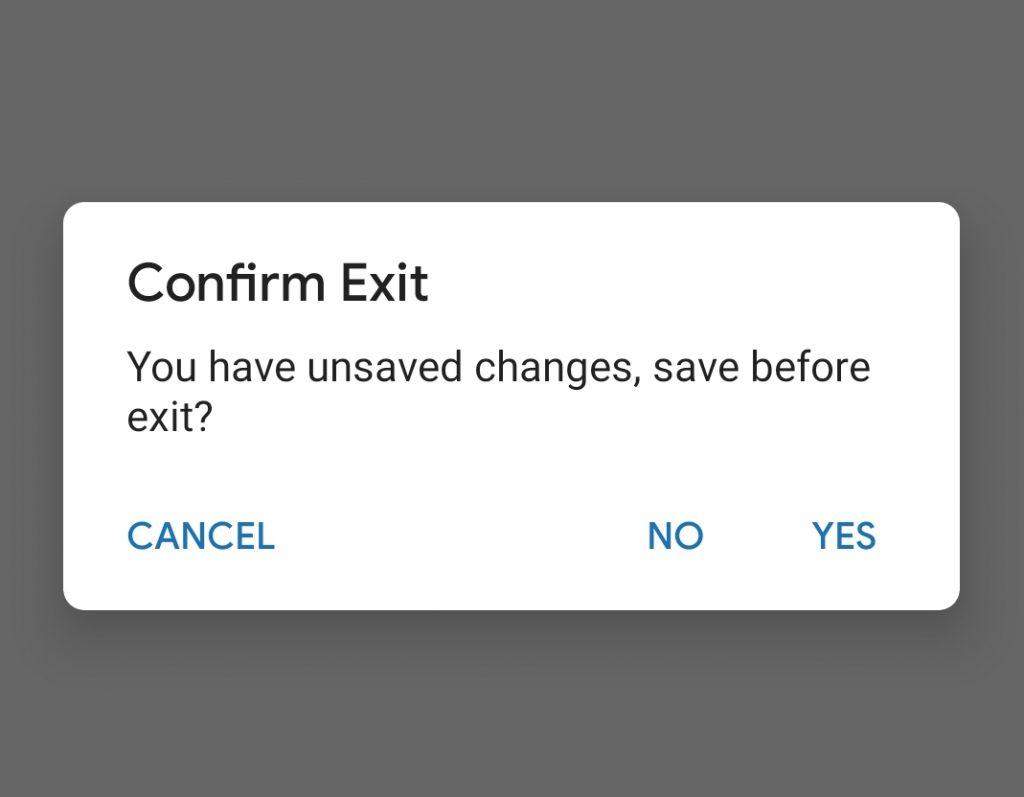
3. Adding an Alert With Three Actions
Our next example is an alert dialog that has three action buttons. One of these alerts could be a prompt that notifies users about unsaved work before they exit your app, for example.
To create this alert, add the following method just below the deleteDialog method from the previous example:
After that, add another button in the return statement just below the Delete button using the following code:
Tapping the delete button will launch this alert.
Testing Alert
The default testing framework for React Native is Jest. In addition, libraries like React Native Test and Test Render make it possible to test React Native components and simulate events like clicking on a button.
Since the Native platform renders alerts, you can’t simply test them like regular React Native views and components. Hence, we have to set up a mock alert using Jest.
Create a __tests__ folder in the directory where you wish to save your tests. For this example, we’ll save our test in the same folder as App.js.
Open the new __tests__ folder and create a new file. Add the following code to the file, then save it as Test.js.
The above test confirms that the delete button exists. It uses the render method from the React Native testing library.
Now that we have written a simple React Native test that verifies that a delete button exists in our app, let’s create a mock alert. Modify the code for the previous test to the following:
The above code creates a mock alert using Jest and verifies that the alert was created. This type of test has some limitations. For example, it doesn’t test the alert that actual users of the app will be interacting with. Instead, it uses a stand-in alert.
Waldo offers a no-code testing solution that can solve the limitation mentioned earlier. With Waldo, you test the actual alert and verify the content on the alert. With Waldo’s tool, you can also confirm what happens when a user presses any of the buttons on the alert. You get to do all that without spending time on configurations or writing extra test codes that might need additional debugging.

To Conclude
In this post, we learned about React Native alerts and created a few examples. Testing is an essential part of React Native development. Because of that, we also looked at how to test an alert.
There are many things you can do with an alert. In our first example, we displayed a message that the user can dismiss. The second example was an alert that allows users to either cancel or confirm an action. In the final example, a user could either cancel or perform one out of two actions.
When using alerts in your own applications, make sure to follow platform-specific best practices to test your app’s user experience and ensure a smooth experience for your customers.
This post was written by Pius Aboyi. Pius is a mobile and web developer with over 4 years of experience building for the Android platform. He writes code in Java, Kotlin, and PHP. He loves writing about tech and creating how-to tutorials for developers.
Automated E2E tests for your mobile app
Get true E2E testing in minutes, not months.


