


One of the biggest problems with iPhone apps is the on-screen keyboard.
When we have a text field or something like it, it overlaps it if it doesn't have any space. Now, it's very difficult to write in that text field without seeing what we're writing.
There are many solutions to solve this issue, but IQKeyboardManager comes as the best solution.
In this post, we'll first learn about IQKeyboardManager. Then, we'll create a simple app and observe the on-screen keyboard problem before solving it with IQKeyboardManager.
IQKeyboardManager also comes with a lot of features, and we'll look into them.
Finally, we'll test our app using the XCTest framework.
.png)
What Is IQKeyboardManager in iOS?
The IQKeyboardManager is an open-source package for iOS devices. It helps to solve the problem that arises when the on-screen keyboard hides the text fields.
The integration is completely codeless, and we just have to install the IQKeyboardManager in our app and include it.
Aside from the major functionality of solving the on-screen keyboard issues, it also offers a lot of features.
We can fully customize the on-screen keyboard with simple-to-use one-line codes. In this post, we're also going to see some of those features.
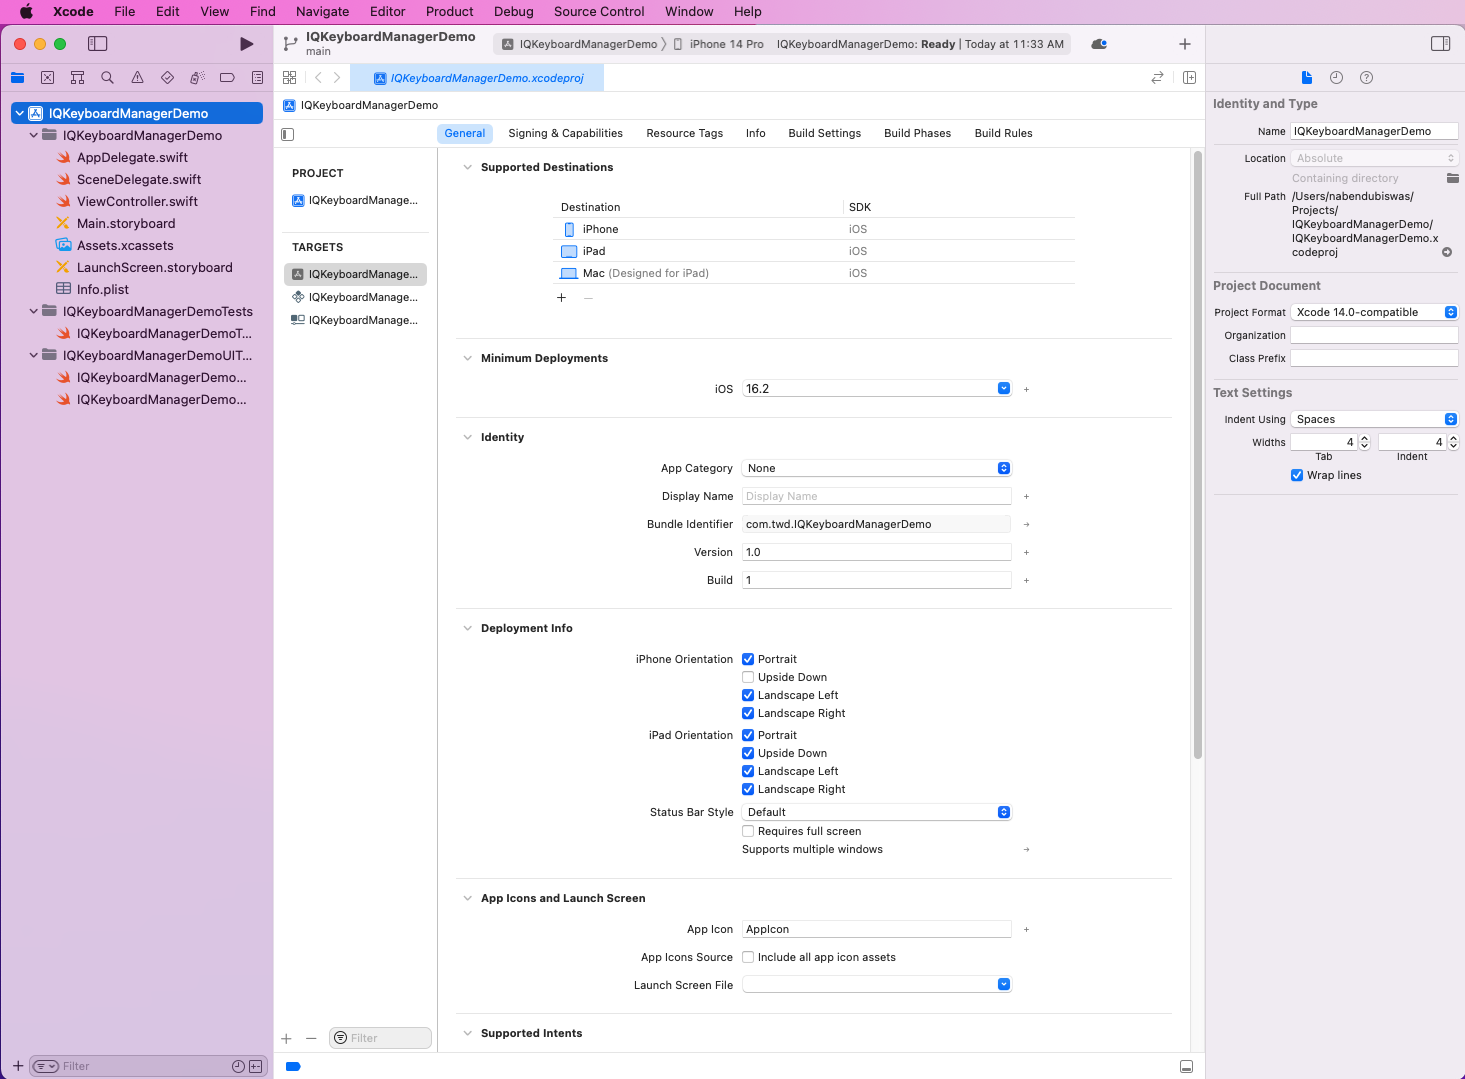
The Setup
We need to first create a new project by using XCode. First, open XCode and then click on New>Project.
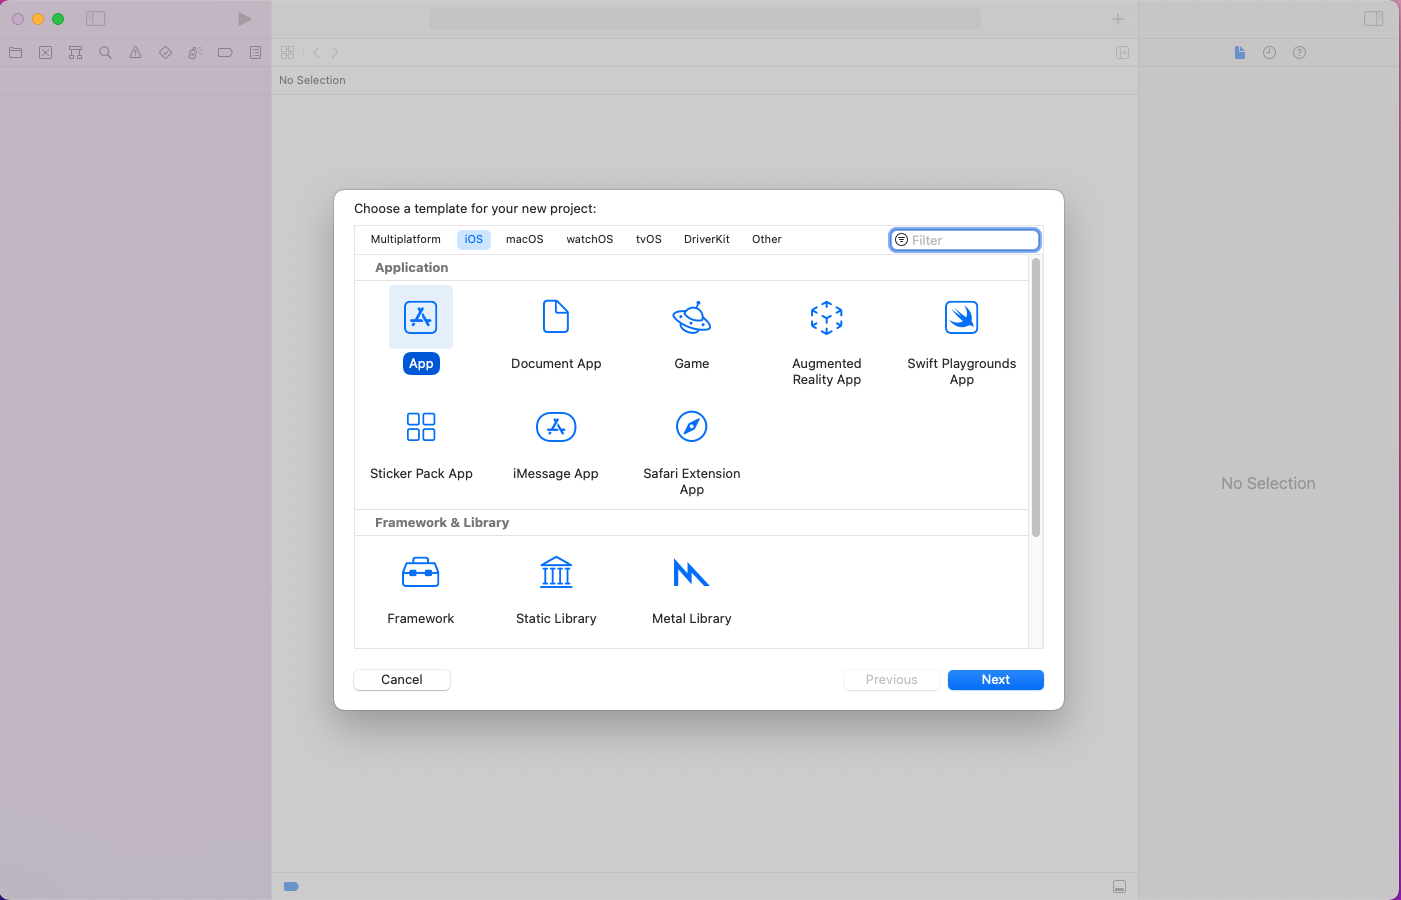
Now, a pop-up will appear. Here, click on App and then the Next button.
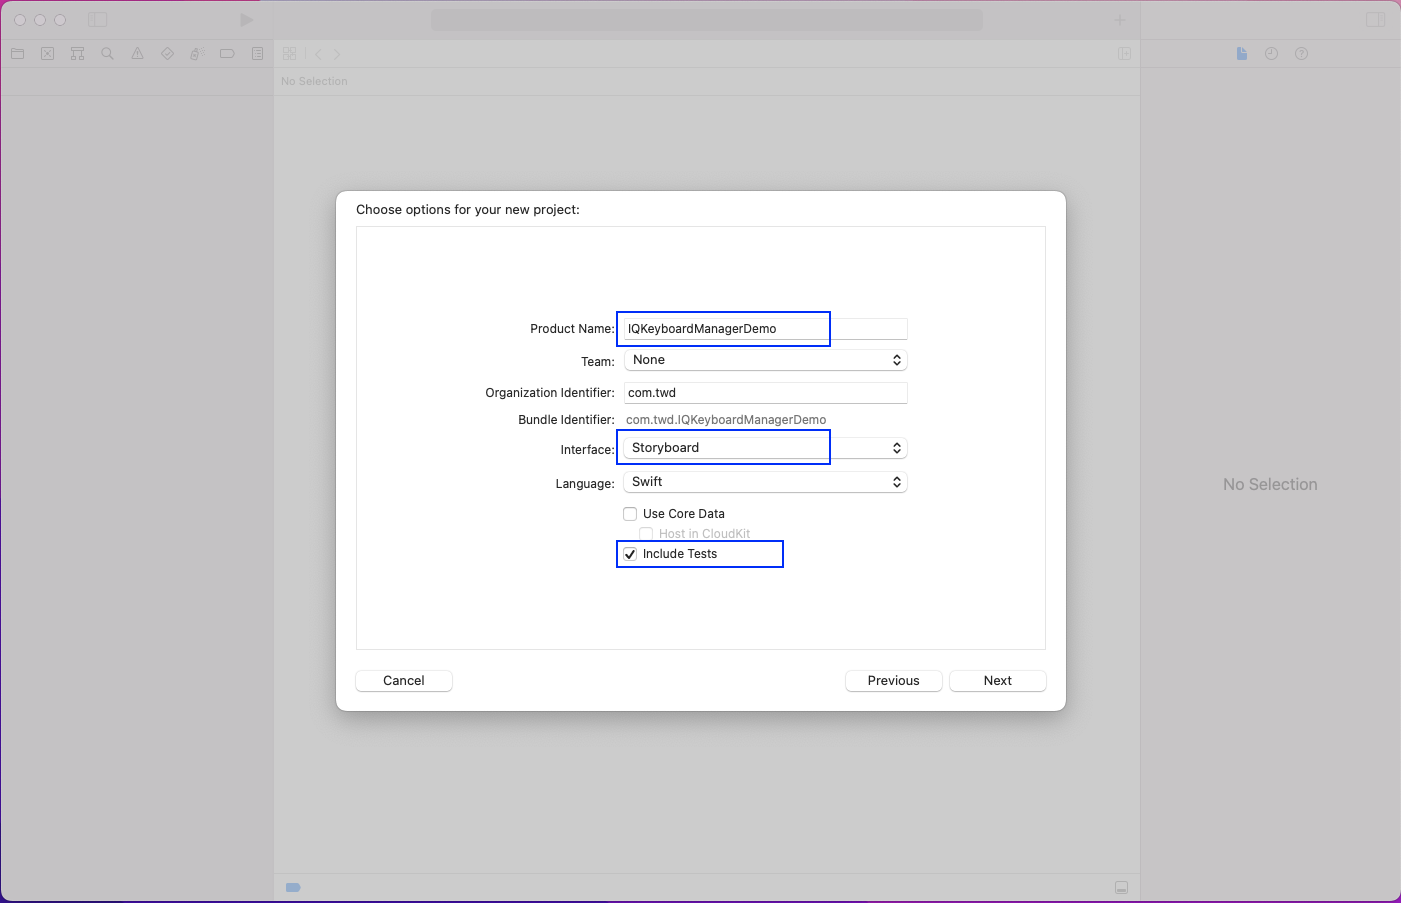
In the new pop-up, give the product a name, which is IQKeyboardManagerDemo in our case. The interface is Storyboard, and we're also including tests in our app. We're going to use both Storyboards and tests in our project.
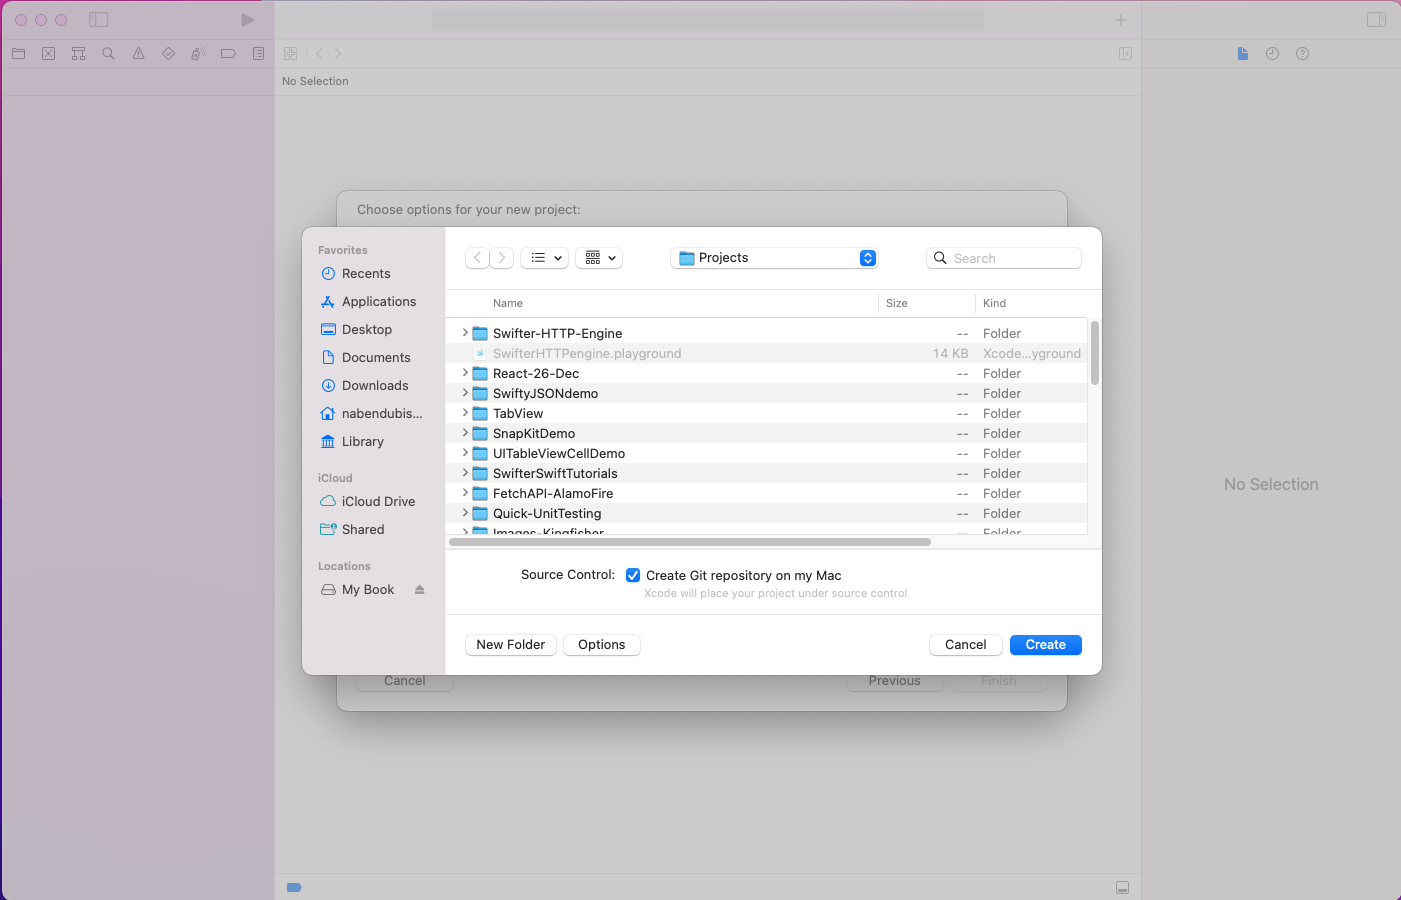
Now, click on the Create button after choosing a suitable folder.
After that, our project will open in XCode.
App Layout Using Storyboard
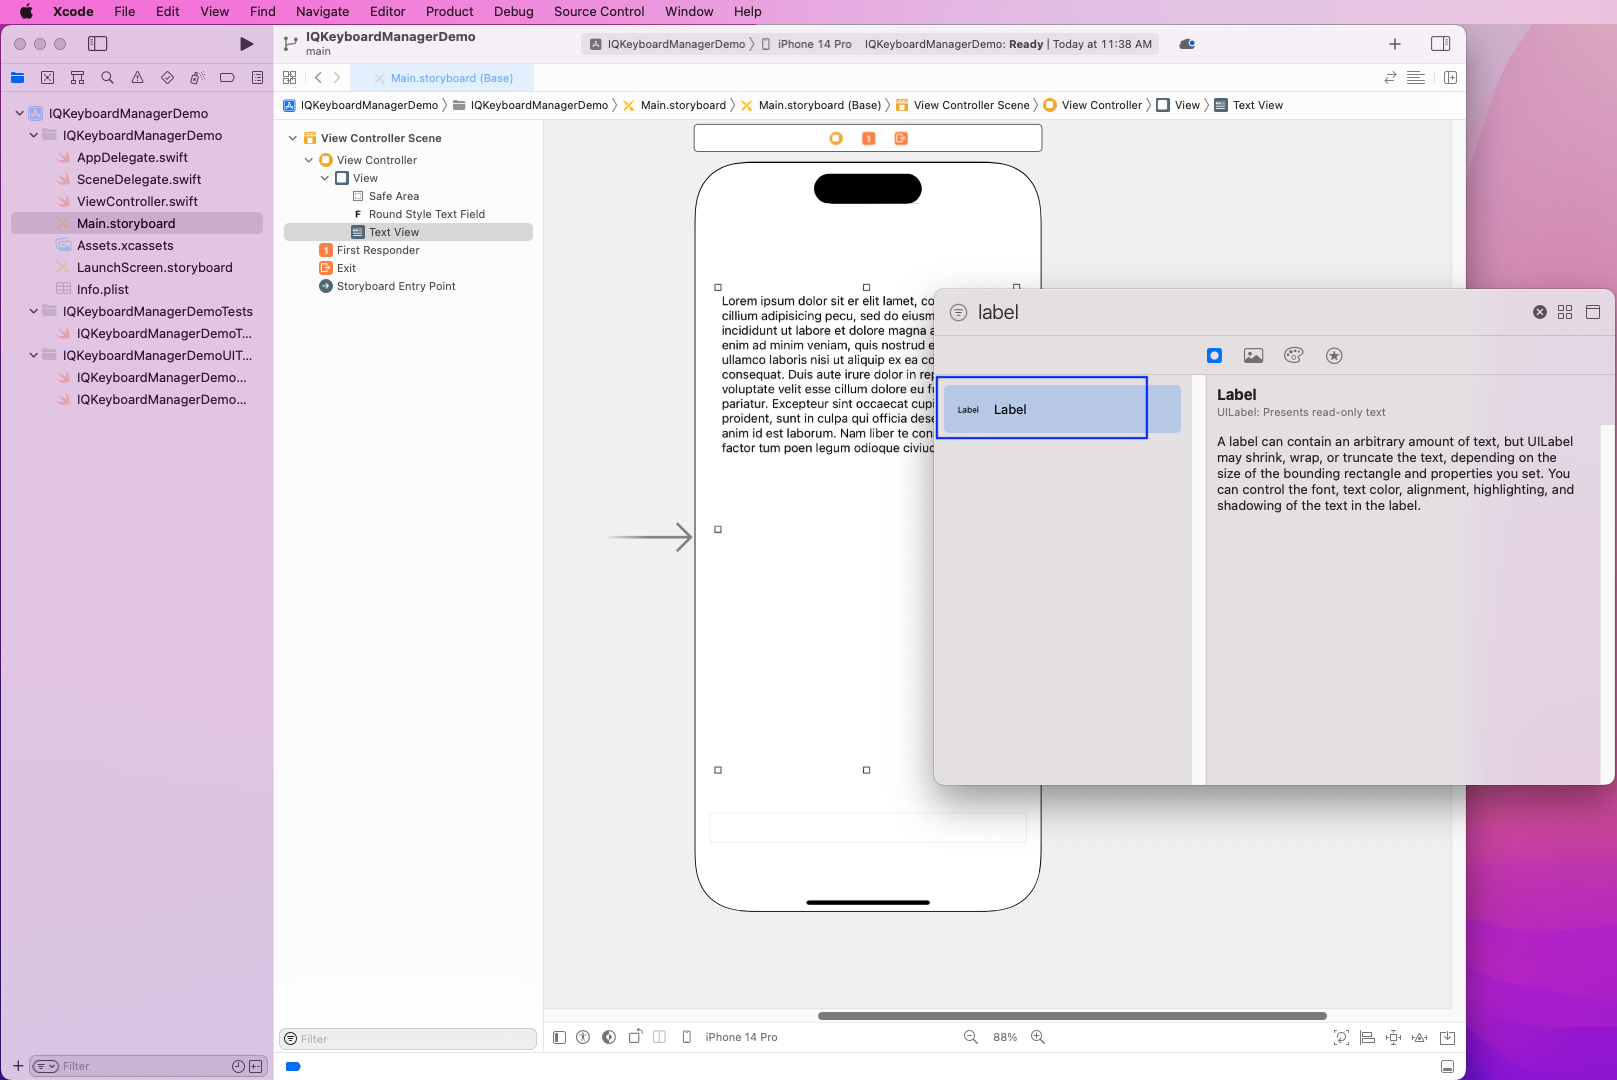
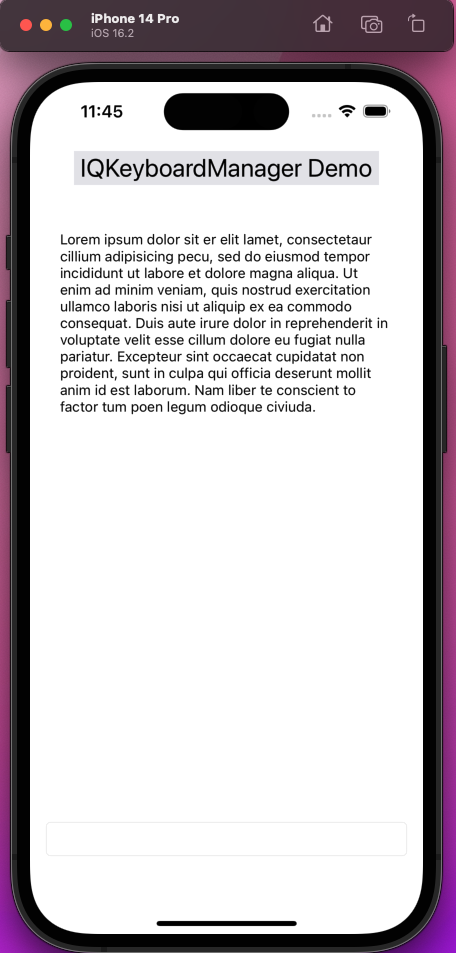
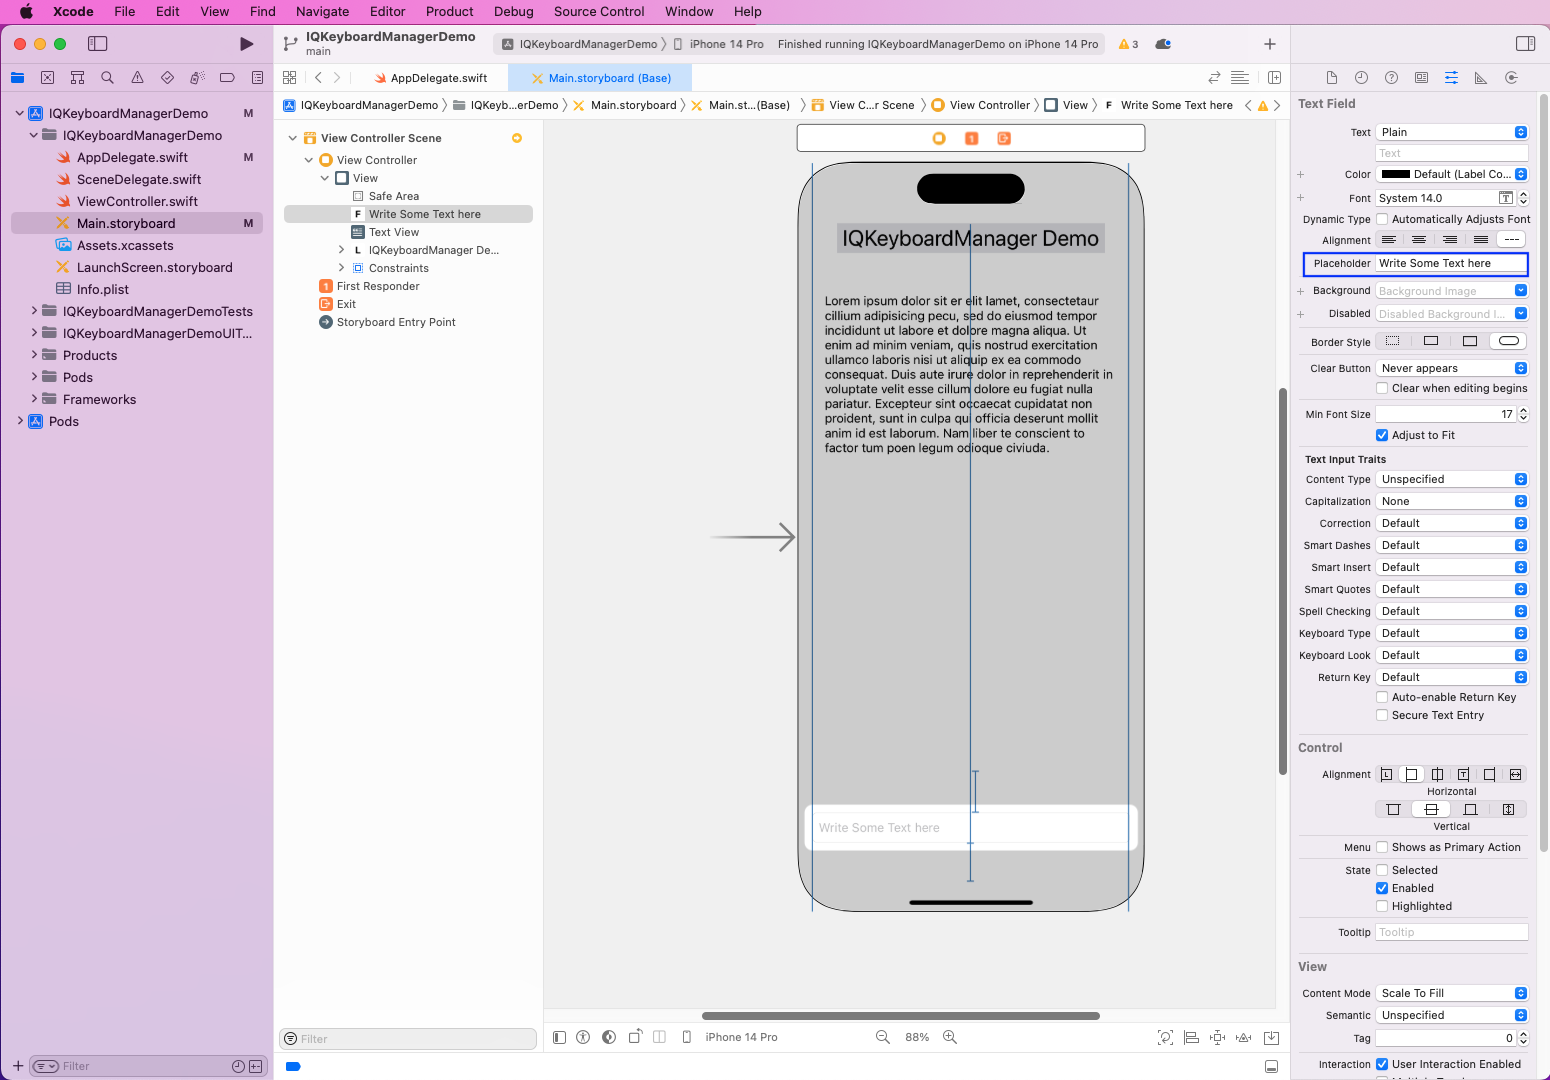
We'll create our app to have a Text Field and Text View through the Storyboard. So, click on the Main.storyboard file, and it'll show an image of an iPhone. After that, open the Object library by clicking on the + sign in the upper-right corner.
Here, write "text" in the search box. Then, drag both Text Field and Text View to the iPhone image:

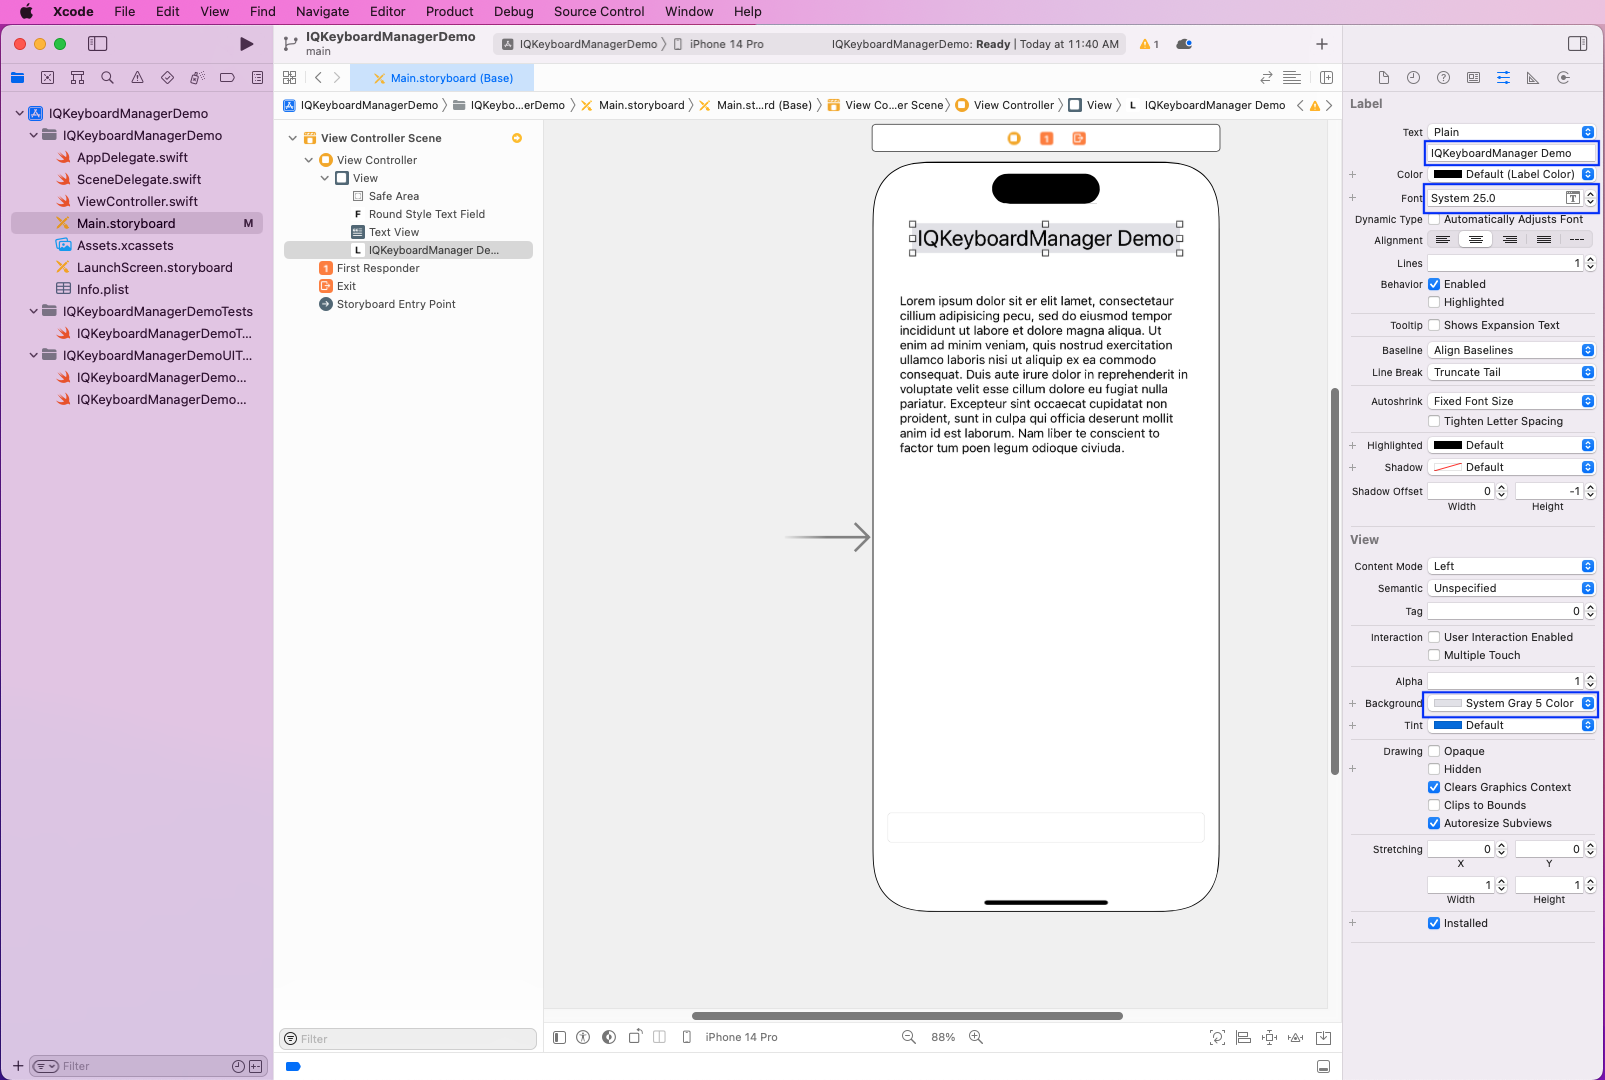
Next, we'll search for a label and also drop a Label on the iPhone image.
Then, expand the label to fill the whole width. We've also given it a name, increased the font size, and given it a background color of gray.
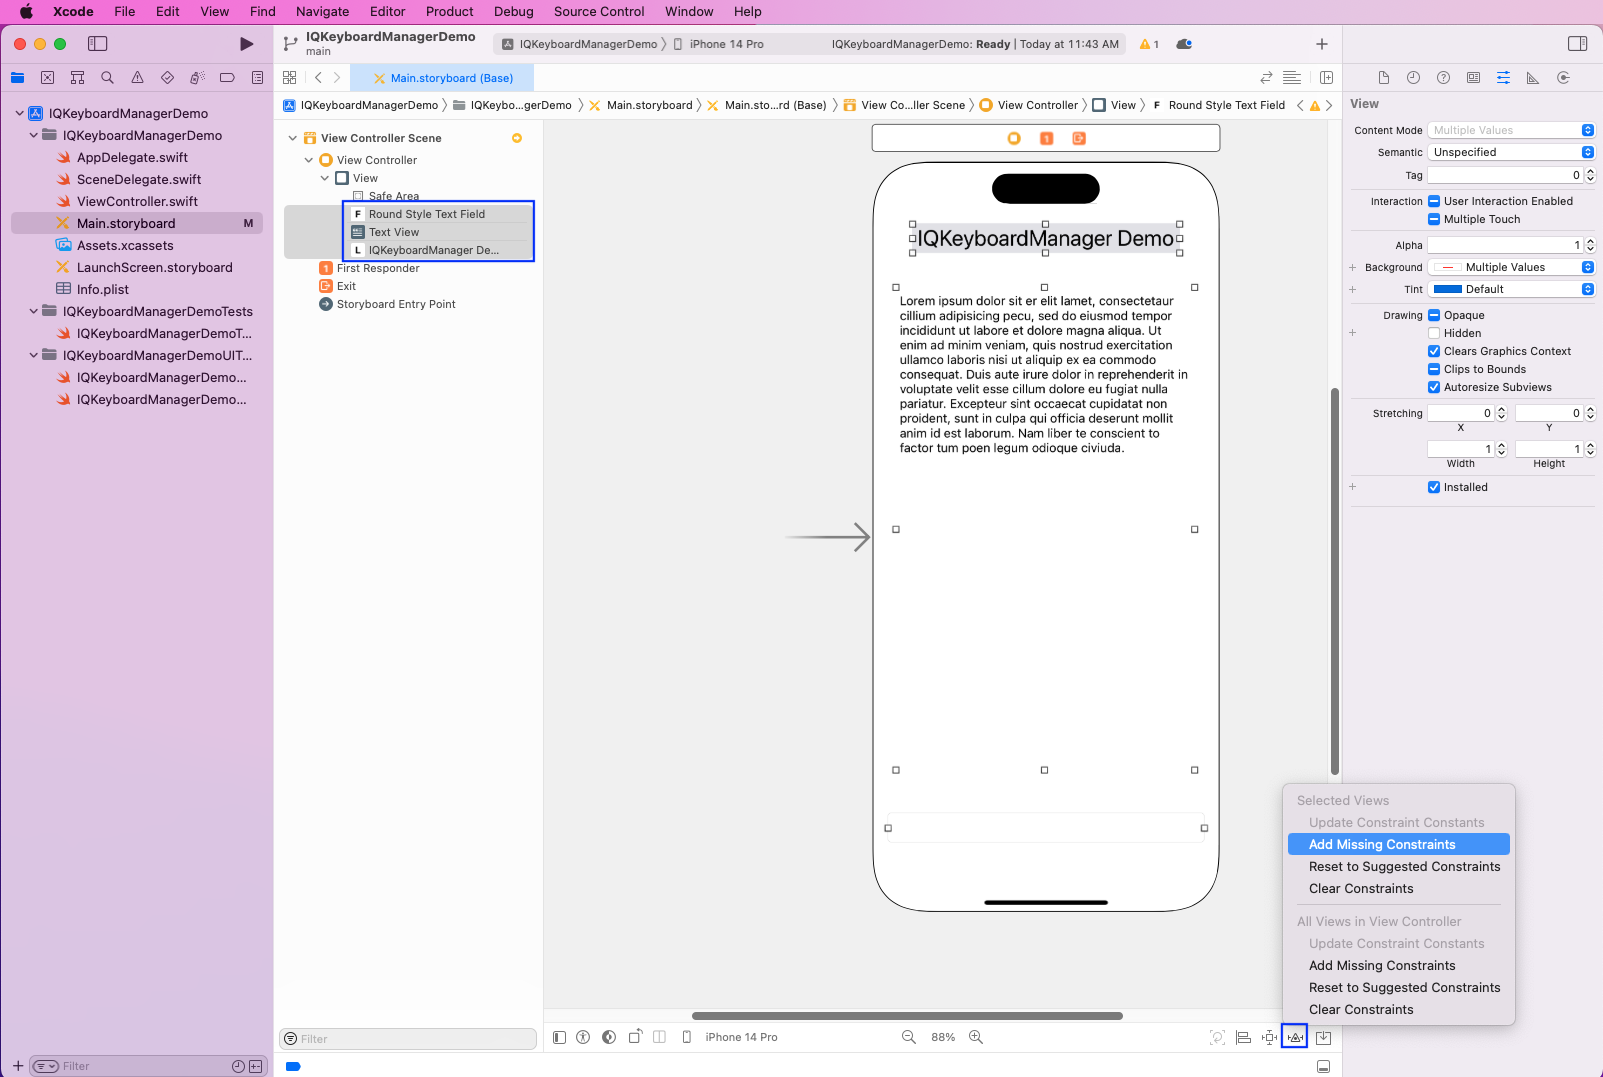
We need to add constraints for our app to work properly. So, select all the elements and then click on the triangle on the bottom right. This will open a menu, from which we'll click on Add Missing Constraints.
Upon running the app, it shows perfectly on the iPhone simulator.
But if we type something in our Text Field, it'll be hidden by the keyboard. Also, if we type a lot of text in the Text Area, after the already present placeholder text, it'll go behind the keyboard.

Installing IQKeyboardManager
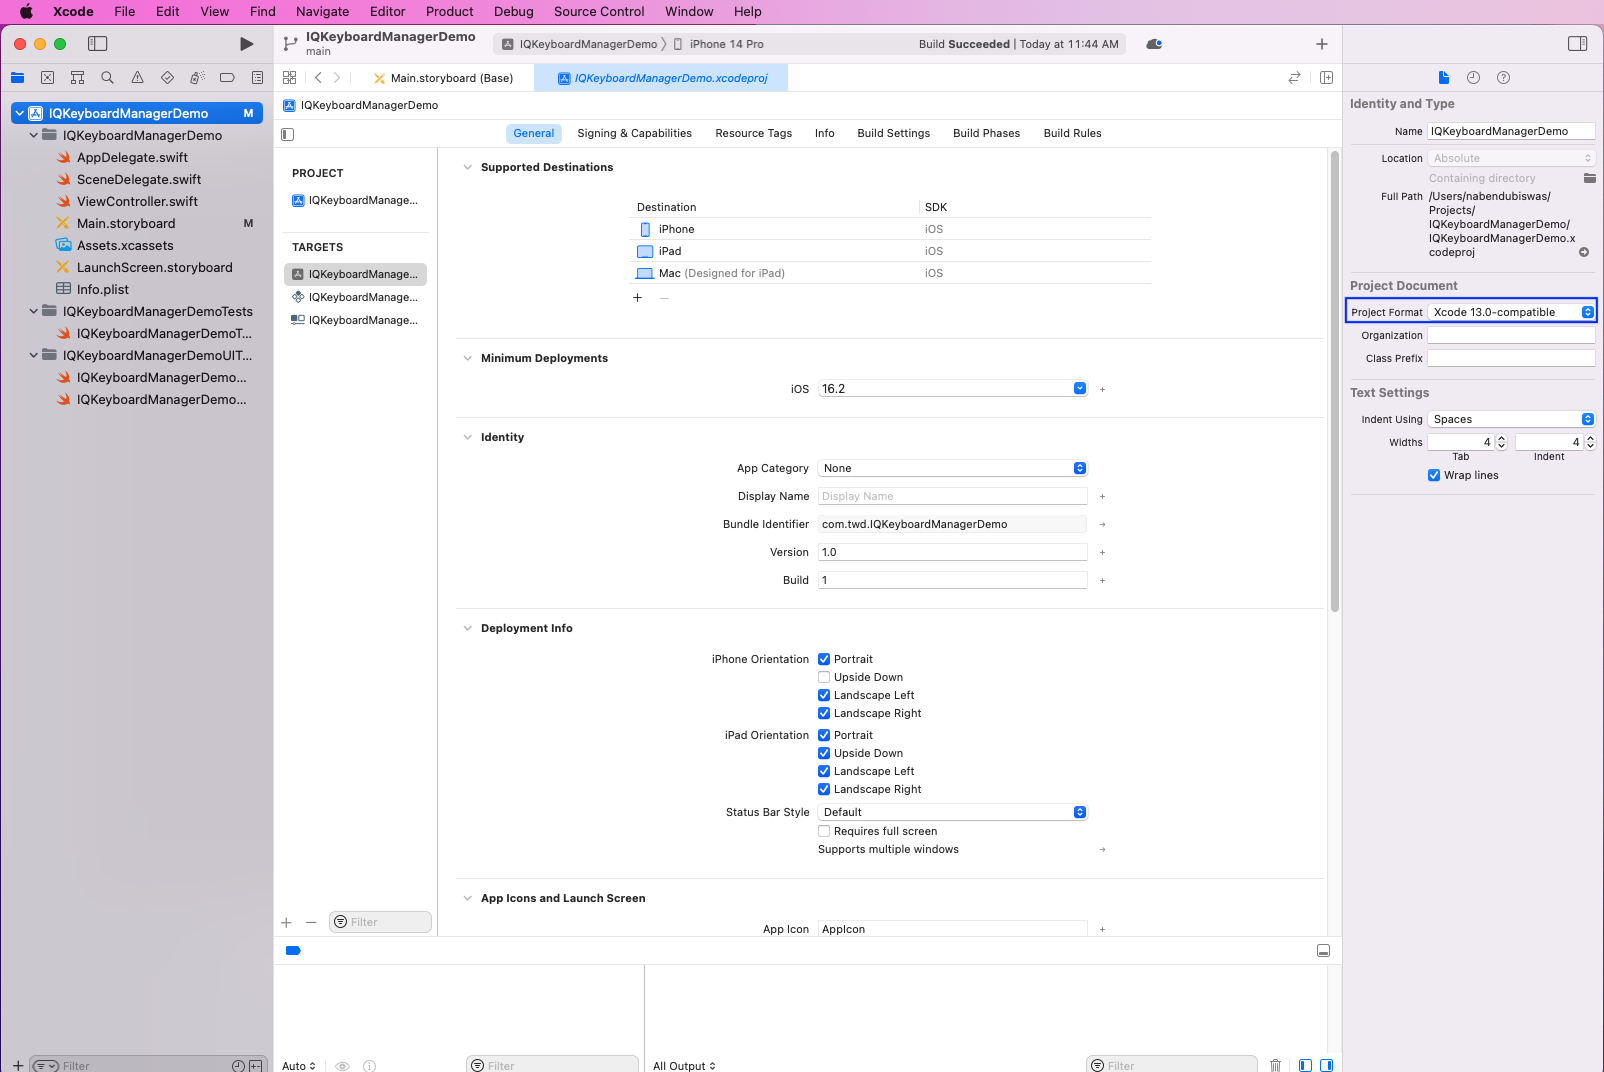
Now, we'll install IQKeyboardManager through Cocoapods. However, the latest version of XCode has some issues with Cocopods, so change the project format to XCode 13.0-compatible.
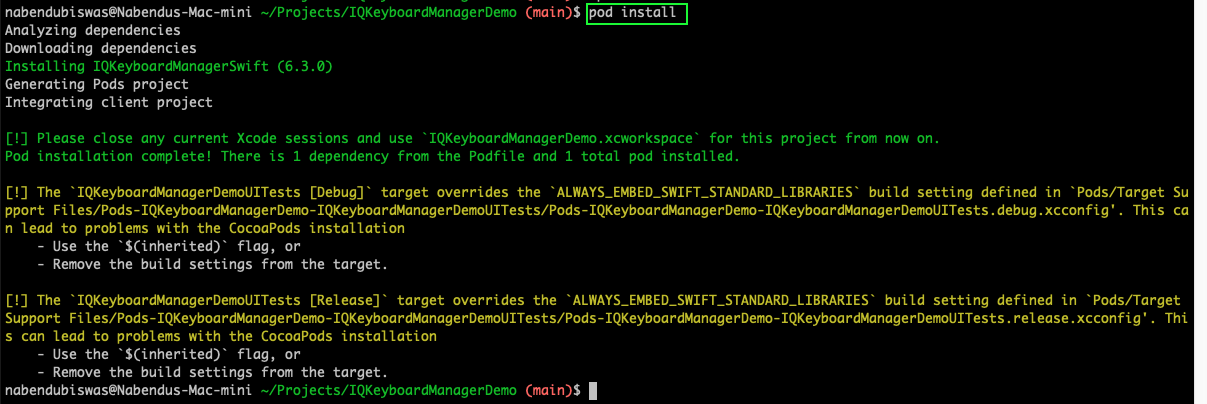
Next, from the terminal, go to the project directory. Here, we'll first list all files by the ls command. After that, give the pod init command, and it'll create a Podfile, which we've checked by giving the ls command again.

Now, open the Podfile in TextEdit by giving the open Podfile command. Here, as per the documentation, we've added the line below. We've also uncommented the platform line.

We'll now run the pod install command from the terminal, and it'll install the IQKeyboardManager in our project.
Using IQKeyboardManager
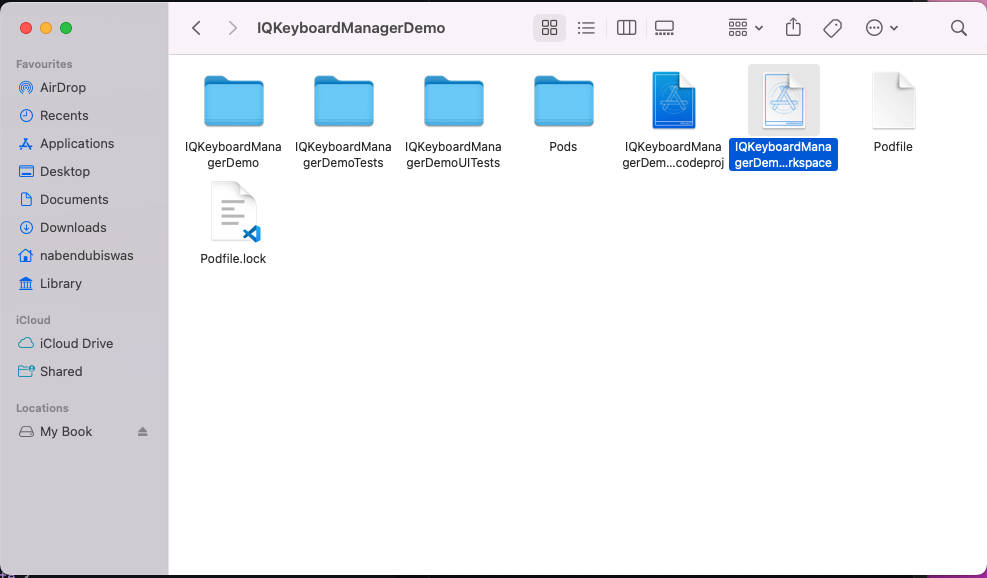
To use the project with IQKeyboardManager, we need to open the IQKeyboardManagerDemo.workspace file with a white background in XCode.
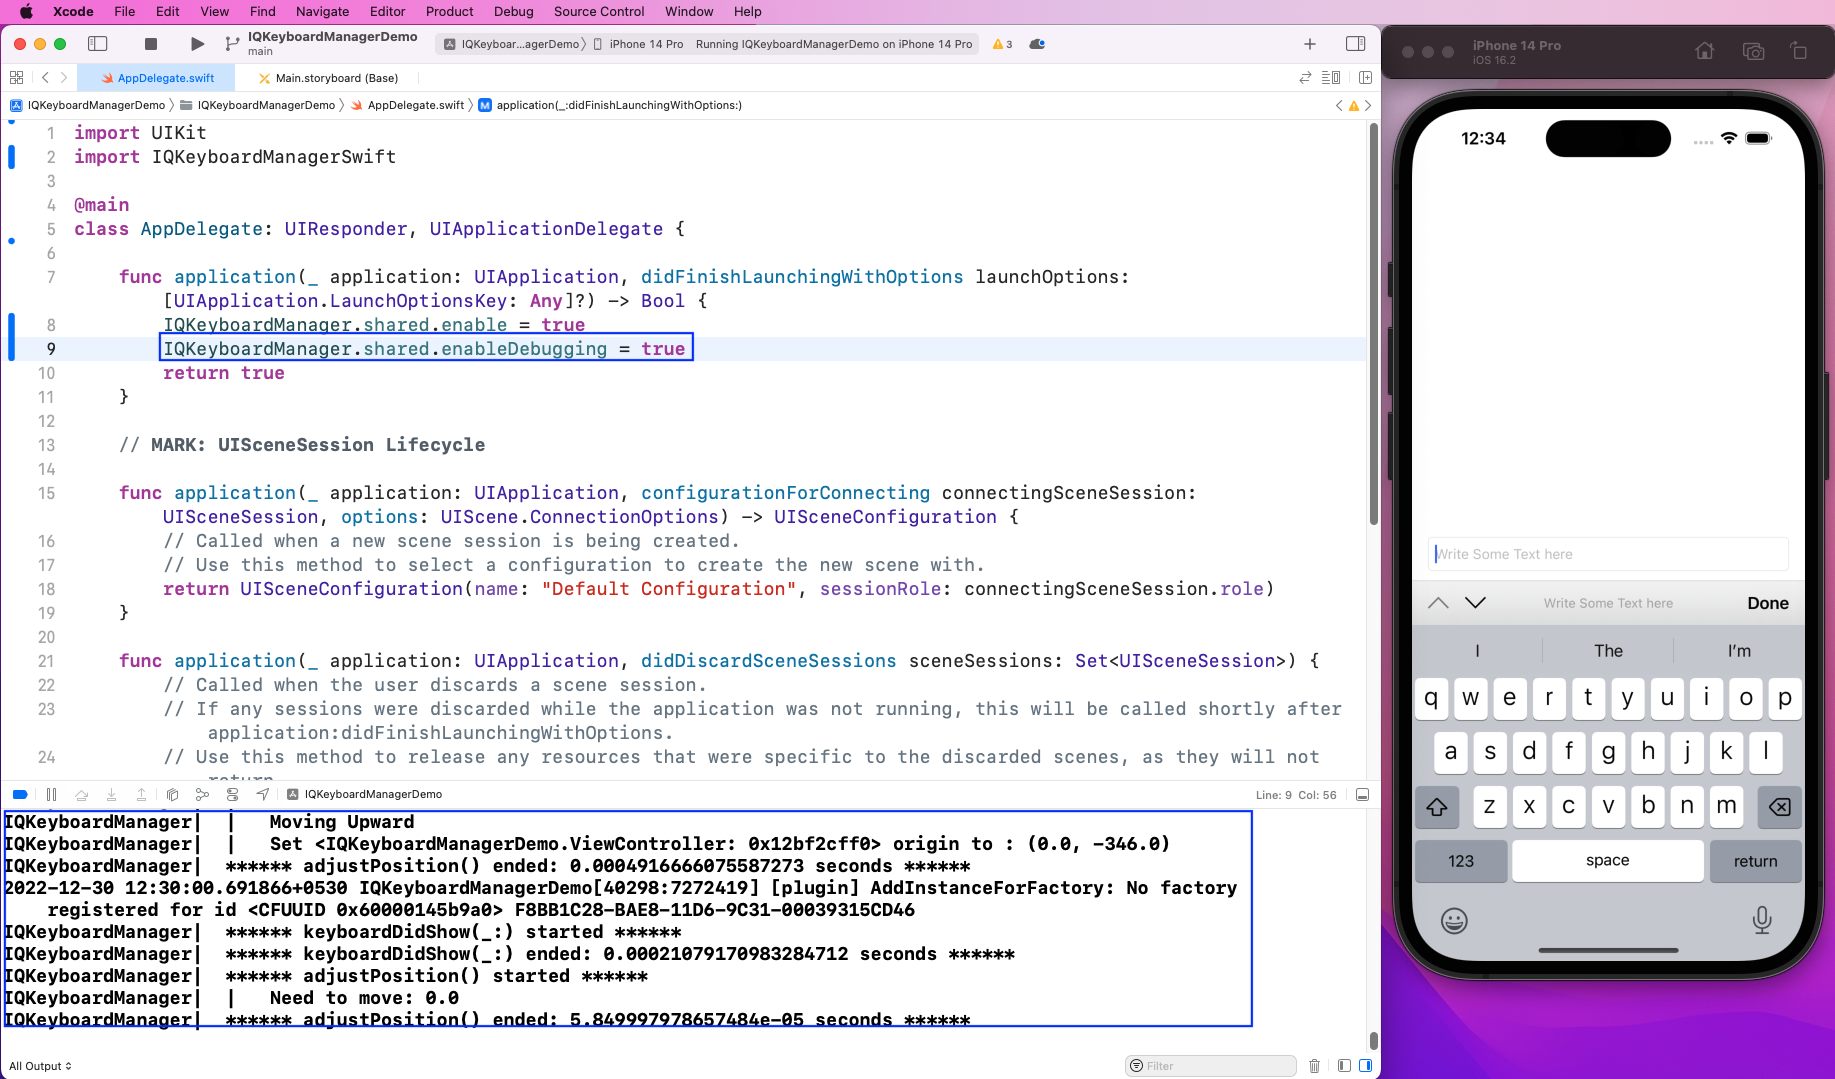
Next, in the AppDelegate.swift file, we'll import IQKeyboardManagerSwift first. Then, add the line below inside the function application to enable it.

Now, when we write on the Text Field, it won't be hidden by the keyboard.
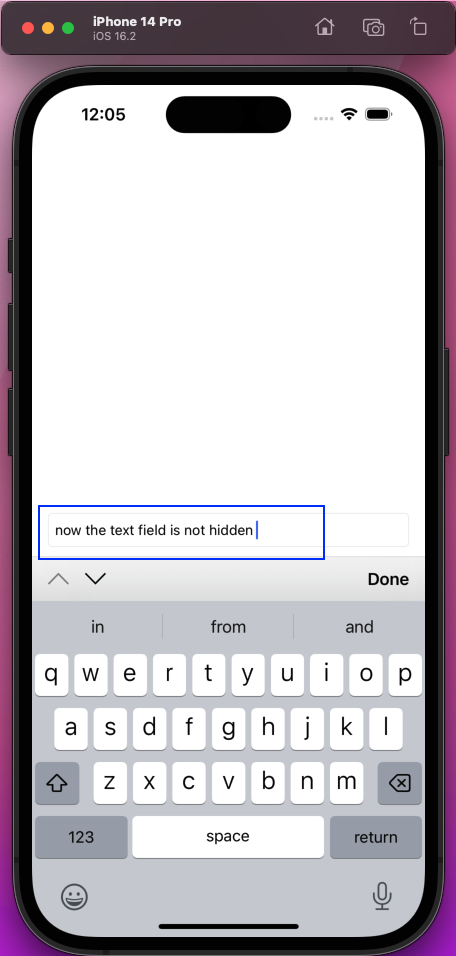
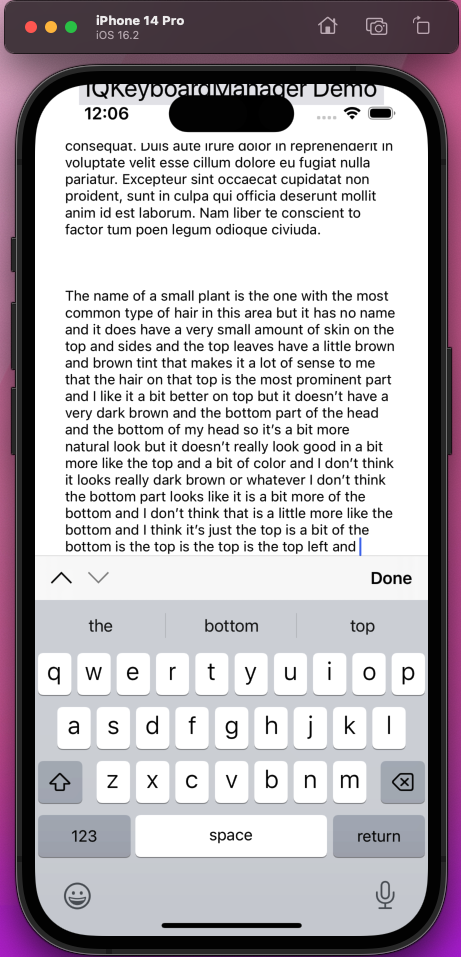
Also, we can write on the Text Area and it'll adjust the keyboard accordingly so that the extra text is not hidden.
Additional Features in IQKeyboardManager
Now, let's look at some additional useful features in IQKeyboardManager. But before that, we'll give placeholder text in our Text Field, as it's not visible on the iPhone without it.
To add additional features, we've shared code inside the function application in the AppDelegate.swift file.
We'll first enable debugging by adding the line below. Then, when we run the app again and check the console, we'll see a lot of messages.
Next, we'll disable the toolbar on the keyboard by adding the line below. Upon running the app again, we'll find the toolbar is hidden.

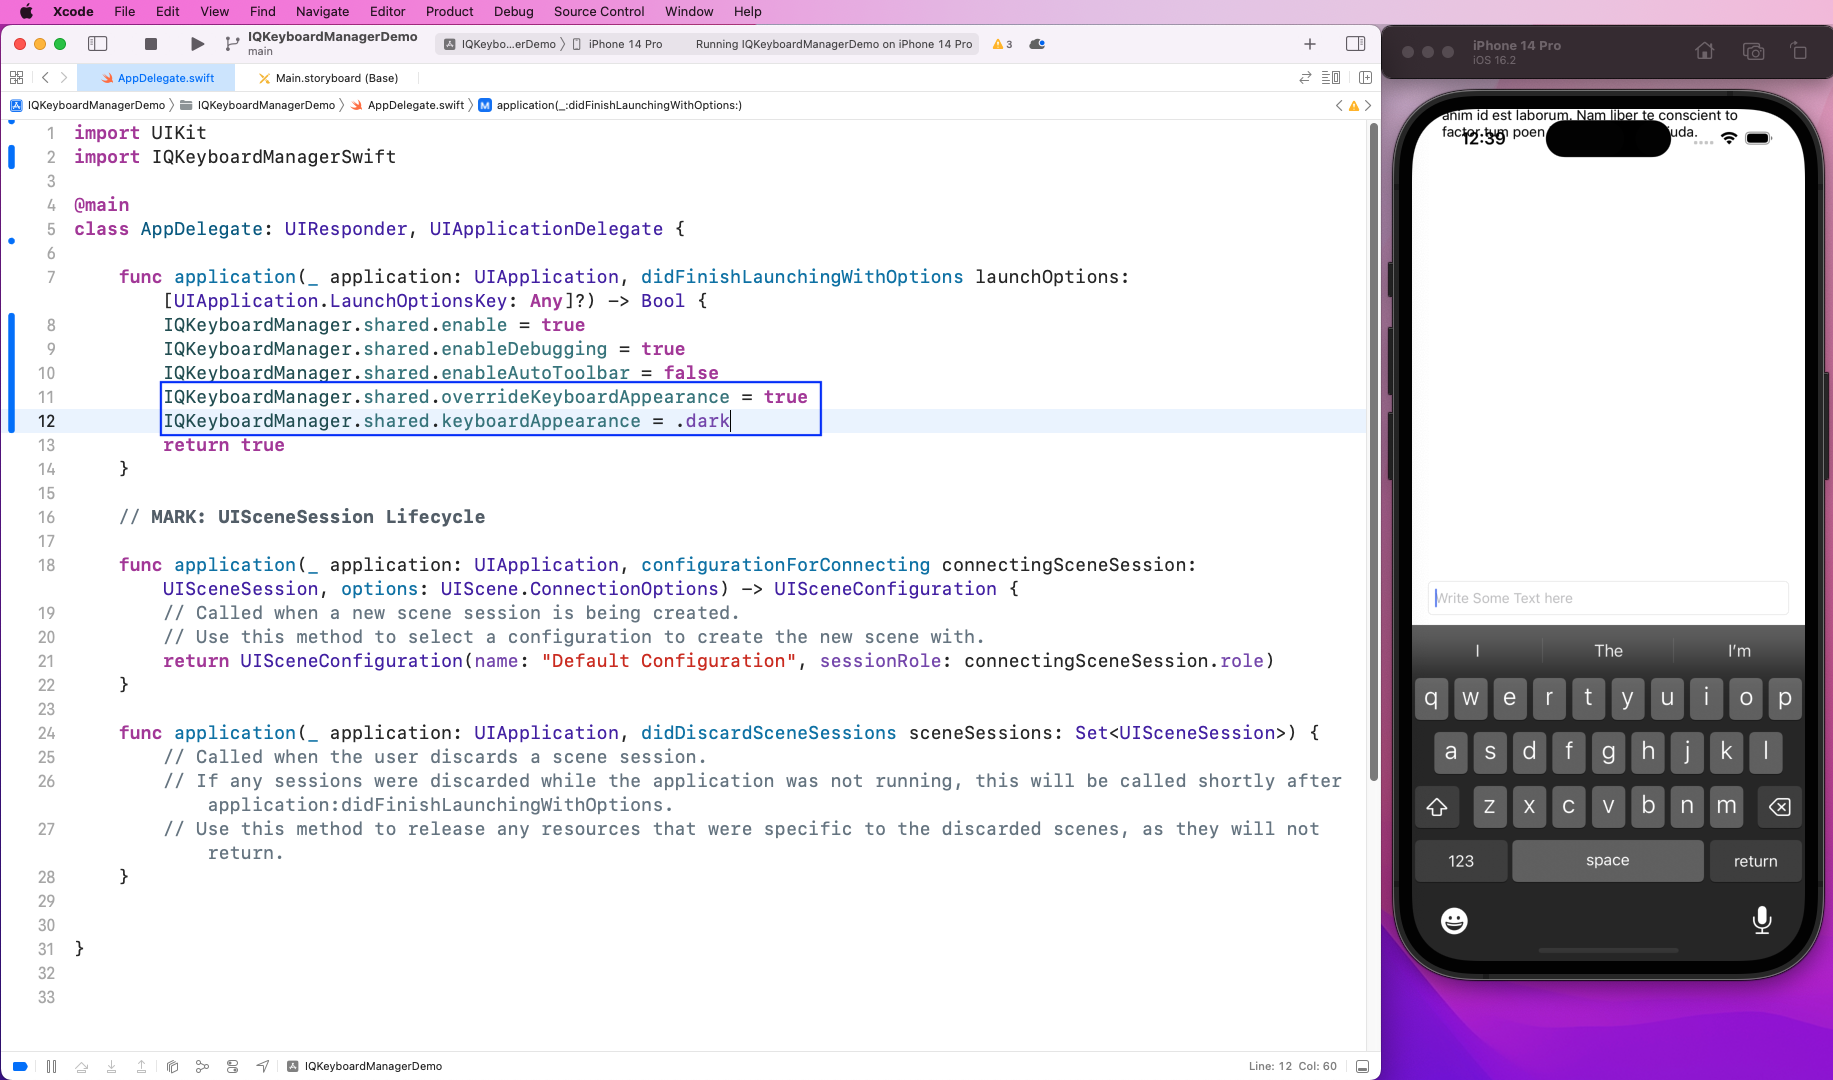
We can also change the appearance of the keyboard—we'll make it dark by adding the lines below.
Upon running the app again, we'll find the famous dark mode enabled.
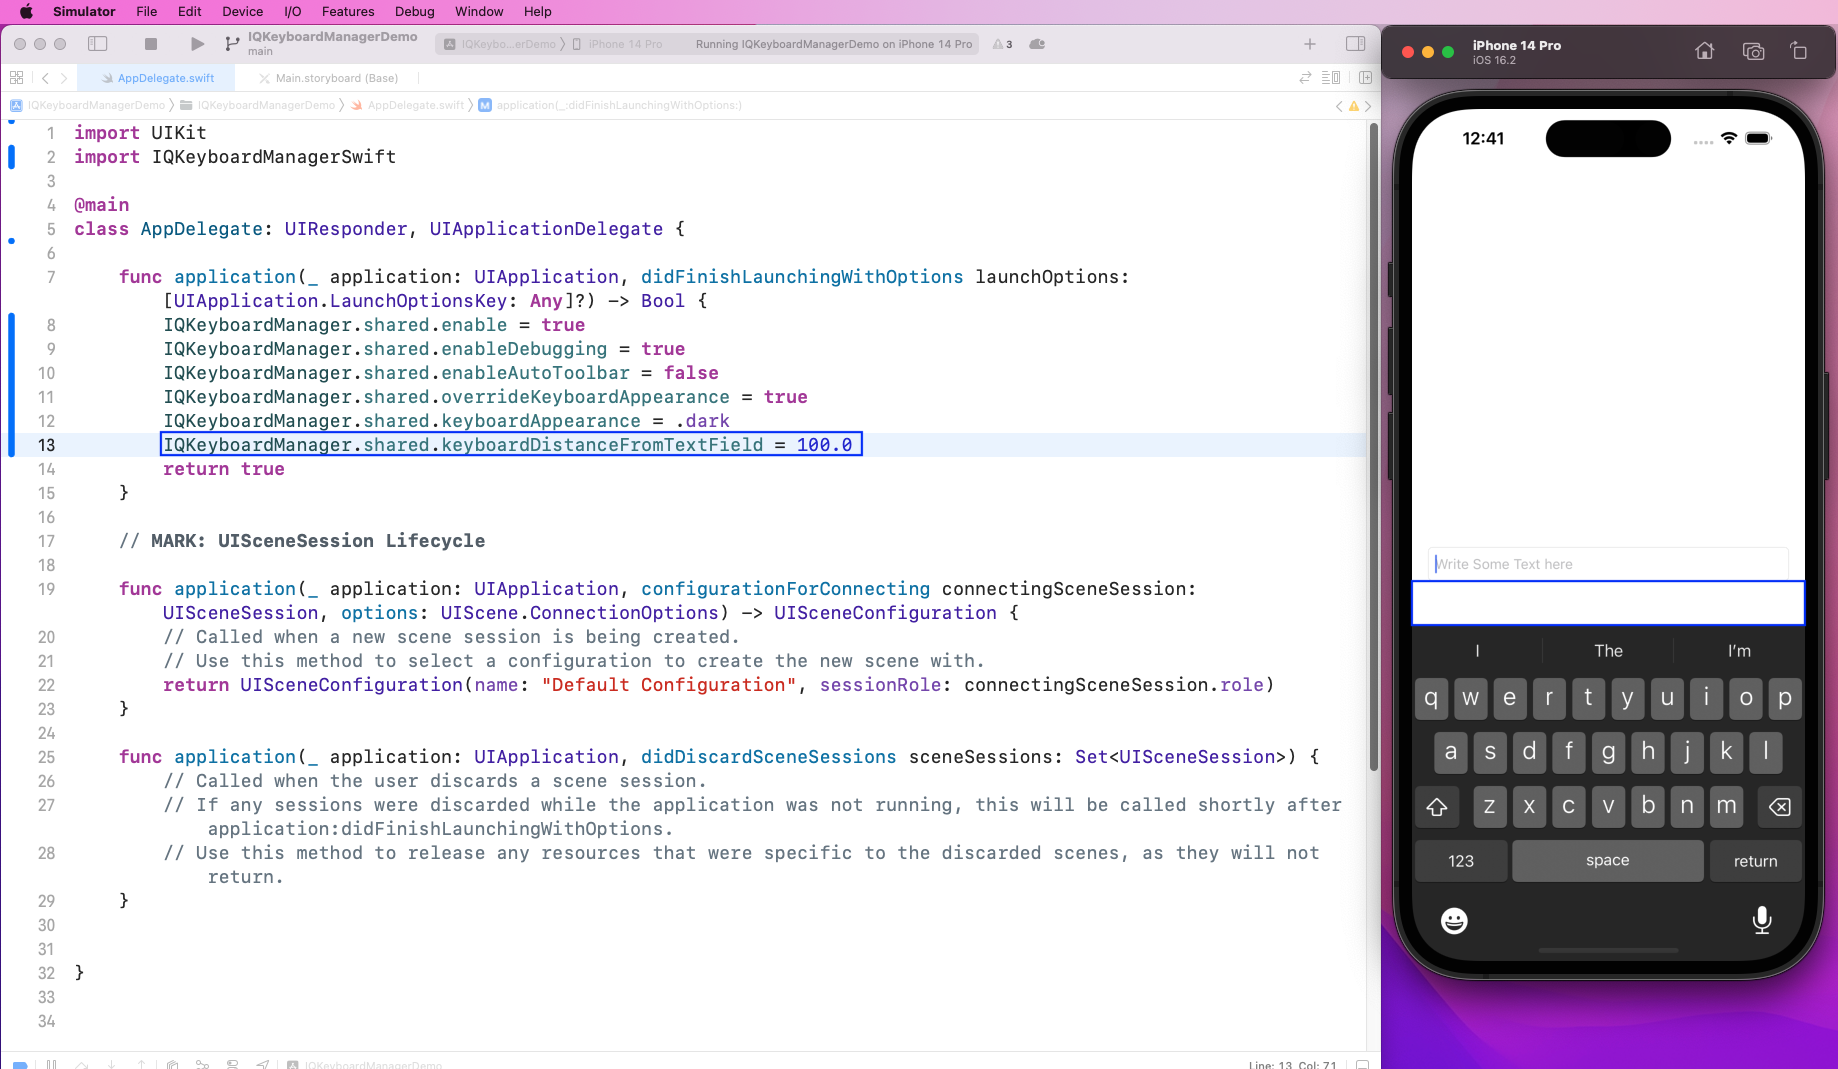
The default space between the text and the keyboard is 10. We can change it to any number by adding the line below.
Then, upon running the app again, we'll find more space between the keyboard and the Text Field.
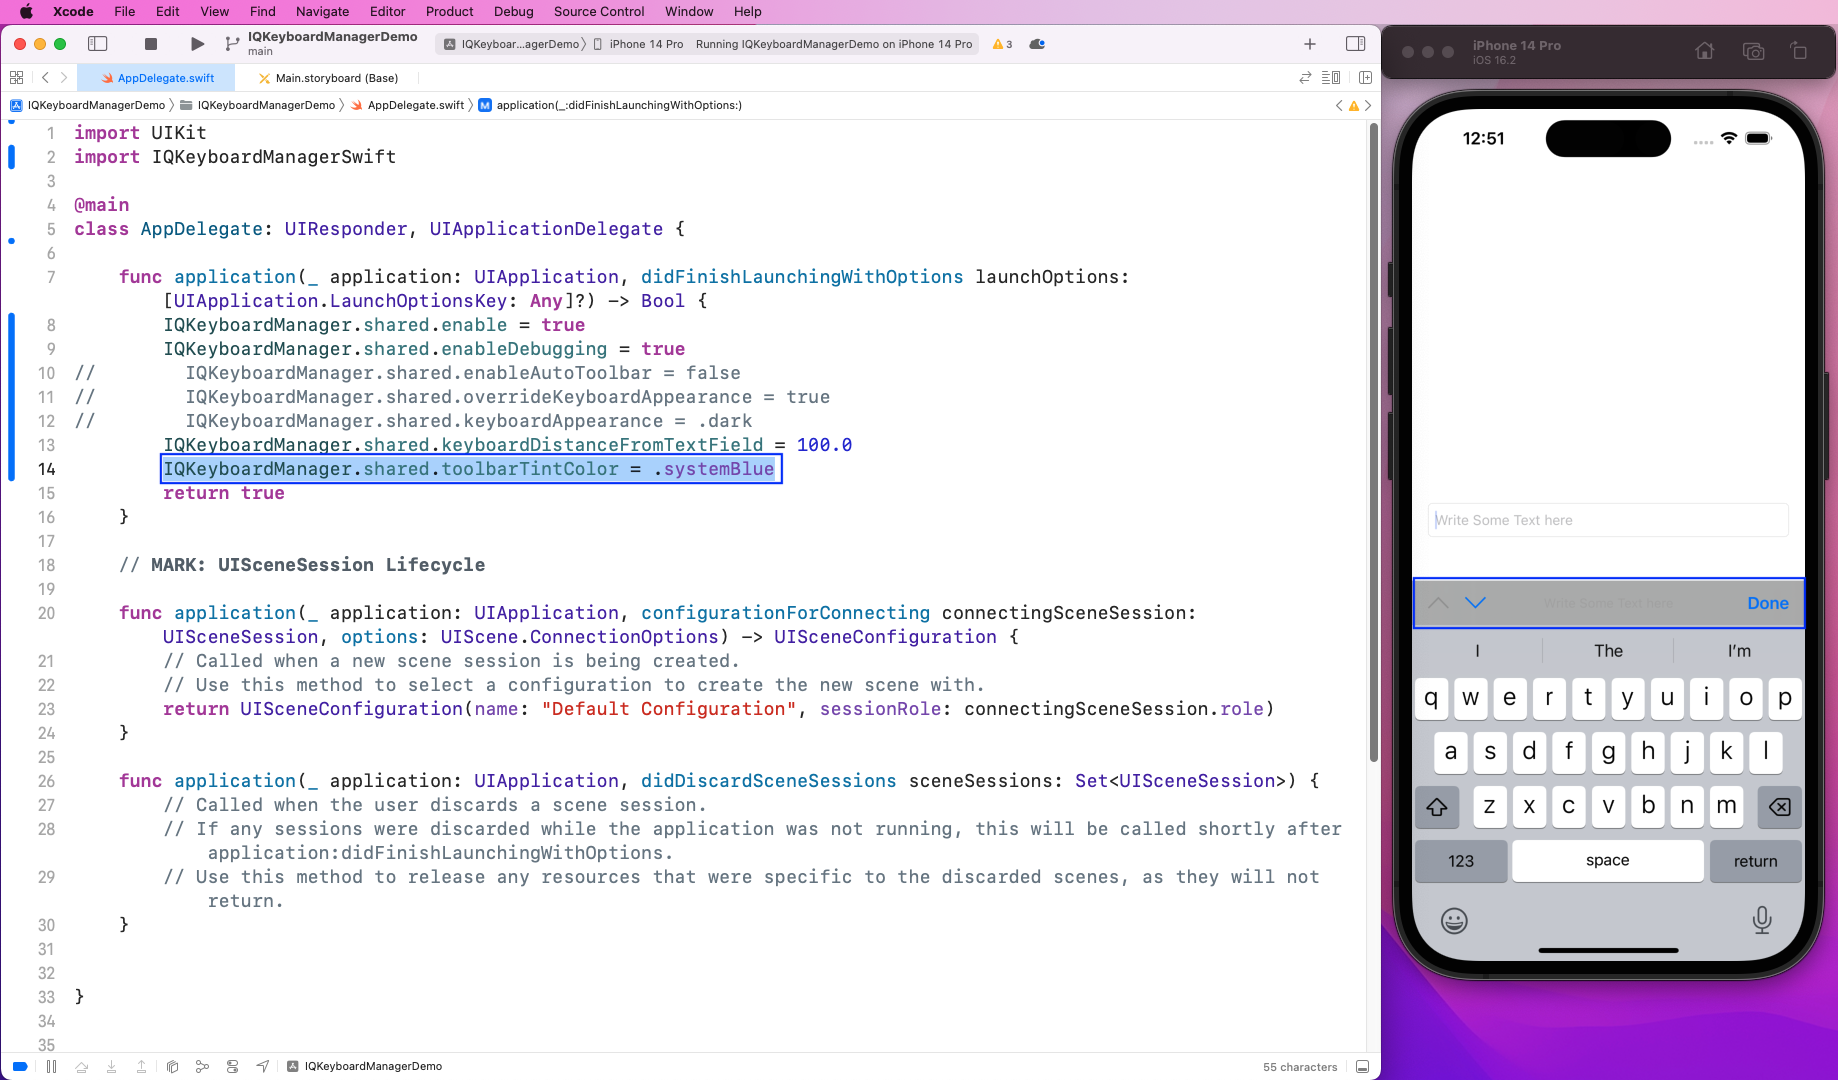
We can also change the toolbar tint color from the default black. With the line below, we'll change it to blue.
Also, notice that we've commented out the lines in which we hide the toolbar and also override its appearance. Upon running the app again, we'll find the Done button and arrow key in blue.
We can also change the default Done text in the toolbar to any other text. By adding the line below, we're changing it to "Completed." Upon running the app again, we'll find the text to be Completed.

Testing the App
We'll test the app with the default XCUITest in XCode. See our post on XCUI methods to learn how to set up and prepare for test cases.
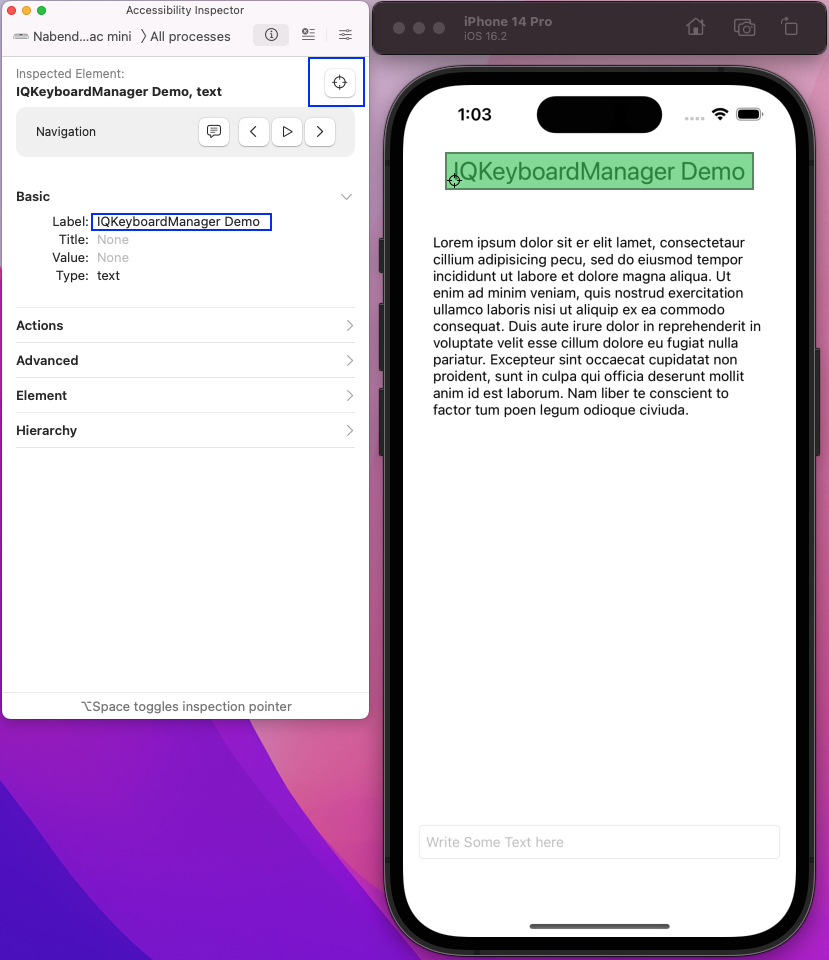
We'll need the unique ID of an element for testing, so we'll use the Accessibility Inspector to get the unique IDs.
Open it by clicking on XCode > Open Developer Tool > Accessibility Inspector.
Also, open the app on the side and use the pointer to click on different elements. Here, we've clicked on Label, which is IQKeyboardManager Demo for this element.
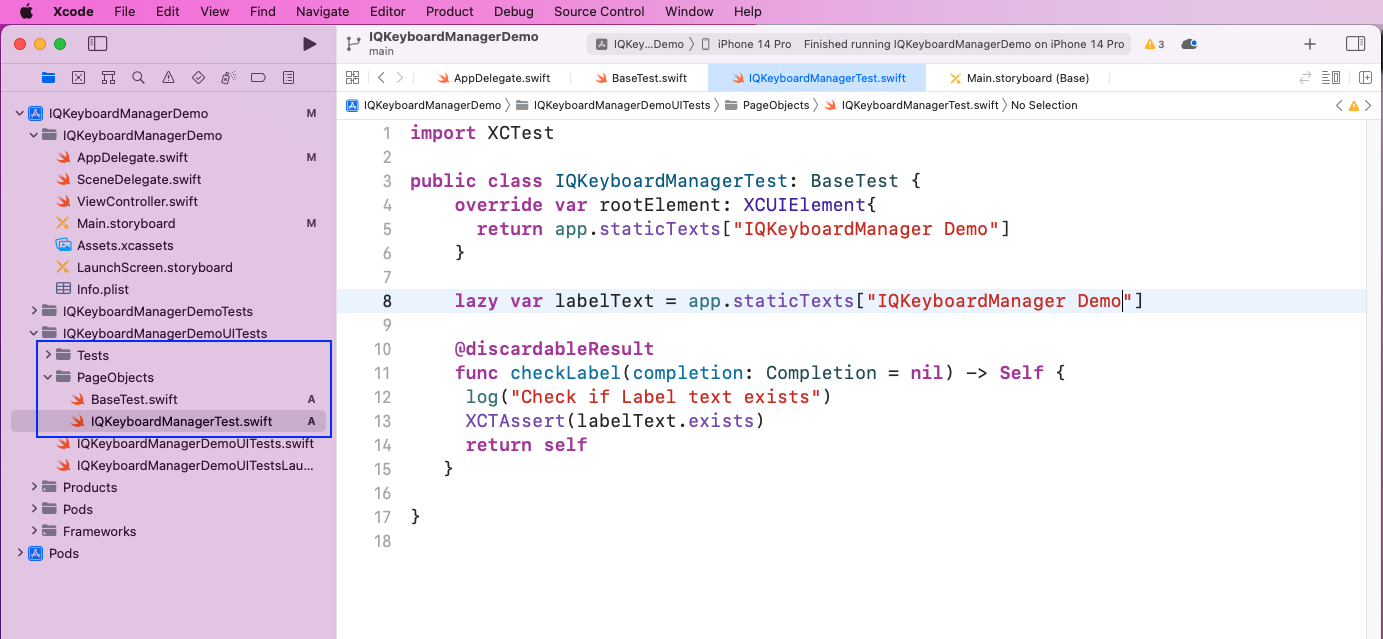
Next, create Tests and PageObjects folders inside the IQKeyboardManagerDemoUITests. Create the file IQKeyboardManagerTest.swift inside the PageObjects folder.
Here, we'll create a labelText variable to get the element. And we have the function checkLabel that will use XCTAssert to check if the label exists.
Now, in the BasicTest.swift file, we'll call the IQKeyboardManagerTest class and then the checkLabel function.
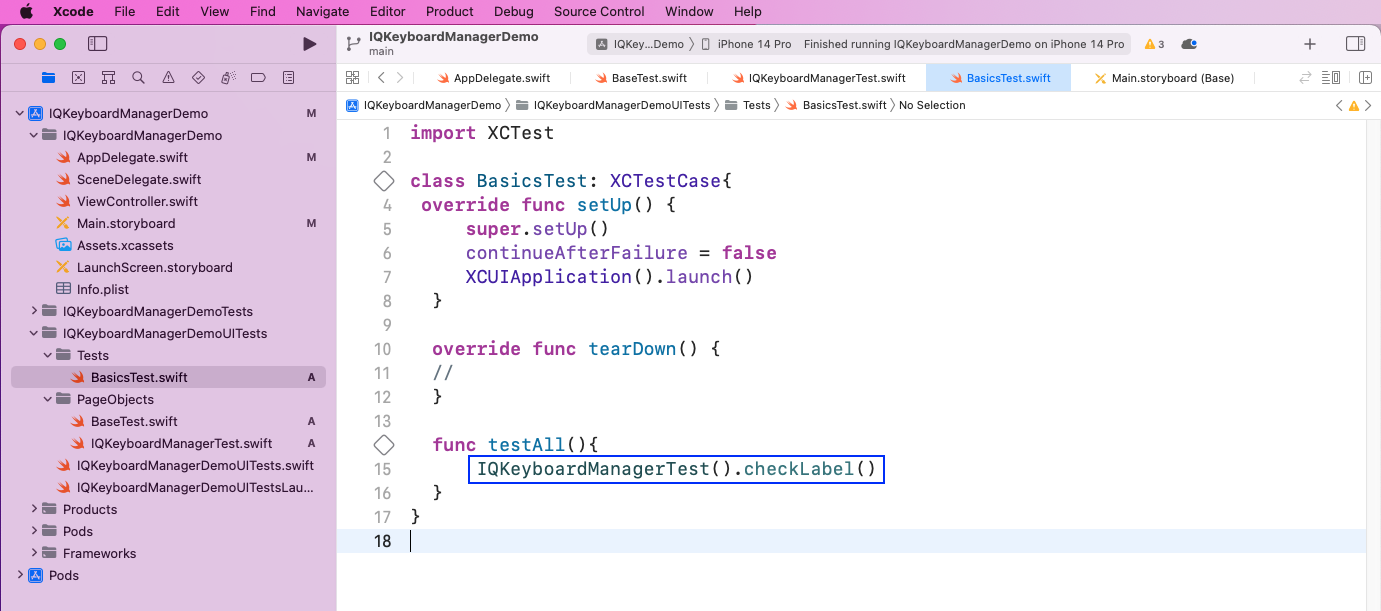
Next, hover the mouse over the testAll, and we'll find a play button. Upon clicking it, the test will be run.
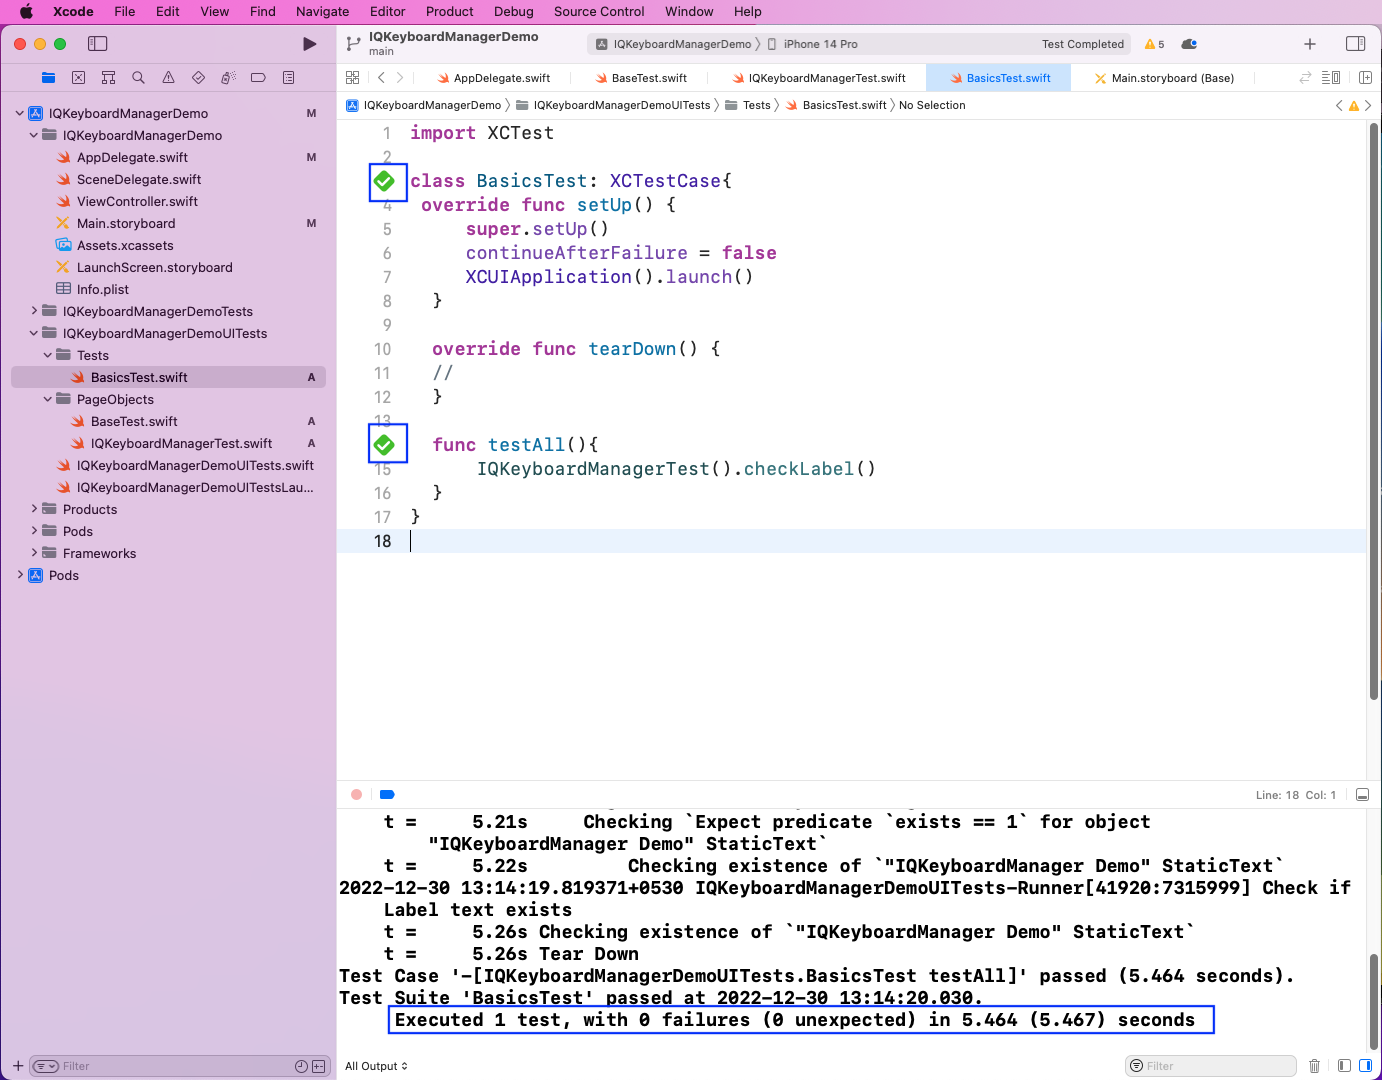
The test was successful, indicated by the green tick and the success message on the console.
IQKeyboardManager in Swift: What We've Covered
In this post, we talked about the problem of the on-screen keyboard hiding Text Vews in iOS apps.
Then, we learned about a simple solution to it using the open-source package of IQKeyboardManager. We created a simple project in XCode through Storyboard to see the on-screen keyboard problem as well as the solution through IQKeyboardManager.
Next, we learned about the features of IQKeyboardManager, through which we can customize the keyboard. We also wrote simple test cases using XCTest.
But we haven't tested the user interactions required in such apps, where we have to write text in Text Views.
To test your app without complicated user interaction code or having to write test cases, try Waldo. You're only required to provide the APK or IPA file. Then, you get to interact with the mobile app like a real user and input texts.
After that, click the run button, and Waldo automatically generates test cases and emails you a nice report of the results.
Automated E2E tests for your mobile app
Get true E2E testing in minutes, not months.


