


As developers, the quality of our work is heavily dependent on our ability to research, structure, and optimize code. As a result, the code we produce is as much an expression of our expertise as our creativity and ingenuity.
However, one often overlooked aspect of the process of coding is organization and readability. And sadly, companies waste millions of dollars and countless hours every year because many teams ignore this factor.
Chances are that a member on your team has a unique coding style or maybe no consistent pattern at all. This makes their contributions to the shared codebase more of a liability. This situation is troublesome when the team doesn't enforce coding conventions and their coding styles are at odds. And if you think there's nobody like that, then maybe it's you.
But don't worry. I'm not here to point fingers. Instead, I'm here to help you and your team be better developers and save money, reputations, and time.
In this article, I'll introduce you to the fantastic ESLint tool for React Native. I'll provide you with a valuable and straightforward step-by-step tutorial on ESLint. And with it you'll be able to standardize and streamline your team's codebase for improved productivity and maintainability.
.png)
Goals
First, I'll define what ESLint is and why it's essential. Then I'll give you a step-by-step installation tutorial. Finally, I'll show you how you can integrate it with Visual Studio Code to streamline the linting process.
If you want to go straight into the practical step-by-step guide, click [HERE].
I want to point out that even though ESLint is relatively simple, if you're an inexperienced developer, this article is not for you. So, if you feel like you need some introduction to the framework and environment, feel free to start with these great resources.
With that out of the way, let's get into it.
What Is ESLint?
ESLint is an open-source project devised by Nicholas Zakas in 2013 to provide a linting tool for JavaScript that's easy to integrate and seamless to use. As the official website states, ESLint's primary goal is to "find and fix problems in your JavaScript code." It achieves this with a robust and nonintrusive analysis tool that works with your project in synergy. It quickly analyzes your code, provides actionable feedback, and even fixes the code for you. Additionally, you can easily integrate ESLint into most code editors to automate and streamline the linting process.
By the way, if you don't understand what "linting" means, it's the process of cleaning and standardizing code.
Why ESLint Is Important
As stated before, following code conventions is important. And when you're part of a team, these conventions are even more critical.
A standardized and enforceable set of rules and patterns ensures that developers structure code uniformly and reduces code complexity. It also significantly improves productivity and maintainability while reducing bugs in the long run.
It's not about organizing your code and having it look "clean." It's about keeping a structure that optimizes quality and output while making it easy for code review and refactoring, all without getting in the way. This is why a tool like ESLint is essential. It reduces "technical debt" without introducing more work.
Having a tool that integrates with the development workflow makes the process of convention enforcement much easier. You can define the convention rules agreed by the team and codify them in the project configuration file. ESLint will make sure to enforce them for you.
If you want to learn more about technical debt and why it's so important to avoid it, check out this excellent article.
But wait, doesn't my code editor already have syntax evaluation tools? Yes, it's likely that your favorite code editor already provides you with syntax checks and maybe even some linting features. But it's important not to confuse them.
Syntax check only checks to see if your code compiles and abides by the language rules (typos, type mismatch, reference errors, compilation, etc.). Linting is strictly focused on the structure and readability of your code (spacing, indentation, capitalization, naming). Therefore, it's not concerned with the compilability of your code.
.png)
How to Install ESLint on React Native
Despite ESLint being part of the React Native framework for a while now, if you created your project with the 'react-native init' command, ESLint is not automatically bootstrapped into the project.
Additionally, the version of ESLint included is not even the latest. So, to fix that, you first need to uninstall the current version and then install the latest.
Run the following command to uninstall ESLint:
Then run this command to install the latest version available:
Note that you can add the '-g' flag to make the installation global and avoid doing this on every new project.
Once you do this, you need to delete any '.eslintrc.xxx' (xxx is the extension you chose, etc. json, js, yml) file in your project so it doesn't conflict with the configuration you're about to create.
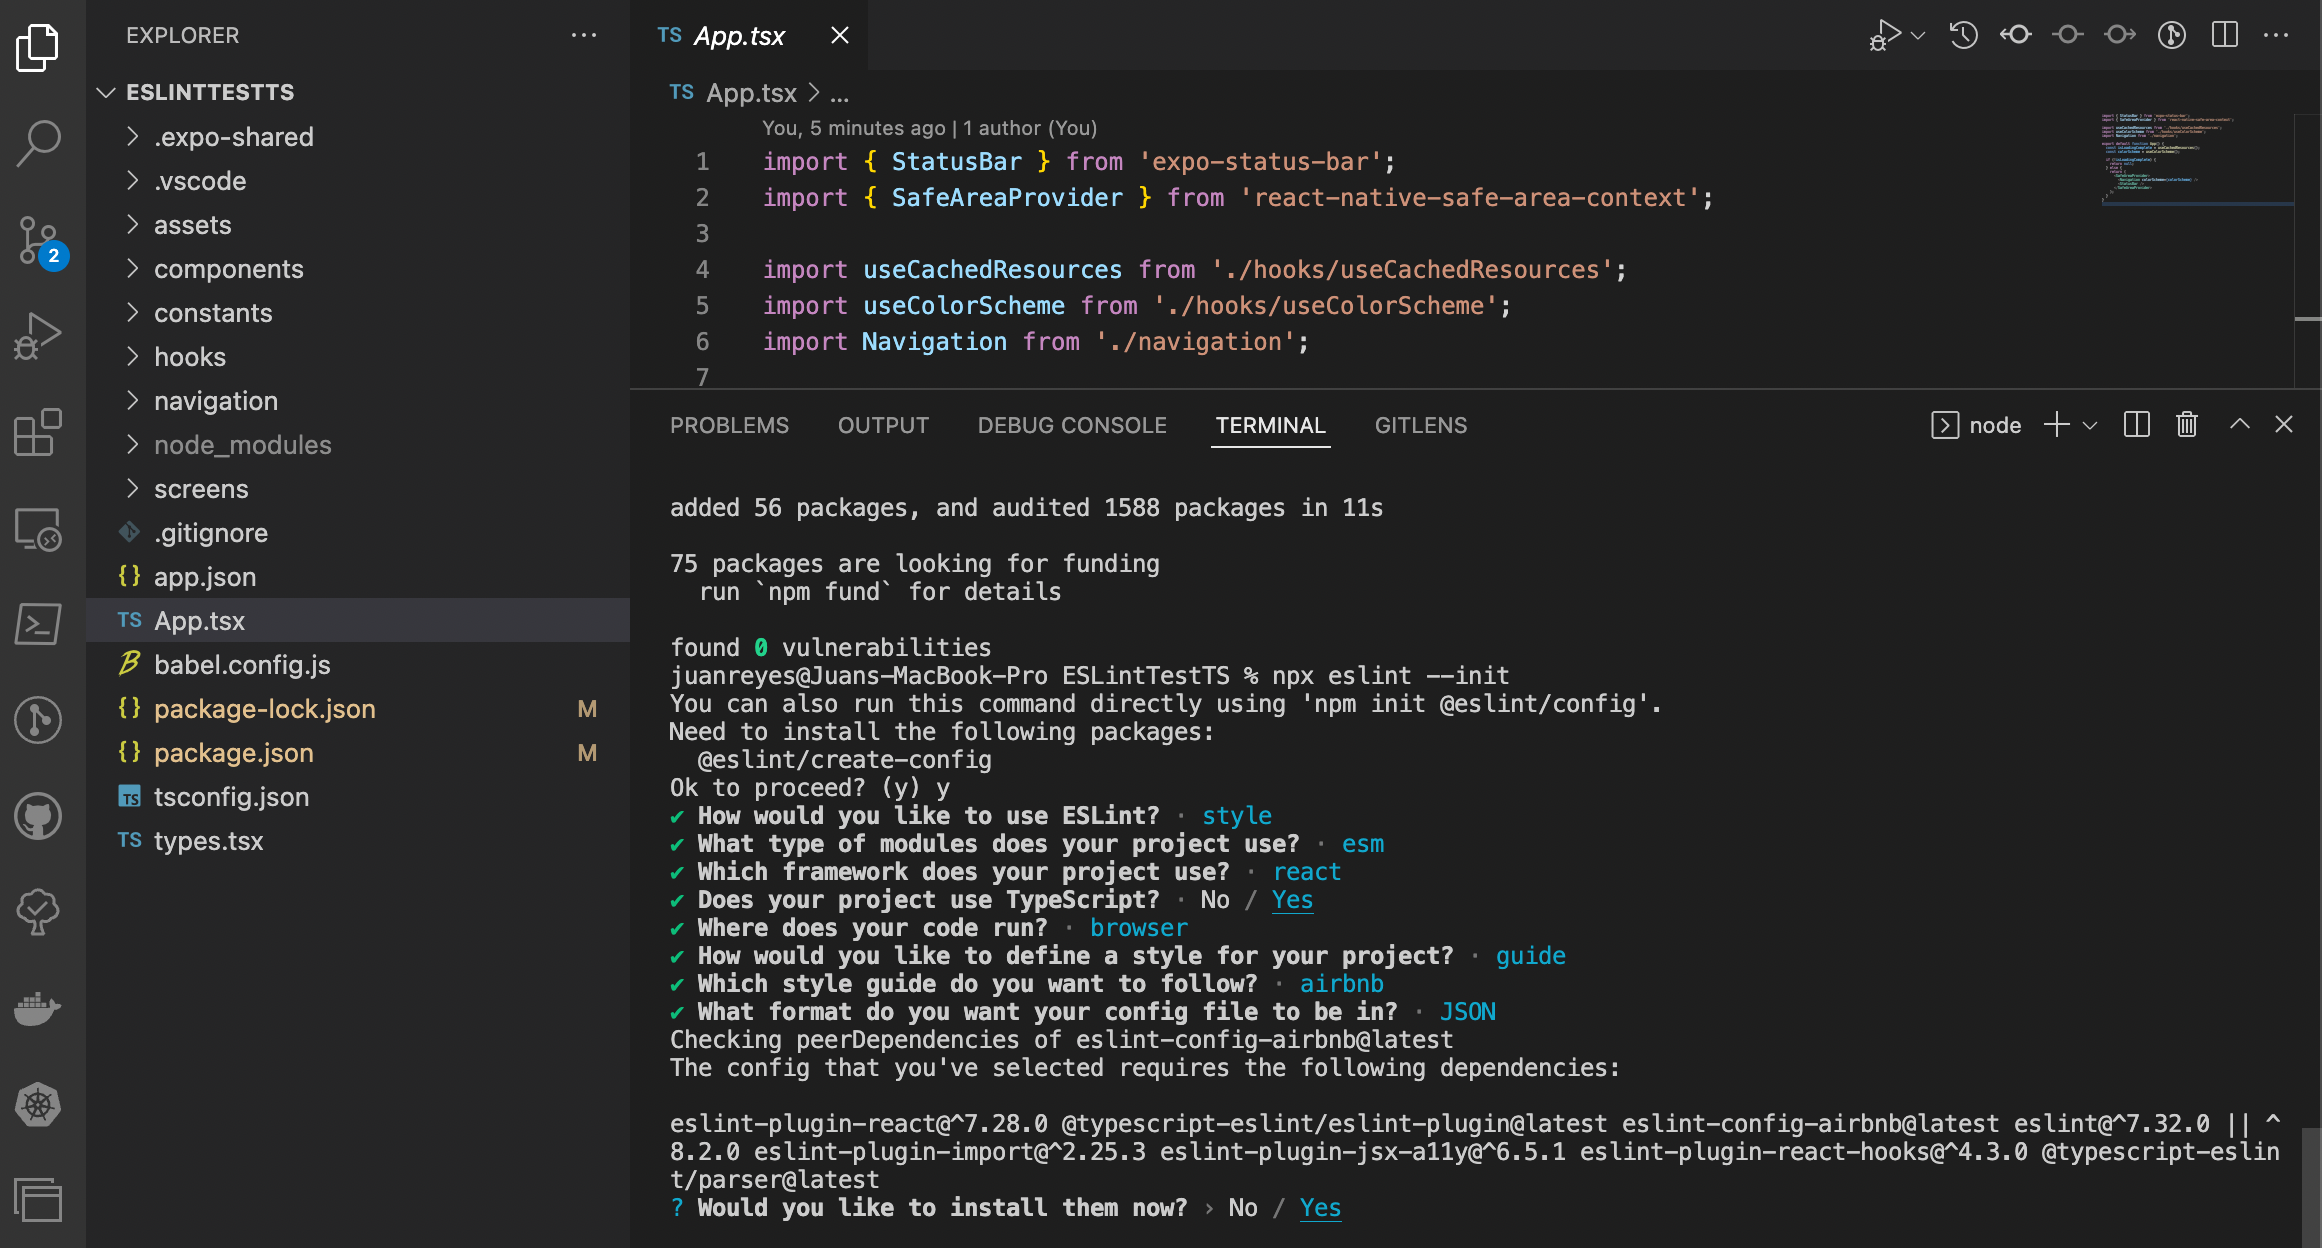
Now, run the following command to start the ESLint setup wizard:
The wizard will ask you questions about your project settings and the rules you want to enforce to create the configuration file.
Here are all the questions:
This is how I set up my project:
Once this is done, you'll end up with a '.eslintrc.json' file (if you selected JSON as the config file format) that looks something like this:
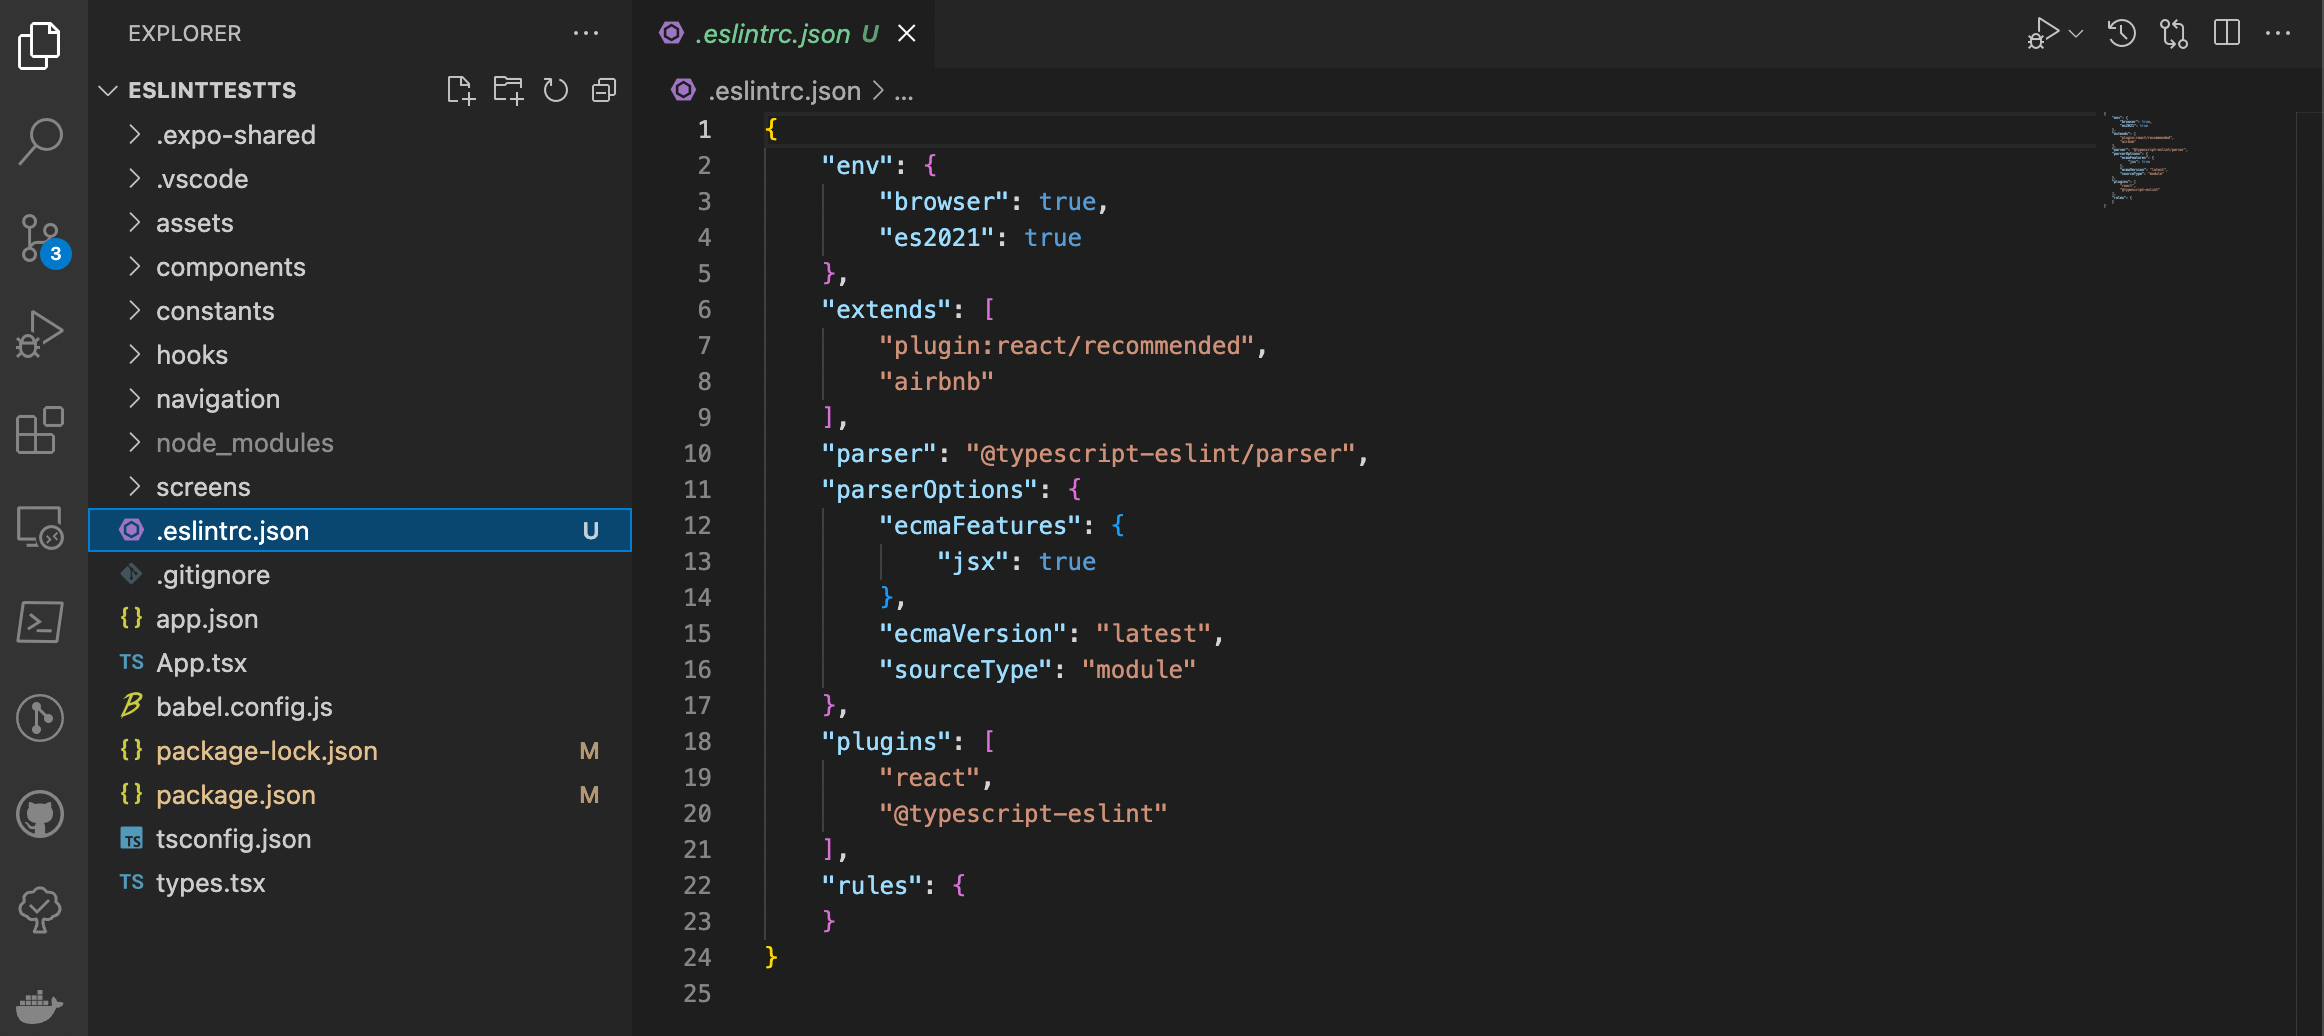
You need to add support for React Native–specific ESLint rules in the settings. You can add these rules with the following command:
Now, you need to add a few directives to the config file.
- "react-native" to the "plugin" section.
- "react-native/react-native": true to the "env" section.
- "airbnb/hooks" to the "extends" section.
Finally, create a '.eslintignore' file in your project and add 'node_modules/' and any other files or directories you want ESLint to ignore. This step is important so that ESLint is efficient and doesn't overload your terminal with alerts from the modules you include in your projects.
Running ESLint
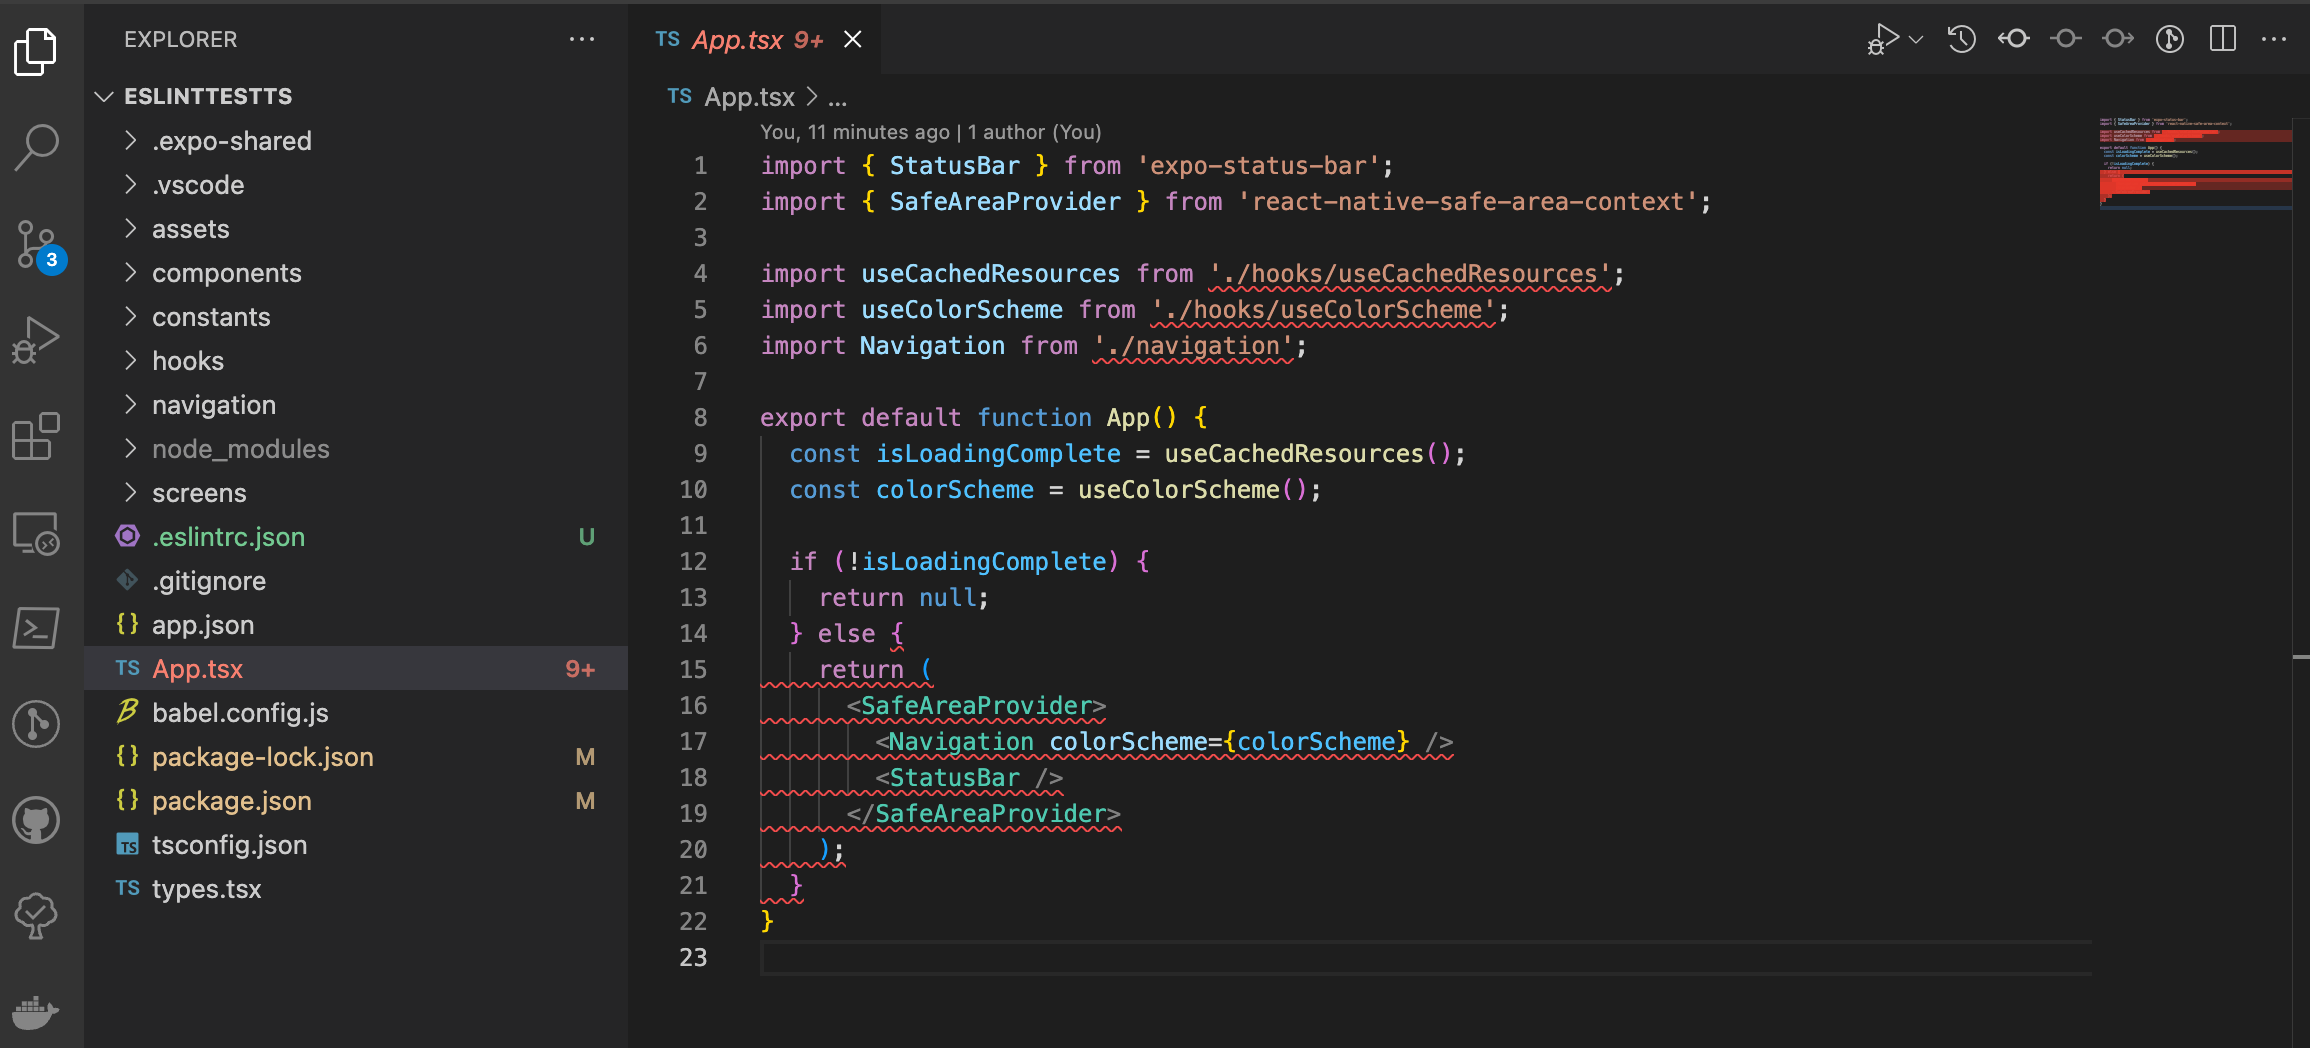
Once all this is done, you can check your project and—oh, look at that. Your code editor is already alerting you of necessary changes.
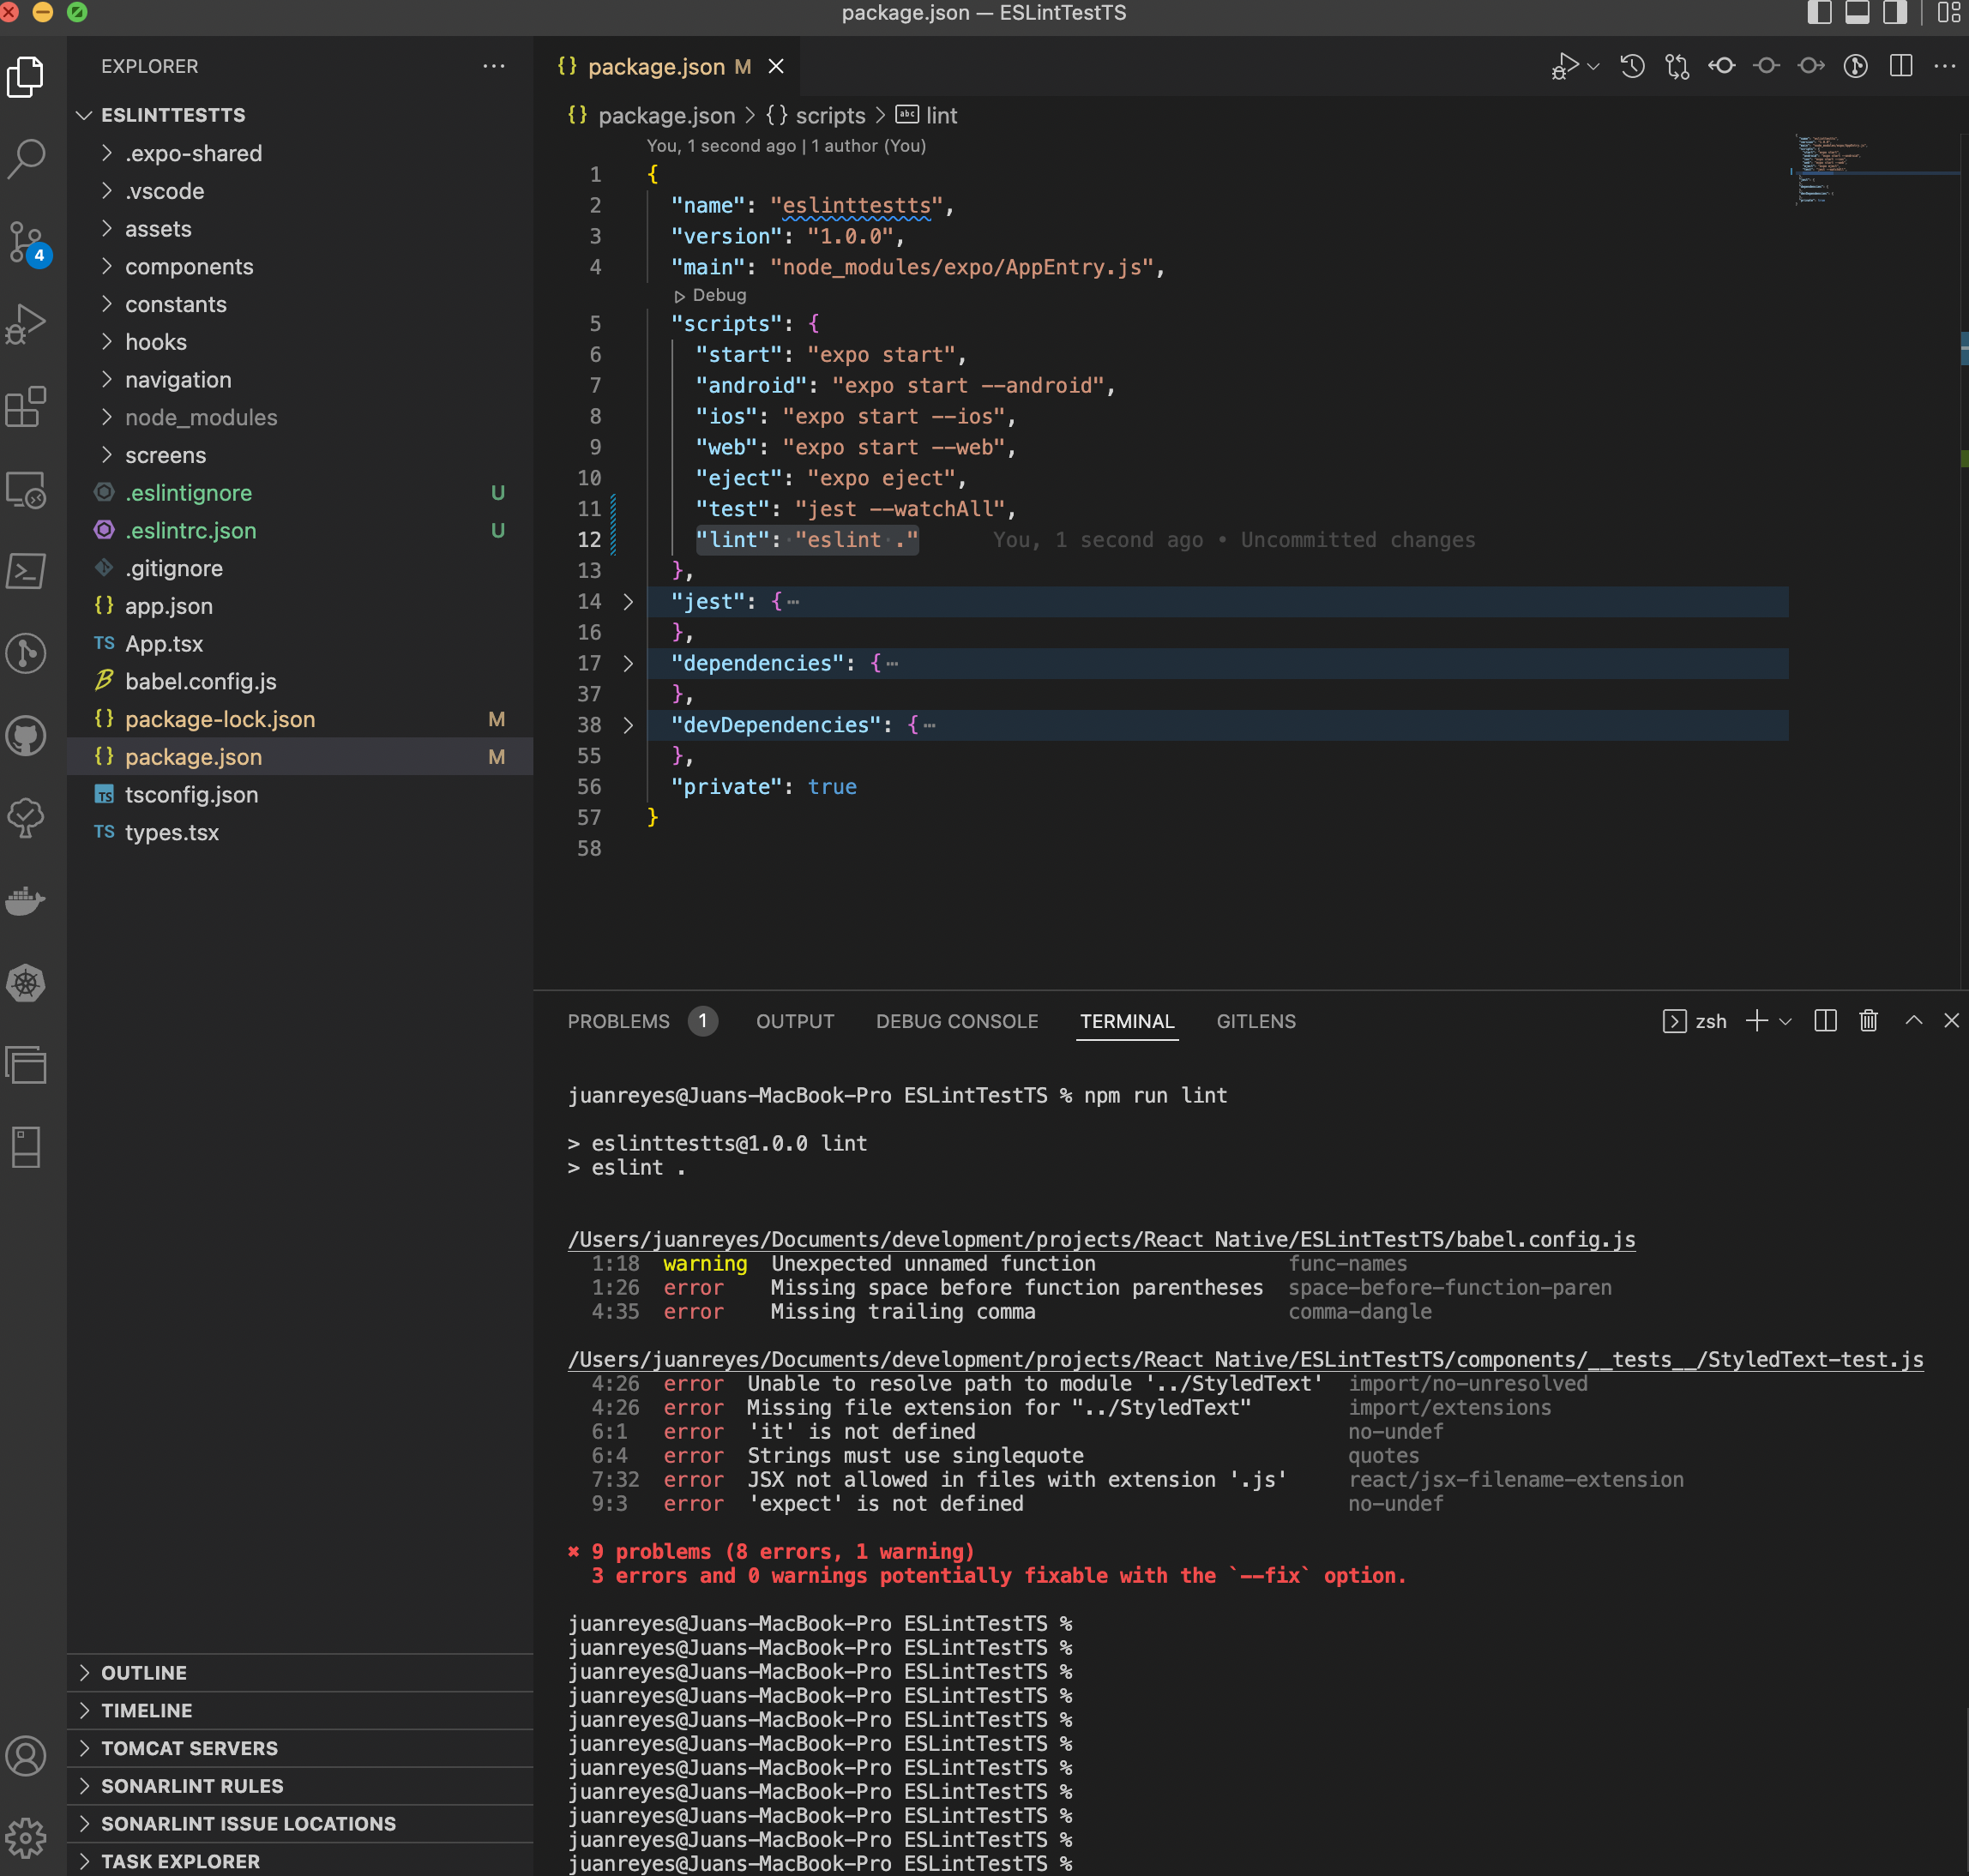
But that's not all. You can run a full diagnostics and get an evaluation of your whole project with just one command. To enable this, you have to go to the 'package.json' file and add the following line to the "scripts" section:
Now all you have to do is run the command 'npm run lint,' and you'll get an evaluation of the problems in your project.
If you want to let ESLint fix some of the problems for you, all you have to do is run the following command, and ESLint will do its best to correct the code:
Note: If you want to specify the extension of files you want to run the lint evaluation on, you can modify the directive like this:
Additionally, if your project is on TypeScript, you want to add the following directives to the "rules" section in the '.eslintrc.xxx' file:
Prettier
One other tool that can come in handy for big projects with a large team is a code structure formatter like Prettier. Prettier works together with ESLint to automatically format and correct your code for you, so it abides by the teams' defined conventions.
To install it, first, run the following command:
Then run this command so that Prettier works together with ESLint:
Now add the following directives to the "extensions" section in the '.eslintrc.xxx' file in your project:
Finally, create a '.prettierrc.json' file and add the following settings to it:
And that's it.
Now, let's integrate everything to work together with Visual Studio Code.
Integrate ESLint to Visual Studio Code
If you're a Visual Studio Code user and want to integrate ESLint into the editor to make your work easier, all you have to do is download the ESLint extension and enable it.
Once that's done, go to the VSCode 'settings.json' file in your project (create it under the .vscode/.react folder) and add the following settings:
Now every time you save your code, ESLint will automatically run and check your code.
What's Next?
Alright, now that you've integrated ESLint and Prettier into your project and have learned how to run diagnostics and fix issues with it, you can ensure that your team can work together seamlessly and produce code that's easy to work with and easy to maintain. However, it's also important to understand that even having this excellent tool doesn't guarantee that your code will be bug-free.
If you want to have the peace of mind of knowing that your work is robust and error-free without the headaches of developing code testing, I recommend checking out Waldo's code-free testing solution. The platform can help you build tests without the hassle of testing frameworks and code compilation while still ensuring that your code is bug-free. You can check it out here.
Automated E2E tests for your mobile app
Get true E2E testing in minutes, not months.


