


Video is one of the most commonly consumed formats online, and in this tutorial we’re going to cover how to embed video in a React Native app.
There are many libraries you can use to add video capabilities. We’re going to use the official expo-av library as it’s supported by the Expo team and is very stable.
Basic Setup
We’re going to use the Expo CLI in this project since we’ll be using an Expo package to add the video feature. It’s also easier to use than the React Native CLI. So first install Expo CLI globally by entering the following command from the terminal.
Then create a new project with the name rn-videos using the following command.
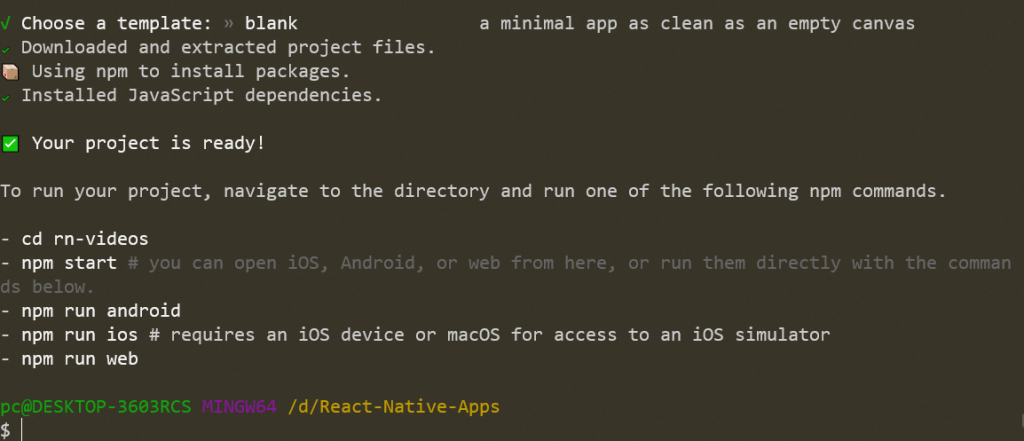
You will be asked to choose a template. For our demo app, we’re going to choose to create a minimal app.

If everything works, we’ll get a minimal React Native app. You should see the following screen if it’s successful.
Starting Project
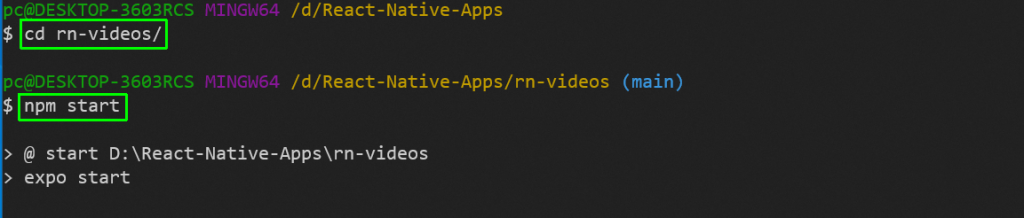
We’ll need to change to the directory and run the npm start command per the official instructions.
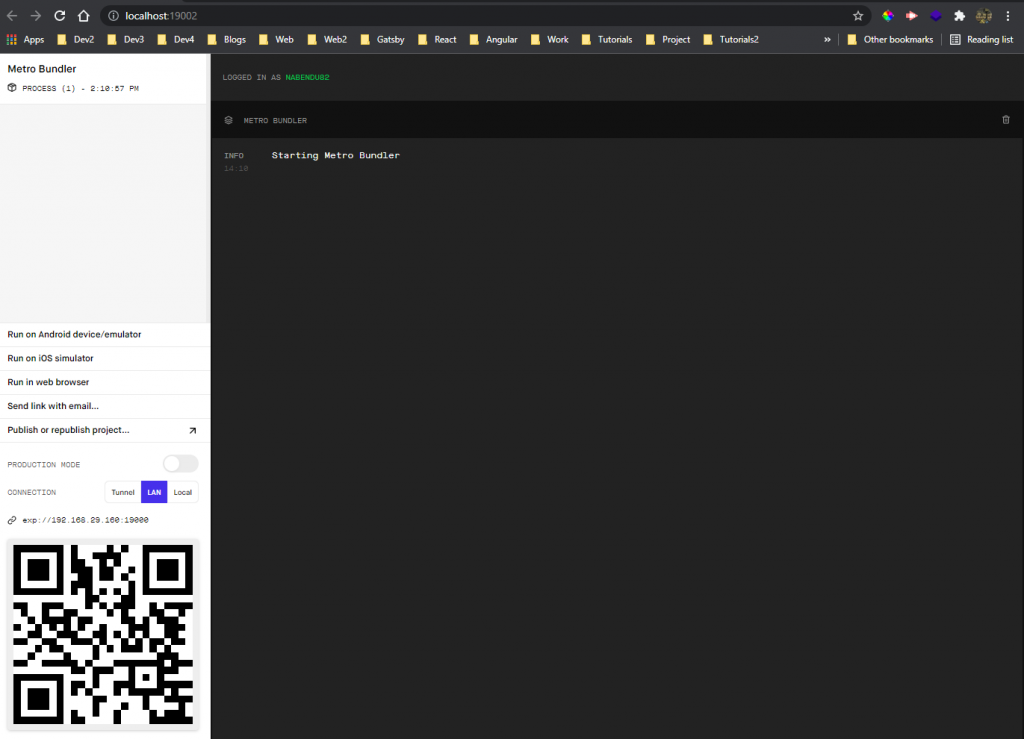
This will open the Expo app’s Metro Bundler at http://localhost:19002/. The app can be started on an Android emulator, an iOS simulator, or even in a web browser. But I personally use the QR code at the bottom left and open it on a physical device.
Next, we need to install the Expo Go app from the Google Play store or Apple’s app store so we can run the app on our mobile device.
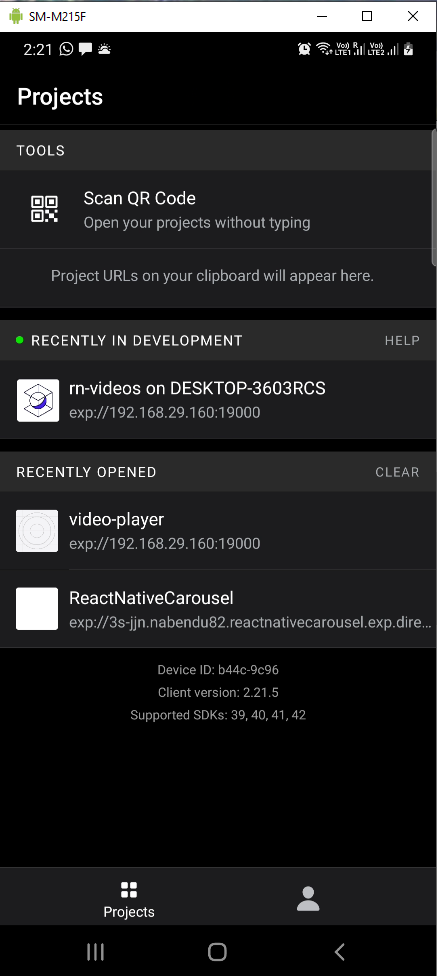
Once it’s installed, open it and click Scan QR Code.
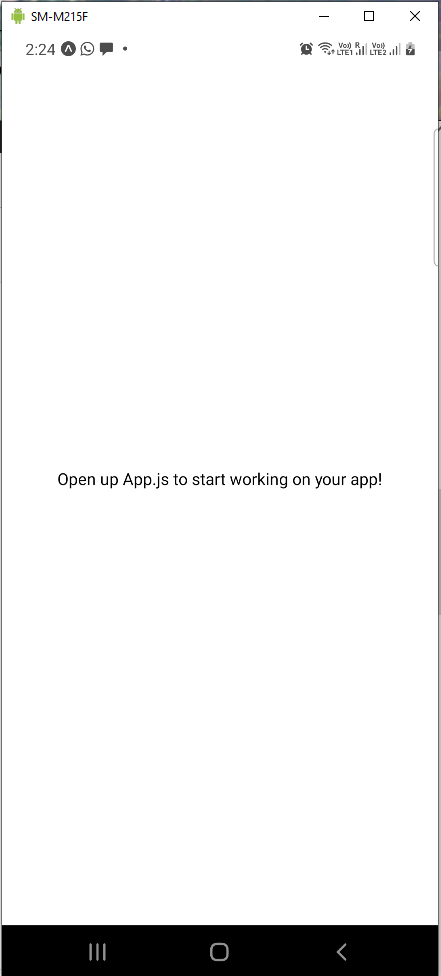
If the build was successful, you will see a message that says, “Open up App.js to start working on your app!”
Dependency Installation
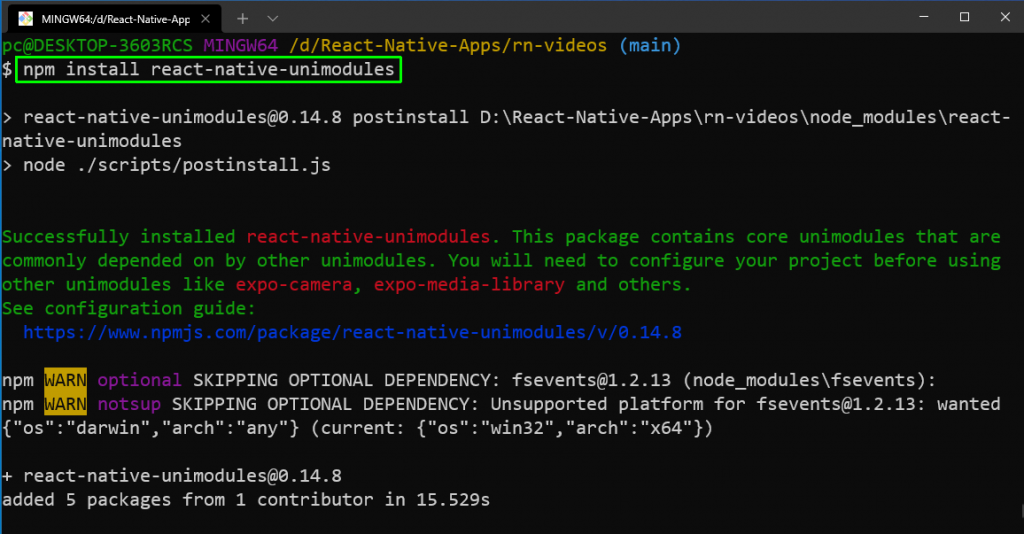
We need to install some packages before using video. As I mentioned earlier, we’ll be using expo-av. Now, as per the documentation, we need to install the react-native-unimodules library with the following command:
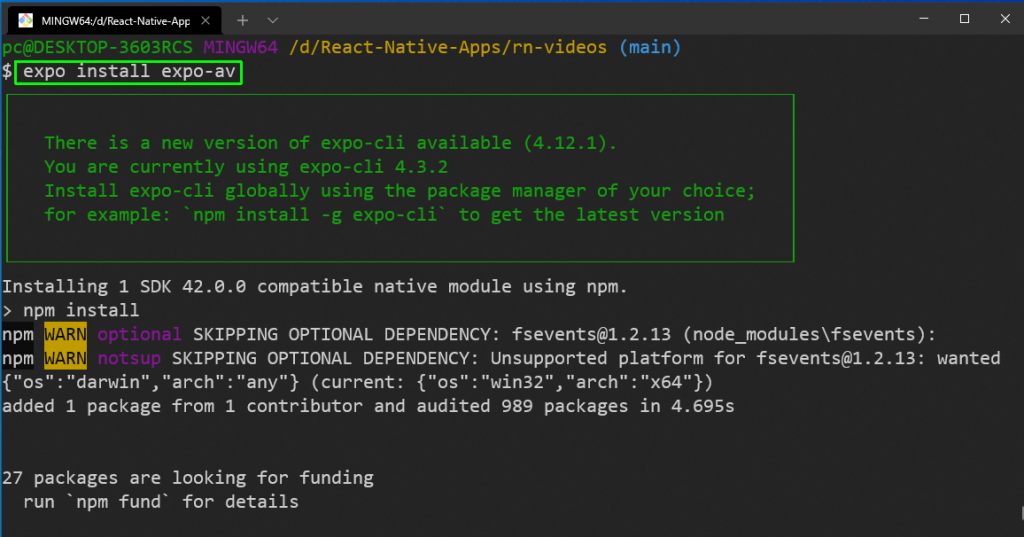
Next, we’ll install the expo-av library using the following command. It’s important to note that we should install it with expo command and not with the npm command.
Now we can start the project with the npm start command.
Using Video
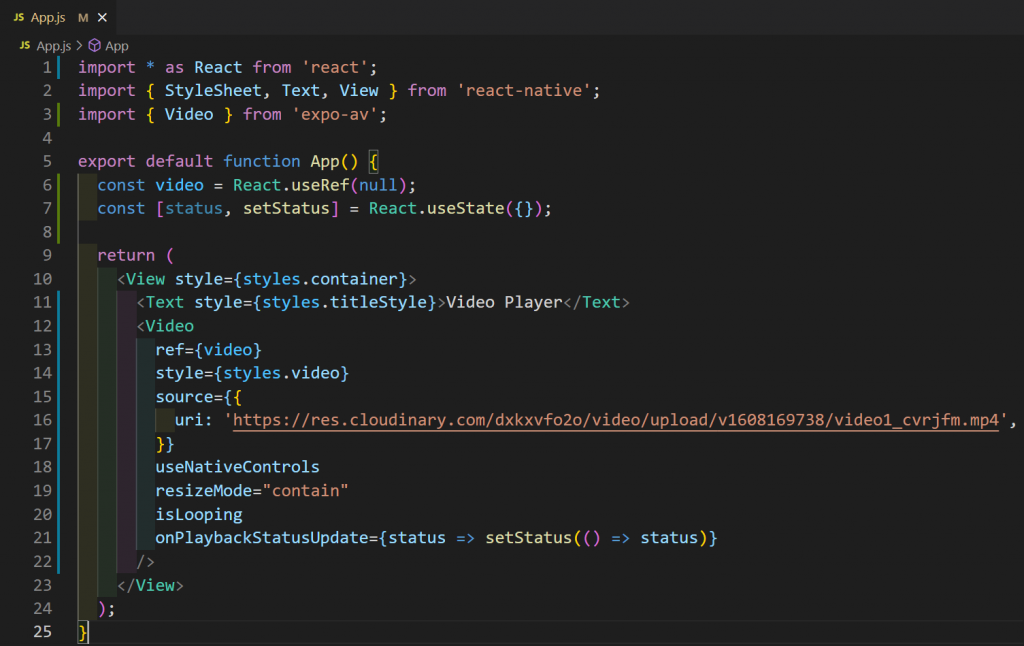
We can now start using video in our app. In the App.js file, we’ve imported video from expo-av. Inside our app function, we’re using both useState and useRef hook from React. But to play a video, we need references because we need to get access to DOM Level elements.
We’re using various props in the video element.
- ref – We need to access the video element at the DOM Level, so reference to the video needs to be set through this prop.
- style – Refers to the style, which is used in the style sheets.
- source– The source of the video file. It can be local or from a video CDN like Cloudinary.
- useNativeControls– Will show play, pause, forward and reverse buttons in the video.
- resizeMode– Resizes the image to match the container while saving the aspect ratio. Without this, the video will appear pixelated.
- isLooping – Will play the video in a continuous loop.
- onPlaybackStatusUpdate – A required function to be called with the status of the video. We are updating the status state defined earlier here.
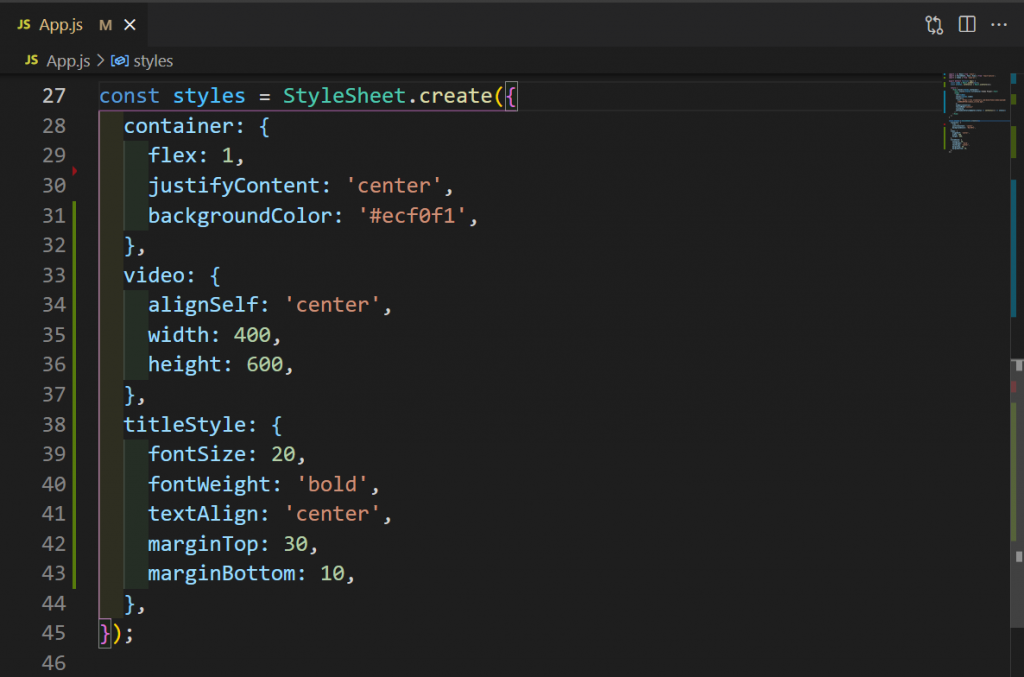
Next we will add the styles for our container, video, and TitleStyle element.
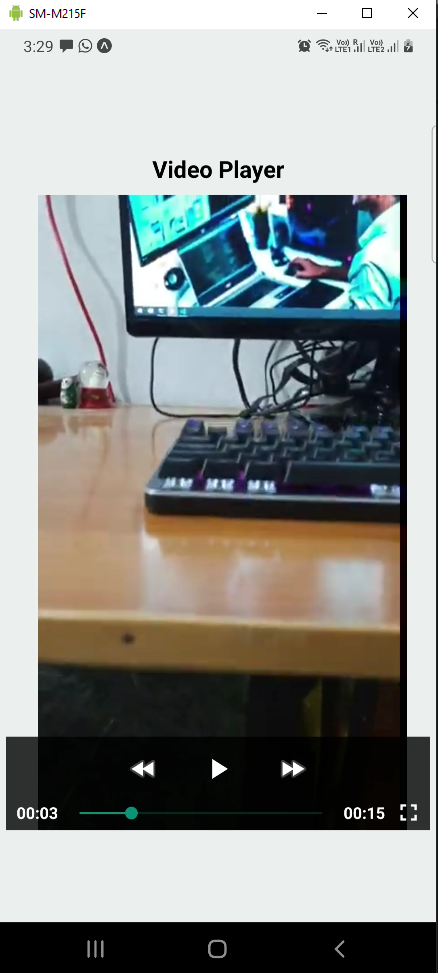
The app should be able to play video.
Adding Beautiful Buttons
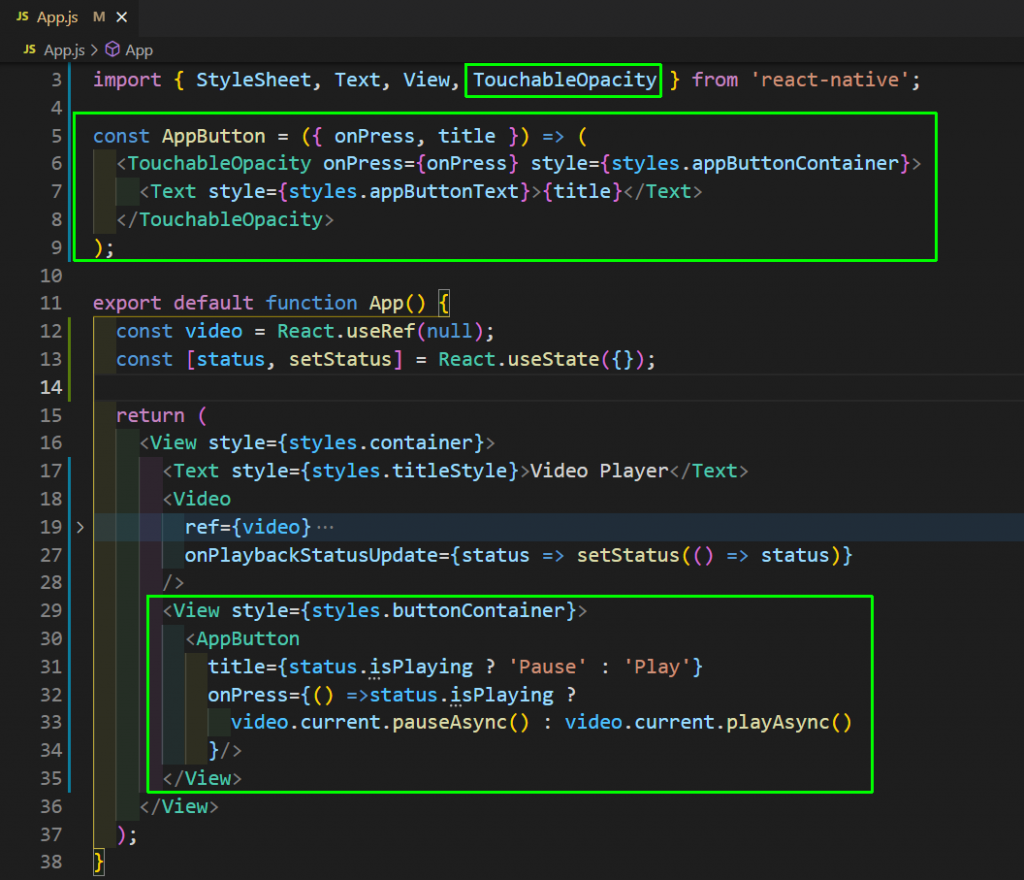
Although the app has playback controls that appear when a user touches the screen, we want to add the code for a button that can play and pause the video. It is easier and quicker to play and pause through our buttons.
The default button component in React Native has few features, so we will create the button through TouchableOpacity, the preferred way to create buttons. We will first create an AppButton component, which is reusable.
The AppButton component gets onPress and title as props and adds style classes to it.
After that we will use the AppButton component inside the return statement. We are passing the title and the onPress props in it. We’re also changing the title, depending on whether or not the video is playing. The onPress function will use the video element to pause or play the video.
Next, we will add styles for the newly created button in our StyleSheet in the App.js file.
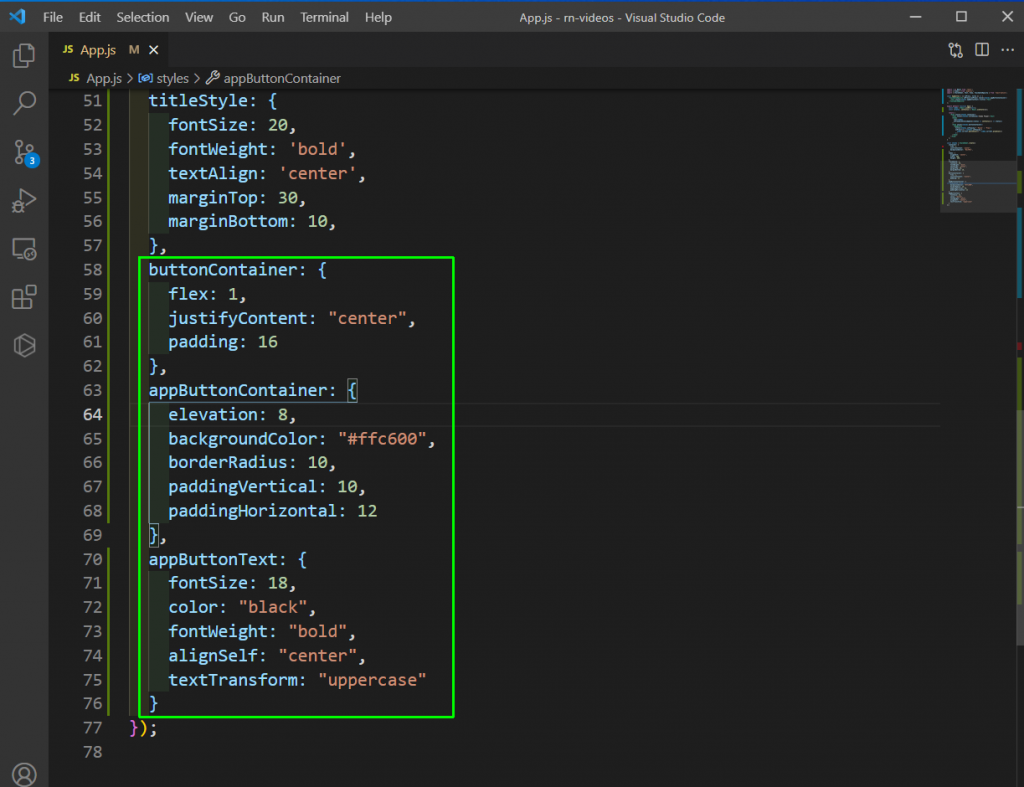
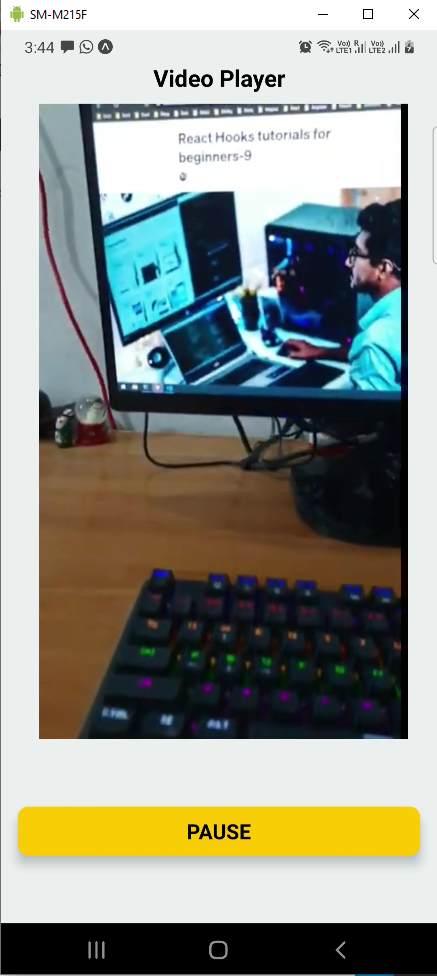
Now our app is complete with nice buttons for playing and pausing.
Creating the APK File
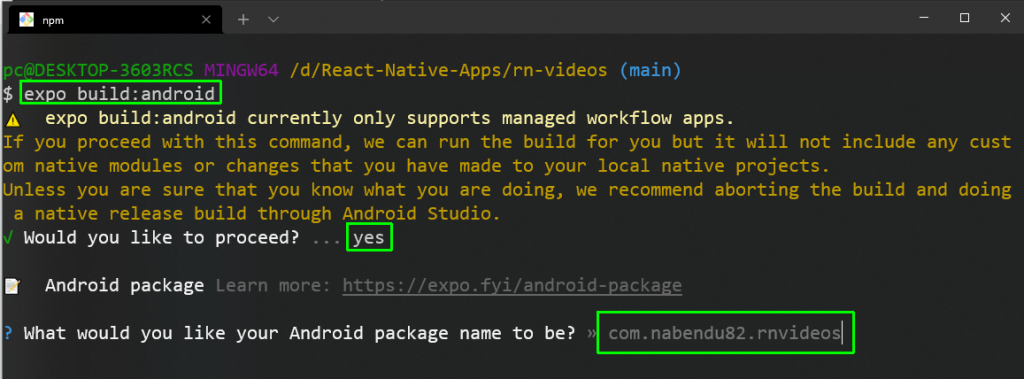
We will create the APK file next, which is required for deploying the app in the store. We also need it for no-code testing, which we will do next. Type the following command from inside the app:
The command will ask us if we want to proceed. Enter Y and press Enter. Next you will be asked for a package name. To keep the name provided by Expo, press Enter and move to the next step.
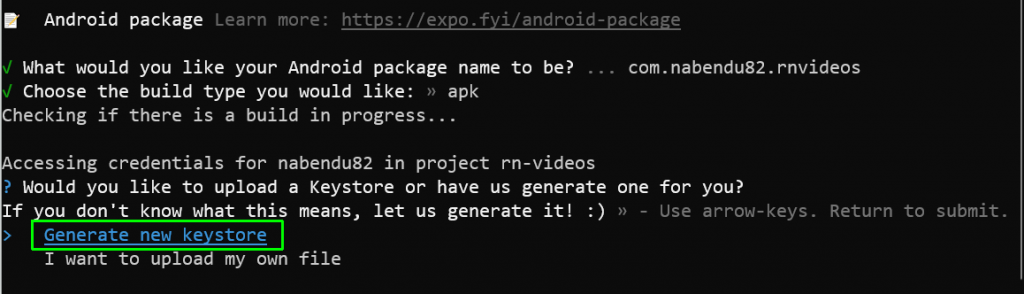
On the next screen, just press Enter as we want an APK file only.

Now you will have two options, to upload a keystore or to generate a new one. Select the default option to generate a new keystore. Then press Enter to start the build.
The APK build process takes ten to fifteen minutes because it creates a 60MB file. When the build process is successful, there should be a link to download the APK file.
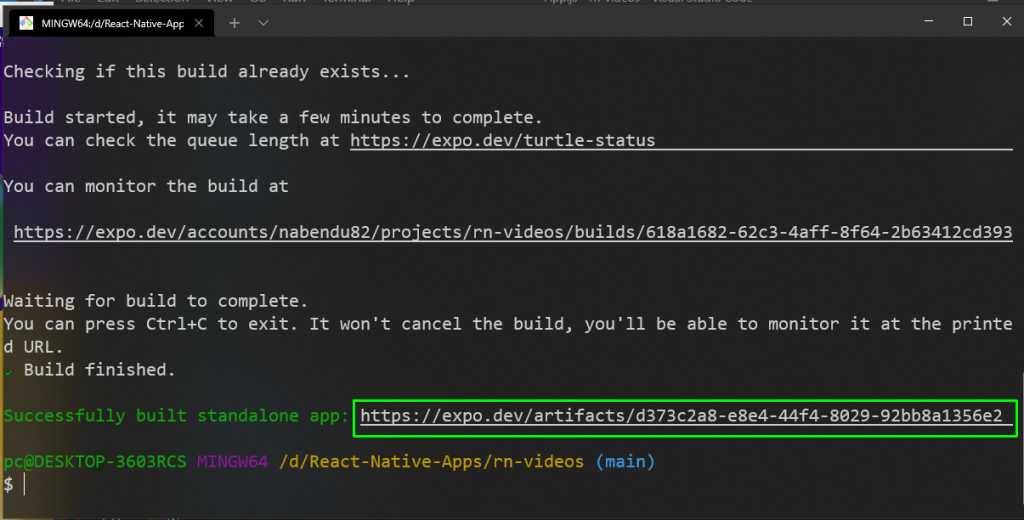
Save the file locally as you will need it during the next step.
No-Code Testing
We’ll use the awesome Waldo platform to test the application without writing complex test cases. This requires the APK file we downloaded in the previous step.
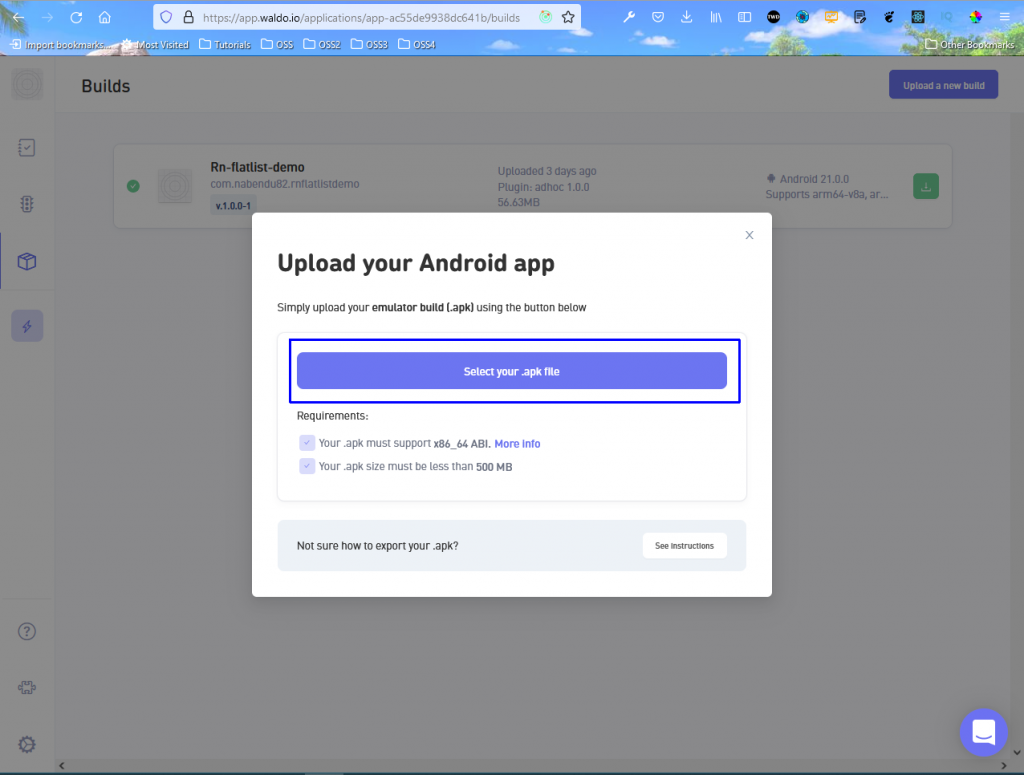
First, create a free Waldo account. After logging in, click Upload a new build, then click Select your .apk file and select the file from your system.
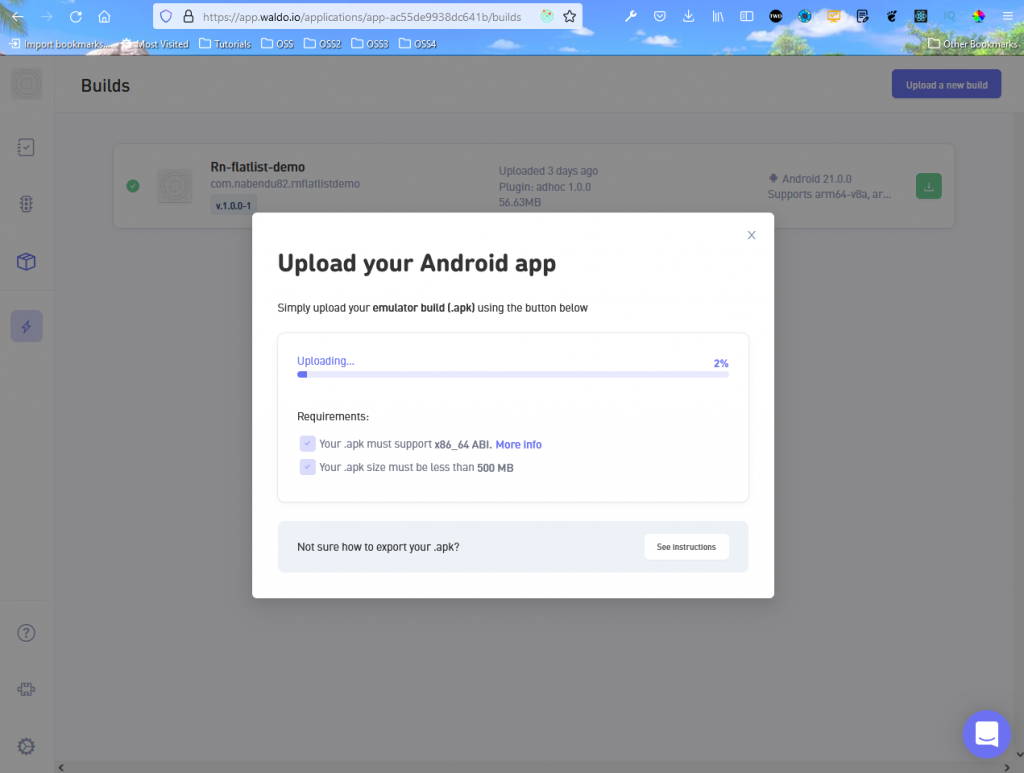
The APK file should be uploaded within a minute.
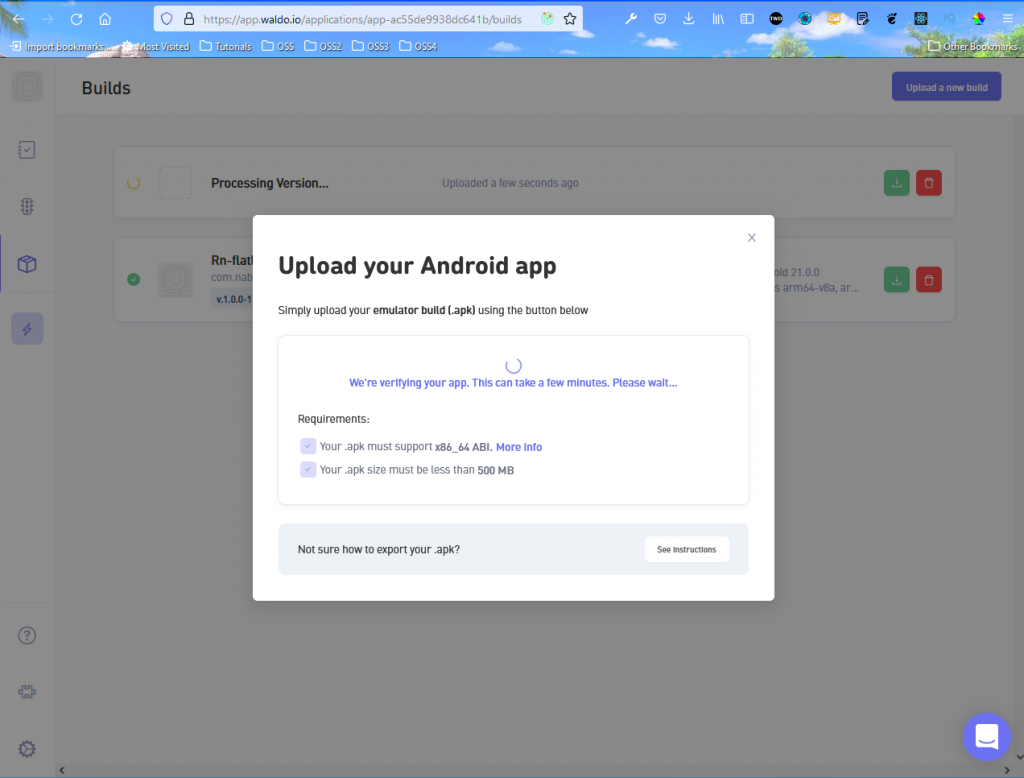
Waldo will now verify our app and finish in around two minutes.
Click Tests from the left menu, then click the Create Test button. It will open a pop-up window. Then click the Start Recording button.

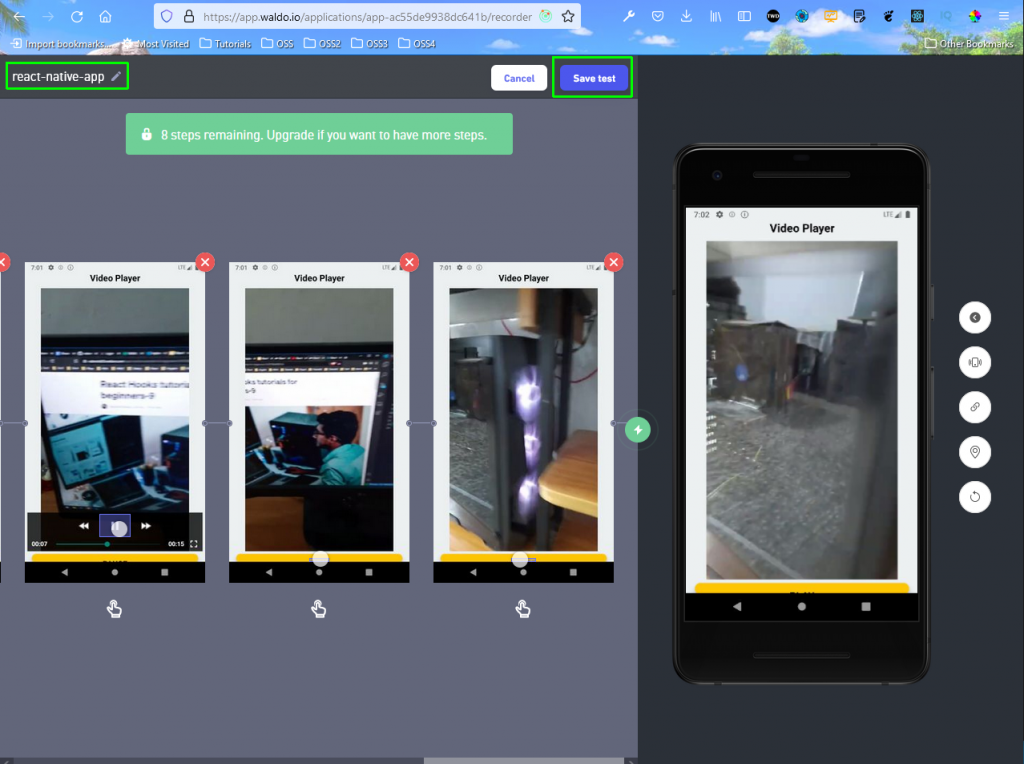
After a nice animation, we will be taken to the next screen. We will be able to do up to 15 interactions in the free version. We can press buttons or anything else that we would do in a normal mobile app. After completing all the interactions, click the Save test button
On the next screen, click the Run Test button. Running the test should take around two minutes.

You should see the test results on the next screen.

Conclusion
In this post we covered embedding videos in React Native using Expo’s expo-av. We also covered how to add beautiful play and pause buttons, how to create and APK file, and how to run no-code tests using Waldo.
Waldo helps you ship mobile apps faster with fewer bugs, and it comes with a free trial.
Automated E2E tests for your mobile app
Get true E2E testing in minutes, not months.


