


In this article, we'll explore how to create elegant and snappy SwiftUI animation. By providing you with some helpful examples of SwiftUI animations and some background as to how they work, you'll be able to create nifty animations that can elevate the look and feel of your application significantly.
We'll first create a basic SwiftUI project to use as the basis for our examples. Then we'll briefly define what animations are in SwiftUI and the different types of animations available. Finally, we'll explore the animation modifier with some examples and show you how to tweak them.
This article will help you build a simple and interactive SwiftUI application with the concepts we'll discuss. Additionally, we'll explore some of the most commonly utilized features in view animations.
Keep in mind that this article aims to educate developers comfortable with the Swift programming language specifically. So check out the SwiftUI documentation here if you have no experience with Swift before you jump in.
Starting With SwiftUI
Alright, so first things first. Let's create a project in XCode.
If you don't have it yet, please download and install XCode from the App Store or the Apple Developers website.

Then click on "Create a new project" and select the iOS tab as the target platform. Next, choose App as the project template and click Next. Finally, provide a project name and Organization Identifier, then click Next. Keep SwiftUI as your interface and Swift as the language of choice.
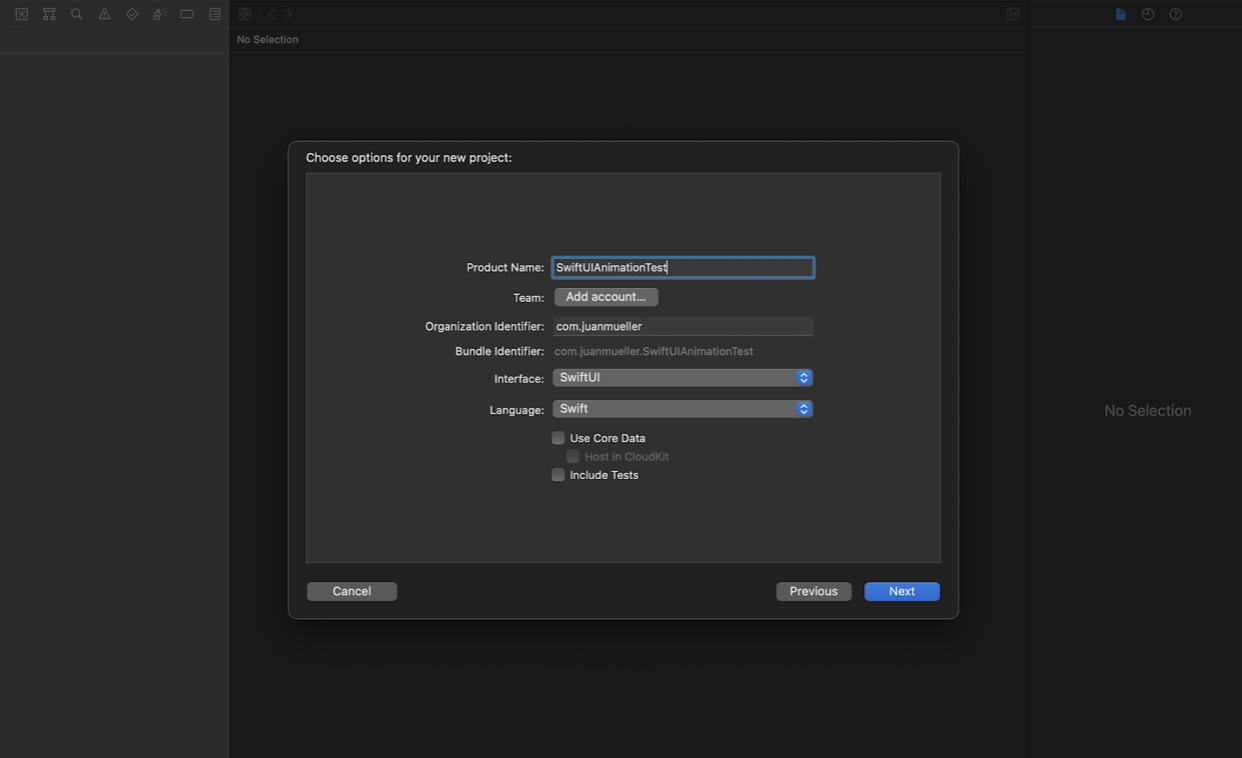
Once you've done this, you'll be greeted with the basic project template for SwiftUI.
When you create a new SwiftUI project, you'll be able to see that your base project contains some files: a ContentView.swift class file and an <APP_NAME>App.swift class file.
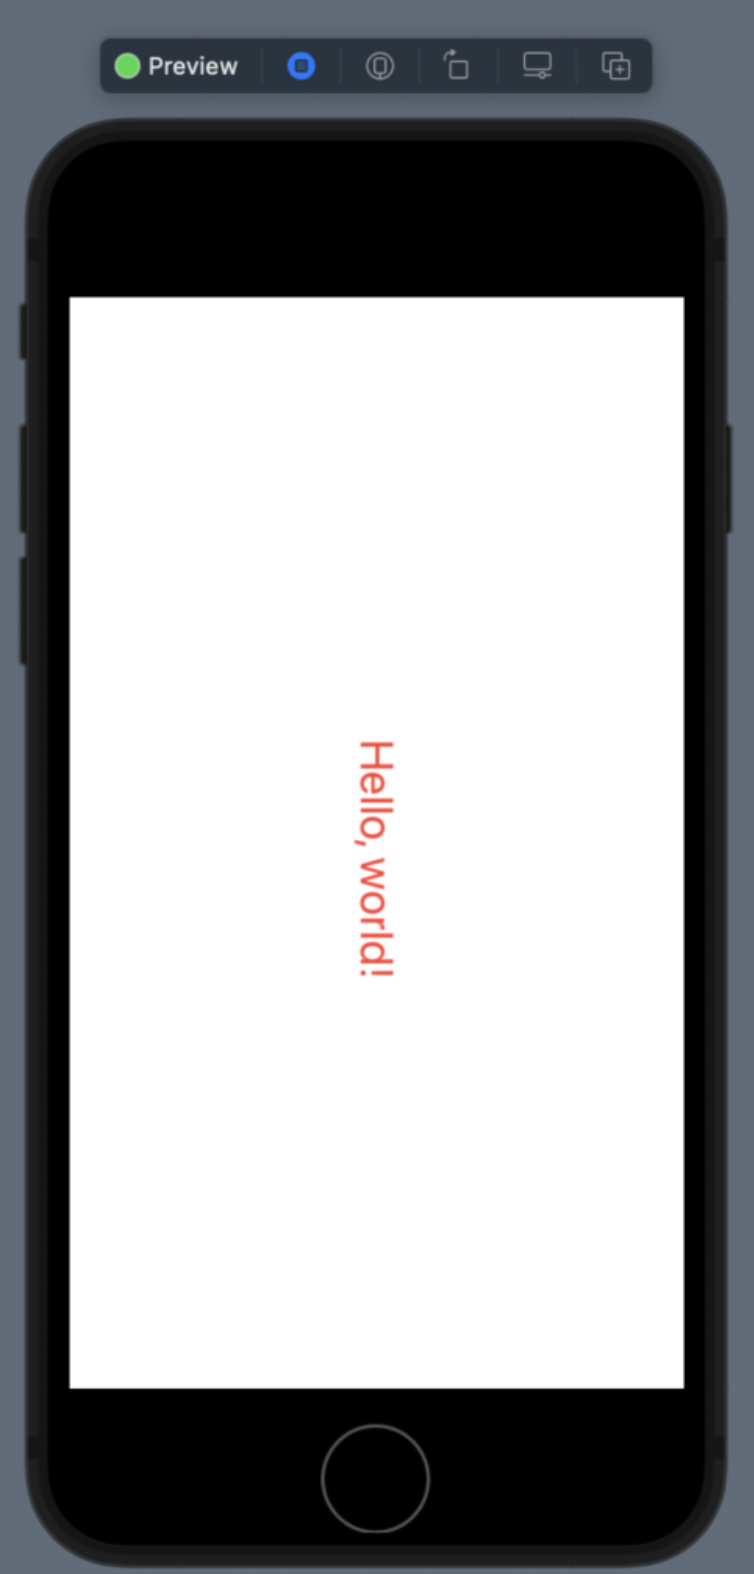
Put your code in the "body" variable to add more views or elements to modify the view. For example, you can see a TextView object with a "Hello World!" in it.
Now that you have your project, let's move on.

What Is an Animation?
In broad terms, an animation is a perceivable visual change in the state of a view. Given that all views have a start and an end state, the transition between the states is an animation carried out between these two states. Furthermore, there are two different kinds of animations in SwiftUI: implicit and explicit.
An implicit animation is essentially a predefined behavior provided for a view to be animated so that it responds every time a state change happens. What this means is that if we set a text view to get bigger on tap and specify an implicit animation with the animate() modifier, the view will animate and transition between different states smoothly on every change. This is true for one or many state changes, including, for example, if you want to change the color and rotation of the text at the same time.
On the other hand, explicit animations are animations that only change the specified properties within a view. These animations are set with the withAnimation() modifier, and only the properties inside this modifier will change. So, for example, if you set the height of a text view to change, it will only animate this change.
For this article, we will focus only on implicit animations.
The Animation Modifier
As mentioned before, you have to use the animation() modifier to create an implicit animation. This modifier provides the directives and properties necessary to create simple animations or, if you so desire, make more elaborate animations.
For the most part, there are two kinds of implicit animations: basic and spring. The main difference between these is the overall speed curve that SwiftUI uses to animate the view.
Basic Animations
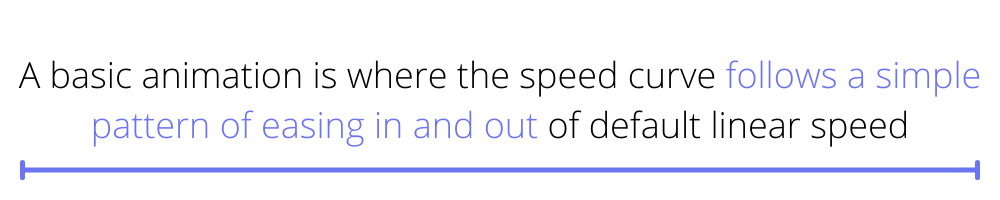
A basic animation is where the speed curve follows a simple pattern of easing in and out of default linear speed. This means that when the animation is triggered, the change occurs with a smooth speed change defined by the provided speed property.
Let's see what that would look like.
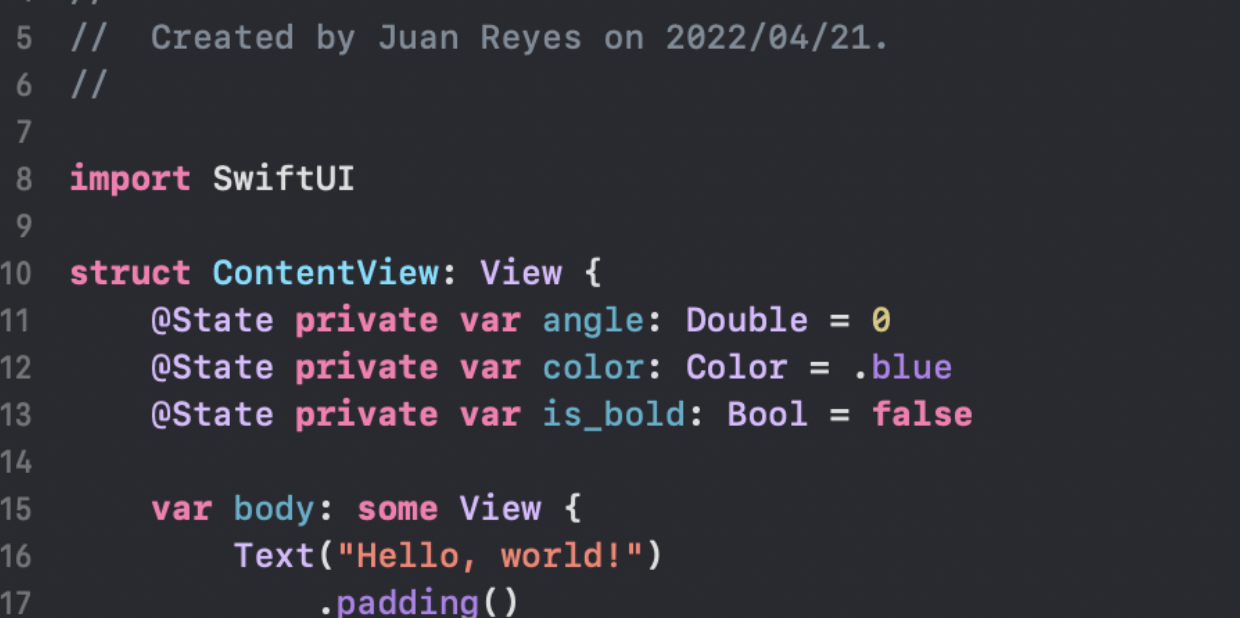
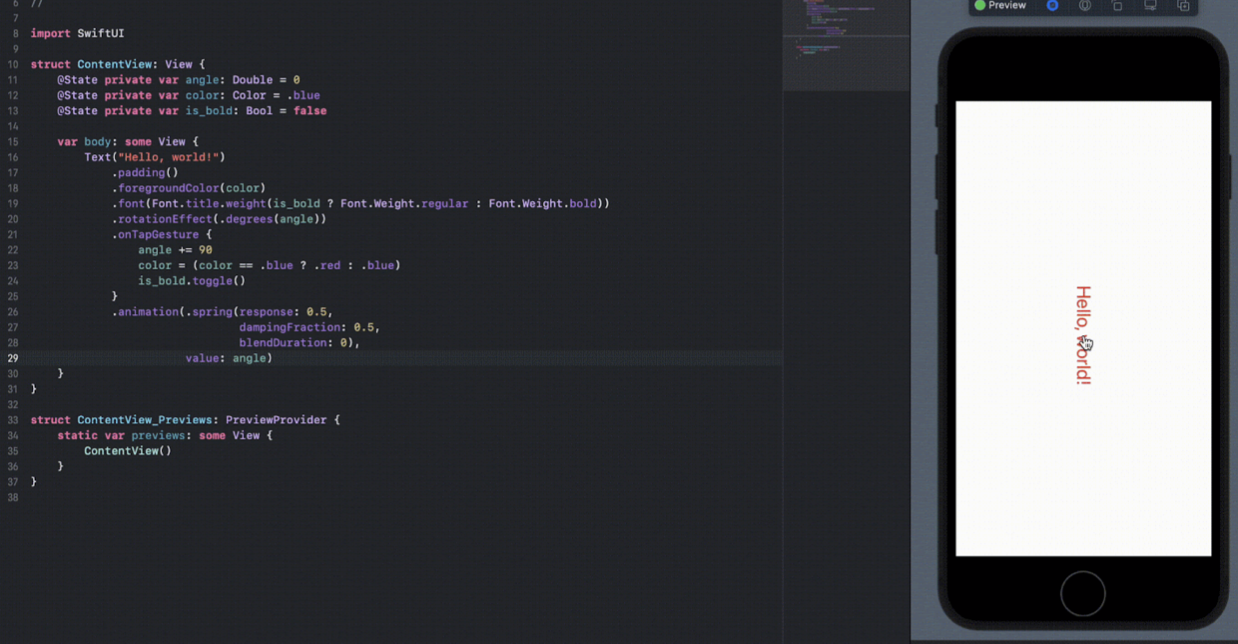
First, add a few state values to the view to contain the changing properties that the animation will monitor. Let's say we want to define an angle, color, and boldness for the "Hello World" text.
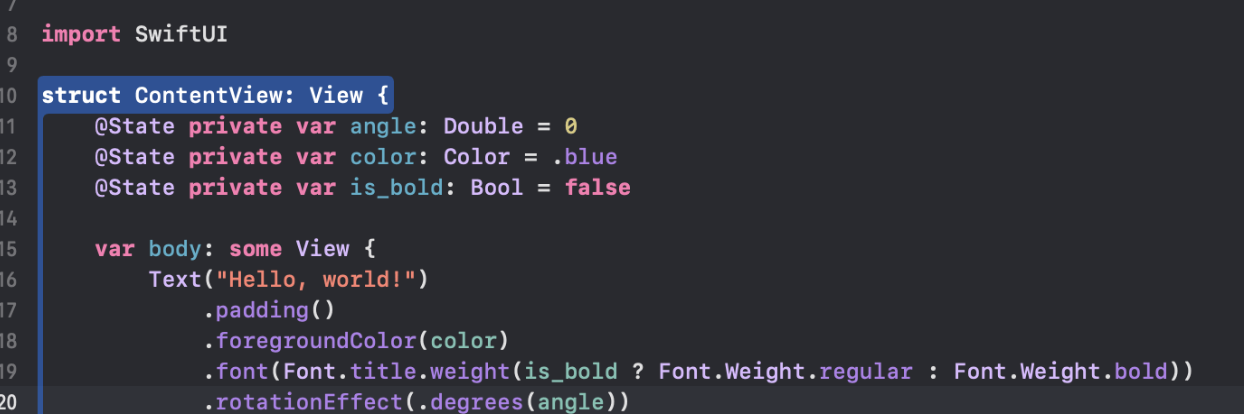
Now, add some modifiers to the TextView and provide these values. Use the foregroundColor() modifier, the rotationEffect() modifier, and the font() modifier.
Now you need to add an onTapGesture() modifier to make some changes when the TextView is tapped. In this case, just add 90 degrees to the angle variable and flip the other two.

Finally, you just need to add the animation() modifier and provide the speed curve indicator—in this case, easeInOut—and the general value that SwiftUI must monitor to trigger the change. You can give any state values, but we recommend using the angle variable.

And that's it.
Go ahead and tap on the text in the emulator or the preview window and see it rotate and shift colors.
Spring Animations
There is another kind of implicit animation available in SwiftUI called spring animation.
This animation primarily behaves like basic animation, but the speed curve follows a bounce behavior, much like a scrolling list. This means that when this animation is triggered, the transformation goes beyond the specified threshold and bounces back to the final point.
You can change the code and see it in action.
All you need to do is change the easeInOut property of the animation() modifier to "spring()," and that's it. To illustrate more clearly the difference, I have provided some values for the spring() modifier so it's more smooth and visible. But these are not necessary.
Animating an Image
Alright, but how about animating an image?
The process of animating an image follows precisely the same principles and requires the same modifiers. To illustrate this, you can make a star that increases in size every time you tap on it.
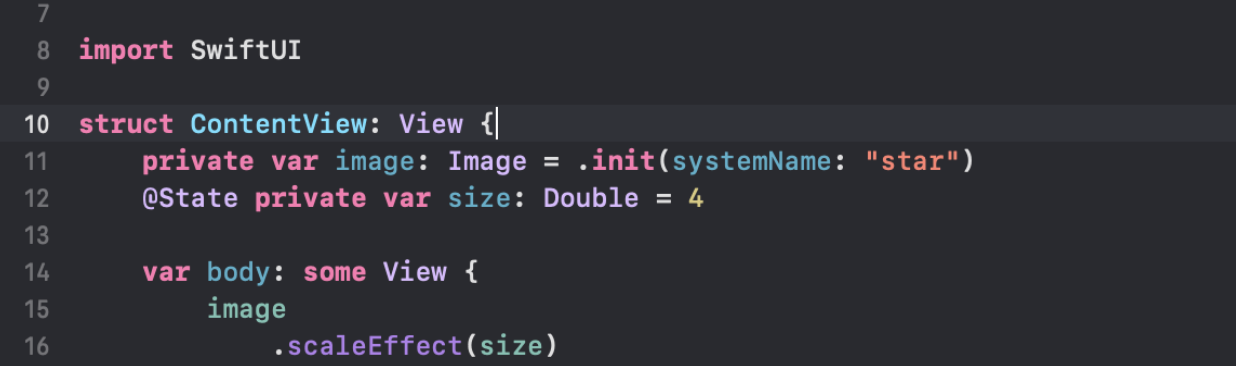
Start from scratch and create a new image variable with the star icon. Now add a state variable to hold the scale of the image.
Then add the image to the view body and add a scaleEffect() modifier with the scale variable provided.
Now just add the onTapGesture() modifier and increase its value. Finally, add the animation() modifier like before.
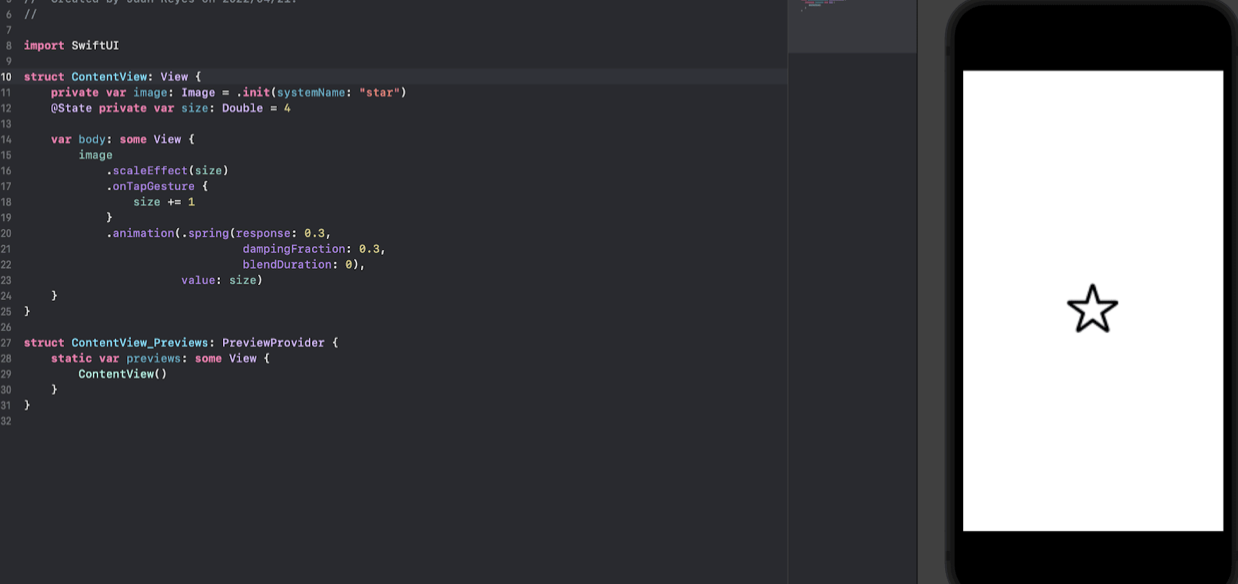
There you go. The image will increase in size with every tap.
.png)
What's Next?
Now that you have these nifty examples at your disposal, feel free to play with them and adapt them to your needs. The SwiftUI animation library is intuitive and approachable, making work that otherwise would be complex and intimidating quite fun.
If you want to learn more about the SwiftUI animation function, we recommend that you go to the official Apple developer website and play with the rich and interactive example code. You can find it here.
Additionally, if you want to make sure that your code is robust and reliable, you want to run as many comprehensive tests as possible. This task can be very complex and time-consuming, but it doesn't have to be. Check out our code-free testing solution at Waldo. Our intuitive and dead-simple solution provides exceptional value for teams that want to do away with the hassle of testing and just get to work. You can find it here.
Automated E2E tests for your mobile app
Get true E2E testing in minutes, not months.


