


WebView is a tool for displaying web pages inside an application. It has a wide range of use-cases in mobile and desktop applications. As a result, you’ll find a dedicated WebView widget in almost every popular software development kit and framework.
The alternative to WebView is handing over the job of opening web content to an external web browser like Chrome, Firefox, or Opera. However, this option offers less customization and control. For example, with WebView, you can determine the width and size of the window displaying your web content. In addition, you can display other content from your app with the WebView. That is to say, you can display a button, an image, or a text widget right next to a WebView on the same screen.
In this post, we’ll walk through a detailed step-by-step guide for using React Native WebView.
Prerequisites
Before we get started and in order to follow along better, make sure to have the following:
- Node.js installation
- Expo CLI or React Native CLI (we’ll use Expo for this tutorial)
- A good text editor (e.g., Visual Studio Code, Atom)
- Beginner to intermediate level knowledge of JavaScript and React Native
With all that in place, let’s dive into the step-by-step tutorial for React Native WebViews.
Steps
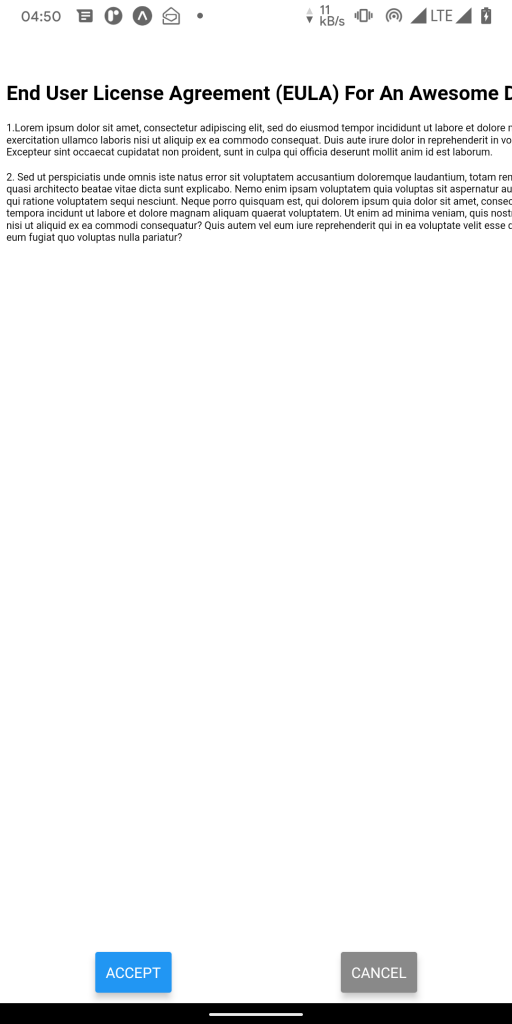
For the purpose of this post, we’ll build a React Native application that displays an end user license agreement (EULA) on screen. We’ll use a WebView widget to display the actual license text, and then as an optional step, we’ll add two React Native buttons to the same screen. The final screen for the app will look like the figure below:
1. Create New React Native Project
First, if you don’t already have Expo CLI setup on your machine, install it by running the following command in your Terminal or the Command Prompt:
Now we’re ready to create a new React Native project using the Expo CLI. To create a new project, run the following command:
This creates a new folder inside your current work directory that will hold all the files and folders for our new project.
Let’s verify that everything works by running the new project. To do this, change your current directory to the new project folder. Run the command below to do that:
After that, run the following command and wait for the build process to complete.
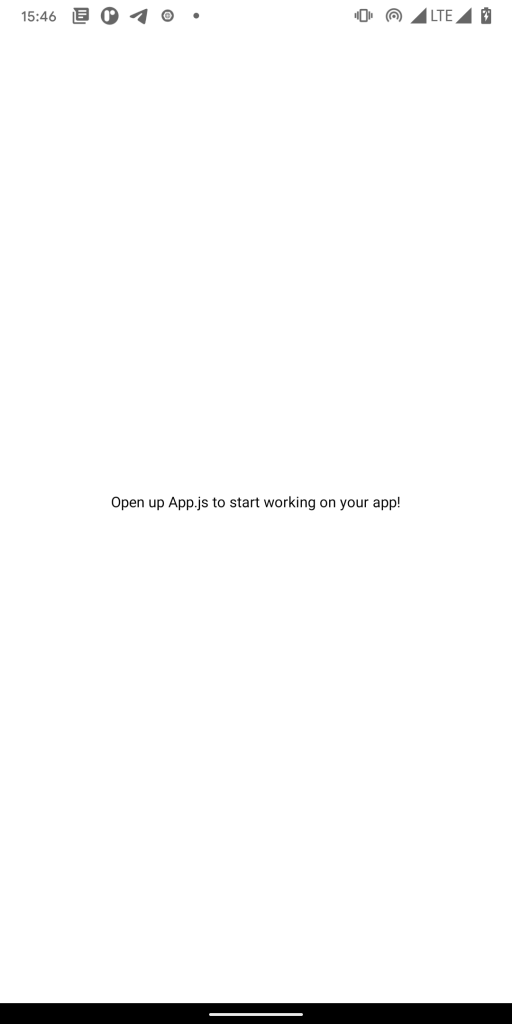
If everything worked, you should see a screen similar to this on your connected device or emulator:
2. Install React Native WebView Package
At this point, we’ve successfully set up a blank React Native project and we’re ready to start adding features to our app. The first feature we’ll add is the WebView. This requires the React Native WebView package, so let’s install it.
Run the following command from the root of your project directory to add the React Native WebView package to your project:
Tip: the root directory of our project is the main folder that contains all the files and sub-folders associate with the project.
3. Add WebView Component to App
The WebView component makes it possible to display web content on any screen of a React Native app. You can include this component in your app the same way you include other React Native components like Button and Text. In order to add the WebView component to our app, we need to make some changes to the content of our project’s App.js file.
First, open App.js in a code editor and look for the following line:
Then, add the following code on the next new line:
Next, modify the content of the return statement to the following:
This code adds a WebView component to our app. The component is configured to load https://google.com. In other words, when you run the code, it displays the Google homepage in a WebView.
4. Specify Web Content Source
The WebView component’s source prop is where you specify the web content you want to display. From the code in the last step, we see that the source is of type URI, and it points to https://google.com. The WebView component can also render pure HTML code. You can achieve this by changing the source type from uri to html. To see this in action, change the following code:
to
After that, run the app and you’ll see that the HTML code is rendered correctly.
Now, back to our example app. We want to host our EULA content on some remote web page. You can host it on any server you have control over. For this tutorial, we’ve made a very rough sample EULA and hosted it at the following link:
Now, we’ll update the value for the source prop to point to the EULA link. Here’s the final code for the WebView component:
5. Add Buttons (Optional)
You can skip this optional step if you want; it doesn’t really affect the functionality of the WebView. However, we’re including it to show how we can include other React Native components and a WebView on the same screen.
Add the following code to App.js, just after the line with the WebView component:
The above code adds two buttons to the screen just under the WebView. The buttons provide a way for users to accept or reject the EULA. These buttons don’t really interact with the WebView, but they demonstrate an advantage of using a WebView over redirecting users to an external web browser for this use-case. The advantage is the ability to display web content and native components on the same screen.
Here is the complete code for App.js:
Testing React Native WebViews
You can write automated tests for React Native WebViews using common testing tools like Jest, React Native Test, and Test Render. With the help of Jest, we can set up a mock WebView and test for different conditions.
To start writing your tests, create a __test__ subdirectory in the location where you wish to save your tests. Inside that folder, create a new JavaScript file and write your actual test code in the JavaScript file.
Another way we can automate tests for WebViews is by using Waldo‘s no-code testing solution. Unlike Jest, Waldo requires no extra code or initial setup. You can try Waldo for free here.
Conclusion
WebViews have their strengths and weaknesses when compared to redirecting users to external browsers. For example, a WebView doesn’t offer all the APIs and features of a full-fledged web browser. However, WebView offers better support for interaction between web content and your native code.
In this post, you’ve learned about React Native WebView and walked through a detailed step-by-step guide to using it in an app. In our example app, the WebView loads a web page that contains a EULA for the app. To learn about other features of the React Native WebView package, check out the official documentation here.
Automated E2E tests for your mobile app
Get true E2E testing in minutes, not months.


