


Developing web or mobile apps today often uses dependencies to make a developer’s life easy. However, using that many dependencies in a project can lead to a version mismatch error.
In this post, you’ll learn what version mismatch errors are and how to prevent them. Consequently, you’ll also learn how to fix the common React Native version mismatch error.
Version Mismatch in Layman’s Terms
Let’s first get a solid understanding of what exactly a version mismatch is. Consider a React Native multiplayer gaming app. Let’s say you want to play with a teammate who is using a different version of the game than you.
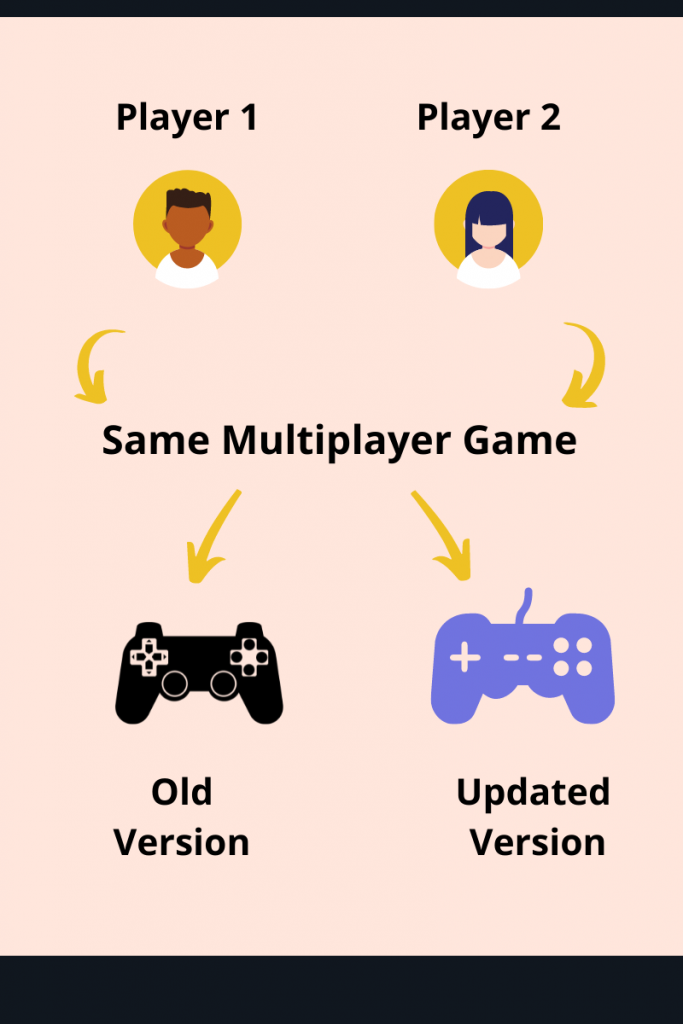
Multiplayer games, like any other application, are built on top of a number of dependencies. Therefore, two different versions of the game may use different dependencies.
Your teammate on a different version may use some features that aren’t available in your version. Now, if you attempt to play together, your application will throw an exception.
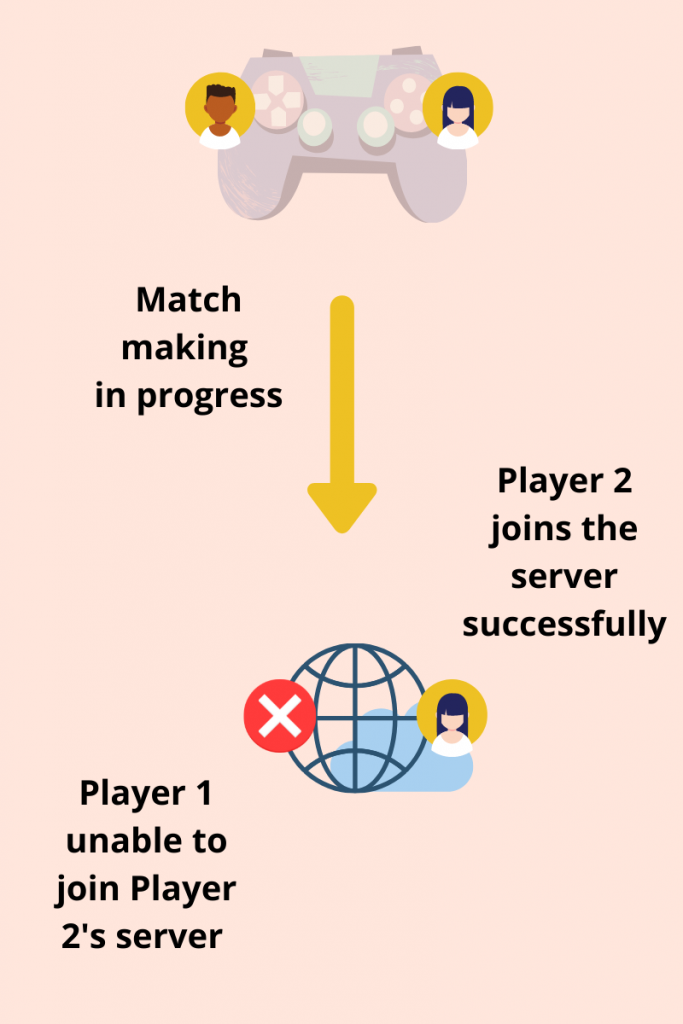
As a result, you would not be able to play together. This is precisely what version mismatch is in a general scenario. It’s quite common in multiplayer games or apps that sync users in real time. Since these apps rely on a number of third-party dependencies to fulfill a functionality, mismatched dependencies prevent their users from using some specific features of the application.
The Root of Version Mismatch Problem
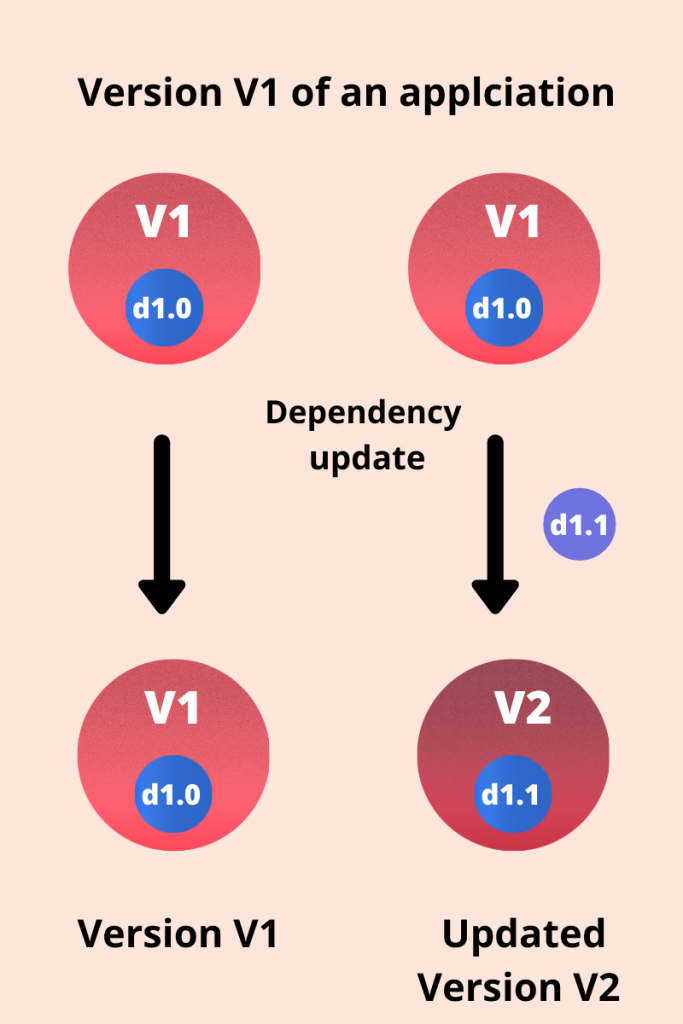
To illustrate the previous example, let’s say you’re using an older version of the game, v1. This version uses a dependency d1.0. Your teammate, on the other hand, is using a newer version of the same game, v2. However, v2 uses an updated version, d1.1, of the same dependency. When you team up to play together, features missing in d1.0 that exist in d1.1 will cause a conflict.
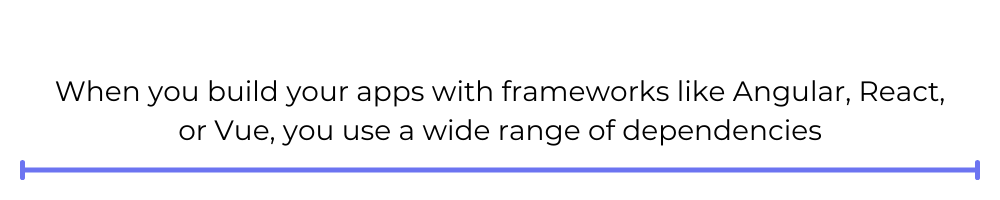
Similarly, version mismatch in software development can be traced back to a dependency mismatch. When you build your apps with frameworks like Angular, React, or Vue, you use a wide range of dependencies. Each of these dependencies is shipped in different versions, where each version brings in some new features, bug fixes, etc.
Therefore, it’s important that your dependencies get a stable environment. In other words, all your dependencies should be compatible with each other.
For instance, a typical React application uses react-dom as well as react as a dependency. A particular version of react-dom may not be compatible with some versions of react. Thus, a dependency version conflict between the two leads to a version mismatch error.
Let’s extend this knowledge forward to understand what a React Native version mismatch error is, why it may occur, and how to fix it.
Version Mismatch Error in React Native
Sometimes in a React Native project, you might run into an error that looks like this:
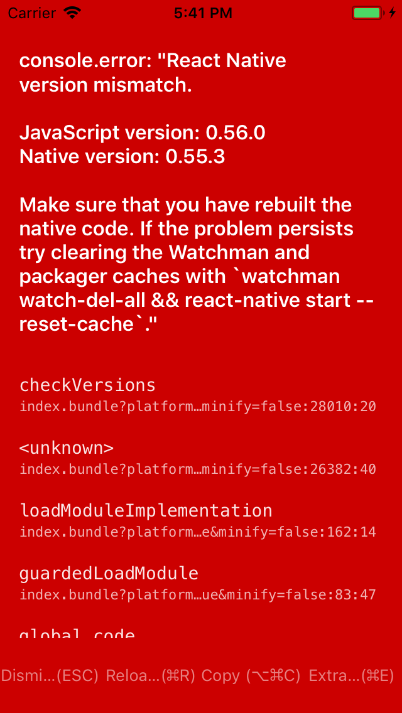
(https://user-images.githubusercontent.com/3394748/43924960-58d4c1ac-9bfc-11e8-876f-2bd3b239fca1.png)
It usually happens when the version of react-native dependency in your system differs from that in the project. Here are a couple of instances where you may run into it:
- Creating a blank React Native project using either React Native CLI or Expo CLI
- Starting your React Native project’s development server
- Creating an iOS or Android build
At times, you may also run into a similar error while installing dependencies after cloning a React Native project from GitHub.
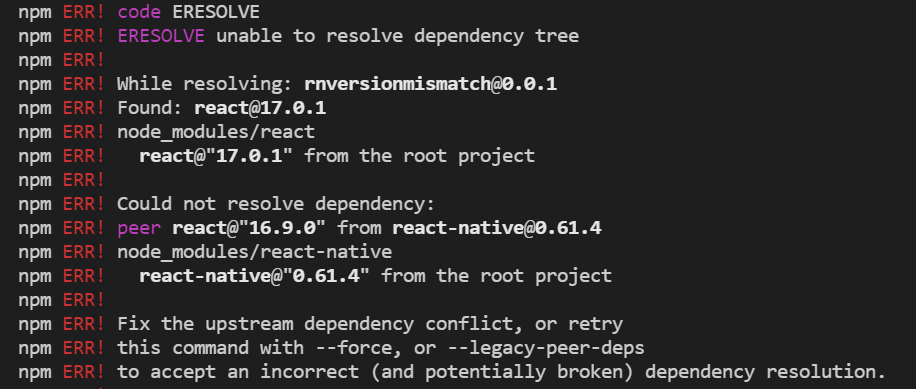
The root cause for both the errors is the same. In both cases, a dependency mismatch between react-native installed in your system and expected by the project is throwing an exception. So let’s jump ahead and see a plausible solution for this error.
Steps to Fix React Native Version Mismatch Error
A well-working solution involves removing all your dependencies and cache from your project and generating your Android and iOS builds again. There are a number of places where some old cache from a previous build could cause the error to persist.
For instance, React Native projects use npm or yarn as the package or dependency manager for your project. These dependencies usually cache some data pertaining to some previously run commands. Consequently, it may result in the persistence of this error. Your React Native project’s module bundler, Metro, also caches some information to create optimized builds, build stand-alone app bundles, etc.
All in all, even the simplest React Native project is caching a lot of data under the hood for a better developer experience. However, it also comes with the downside of caching the result of erroneous commands. Therefore, you need to clean up your project by getting rid of all the cache.
Thus, you need to run a number of commands that uninstall your dependencies, remove all cached files, reinstall the dependencies, and generate your app builds again. However, running all the commands manually can be a nightmare!
Since we’re developers, let’s automate the above set of tasks. Let’s create a clean.sh file inside the root directory and add the following code inside it:
Now all you need to do is execute all the commands in this file. Before that, though, let’s understand what each of the above commands does.
Delete Dependencies
NPM puts all your project’s dependencies inside a node_modules folder located inside the root directory. The command
deletes the node_modules folder from your project.
If you’re wondering whether deleting node_modules will irreversibly mess up your project, don’t worry! All your dependencies are listed inside the package.json file. If you go to your package.json file, you’ll find all the dependencies required by your project listed along with their version.
You can always install them again by running the npm i command. We’ll do that shortly to get our dependencies back.
Delete Watchman Triggers
The next command is
Watchman is what enables hot reloading and live debugging for your React Native application. It comes prefigured with React Native CLI. The above command simply deletes all the triggers that are currently watching your files.
Clear Cache
The next three commands clear all the data and information cached by the packagers and module bundlers used in your project.
The first two commands delete the specified folders containing some cached files. These files are usually generated when you start your development server or bundle your JavaScript files together. The last command deletes all the data cached by npm.
Install Dependencies Back
At this step, your project is a clean slate. This is a good time to install the dependencies listed inside the package.json file.
The above command will install all the dependencies with their correct version as specified in the package.json file. When you install your dependencies, the above steps ensure that you leave no room for installing any mismatched dependencies.
Clean Android and iOS Folders
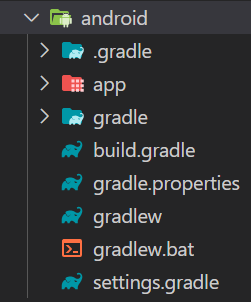
After your dependencies are installed, you need to clean your Android and iOS folders. Inside your Android folder, there are some Gradle files that are generated every time you build your Android bundle.
The following commands clean your Android folder, remove all the build-related cache, and refresh your dependencies.
If you’re on iOS, you can replace the above commands with the following:
They do the Android equivalent for an iOS build.
Restart React Native Server
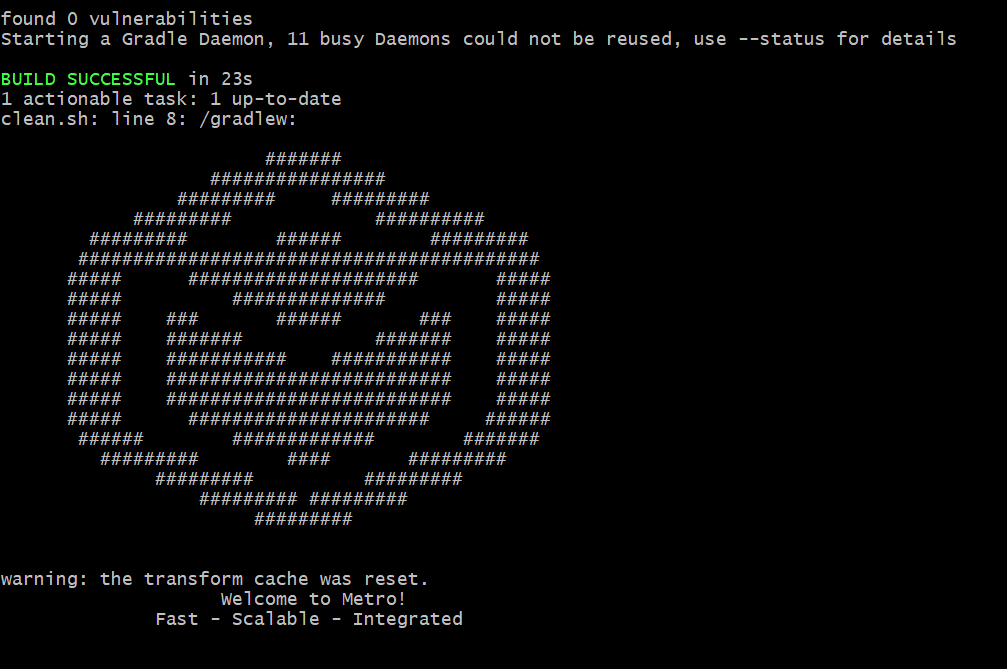
You’re all done now! To check that everything works correctly, we finally run the React Native development server. We use the command below to start the development server without any cache:
Run clean.sh File
All the above commands are listed in a special .sh file. A .sh is a shell file that you can run from your bash terminal. For a Windows machine, you’ll need Git Bash. If you have installed Git, Git Bash comes by default for you to use right out of the box. If you’re new to Git, you can install it here.
Open up a bash terminal and navigate to the directory of your project. Then run the following command:
The above command will execute the clean.sh file. It will run all the listed commands in order one by one.
Clean React Native Project Using react-native-clean-project
The above method is a scalable and workable solution to the problem. However, it might seem like a lot of work. If you’re new to running bash scripts, there’s a good chance you’ll get stuck at the last step.
Luckily, there’s a library called react-native-clean-project that simplifies the above steps even further. It does everything we did in the previous section for us.
Let’s install it inside our project as a development dependency:
Once installed, all you need to do is run the following command:
And voila! You now have a clean project within minutes! You can take a look at this library to see which commands it runs behind the hood here.

Conclusion
Version mismatch errors are quite common in React Native projects. If you have never encountered one to date, there’s a good chance you’ll run into it in the future. In this case, you can even install the react-native-clean-project package globally. That will allow you to quickly use it to clean all your React Native projects easily.
If you have encountered this error quite often, go with the first approach. It gives you more flexibility toward defining your own custom commands for cleaning your project.
To learn more about Waldo's React native support, click here.
Automated E2E tests for your mobile app
Get true E2E testing in minutes, not months.


