


In this article, we'll take a practical view and explore text components in React Native. We'll provide you with an approachable and comprehensive introduction to what text components are in React Native and how you can make the best use of them in your own projects.
First, we'll briefly explain what text components are and why they're different in React Native. Then we'll provide a few examples of text components that you can play around with. Finally, we'll explore how to customize your text components to satisfy your every requirement.
If you don't have any experience with React Native or have just started making waves in the technology, don't worry. We wrote this article for developers at all experience levels. However, we want to point out that you might need to be comfortable working with JavaScript to get the most out of it.
Alright, let's get you set up.
Before the Jump
Before we go into the theory of text components and start throwing code samples your way, we need to get you up and running so you can test and tweak the code we'll be using.
To do that, we'll use the Expo CLI Command Line utility, NodeJS runtime, and Visual Studio Code. It's not very complex, your environment will be up and running with just a few commands, and you'll be ready to start making leaps in the development world.
First, install NodeJS on your development machine. Whether you're making use of macOS or Windows, the process of installing NodeJS is very similar and extremely simple.
You can go to the official NodeJS portal and download an installer for your OS or use one of the package managers that come with your system and install it through the command line.
In our case, we'll install NodeJS on macOS through homebrew, and all we need to do is input the following command in the terminal:
That's it.
Alternatively, you can download the package directly with bash.
Alright, now that you have Node installed, you can install the Expo CLI. To do that, all you have to do is use the package manager that comes with NodeJS, which you just installed, and input the following command:
And that's it. Great, right?
You can find more information on the developer website here.
Create Your Project
Now you can create your sample project by navigating to a new folder and typing the following command:
You can change the SampleProject to any name you desire. This command will create a React Native project with all the necessary components to start. Please go into the project directory and check it out yourself.
Now, this is great and all, but you'll need a development tool or, at the bare minimum, an editor to work on your project.
This is where you'll install Visual Studio Code. You can proceed to the official website and download it here.
If you have another editing tool that you prefer, feel free to use it.
Finally, all you have to do to see your code running is type the following command in the terminal while inside the project directory:
You'll see that Metro, React Native's default builder, will initialize and ask you where you want to run your code. However, if you don't have the tools to develop on either Android or iPhone, just select web.
Voila!
Alright, let's move on to the theory.
Text Components 101
First, let's explain what we mean by "component."
As the React Native docs specify, "In Android development, you write views in Kotlin or Java; in iOS development, you use Swift or Objective-C. With React Native, you can invoke these views with JavaScript using React components. At runtime, React Native creates the corresponding Android and iOS views for those components. . . . We call these platform-backed components Native Components." One such component is the text component.
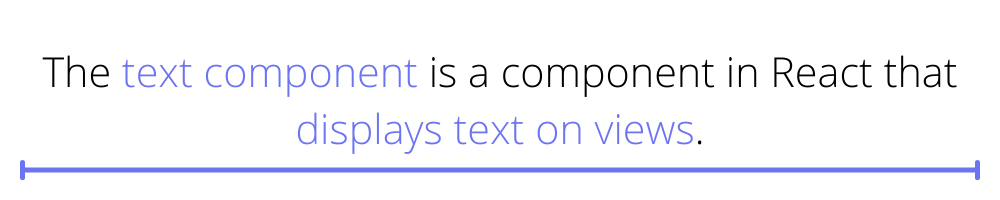
The text component is a component in React that displays text on views. It's one of the most common React Native components used. This component offers a variety of ways to display text information with styling and state changes.
Depending on the target platform, React Native will translate this component to either a UITextView (iOS), a TextView (Android), or a 'p' (Web).
React Native Text Components
Let's look at some examples of text components.
First, go to the App.tsx file at the root of your project and replace the code in it with the following:
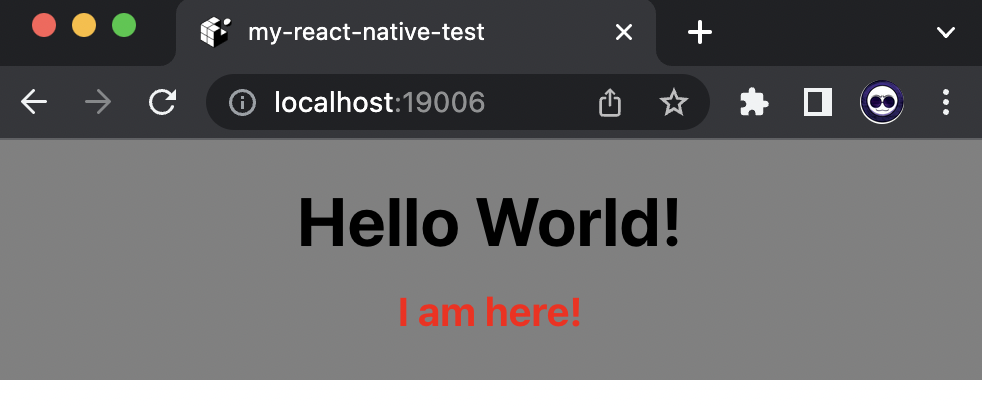
Now save the file and refresh the code. Notice that your changes are updated automatically and that you can see the result in your browser.
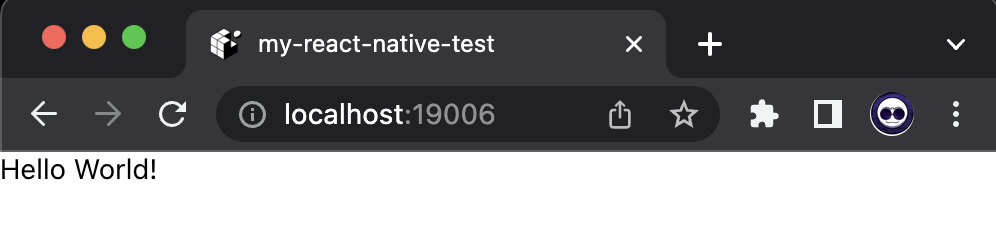
This is the simplest expression of a text component in React. Notice that we've removed the previous code, which used a more complex and robust structure. However, those features go beyond the scope of this article.
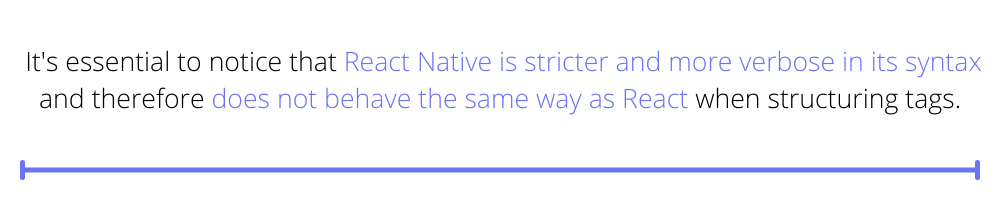
Additionally, it's essential to notice that React Native is stricter and more verbose in its syntax and therefore does not behave the same way as React when structuring tags. For instance, the following view structure would work on React but not on React Native:
Customizing React Native Text Components
Now that you understand what text components are and what they're used for, it's time to learn how to style them.
In order to style a text component, you need to use the style modifiers.
Much like in the world of web development, text component tags—and most view tags, for that matter—accept styling properties to modify the way they're displayed. Just specify a style attribute in the tag like HTML and provide the styling reference needed.
Here's straightforward example:
Notice that we added the StyleSheet library from the react-native import statement, and we declared a constant variable containing the style instructions used for our text component. Finally, we added the style attribute and passed the titleText style class.
You can refresh your code and see the changes.
This Looks Familiar
If you come from web development, all this must look familiar. However, not all rules translate from one environment to the other.
On the web, styles abide by the inheritance rule, which means that child elements will inherit the directives specified to the parents.
One example is specifying font style directives to the html tag. This specification makes all elements inside this tag have the same font unless explicitly specified otherwise. In React Native, however, this is not the case by default. If I were to specify styles for the parent view component, the text component would not follow these styling rules.
There are, however, some solutions. The first is to nest text components and add the general styling rules to the parent component. Then you can specify a different style class with additional rules to add to the child text component.
Here's a simple example:
Custom Components
This simple change solves our inheritance issue on this screen. But what if I want to define a default style to use on different screens in the application? Well, for that, I need to create a custom component. And thankfully, doing so is quite simple.
All you have to do is create a new file, let's call it MyText.tsx, and create a class that extends from the Component'React Native class. Then specify a render directive and return a new text component with the desired customizations.
Finally, export this class, go back to the App.tsx file, and replace the top text component with your new MyText component. Don't forget to remove the style attribute.
And that's it. Refresh your code and see that it still complies with your style directives.
Feel free to modify and play with the code to your heart's content.
Onward
As you've seen, creating text components in React Native is straightforward. Not only is the framework flexible and robust, but it closely resembles many of the technology stacks that you've probably worked with for years, which makes it the perfect environment for rapid growth.
However, it's crucial to keep in mind how you structure and protect your projects. Despite the simplicity and approachability of today's topic, there's always the possibility of introducing bugs and security issues. That's why we recommend our automatic mobile testing solution at Waldo.com. It provides code-free testing for teams that want to keep the complexity out of their work and produce results that satisfy their requirements.
Make sure to check it out here.
Automated E2E tests for your mobile app
Get true E2E testing in minutes, not months.


