


Modals, or mobile modals, are used to present an application user with some useful and important information. These are mainly large overlays, which sometimes cover the whole app when it’s opened. But they can be used in different sizes, depending on the needs of the app.
In this post, we’ll learn to add a modal to our application. We’ll be using the in-built Modal component from React Native for this purpose.
To follow along, readers should have a general understanding of JavaScript, React, and React Native. We’ll also be using Waldo’s no-code testing tool to test our application.
The Setup
In this project, we’ll use the React Native CLI to create a new React Native app. The steps to set up the environment variables and Android Studio are well documented in the linked official docs, so we won’t go into them in too much detail here. But check them out and follow them for the Android Studio setup.
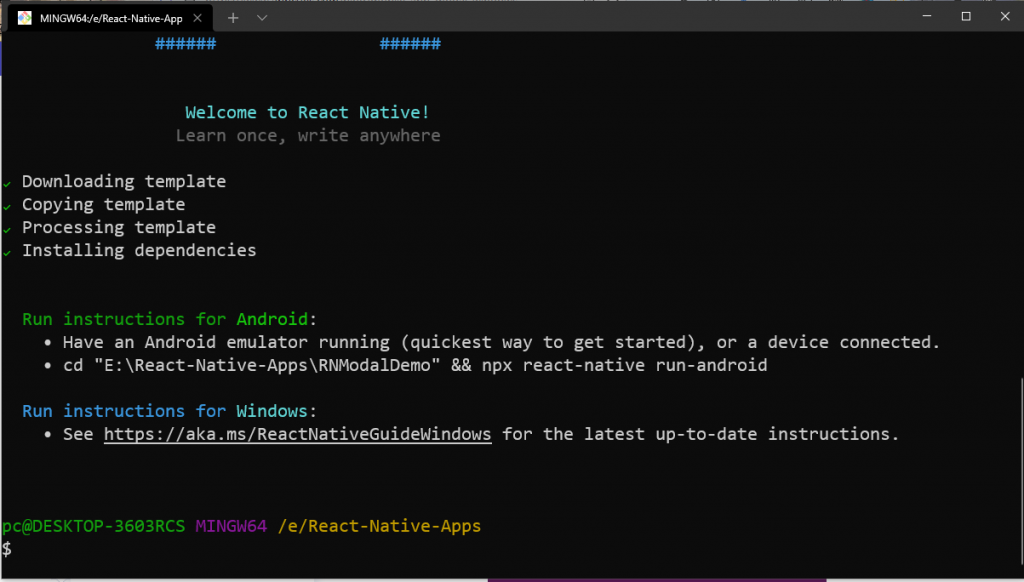
After the setup is done, we’ll create a new React Native project. Navigate to any directory in the terminal and use the command npx react-native init to create a new project.
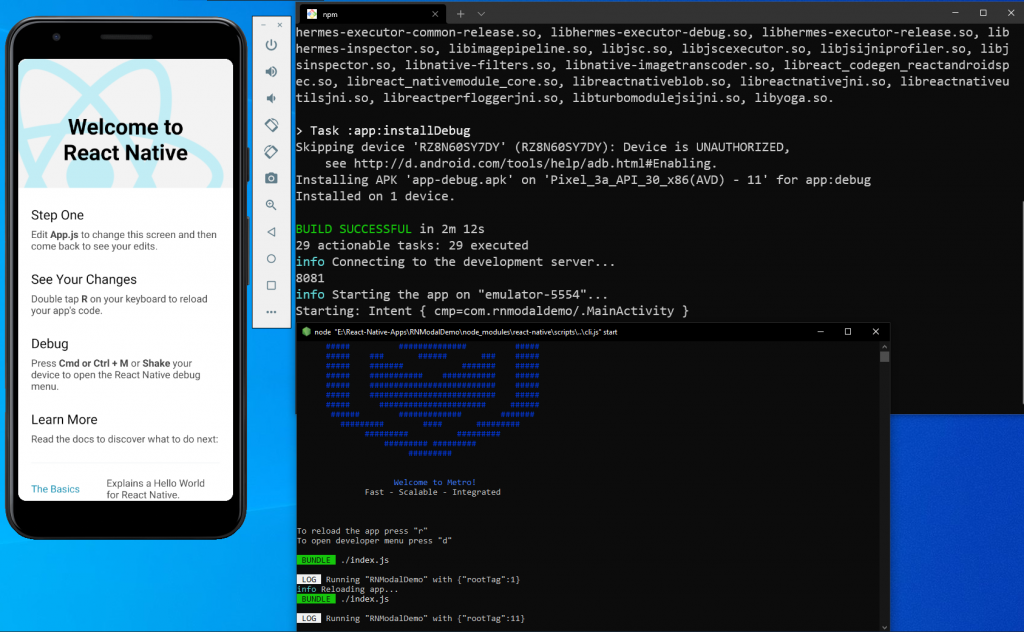
Once the installation is done, we’ll get the below screen showing it was successful.
Starting a Modal Project
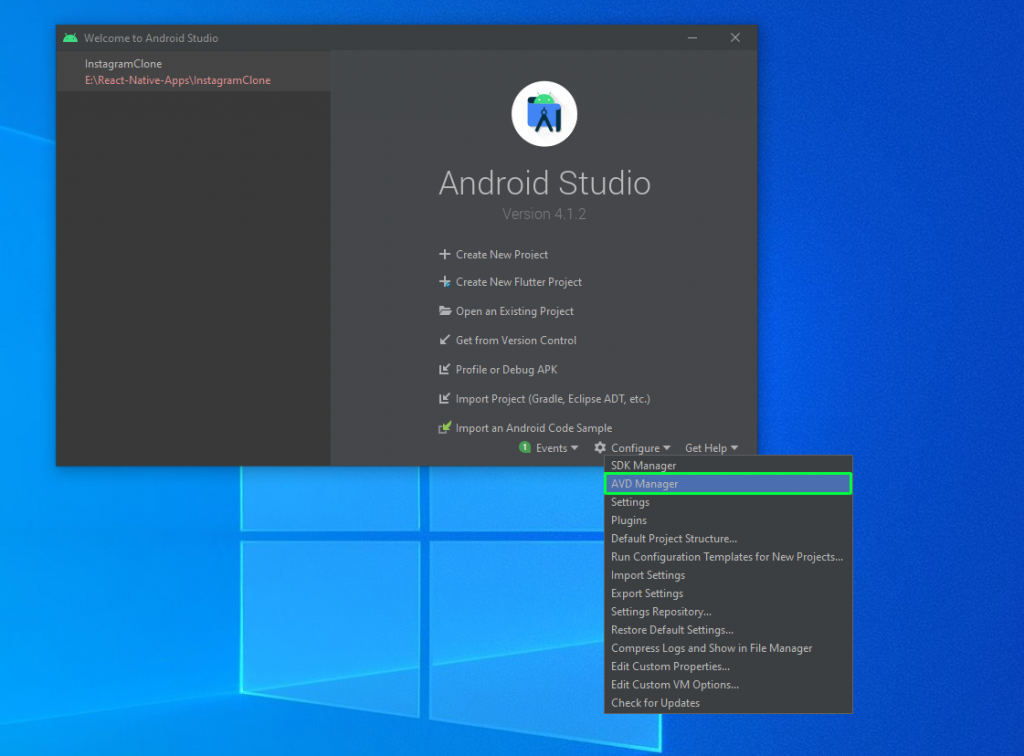
Next, open Android Studio and click on “Configure.” It will open a drop-down menu, in which you’ll click on “AVD Manager.”
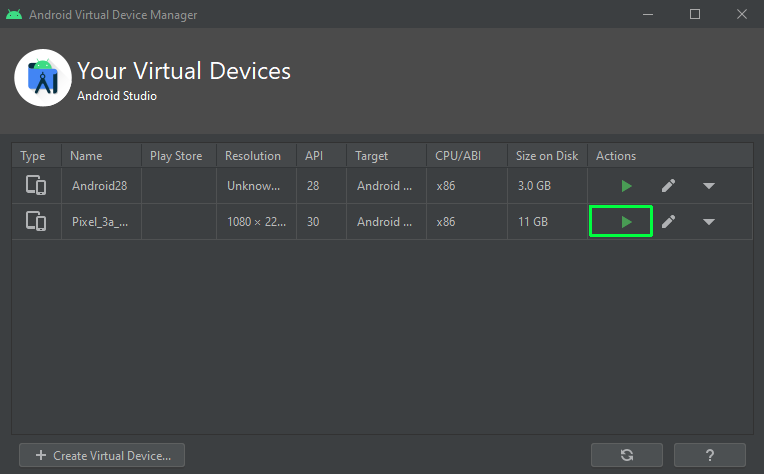
The connected virtual devices, configured earlier using the documentation, will be shown here. Click on the green play button next to the device you want to run. Here, I’ll be choosing the Pixel 3a.
We’ll start the project by navigating to the folder in the terminal and running the command npx react-native run-android.
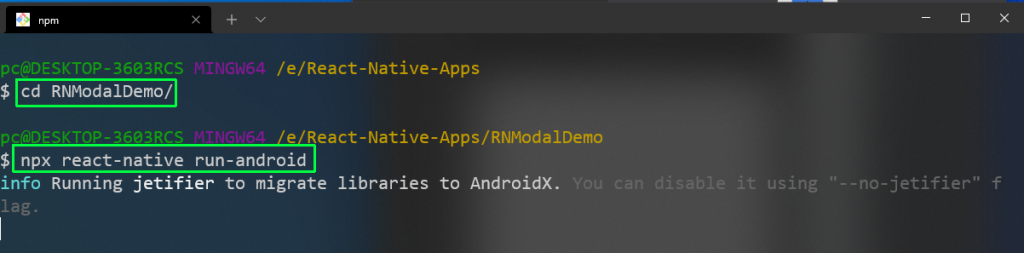
If everything was set up correctly, it will show the success status in the same terminal. It will also open another terminal for the React Native CLI. The default app will also be shown on the Pixel 3a Android emulator that we selected earlier.
Initial Code Setup
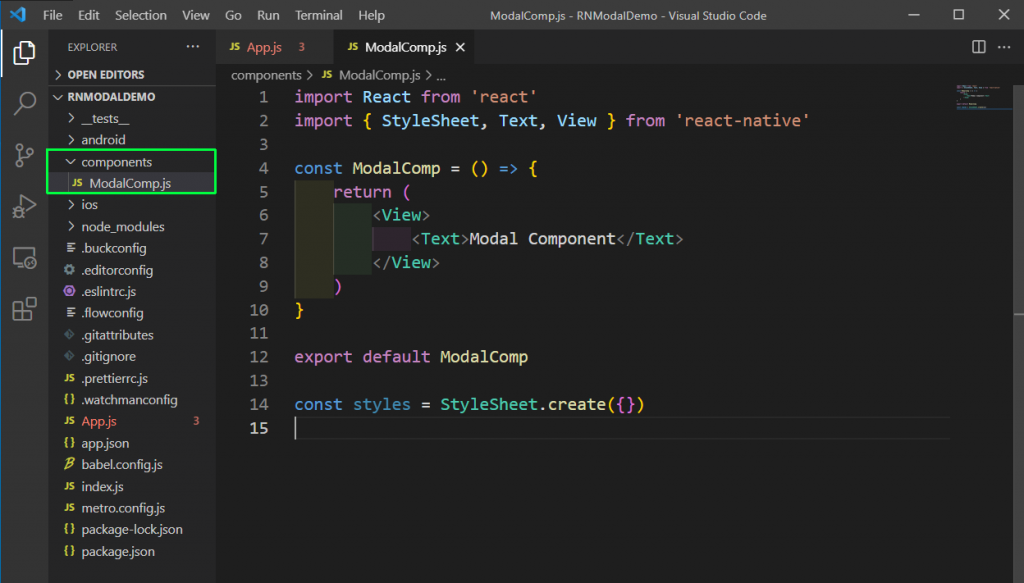
We’ll open the code in Visual Studio Code and create a folder components in the root directory. Inside the components folder, create a file called ModalComp.js. This file contains the basic skeleton code as of now.
App Component
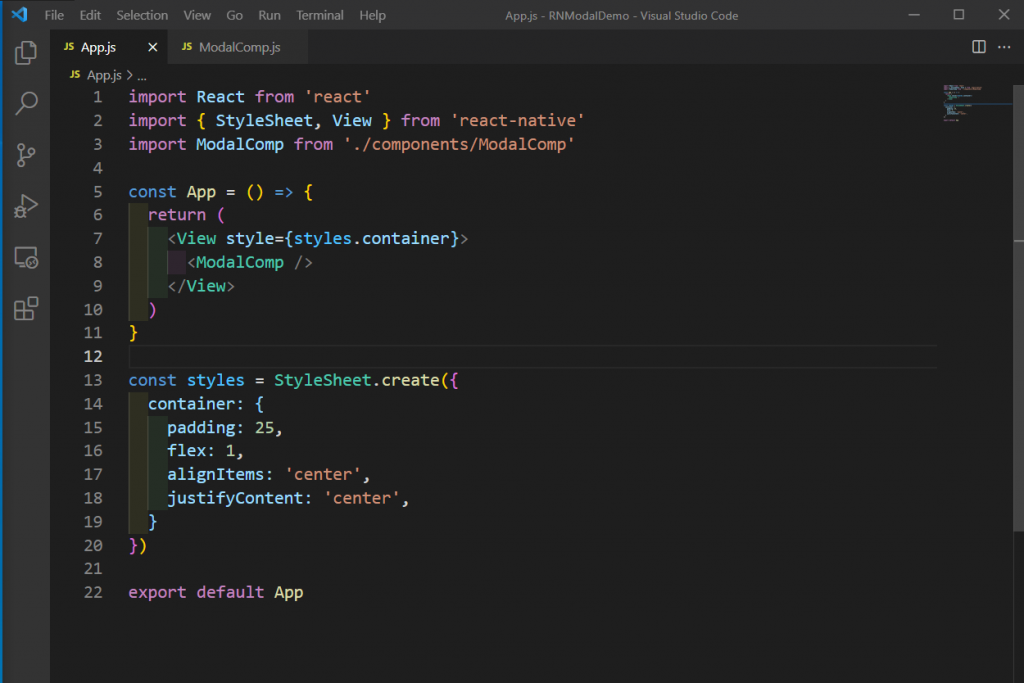
We’ll first start with the App component, where we need to remove all the earlier code. Add the below code in the App.js file, where you’ll see we’re first importing the required dependencies.
Inside the return statement, we have a View with styles. We’re showing the earlier created ModalComp inside it. After that, we add the styles for the View in our StyleSheet.
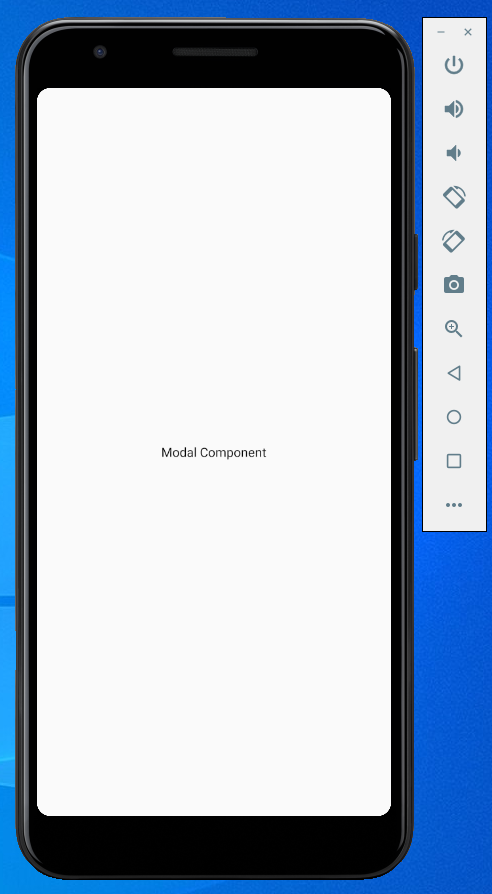
Now, our app will show the tiny text that says “Modal Component” in the center.
Adding a Button to ModalComp
Next, we’ll add a button in our ModalComp.js file. Here, we’ll first import the required dependencies. We’ll also be using useState to declare a state variable called modalVisible.
Inside the return statement, we’ll use the Pressable component to create the button. Here, the onPress event will set the modalVisible to true and will open the modal. We also have a Text component inside the Pressable component showing the text for the button.
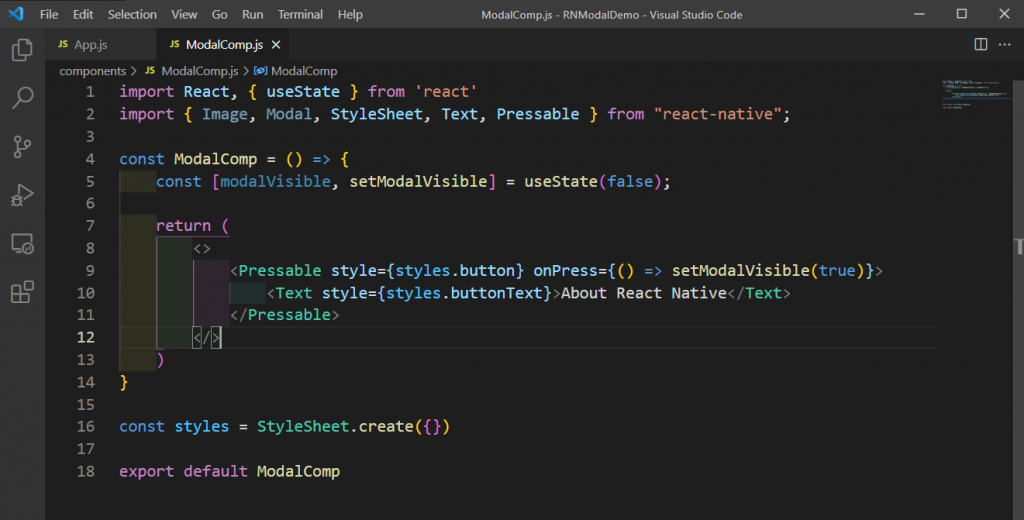
Now, we will add styles for the button and buttonText in the StyleSheet.

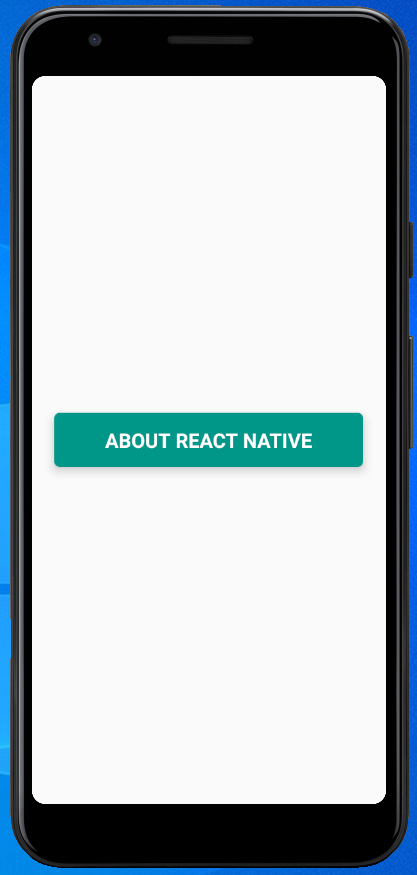
We can see our beautiful button at the center of the screen in our emulator.
Showing the Modal
We’ll now write the code to show the modal. For showing the modal, we are using the in-built Modal component from React Native, as mentioned earlier.
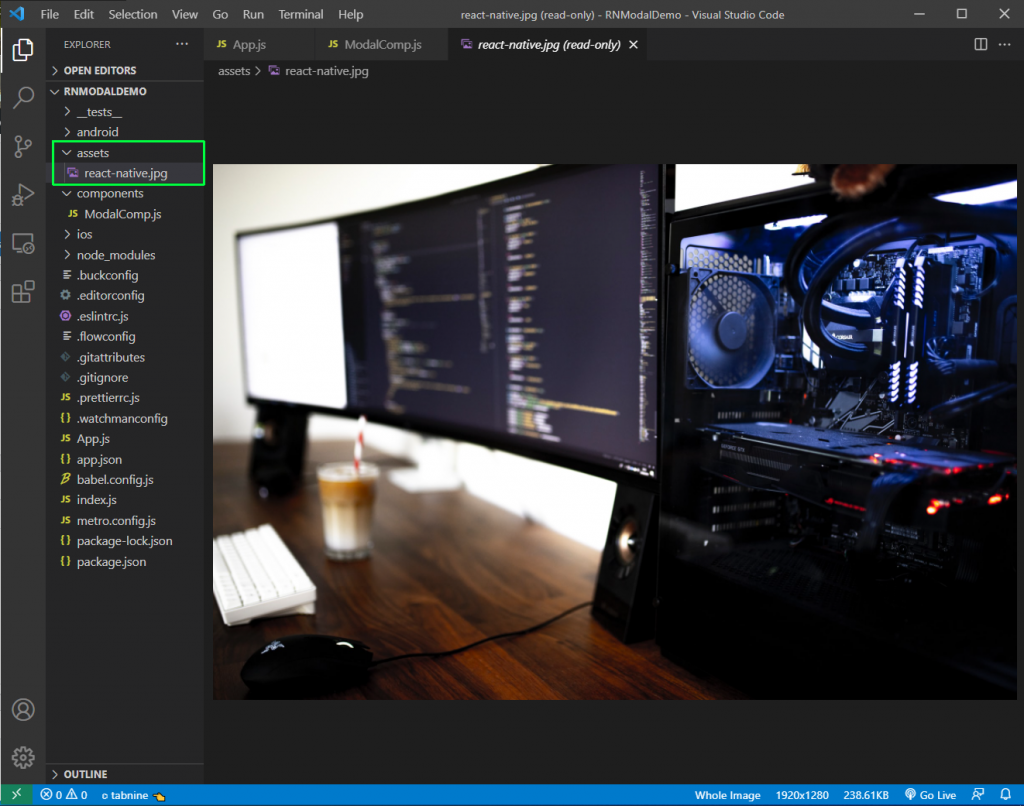
We’re also going to show an image in our modal. So create an assets folder and put an image in it.
Now, we’ll add the modal inside our return statement. We’re passing some of the props provided by React Native in it. Out of this, the animationType is slide, which has two other values of fade and none. We can add more props to the modal, and the list is in this official documentation.
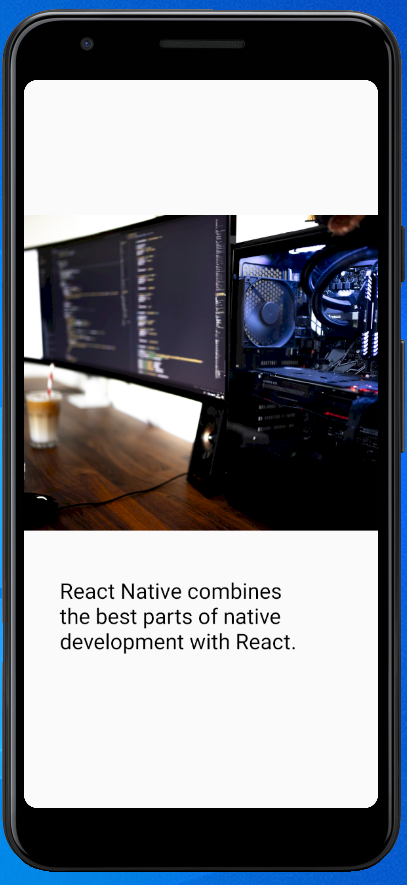
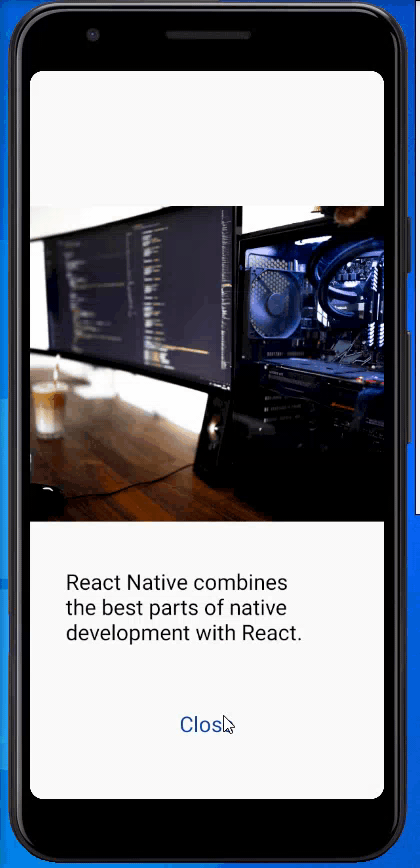
The visible props show or hide the modal. In our case, we’re using the state variable modalVisible to control it. Next, we’ll have an Image and Text component inside it.
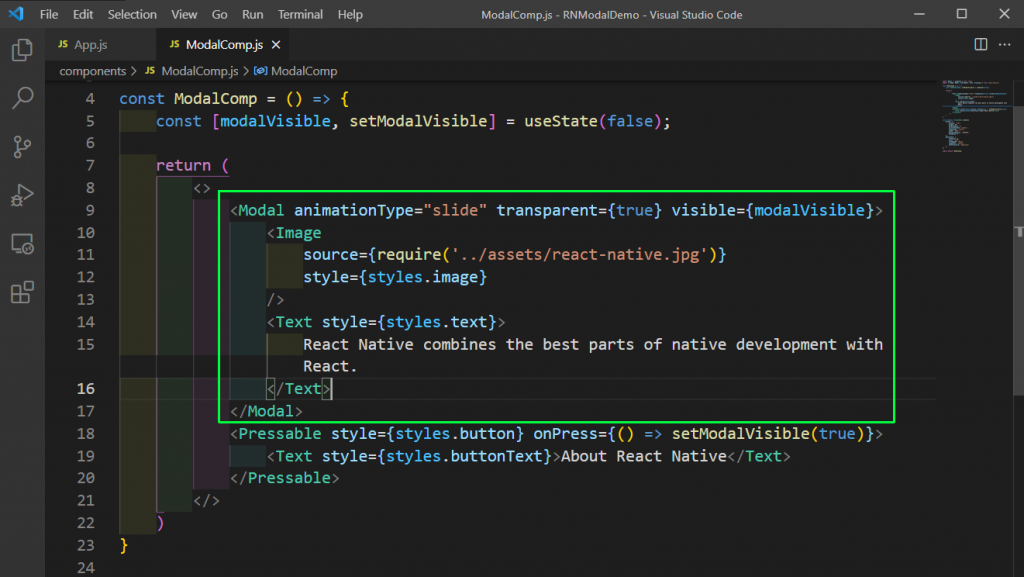
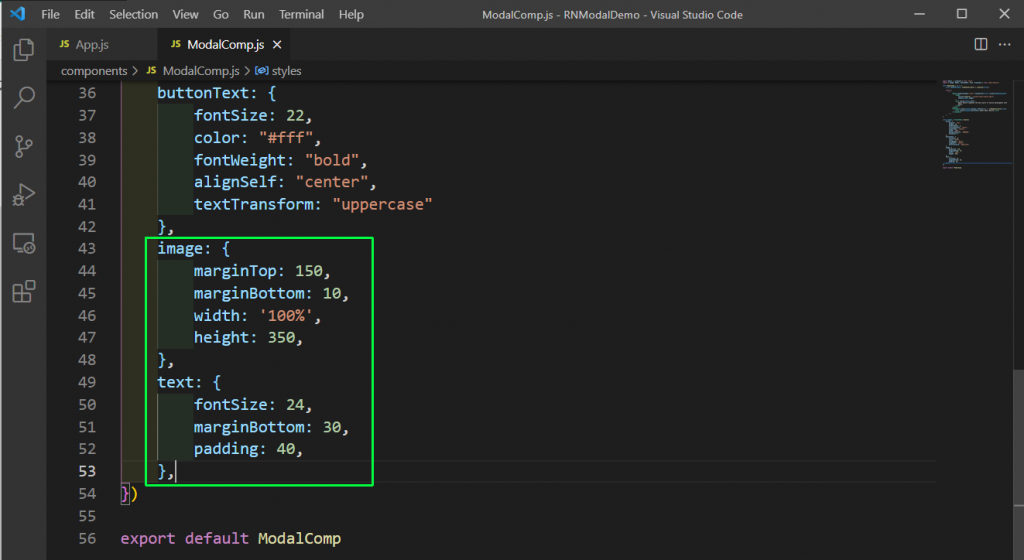
Now, we’ll add styles for the image and text in the StyleSheet.
Now when we click the “About React Native” button, we get this beautiful modal.
Closing the Modal
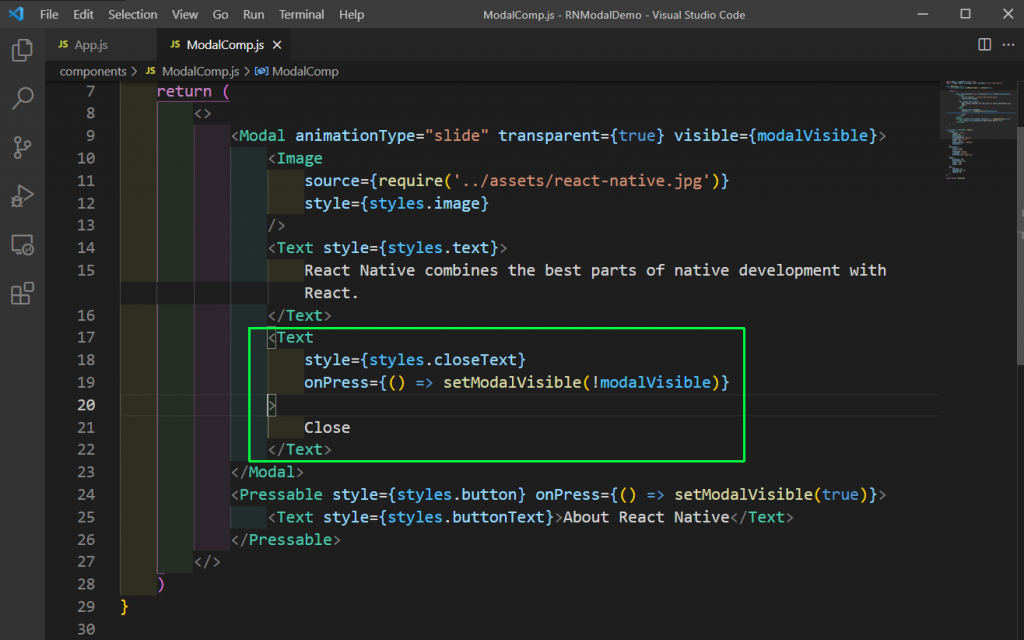
Now, the only thing remaining in our app is to close the modal. For this, we’ll have a simple Text component, which will have an onPress handler. On pressing the text, it will set the modalVisible to the opposite of what it is currently.
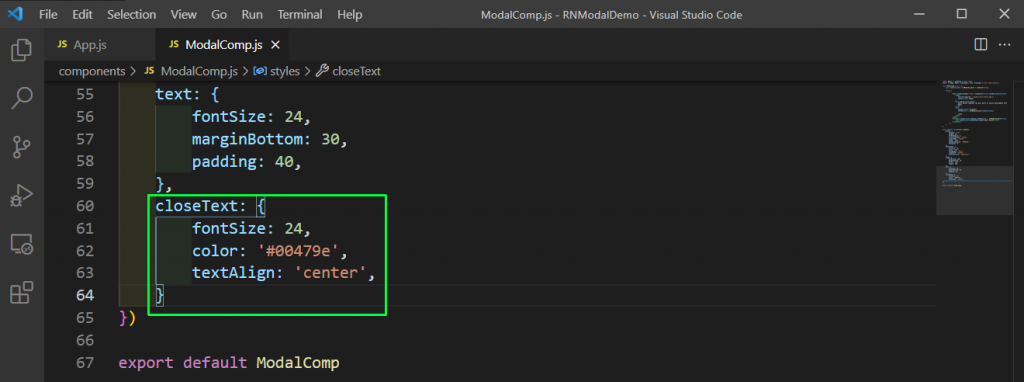
Then, we’ll add styles for the closeText in the StyleSheet.
The app is complete now, with a working close button.
Creating the APK
Lastly, the APK or IPA files are needed to deploy our app in the Android or iOS app stores. We also need the APK file for testing with Waldo’s no-code tool. Next, we’re going to look into the steps to create an APK file for the Google Play Store. We’ll be following this official doc to create the APK file.
We need a signing key, which we’ll generate using keytool in Windows. This tool is located in the JDK directory of the computer for Windows users, but could be different for other users. Next, we run the keytool command, and it will ask us some questions, as we can see below. The most important thing is the password, which we need to remember for the next part.
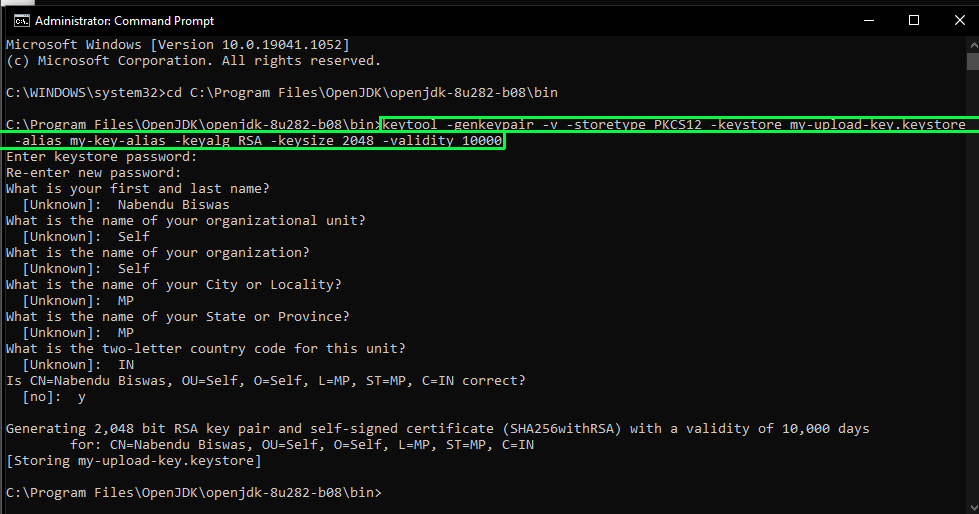
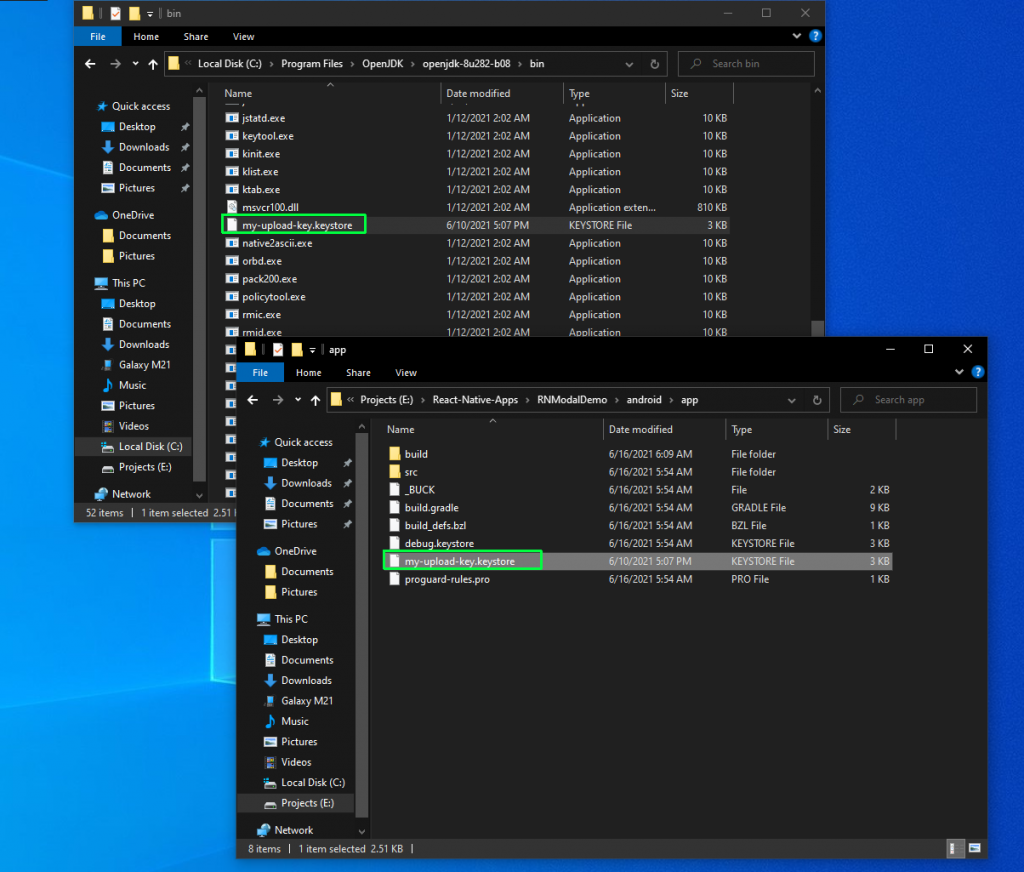
The above command will take 10 to 15 minutes to complete. After that, we’ll get a file called my-upload-key.keystore in the same directory. Next, copy this file and put it in the android/app folder of our application.
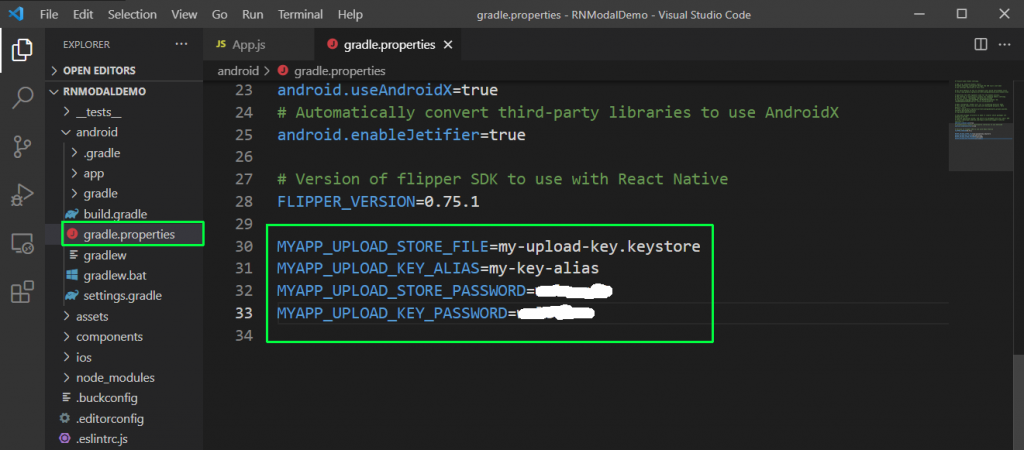
Now, open the file gradle.properties inside the android folder. We need to add the below variables, shown in the screenshot. In these variables, the password should be the same as what we entered earlier.
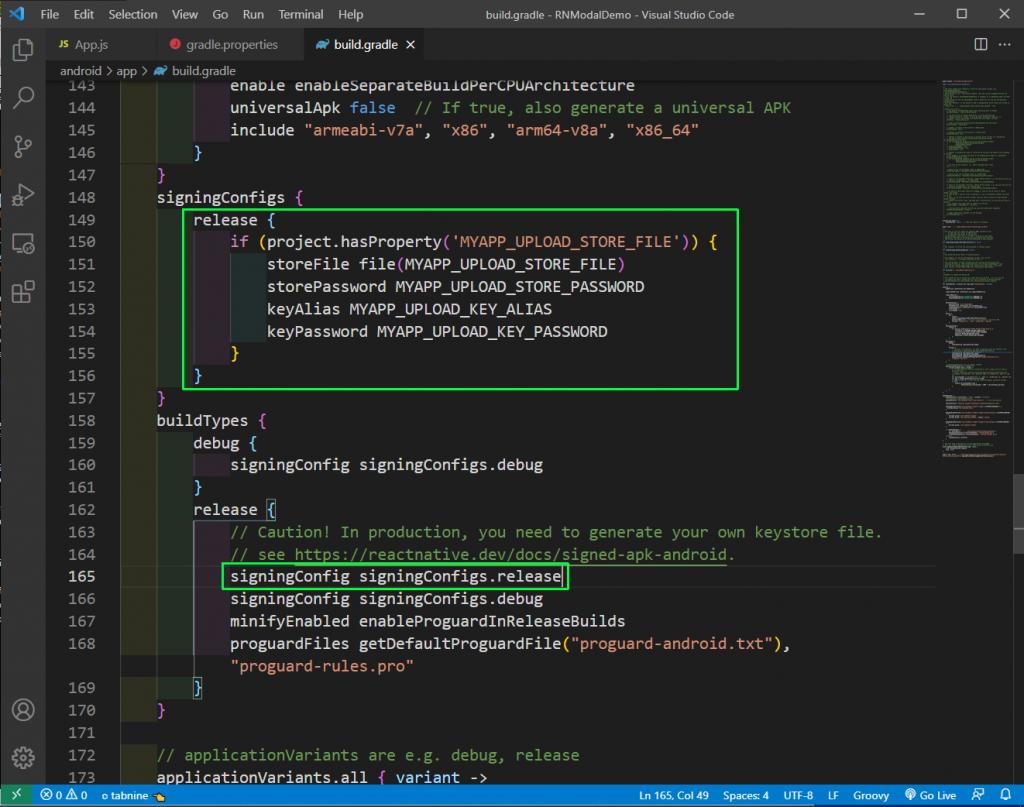
Next, we’ll update the build.gradle file in the android/app folder. In this file, we’ll add the signing configs in two places.
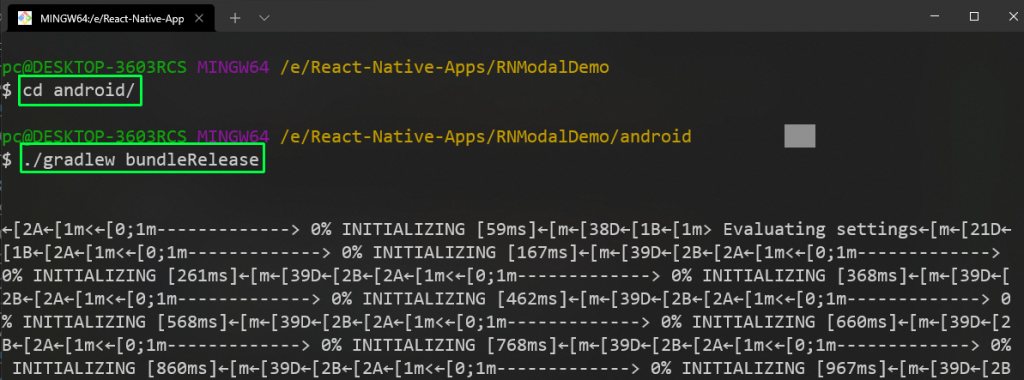
After that, open the terminal and run the command ./gradlew bundleRelease from the android folder. It will generate the APK file.
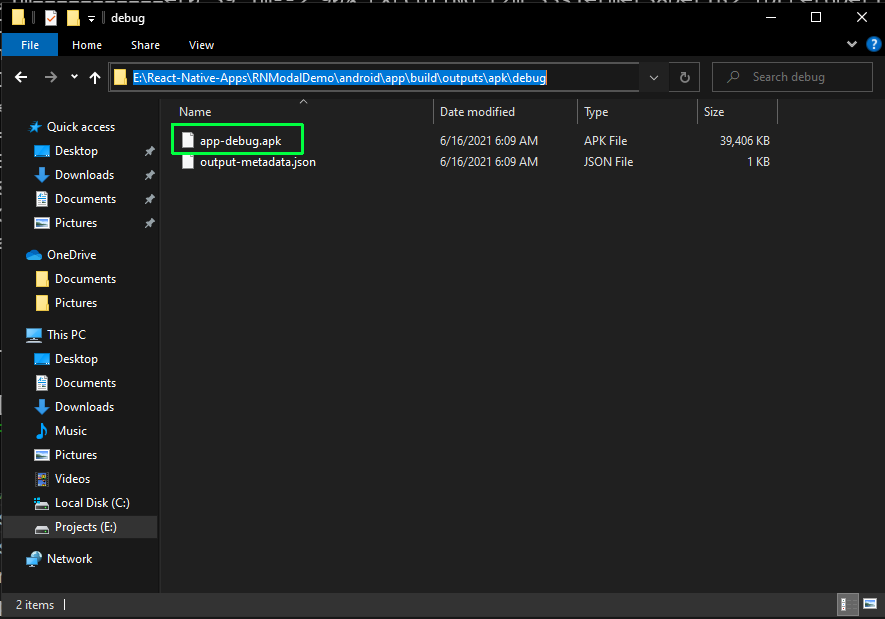
The APK file will be generated in the RNdeviceInfo\android\app\build\outputs\apk\debug folder on the system.
Waldo No-Code Testing
Now that we’ve successfully created the APK file, we need to test the application. We’ll be doing this using Waldo’s no-code testing platform.
As mentioned, we need the APK file created in the previous step. Waldo testing also works on IPA files, which you can generate with React Native. First, we’ll create a free Waldo account here.
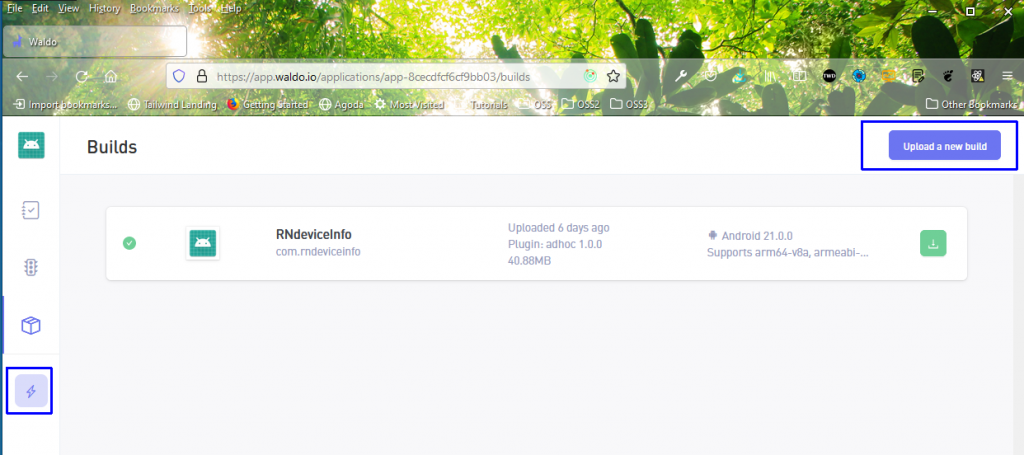
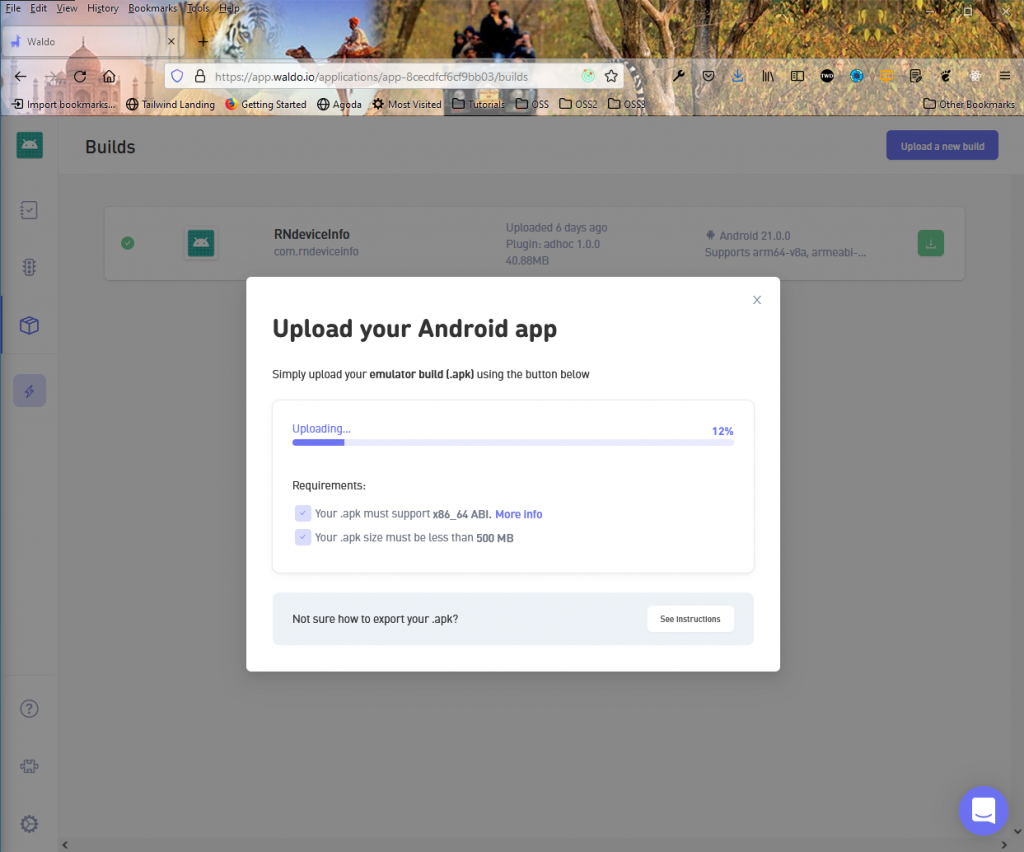
Then, we need to upload the APK file in Waldo. Since I have a test I completed earlier already in Waldo, I need to click on the “Builds” icon and then the “Upload a new build” button.
On the next screen, a pop-up will be shown. Here, we need to select our APK file. It will take five to ten minutes to upload and verify the APK file.
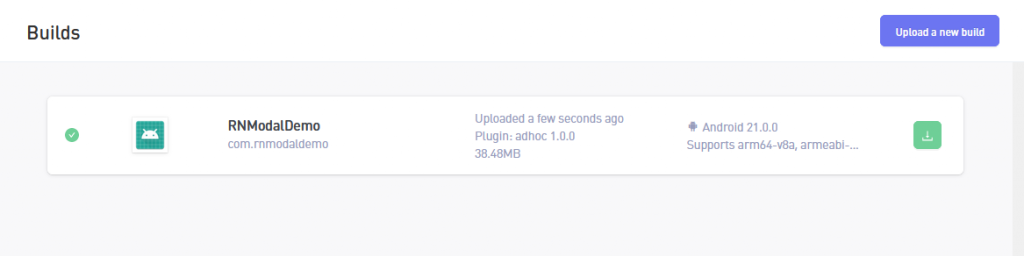
On the next screen, all the builds will be shown. Select the latest build.
On the test screen, we need to emulate a real app and complete various interactions as a regular user would. After that, click on the “Save test” button, and our test will be run.
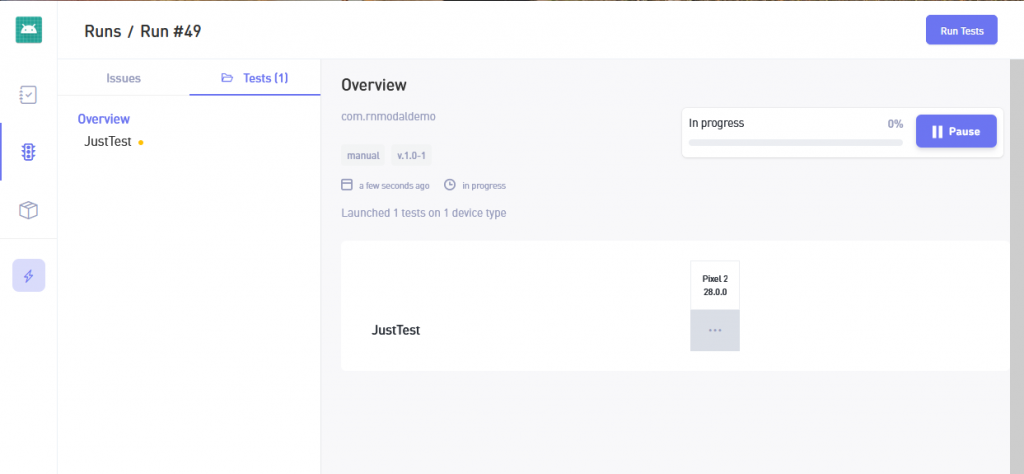
We’ll also receive an email containing our test.
Conclusion
In this post, we’ve learned about a simple way to create a modal. We created the modal using the in-built Modal component in React Native.
We also learned to create an APK file using React Native. Finally, we learned to do testing in our app using the no-code Waldo tool.
If you’d like to know more about testing your applications without writing integration or unit tests, check out Waldo’s awesome no-code testing platform and give it a try.
Automated E2E tests for your mobile app
Get true E2E testing in minutes, not months.


