


Introduction
React Native is the top framework to do cross-platform mobile development. By cross-platform, I mean that the code runs on both iOS and Android. A developer needs to code in Objective-C/Swift to develop an iOS app and Java/Kotlin to develop an Android app. But React Native can be used to develop apps for both platforms, using a single code base.
React Native is also preferred by people coming from a web development background who have experience with ReactJS because we use ReactJS concepts here.
Now, in this post, you’ll learn about the best integrated development environment (IDE) or code editor for React Native because there are so many code editors out there to choose from.
But before we move into the IDEs, we should know a bit of the process to run a React Native app.
Two Ways to Start
There are two ways to start with the React Native setup. One is to use Expo CLI, and the other is to use the React Native CLI. Expo CLI, which has its own set of tools built over React Native, should be used by new mobile developers.
I find Expo much easier to set up and personally use it and prefer it. The React Native website also recommends Expo for beginners. The setup only requires us to install an npm package, and we are ready. And besides this, we also get many ready solutions from Expo. These solutions include device accelerometer, camera, notifications, geolocation, etc.

It also has another feature through which we can easily debug our application, and that is it has a mobile app. When you create and run a React Native application through Expo on your computer, it gives you a QR code to scan. You need to download a mobile app called Expo Go, which is available in both the App Store and Play Store.
Through the mobile app, once you scan the QR code, you have your development environment ready. Now you can use any of the light IDEs to code, which we will discuss in the next sections.
To use the React Native CLI, we need to work with emulators. The emulators require heavy or memory-intensive IDEs like Xcode and Android Studio. Now, if you’re developing for only Android, you can run the emulator in Android Studio, which is available in both Windows and Mac. But if you’re developing for iOS, you need to have a Mac computer, because Xcode cannot be run on Windows.
Both Xcode and Android Studio are very memory intensive, which means you require a really powerful computer with lots of RAM and a high-end CPU. And in my personal experience, running an emulator with these IDEs makes the system even slower, as it consumes too much memory.
Most developers will do well running a React Native project using Expo and then using the light IDEs, which we’re now going to discuss. I personally use VS Code for my React Native development, but Sublime Text and Atom are also good choices.
VS Code
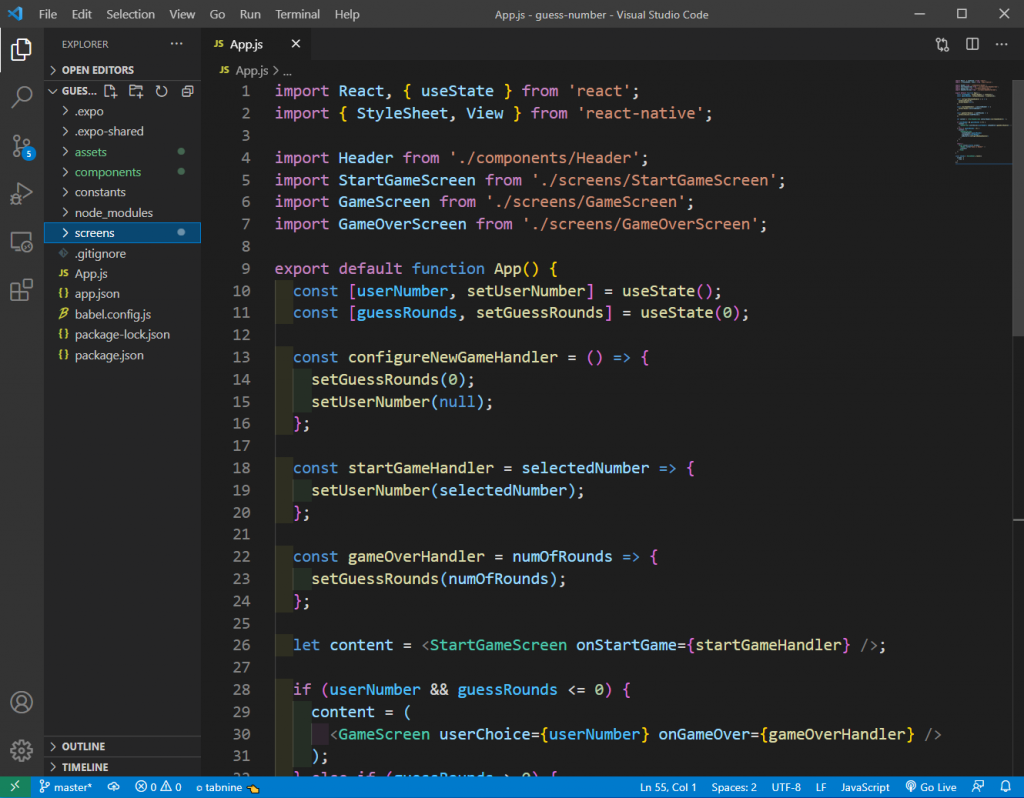
Visual Studio Code has taken the world of development by storm, and it’s the preferred choice for every popular language for most developers. It’s an open-source and completely free lightweight IDE, created and maintained by Microsoft. It’s different than the paid Visual Studio that Microsoft offers, which falls into the heavy IDE category, as it requires a lot of memory.
Visual Studio Code, which is popularly known as VS Code, can run even on low-end machines as it consumes very little memory. The user experience is very smooth, and I haven’t personally gotten any lags using it. People coming from a ReactJS background usually prefer this IDE as well. I recommend it as my top IDE for React Native (for reasons we’ll go into next), and I use it for both ReactJS and React Native development.
The biggest benefit of using it is that it has most of the things already set up out of the box for React Native development. Also, there is a huge ecosystem of plugins that can add functionalities while programming in React Native. We get syntax highlighting, intelligent code completion out of the box in VS Code, but still can use the below-mentioned extensions to add to our developer experience.
Extensions
- ES7 React/Redux/GraphQL/React-Native snippets: One of the must-have extensions to use for React Native development. As the name suggests, it gives shortcuts that generate whole skeleton code for React Native development. For example, if you type rnfes and press tab, it will generate the classes and all imports for you.
- Bracket Pair Colorizer: Most React Native code has lots of brackets, and it’s sometimes difficult to know the starting and ending of a bracket. This extension colors the bracket pair with the same color so that we can differentiate them easily.
- indent-rainbow: Along with the Bracket Pair Colorizer, this extension makes your code more manageable. It gives nice color columns for each block of code.
You can see the last two extensions in action in the screenshot above, which is from my actual React Native project.
Sublime Text
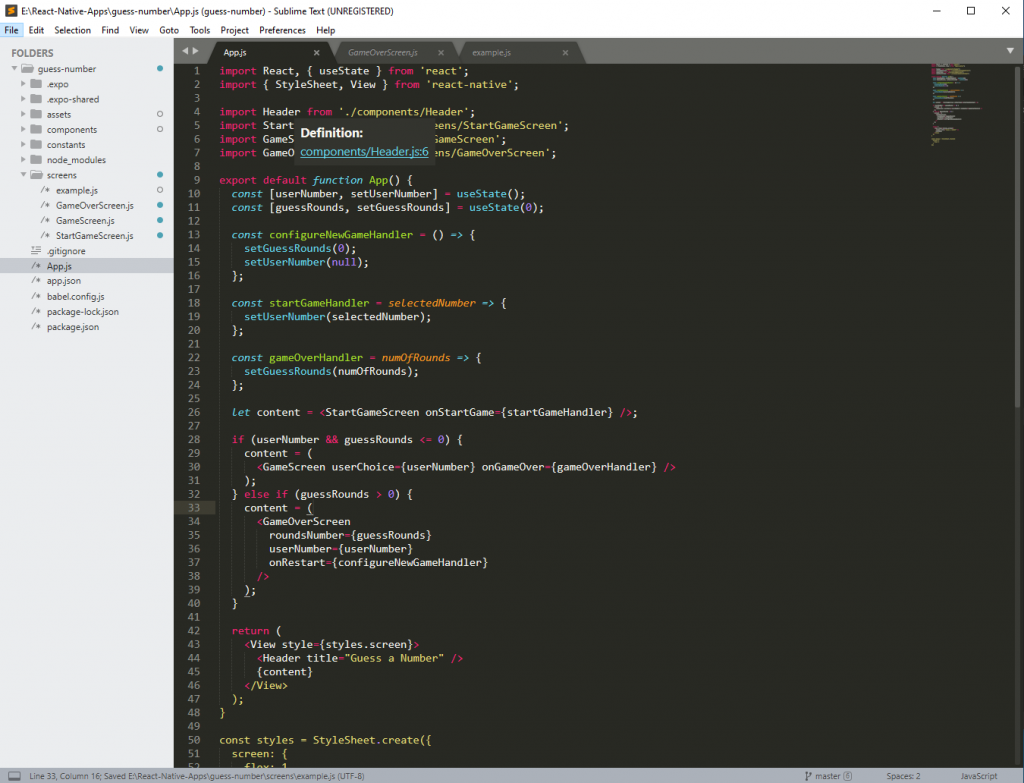
The second best editor after VS Code (and I personally use it) is Sublime Text. It’s even lighter than VS Code and can easily run on old machines. But it also comes with fewer features out of the box in comparison to VS Code. Sublime Text doesn’t come with intelligent code completion and auto prettifying code, for example.
Unlike VS Code, it’s not completely free, as you need to purchase a license after a month, or else you’ll frequently get a pop-up asking you to purchase.
Sublime Text also has a very minimalist experience in comparison with VS Code. For instance, there is no option to split the editor at the top right or the five different tabs on the left side. It’s also very difficult to add extensions to it. In VS Code, it’s very easy to go to the Extension tab and search your extension and install it in one click. The same is not the case with Sublime Text, where you have to open the command palette and install it. The installation process is also not simple, and I had to search a lot of articles to install a simple package.
But since Sublime Text is an older IDE, it has a lot of packages. One of the packages that is a must for React Native is below.
Package
- react-native-snippets: Similar to the skeleton code package that we saw in VS Code. It also has nice shortcuts, which give the code snippets.
Atom
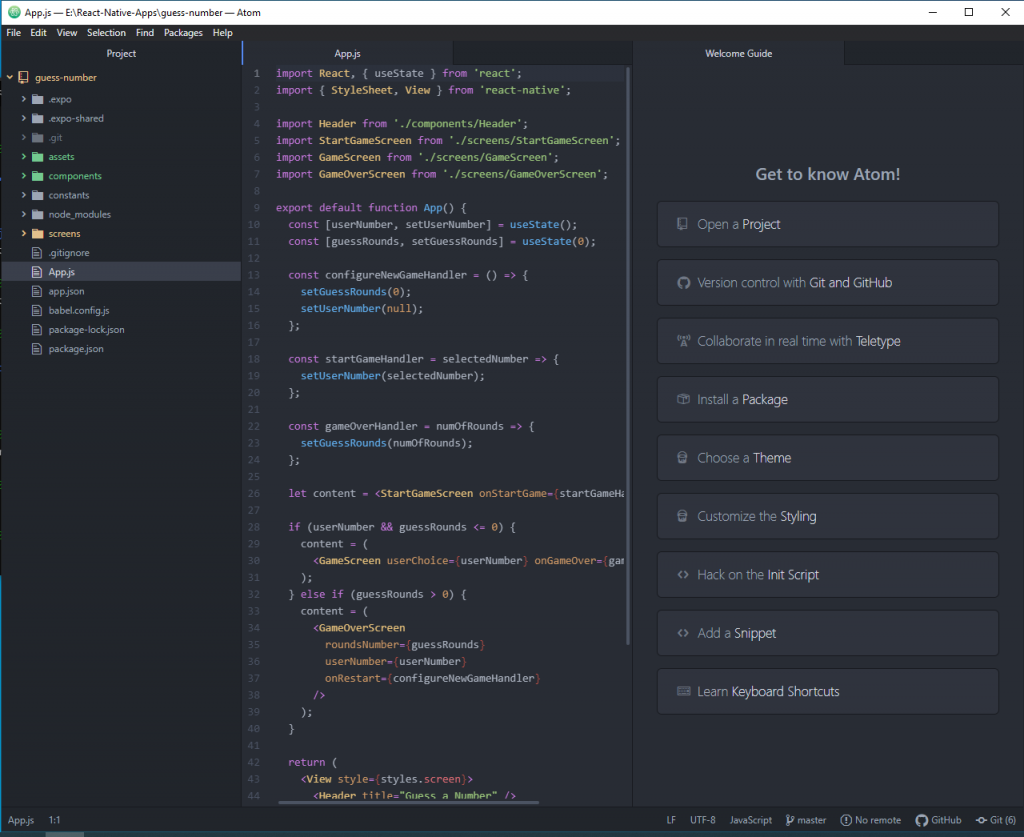
Atom was one of the top IDEs before VS Code took most of the market. The look and feel of Atom is more like VS Code, but heavier than both Sublime Text and VS Code. Many users also complain it hangs up on systems with less powerful processors.
Atom is completely open source, and you don’t have to pay anything in order to use it. GitHub created Atom and also maintains it. After Microsoft acquired GitHub in 2018, there was some confusion about Atom’s future as it was competing with Microsoft’s VS Code. But Microsoft didn’t stop any Atom development, and it still exists in 2021, at the time of writing this post.
You can install packages in Atom through the built-in marketplace. And you can find an equal number of packages in Atom, in comparison to VS Code.
Most of the packages that are available in VS Code are also available here. Atom, like VS Code, also comes with many installed packages, which helps in the development process.
Packages
- react-native-snippets: This package is from the same developer as Sublime Text and functions similarly, giving us skeleton code.
- bracket-colorizer: Similar to the Bracket Pair Colorizer extension in VS Code, which sets colors for different brackets.
WebStorm
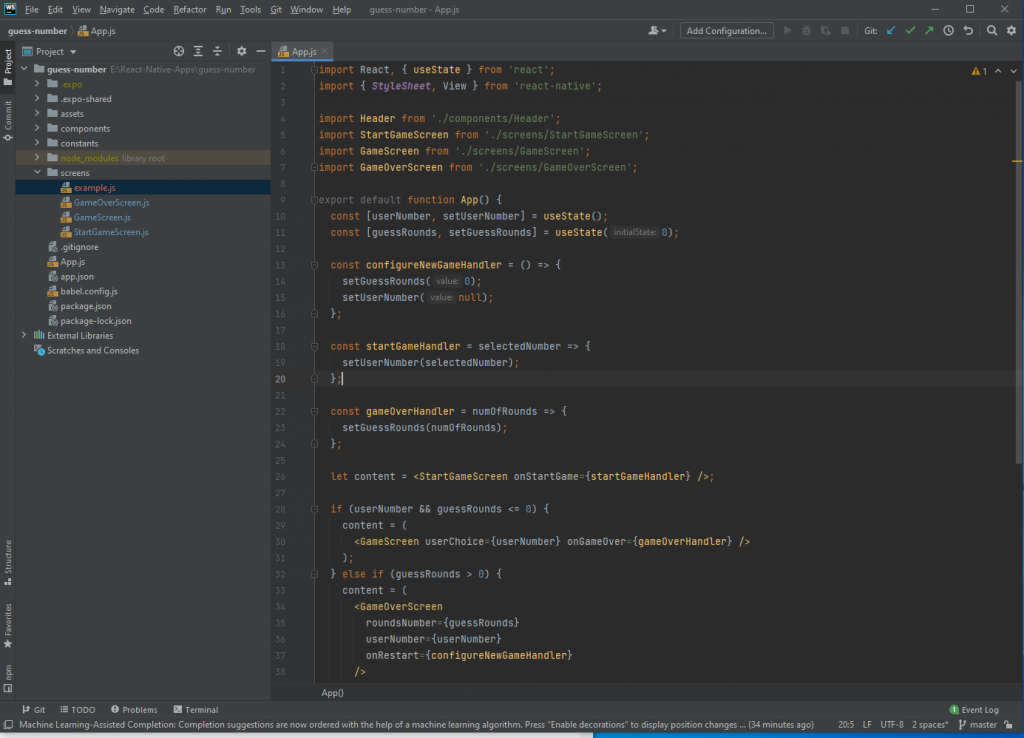
WebStorm is one of the paid alternatives out there and a very good one. It is built with IntelliJ, with a very good auto-completion feature. WebStorm has features, like detecting unused methods, that aren’t available in other IDEs. There’s also a code refactoring feature, which makes the code more efficient and maintainable.
Webstorm is also very popular with corporate users, who prefer this over other IDEs. It costs $129 per user, per year. Most of the functionality is built into WebStorm, so there are fewer plugins. But these plugins do provide additional features, which are also chargeable, like the React Native Console plugin.
Plugin
- React Native Console: One of the top plugins, which has very tight integration with React Native. You can run the emulator directly from WebStorm after installing this plugin.
Conclusion
The IDEs that are generally used with React Native are the ones that many developers use with ReactJS. Actually, React Native was created for making it easy for web developers to get into mobile development. And these web development light IDEs are doing a great job, with VS Code leading the path.
I personally use VS Code for my React Native development, as I too come from a web development background. In addition, VS Code’s extension ecosystem is the best, and the IDE is completely free to use. Besides this, the Microsoft team has done a great job by providing monthly updates and a completely bug-free experience.
If you want to learn more about codeless testing of your React native app, visit Waldo.
Automated E2E tests for your mobile app
Get true E2E testing in minutes, not months.


