


Using the Camera in Flutter: A Step by Step Guide
Sometimes we build apps that include features that require access to the user's camera. This access can be in the form of a live feed from the camera or saving a photo or video to use in the app. How do you implement a camera feature in your Flutter app? Luckily, there's a camera package for Flutter, and in this post, I'll teach you how to use it.
Prerequisites
This post includes a sample app below, and in order to use it, make sure to have the following:
- Visual Studio Code or Android Studio IDE
- Flutter SDK installed
- A physical Android/iOS device or a simulator with access to the camera
- Basic programming knowledge
With all that in place, let's take a closer look at the sample app we'll build.
How to Use the Camera in Flutter
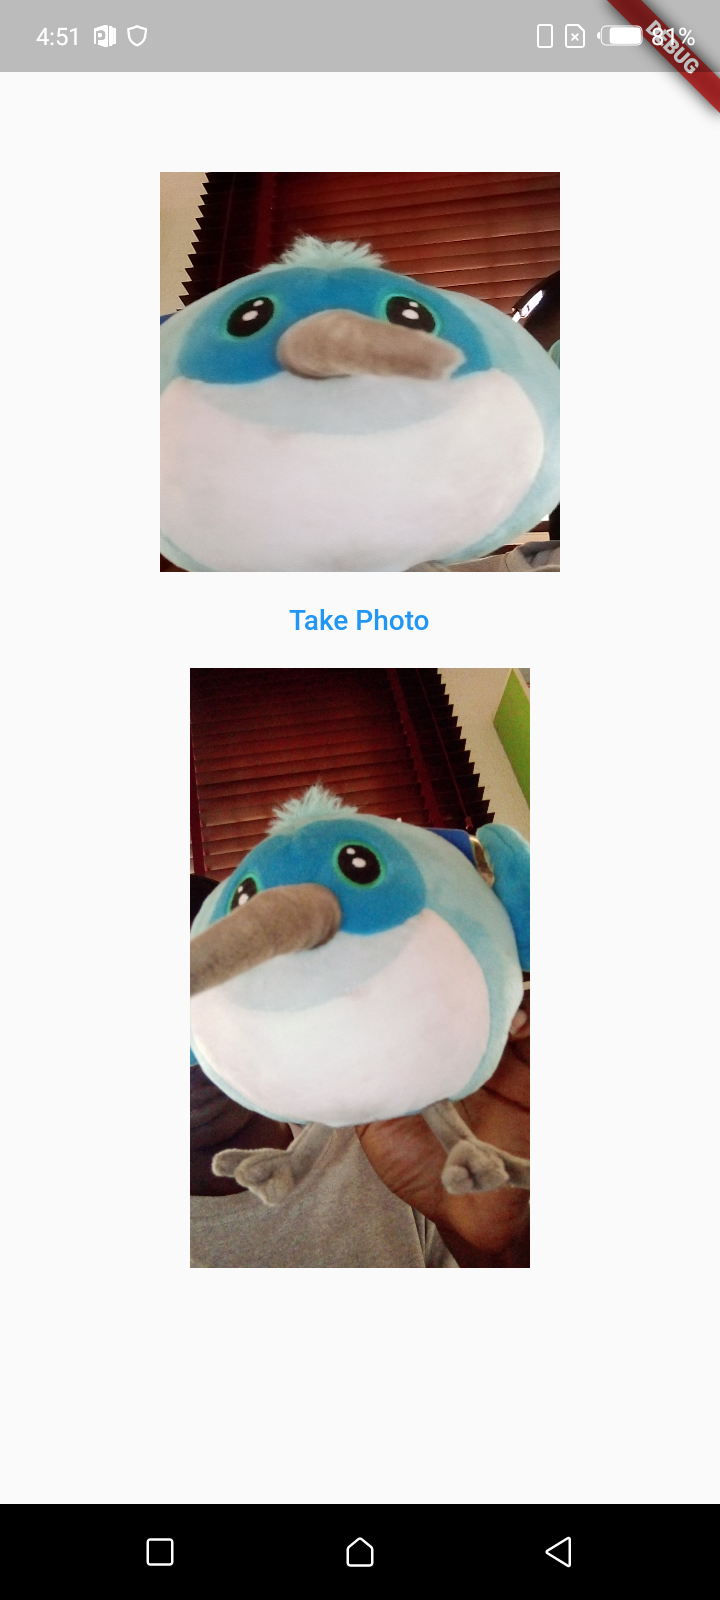
For the sake of this tutorial, we'll be developing a small sample app capable of capturing still images. After capturing the image, we'll display it in an image widget. The app mimics the common profile photo upload feature you'll find in social media apps like Facebook and Twitter. However, for the scope of this tutorial, we won't cover how to upload the photos users take. The following screenshot shows what the app will look like:
Now let's walk through the steps for using the camera in Futter.
Step1: Create New Project
Let's create the project we'll be using the Flutter camera in. To do that, run the following command in the terminal from the folder where you wish to save your project:
After that, wait for Flutter to set up the new project. Once that's done, open the project in VS Code or Android Studio and get ready to start coding. If you already have an existing project, you can skip this step.
Step 2: Install Dependencies (Packages)
In order to use the camera in our app, we need to add the Flutter camera package to our project. In addition, we'll also add the path_provider and path packages. These make it possible to reference the photo taken from the camera in our code. For example, we need the path for a photo in order to show it in an image widget. First, install the Flutter camera by adding the following text to the dependency section of your project's pubspec.yaml file:
Next, add these two lines just after the above line:
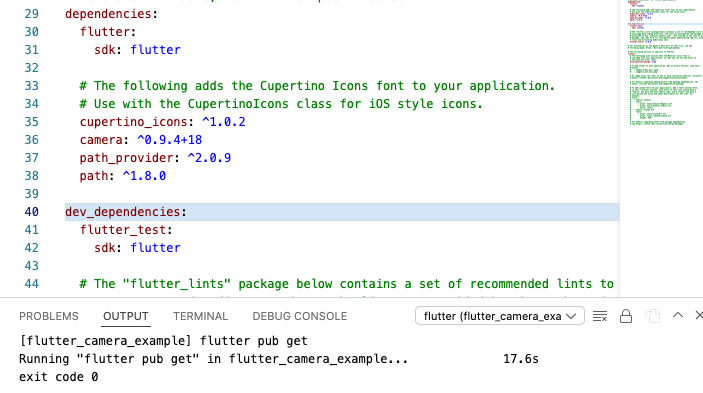
To finish installing the dependencies, save the changes and run the flutter pub get command. Tip: Indentation is everything when configuring YAML files. So make sure you paste the above lines with the correct indentation (preceding whitespaces). I've attached a screenshot of my pubspec.yaml dependency section to show this:
To finish up the initial setup, do the following: For Android, set the minimum SDK for your project to 21. You can do this by updating the value for minSdkVersion in android/app/build.gradle to 21. For iOS, add camera permissions. You can do this by adding the following code to ios/Runner/Info.plist:
Step 3: Add Widgets
In this step, we'll add the widgets. But before we start, let's clean up some of the code that we won't need. Open the lib/main.dart file and delete the content of the default counter example so that all that's left is the following code:
Next, add a TextButton widget to the screen. To do that, paste the following code within the children array of Column:
Let's also add an image widget just below the TextButton widget:
With the above code, we now have a view to display the photo we'll take in our app and a button to take photos. In the next steps, we'll see how to make these widgets actually do something.
Step 4: Start Camera
At this point, we want to start the camera after the user launches the app. First, add the following code at the beginning of the _MyHomePageState class:
The above code initializes a camera controller. We'll use this controller later in our code to display a camera view. Nore that the value cameras[1] is the selfie camera. To use the main camera instead, you can use cameras[0].
Step 5: Show CameraView
Next, let's modify the content of the _MyHomePageState build method to include a CameraView widget. This widget shows a live feed from the device camera. Add the following code just above the TextButton widget we added in step 3:
This code wraps the CameraView Widget in a 200 x 200 container so that we have enough space on the screen for other widgets.
Step 6: Take a Photo
We're ready to smile and take that selfie. Or, almost ready. Add the following code to the onTap property of the TextButton:
Finally, we need a way to see the photos we take. So lets update the code for the image widget we added earlier to display our photo. Replace the code with the following:
The above code sets imagePath to file(), and this path is a URI to the most recent photo we snap. You can do several things with the value for imagePath, including saving the image to a directory or remote server. At this point, we're done writing code and ready to start testing the app. Here's the complete code for our main.dart file:
Step 7: Testing the App
To test your app, connect a physical Android/iOS device or start up a simulator, then run the following command:
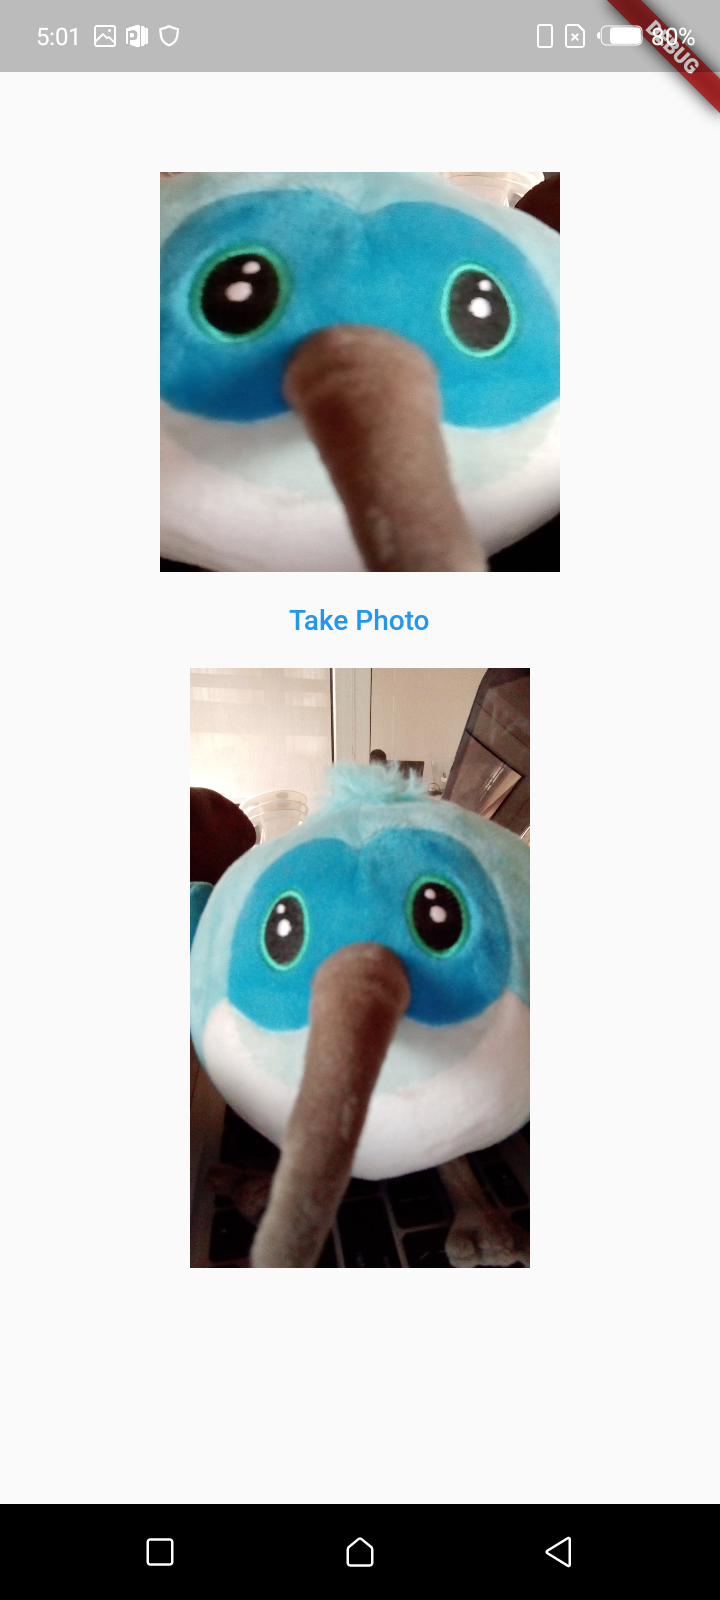
Wait for the build process to complete, and once the app is installed, accept all permissions. Then you can finally smile for that selfie and hit the take photo button. Here's an output of the app:
As always, testing apps at various stages of development can save time and reduce the number of bugs. The method above allows for manual testing, but automated testing makes testing your app as simple as writing instructions that can be run multiple times. Flutter supports automated testing via tools like flutter_test and integration_test. However, configuring and writing tests using both tools can be complex. Waldo is a good alternative to running automated tests. It's a no-code testing platform for mobile that even nontechnical members of your team can use. You can learn more about it here.
To Wrap up
Using the camera in Flutter is easy thanks to the packages Flutter offers. And you can find the full code for the step-by-step sample app we created on GitHub.
Automated E2E tests for your mobile app
Get true E2E testing in minutes, not months.


