


Creating an app layout in XCode can be done in five different ways, with three of them being the GUI way and two being the pure programmatic way.
The first way is through Storyboard, which gives us an iPhone canvas to drag elements. We used Storyboard in our earlier post on Kingfisher.
The second way is using XiBs, where we can create individual elements using a GUI interface. We've created a custom cell using XiB in our post on UITableViewCell.
The third way is the latest SwiftUI released by Apple. It's quite similar to Storyboard, as you can see in this detailed post on SwiftUI vs Storyboard.
The fourth way is to eliminate UI and create the UI programmatically. We've done the same in our post on SwifterSwift.
In this post, we'll learn the fifth way, which is using third-party wrapper libraries. One such popular library is the open-source library of SnapKit, which we'll use to create a photo app.
.png)
What Is SnapKit?
SnapKit is a wrapper library that allows us to create UI layout programmatically. The syntax is quite cleaner and easy to use.
It's a popular open-source library with an active developer community that gives us access to move an element easily with the right, left, bottom, and top properties. We can also easily give the width and height of an element.
Benefits of SnapKit
Developers generally like to do everything programmatically, so in using Snapkit, they find it easy to work.
The UI way of Storyboard was experiencing some issues, which led to slow apps. So, Apple decided to add a new UI kit known as SwiftUI to replace it. The code generated with these UI kits creates a lot of boilerplate code, which is sometimes difficult to debug.
Also, the UI kit code is used to create a lot of Git merge conflicts in bigger projects. These are professional apps in which more than one person works. So, these companies started moving away from Storyboard and have started adapting frameworks like SnapKit.
Coding in Snapkit also is much easier to completely create the UI through code.
Project Setup
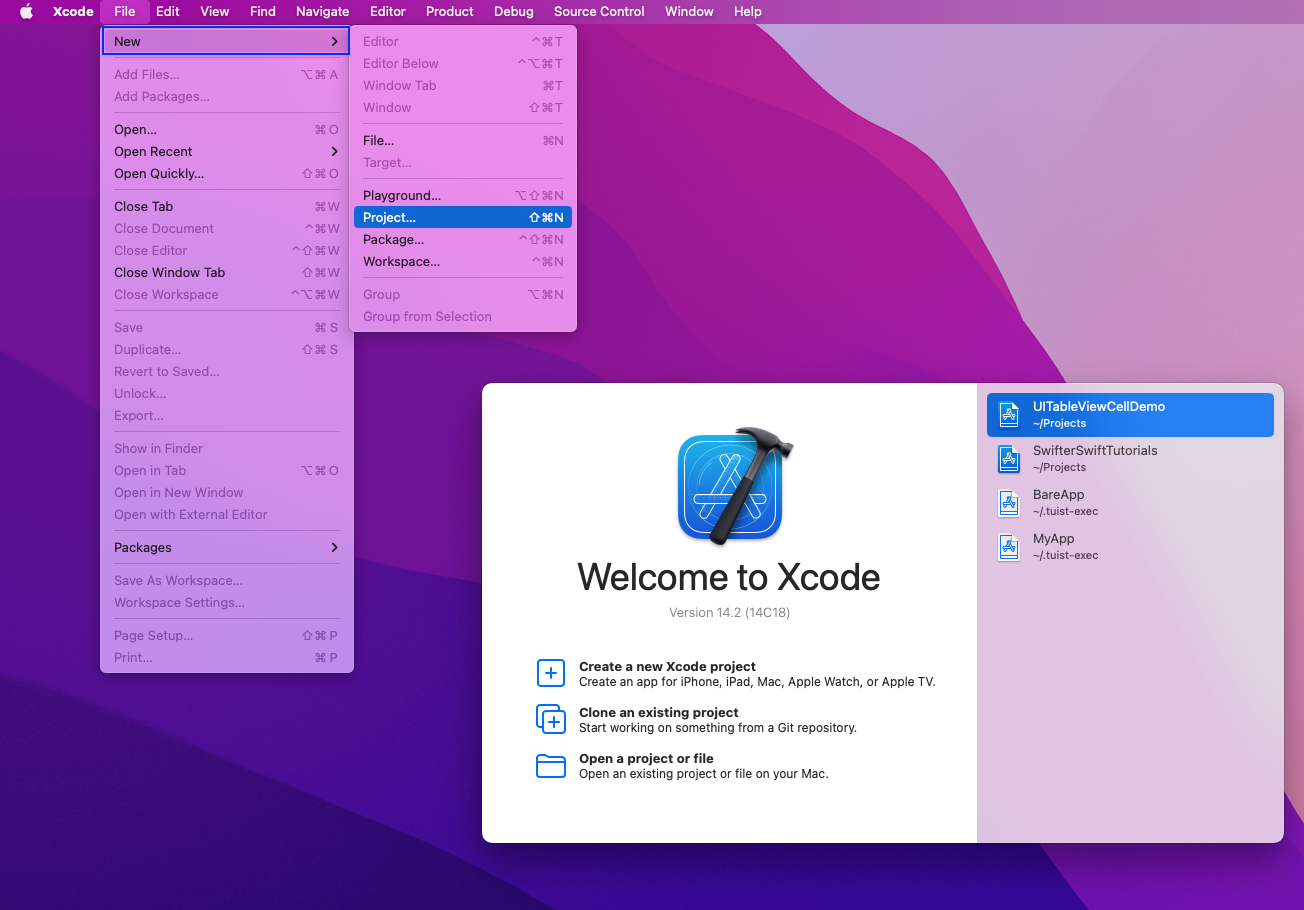
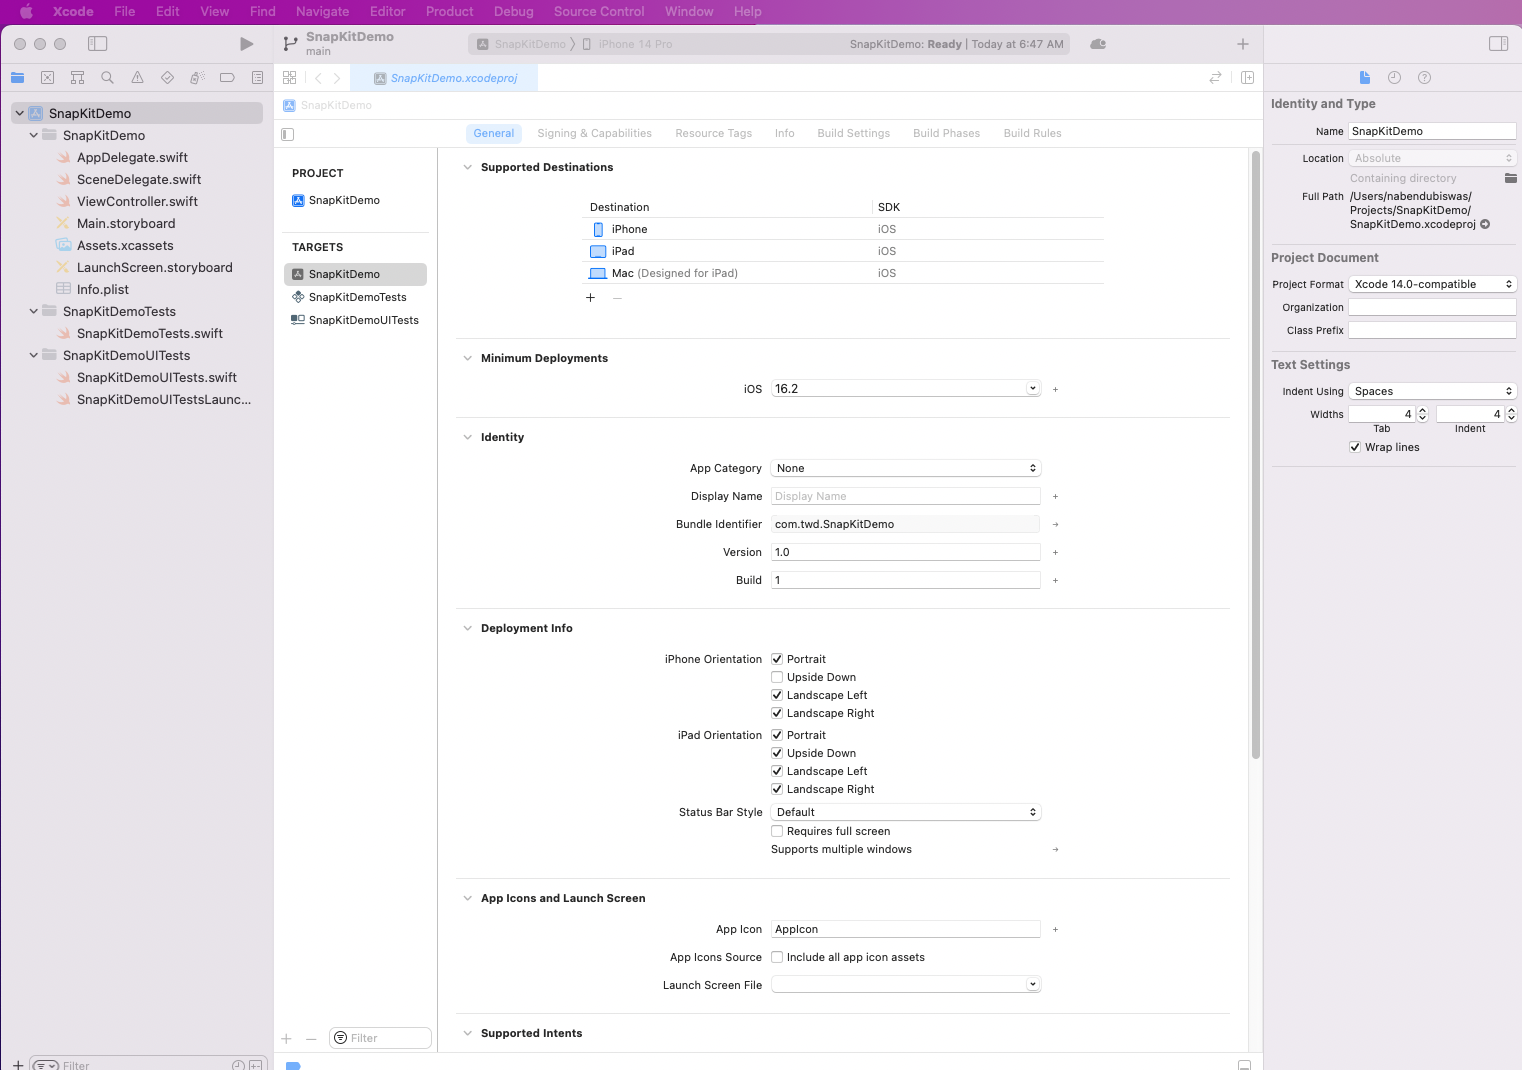
We need to first create a new project by opening XCode and clicking on New > Project.
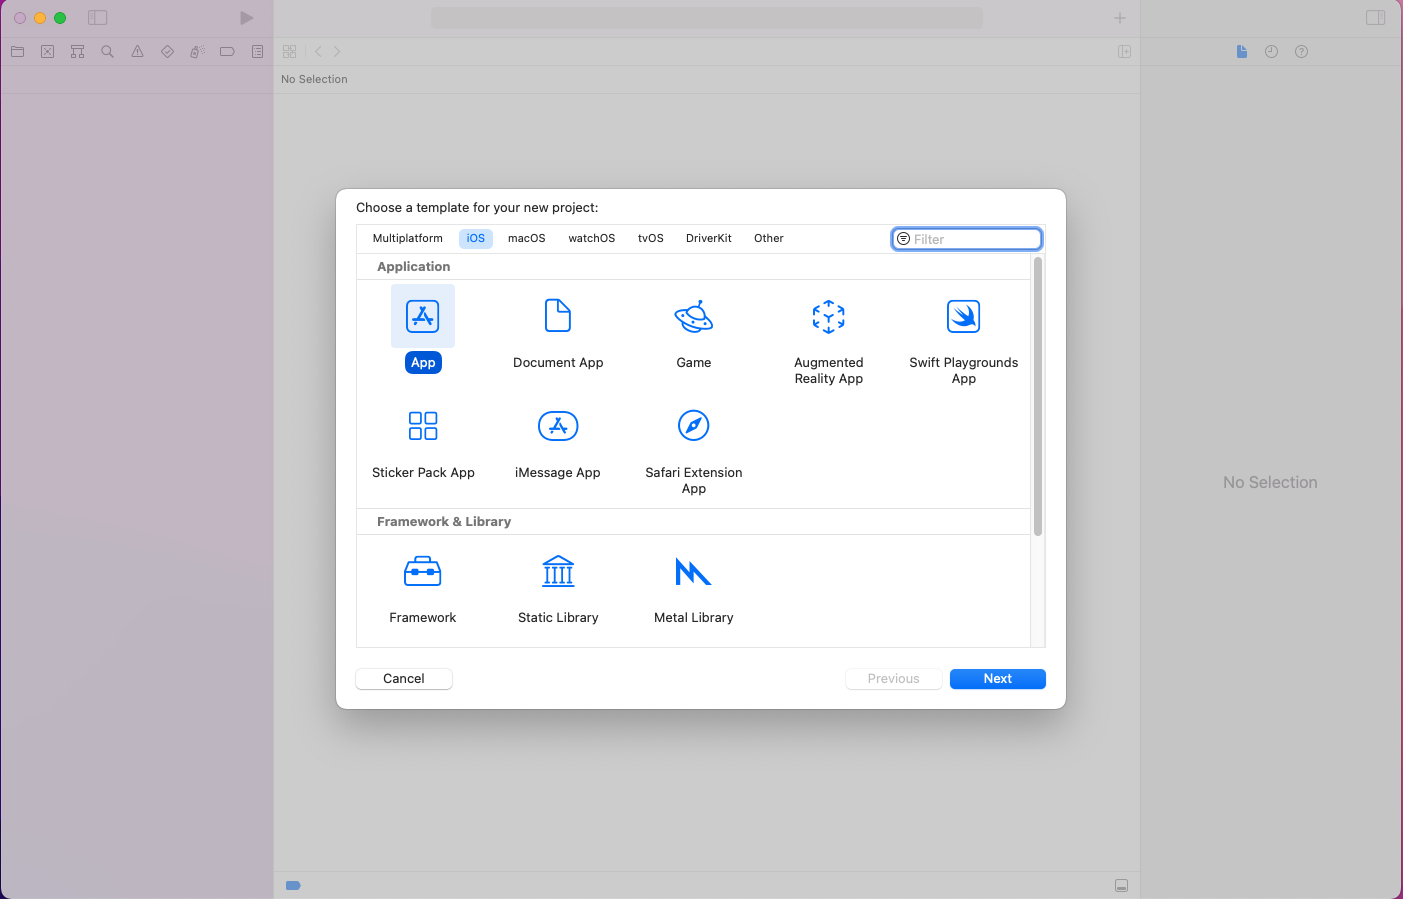
A pop-up will be opened. Here, click on App and then the Next button.
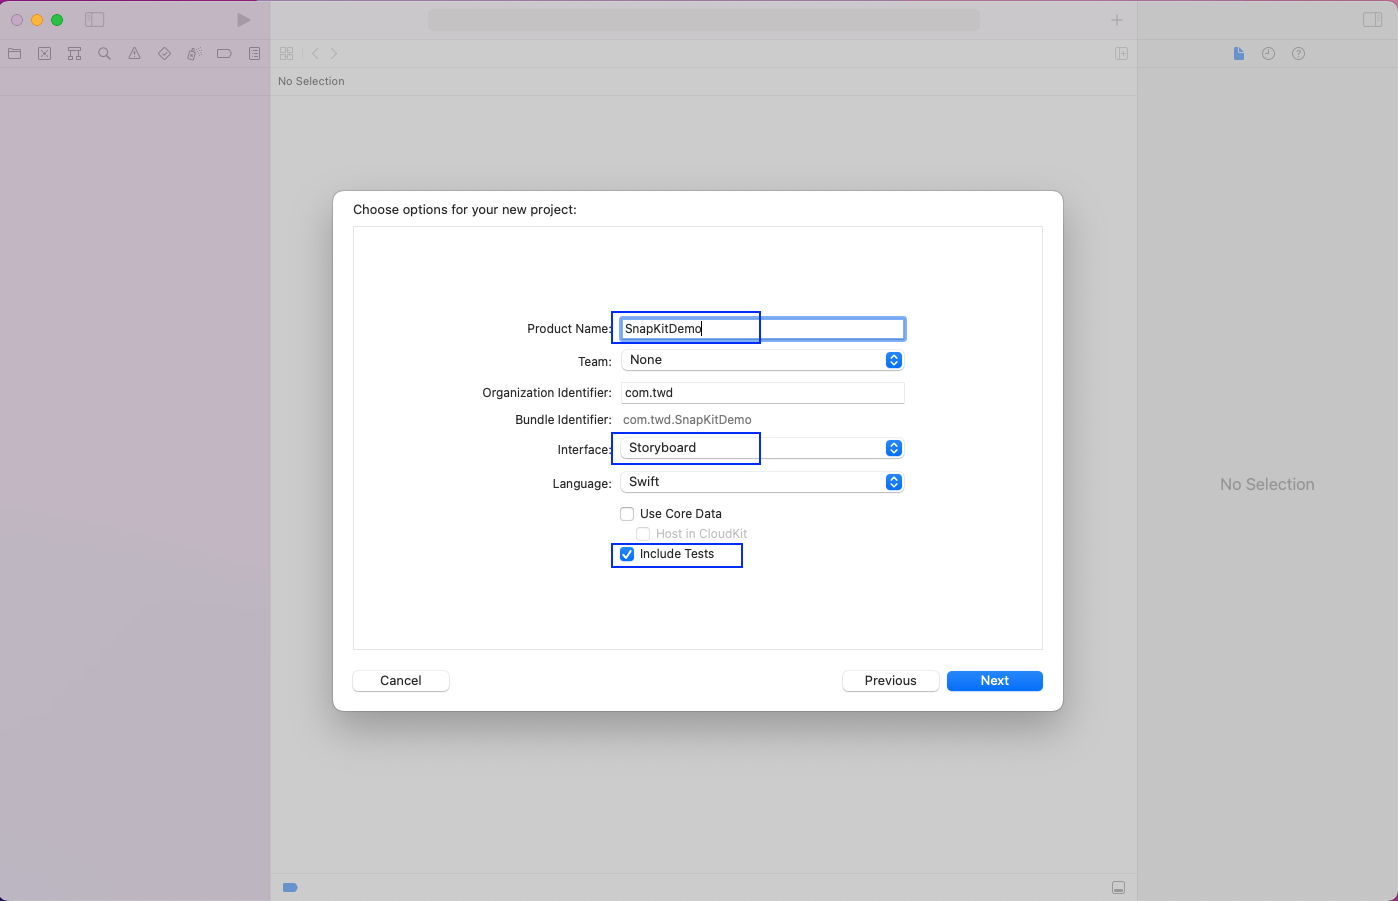
In the next pop-up, input the product name as SnapKitDemo. The interface should be Storyboard, and we’ll also Include Tests in our project because we're going to write unit tests later in our app.
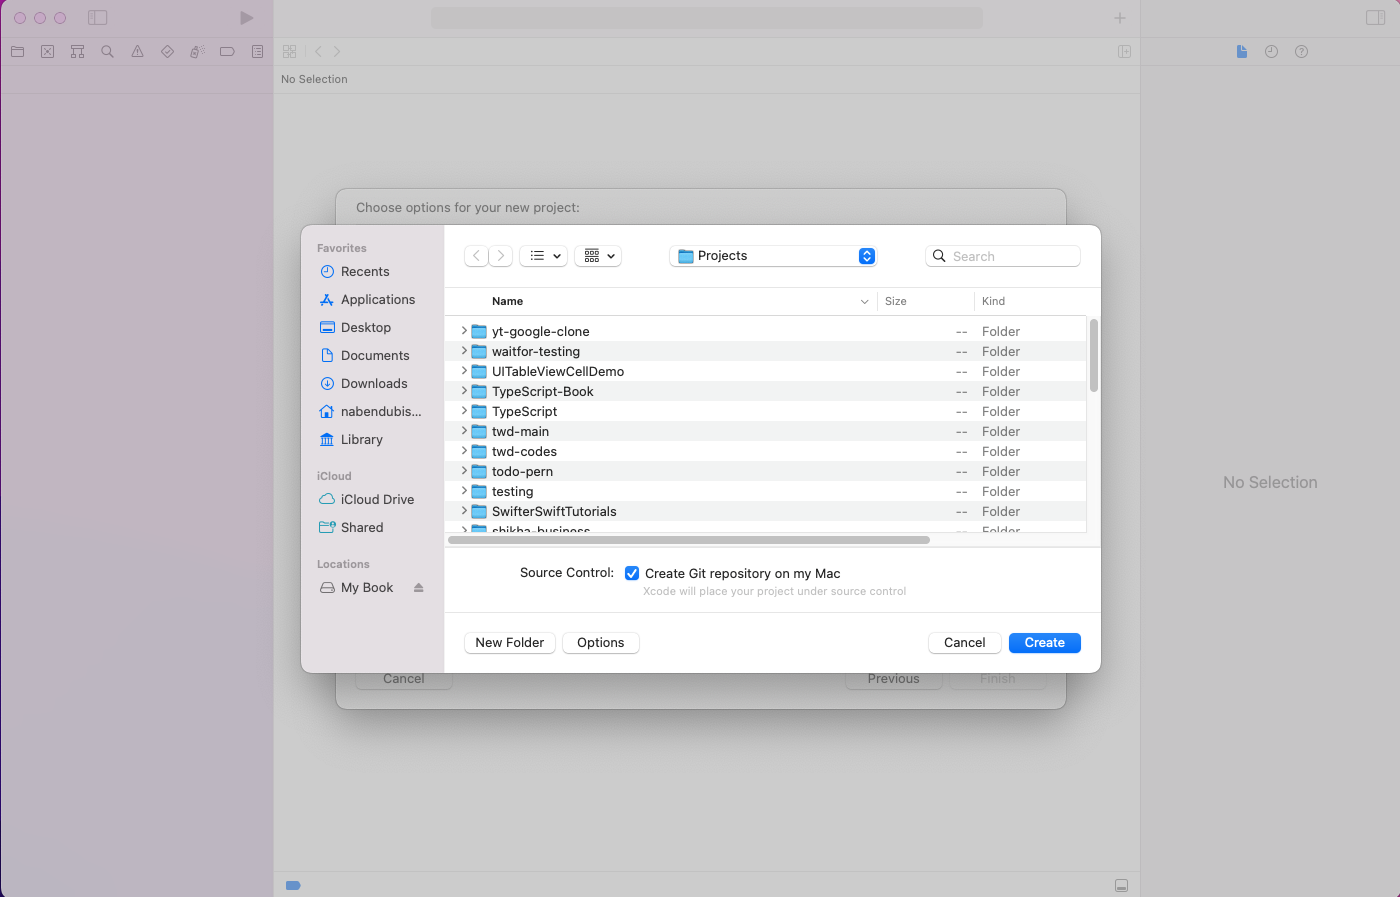
Next, click on the Create button.
The dependencies for the project will be installed and will be ready in XCode.
How to Use SnapKit
SnapKit is an external open-source library, and it was added to the project in two ways. One is through the Package manager. The other is through Cocopods.
Now, let's add SnapKit through Cocopods. However, the latest version of XCode has some issues, so we'll change the project format to XCode 13.0-compatible.

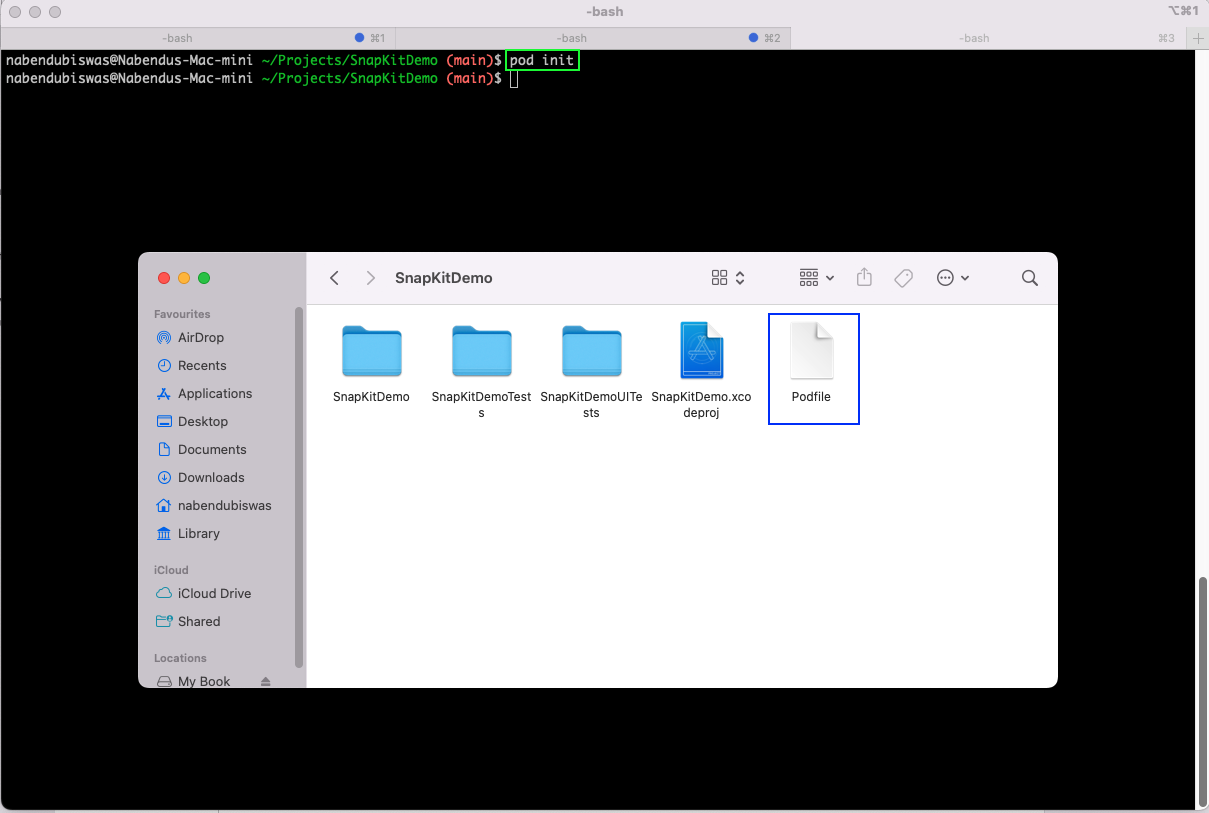
In the terminal, from the project directory, run the pod init command. This will create a Podfile, which can be seen in Finder.
As per the SnapKit GitHub documentation, we need to add the line below in the newly created Podfile. We've opened the same in TextEdit by giving the open Podfile command from a terminal.

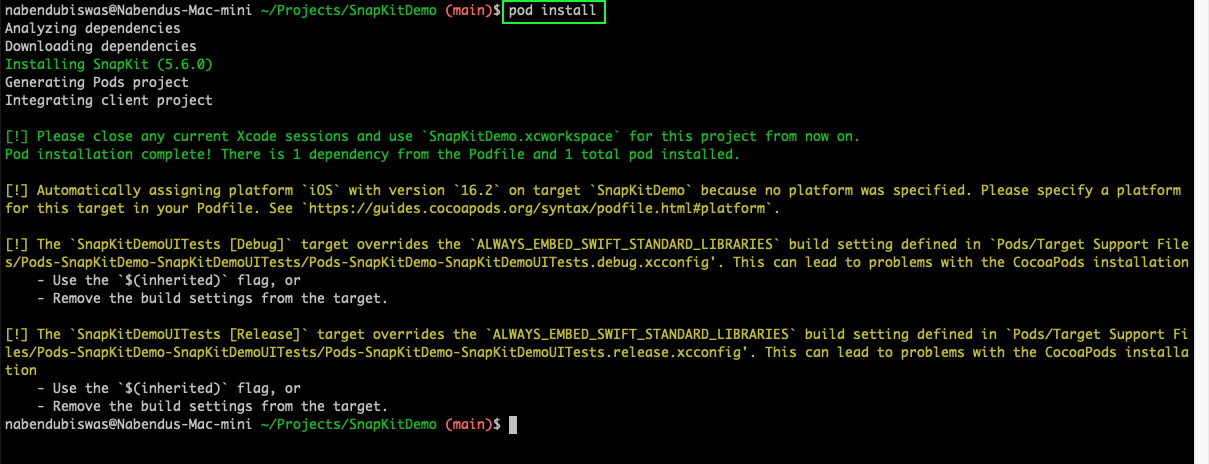
Now, run the pod install command from the terminal. This command will install SnapKit in our project.
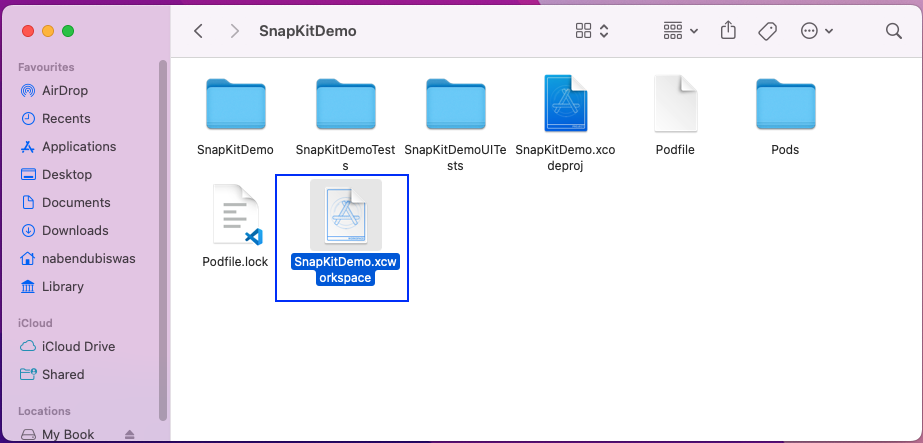
This will create a new SnapKitDemo.xcworkspace file with a white background.
Now, close any earlier XCode running the project and open this new file with the white background, which has SnapKit installed in it.
Removing Storyboard From Your Project
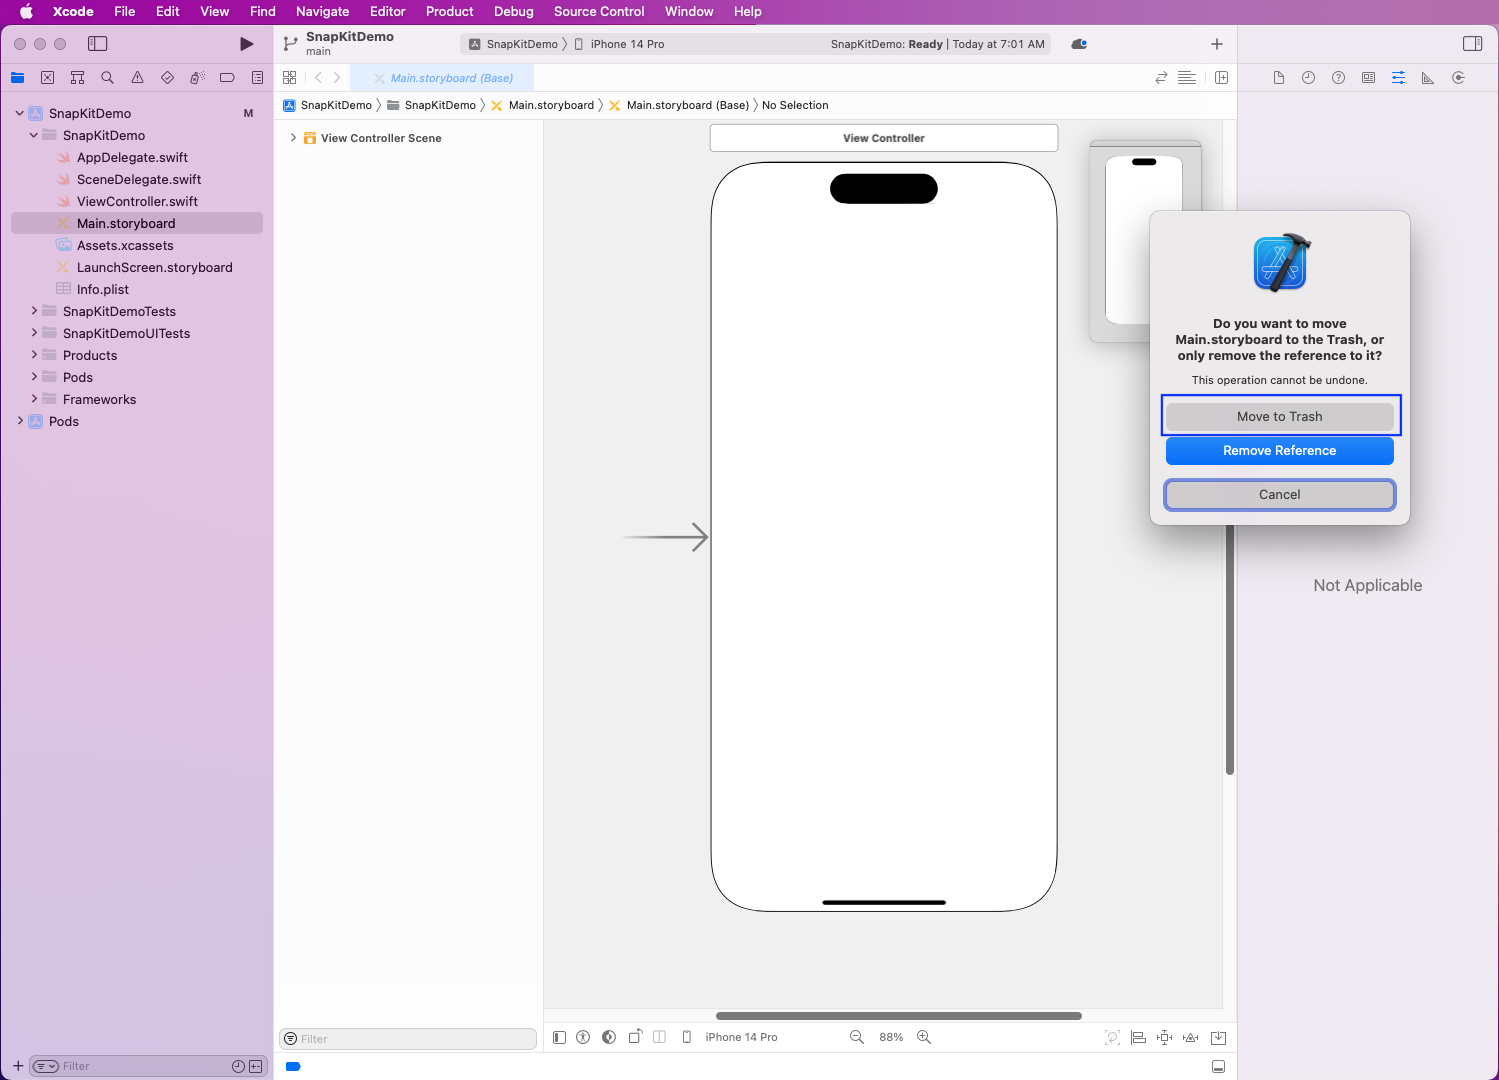
Now, let's remove Storyboard from the project because we’re going to create the layout programmatically through SnapKit. So, we’ll remove the Main.storyboard file from our project by right-clicking and deleting it.
Make sure to click on Move to Trash in the pop-up.
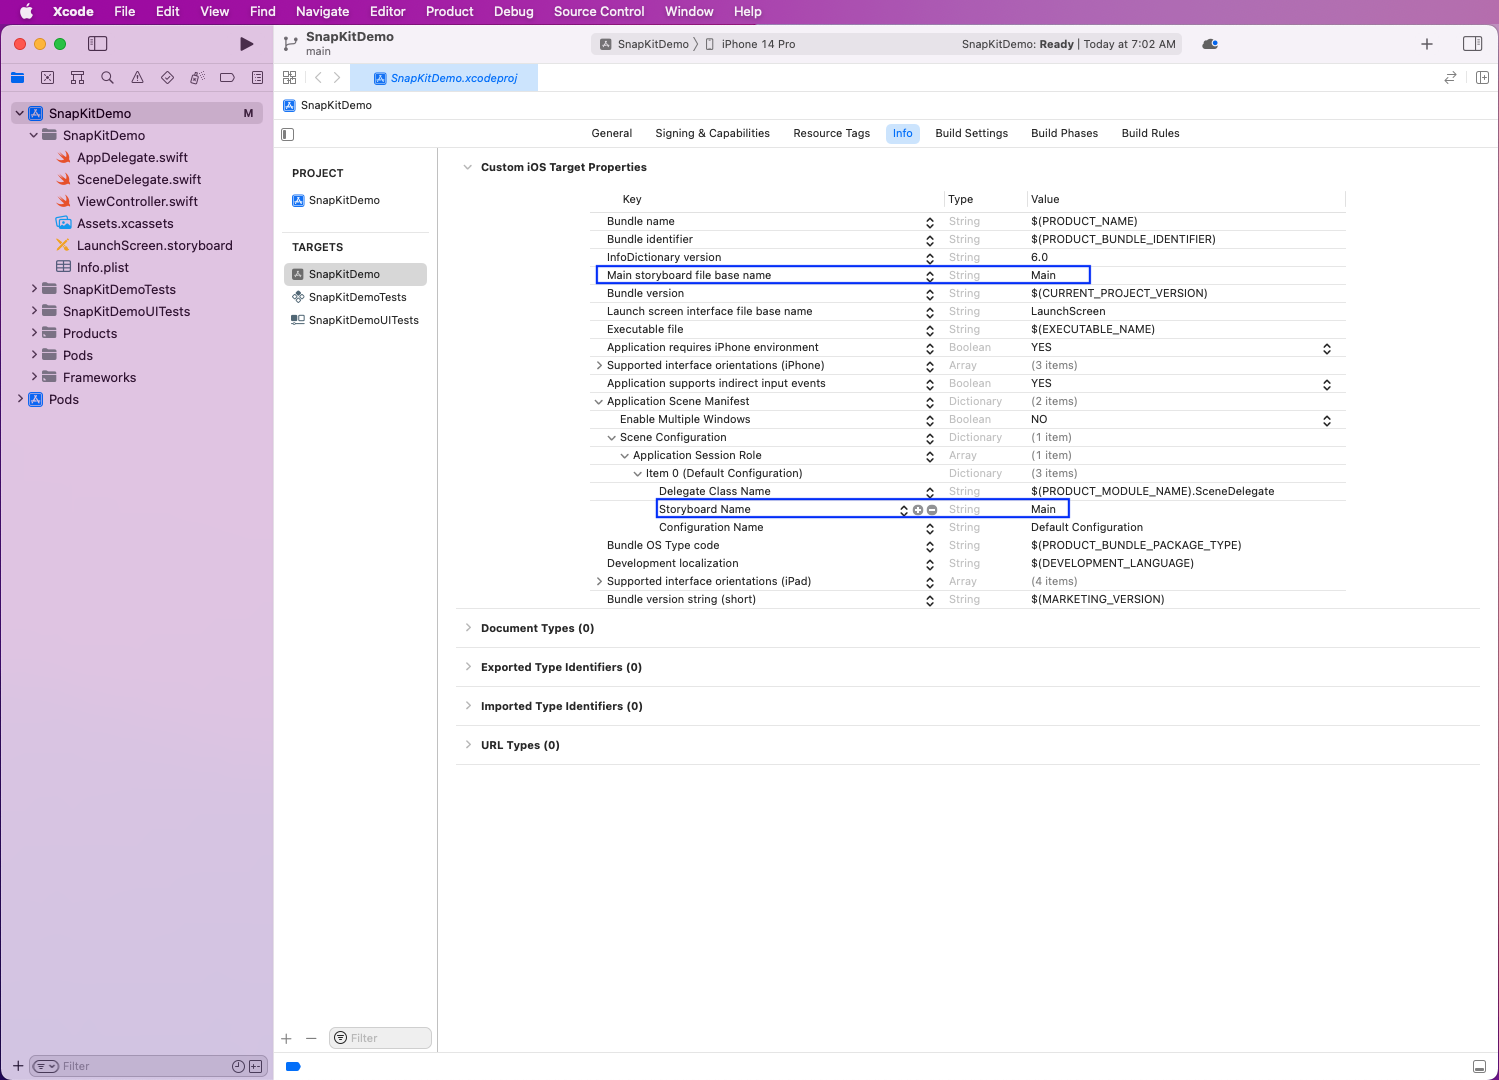
After that, click on the root of the project and select SnapKitDemos in TARGETS on the opened screen.
Then, click on the Info tab and delete the row called Main storyboard file base name.
Next, expand Scene Configuration. Once the Storyboard Name row is shown, click on the minus sign (–) to remove the row.
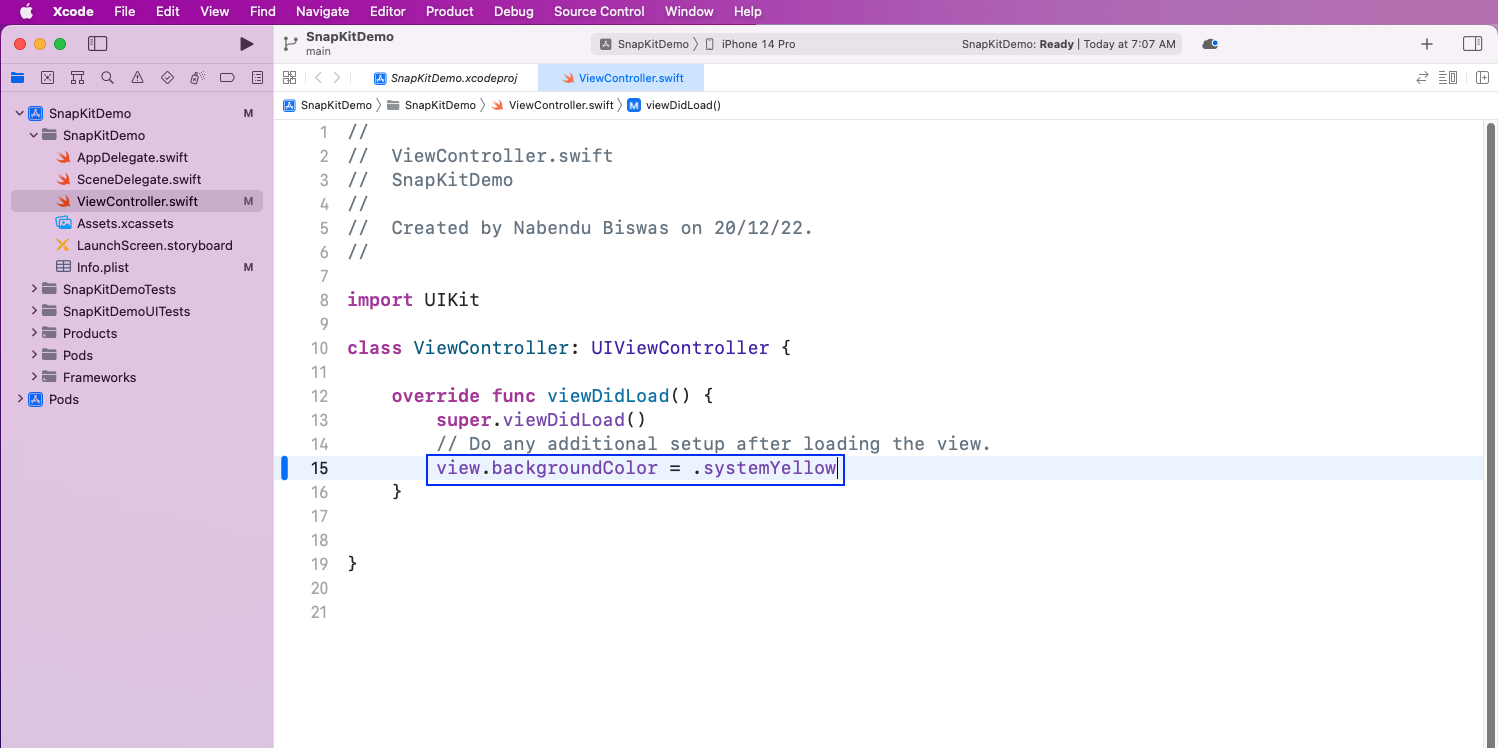
Now, in the ViewController.swift file, add code to make the background yellow.
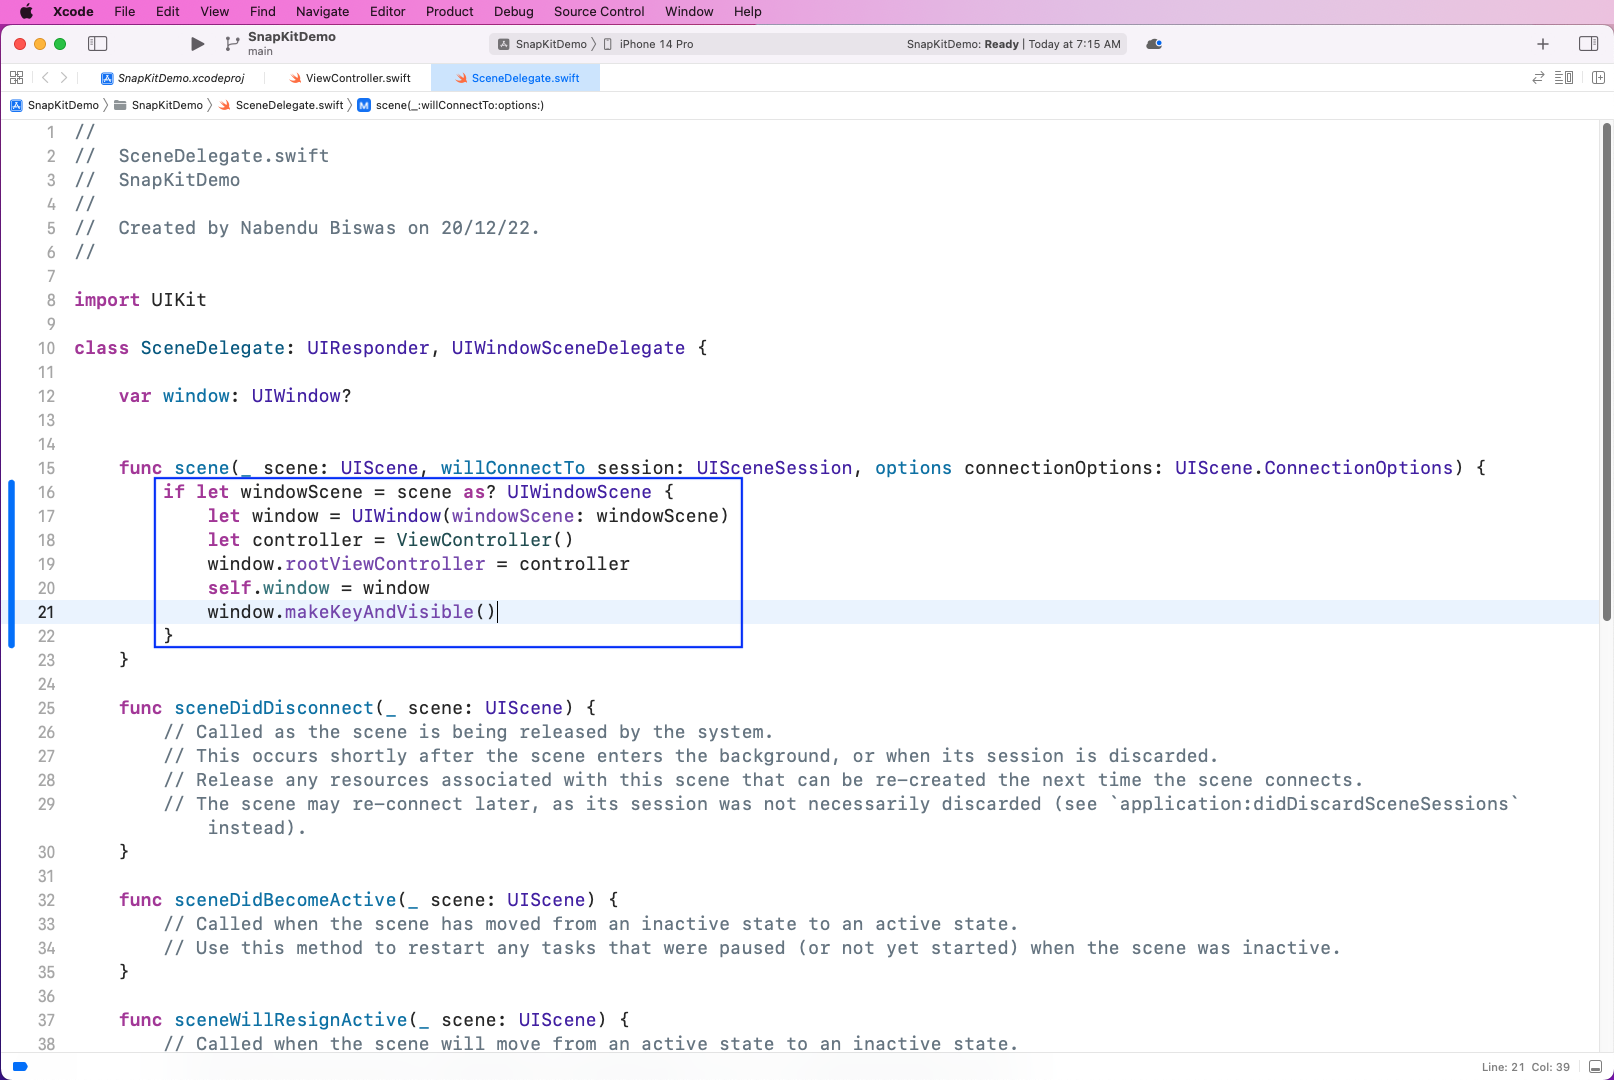
In the SceneDelegate.swift file, add the code below. Here, we’ve added a new windowScene, which will be used instead of the Main file.
Upon running the app, a yellow background will be shown. This will also confirm that there was no error in removing the Storyboard.
Basic UI With SnapKit
Now, let's create a basic UI showing boxes with SnapKit. Then, we'll change it to a photo gallery.
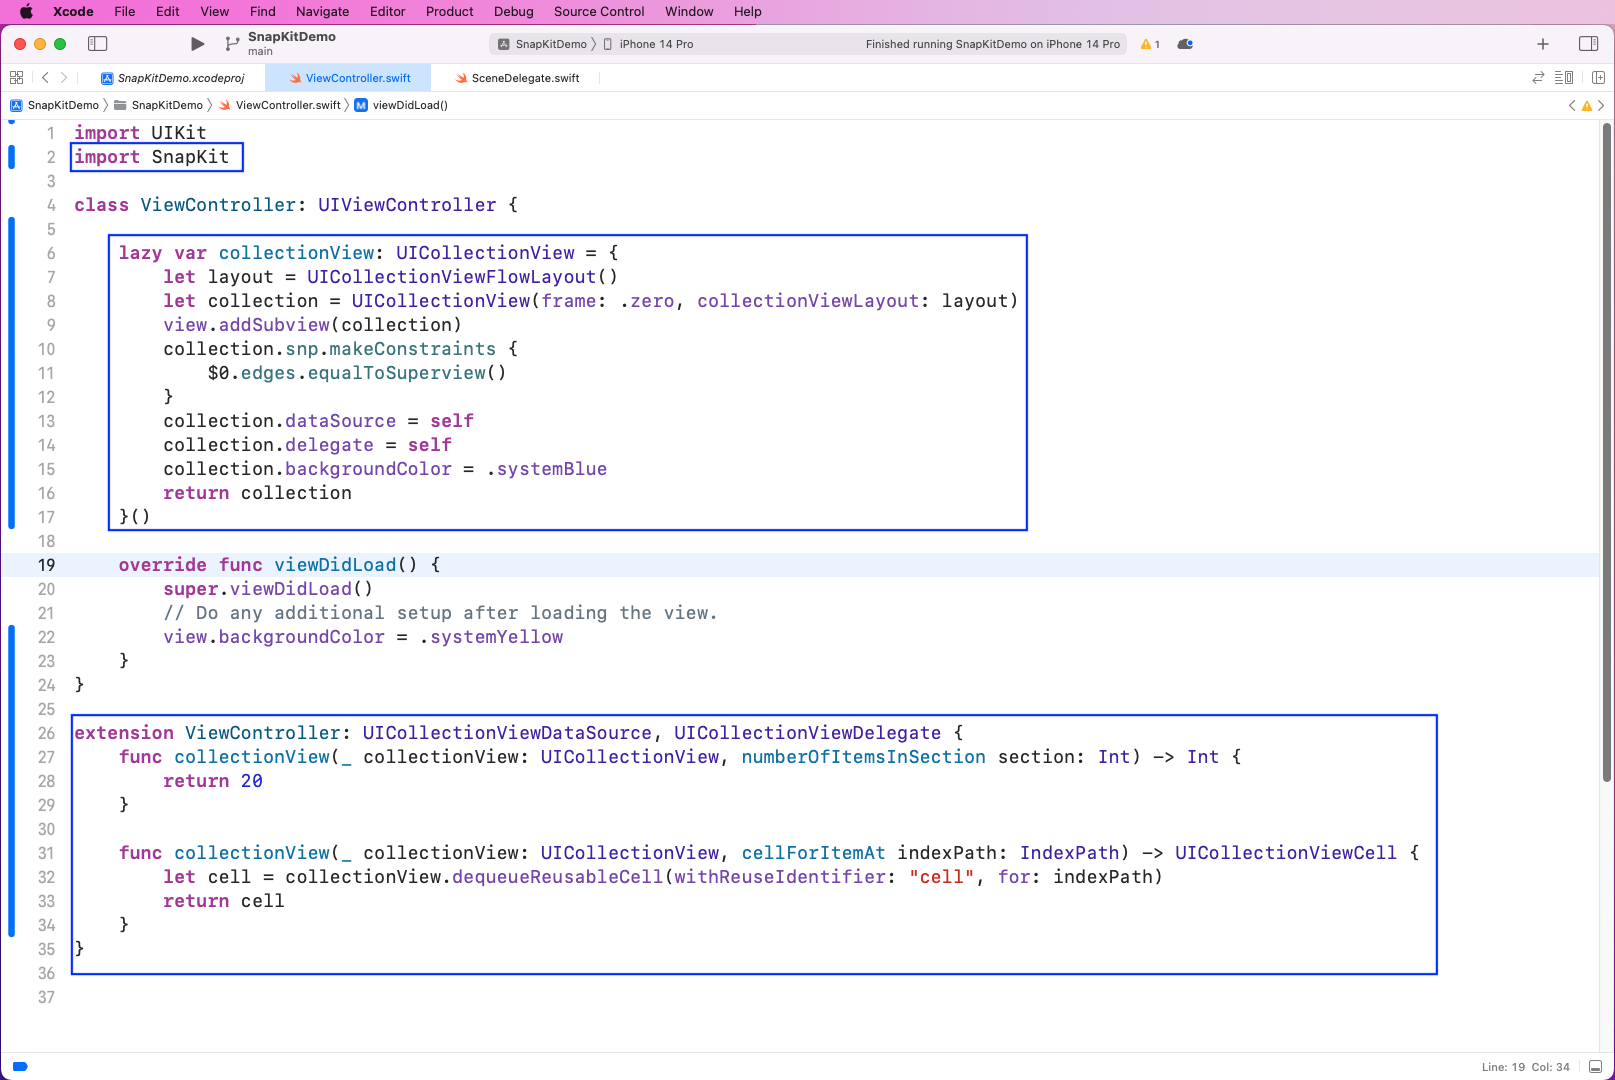
To do so, begin by importing SnapKit in the ViewController.swift file. Here, through a lazy function, we'll create a collection view in which all of our cells will go.
Inside the collectionView function, start by creating a subview that's taking this collection.
Next, we'll make use of the SnapKit makeConstraints function to have this collection view expand the whole super view.
The whole super view will cover the complete device. We'll also make the background color blue.
Now, with the extension, give the collection view a total of 20 cells and define each cell source.
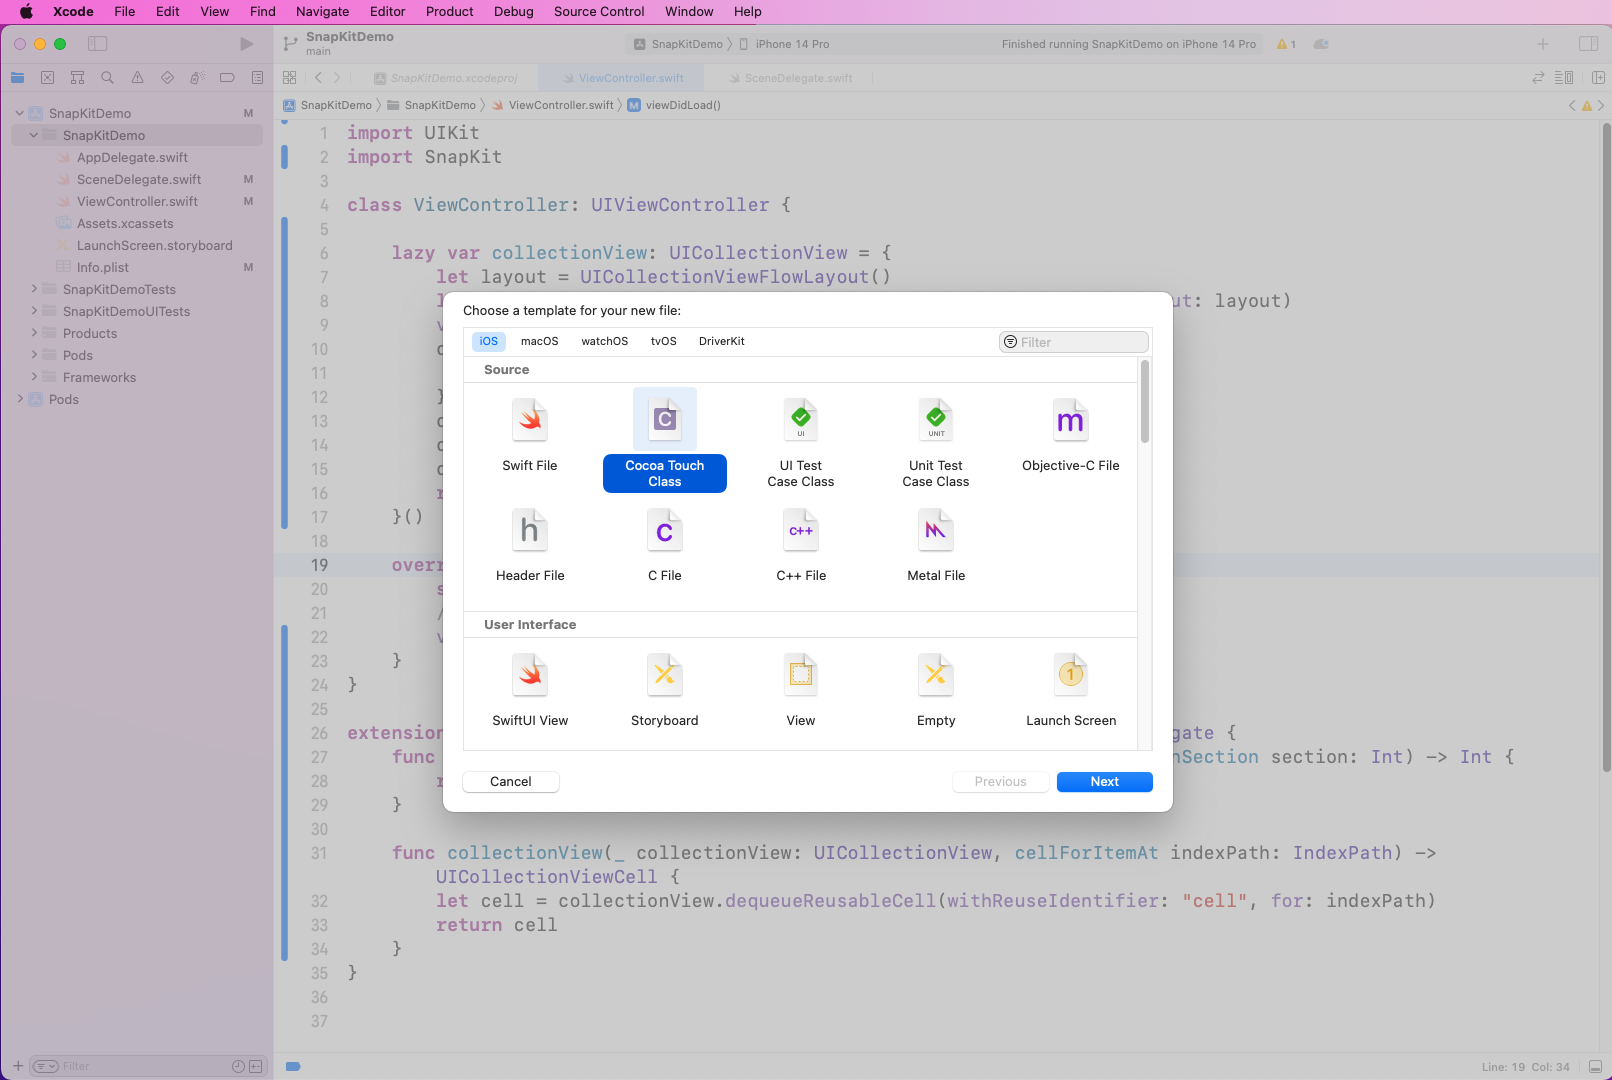
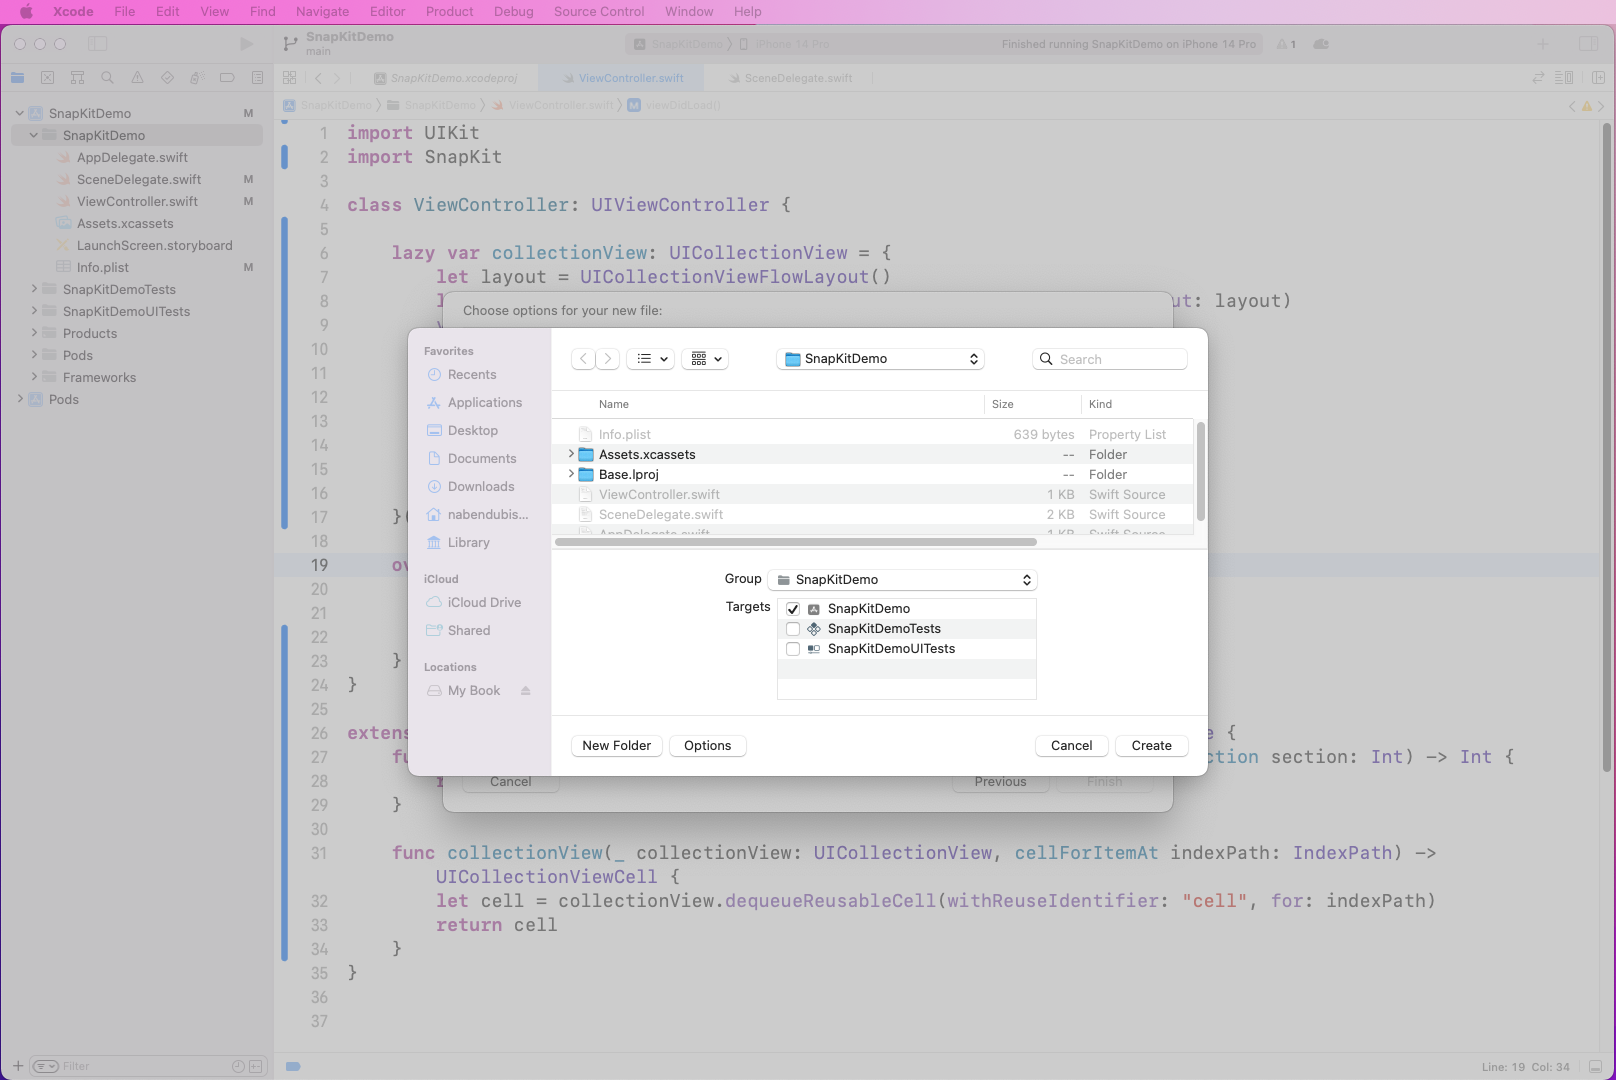
Next, we'll create the file for an individual cell. To do so, right-click on the root of the project and create a new file.
Here, select the Cocoa Touch Class and click on Next.
After that, give any name in Class, which is CarousalViewCell in our case. However, make sure that the subclass is UICollectionViewCell. Then, click Next.
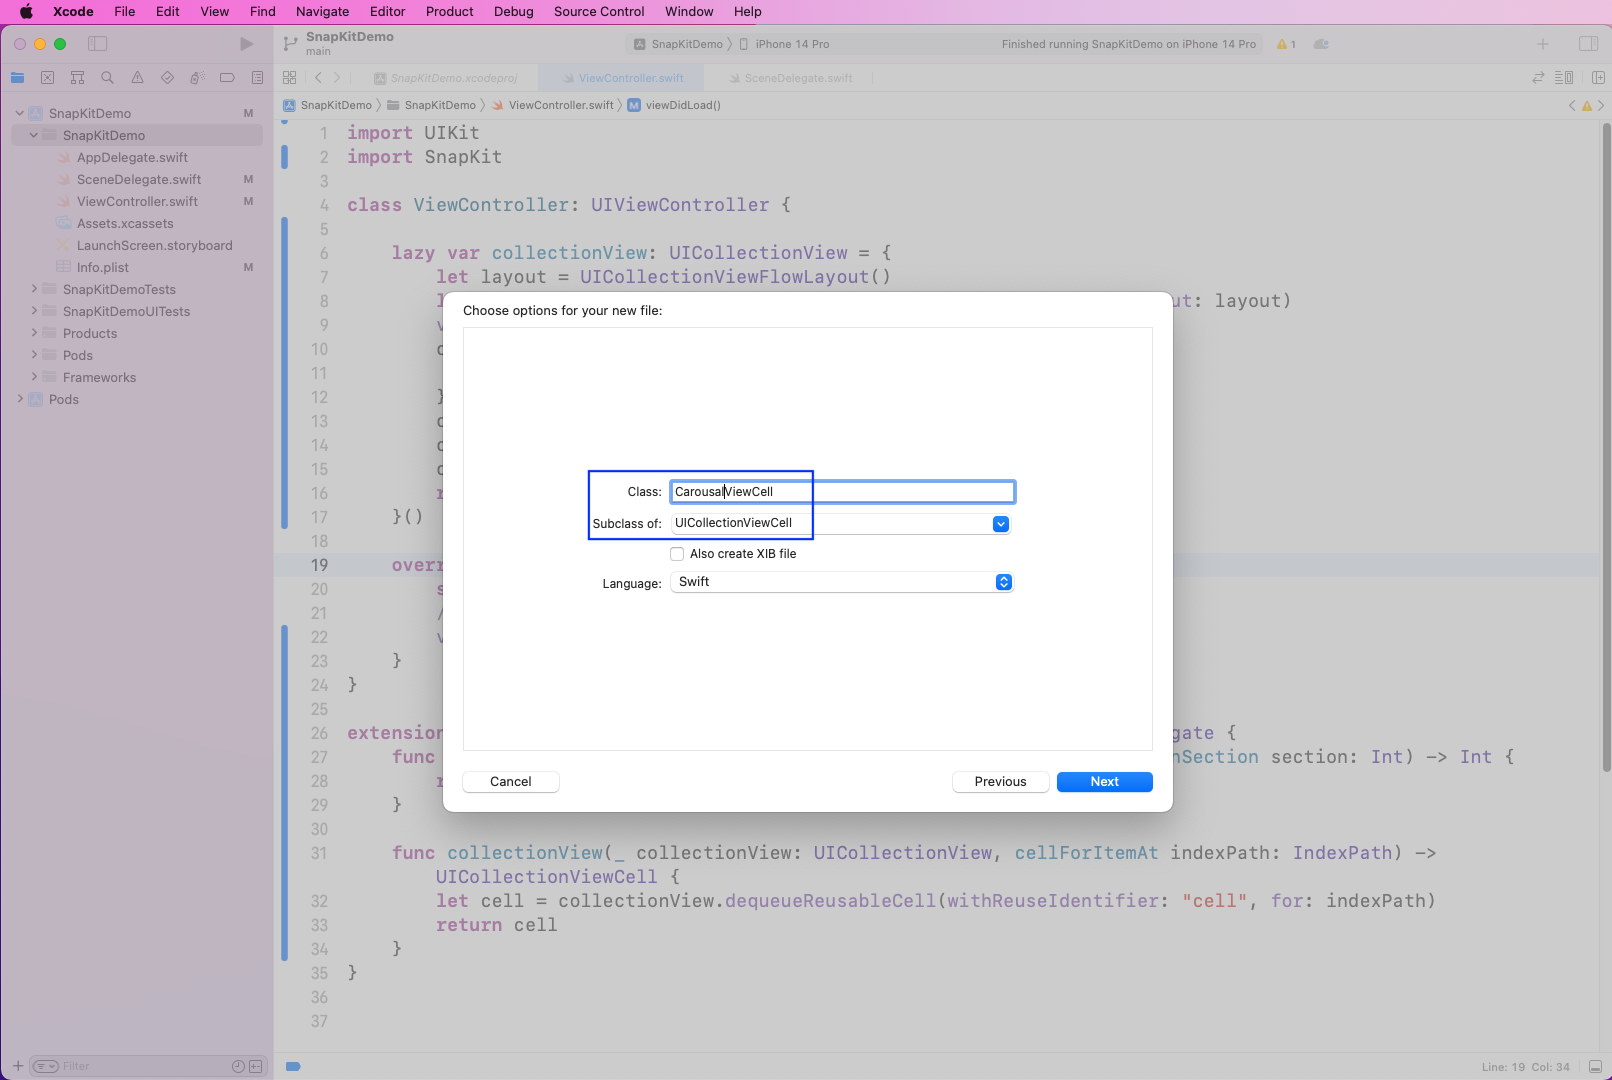
In the next pop-up, the only thing to make sure of is that the Targets is SnapKitDemo. Then, click on the Create button.
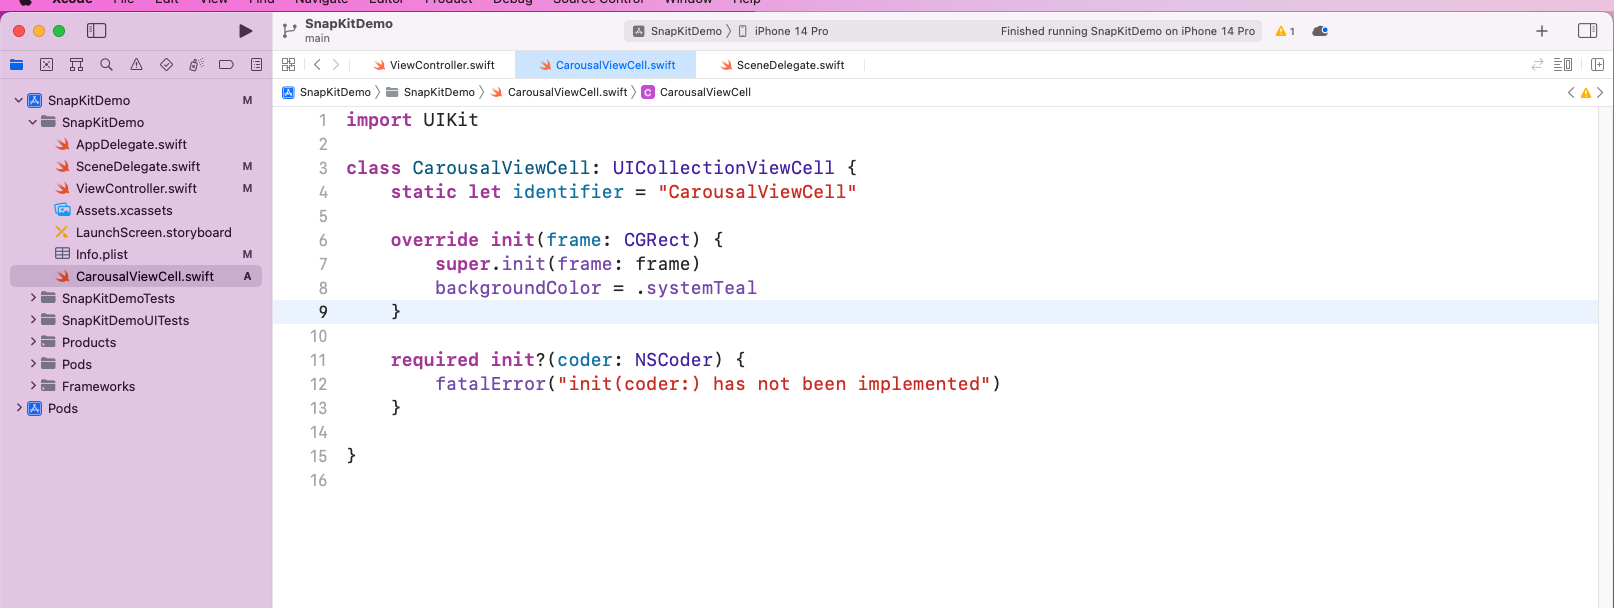
Now, in the CarousalViewCell.swift file, add the code below. This is where we'll create an identifier with the name of CarousalViewCell.
After that, we'll create a rectangle with a background color that's teal.
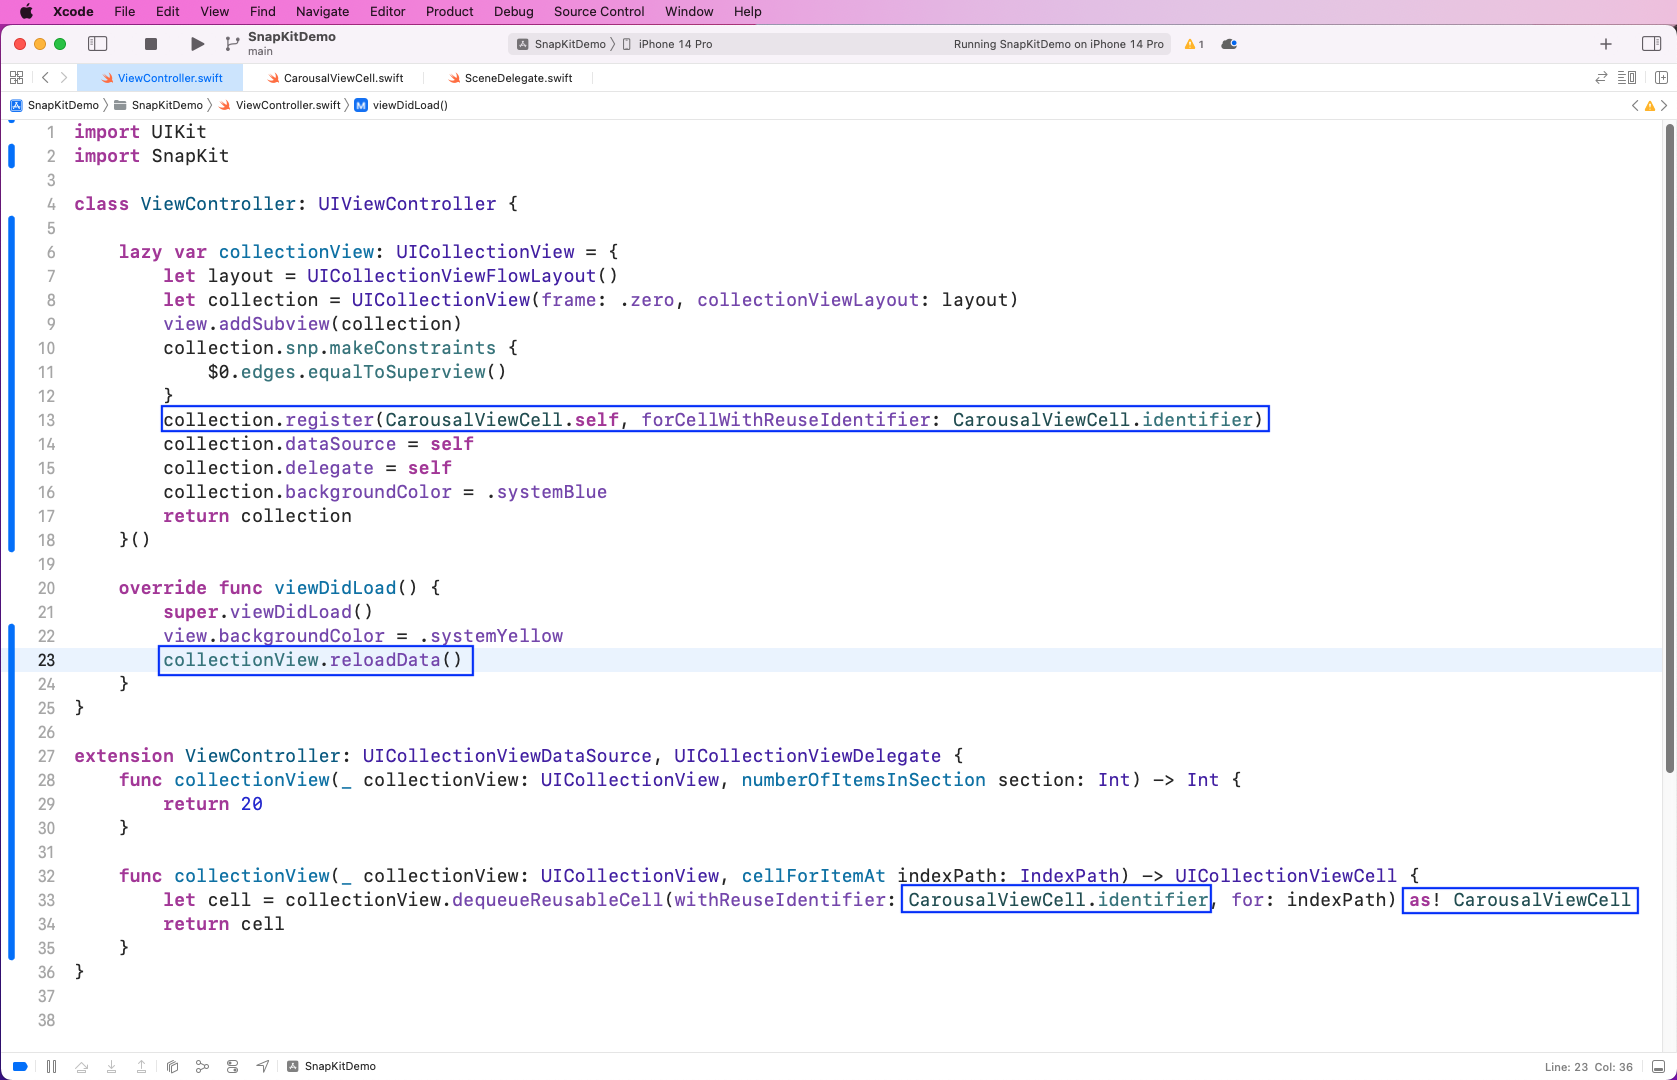
Back in the ViewController.swift file, register the new CarousalViewCell in the collection view.
We'll also use identifier inside the extension. The collection view needed to be reloaded to be shown in UI.
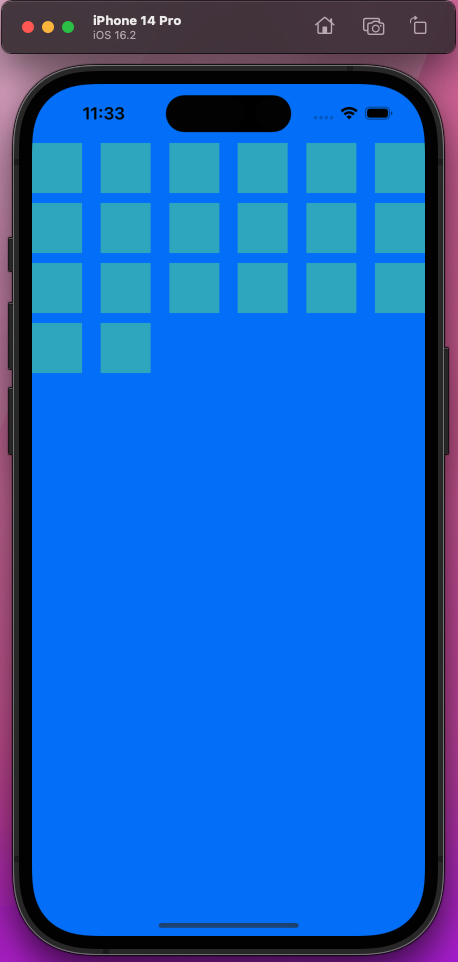
Upon running our app, we'll see 20 teal-colored rectangles on a blue background.
Advanced Photo Gallery With SnapKit
For the photo gallery, we'll change the layout a bit.
So, add two new collectionView functions in the ViewController.swift file. Here, two cells are taking up the whole width and height.
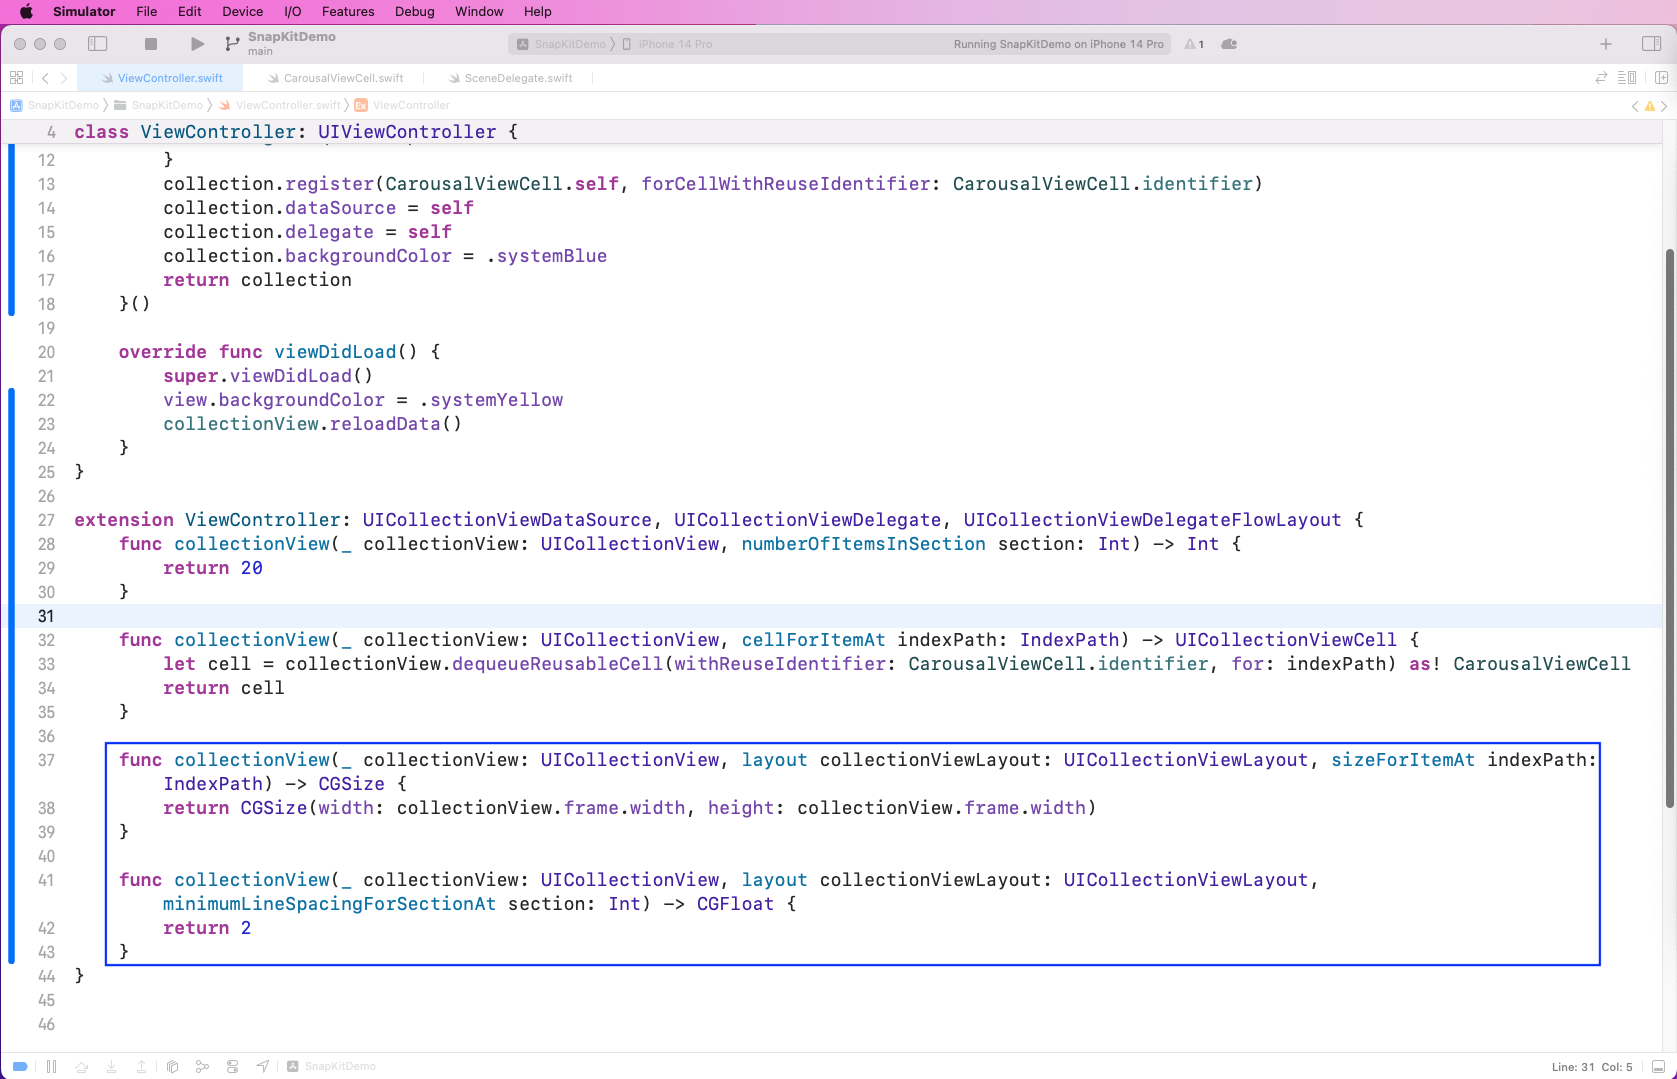
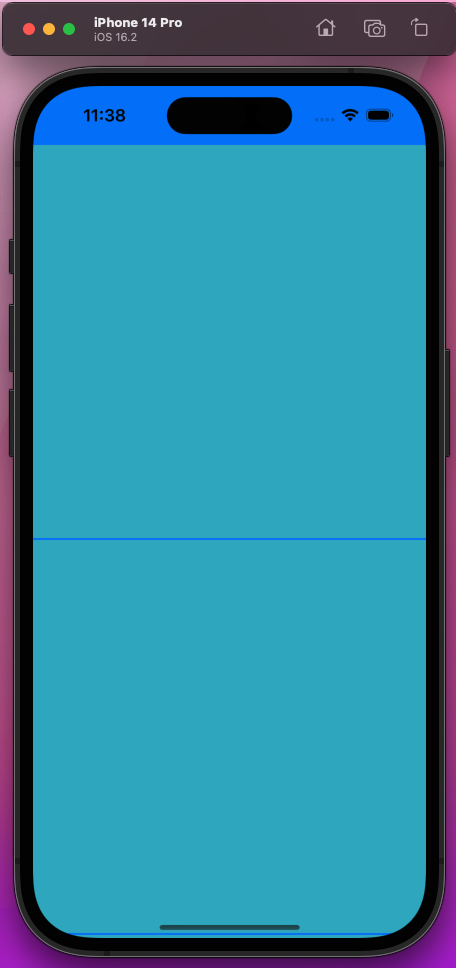
Now, when we run the app, we'll see the whole layout in two parts.
We can then create our "carousel view," which will hold three images in a cell. For this, again create a Cocoa Touch Class in the root directory.

Now, give any name in Class, which is CarousalView in our case. Also, make sure that the Subclass is UIView. After that, click on the Next button.
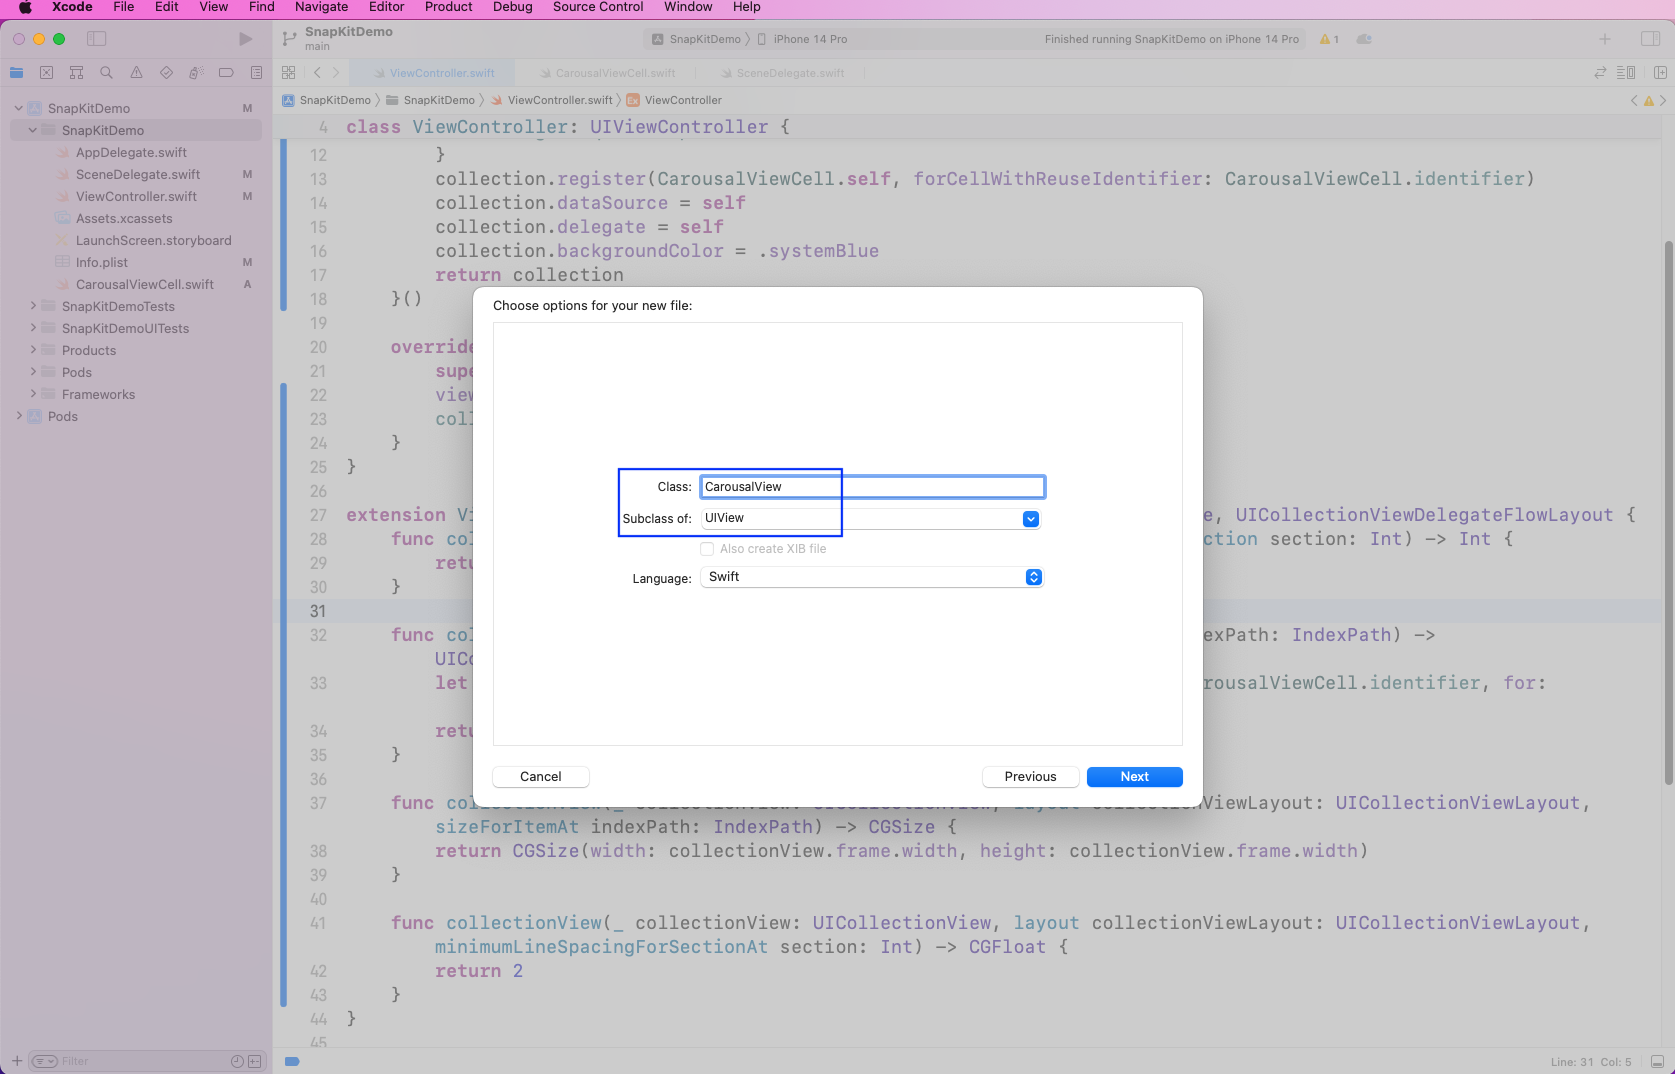
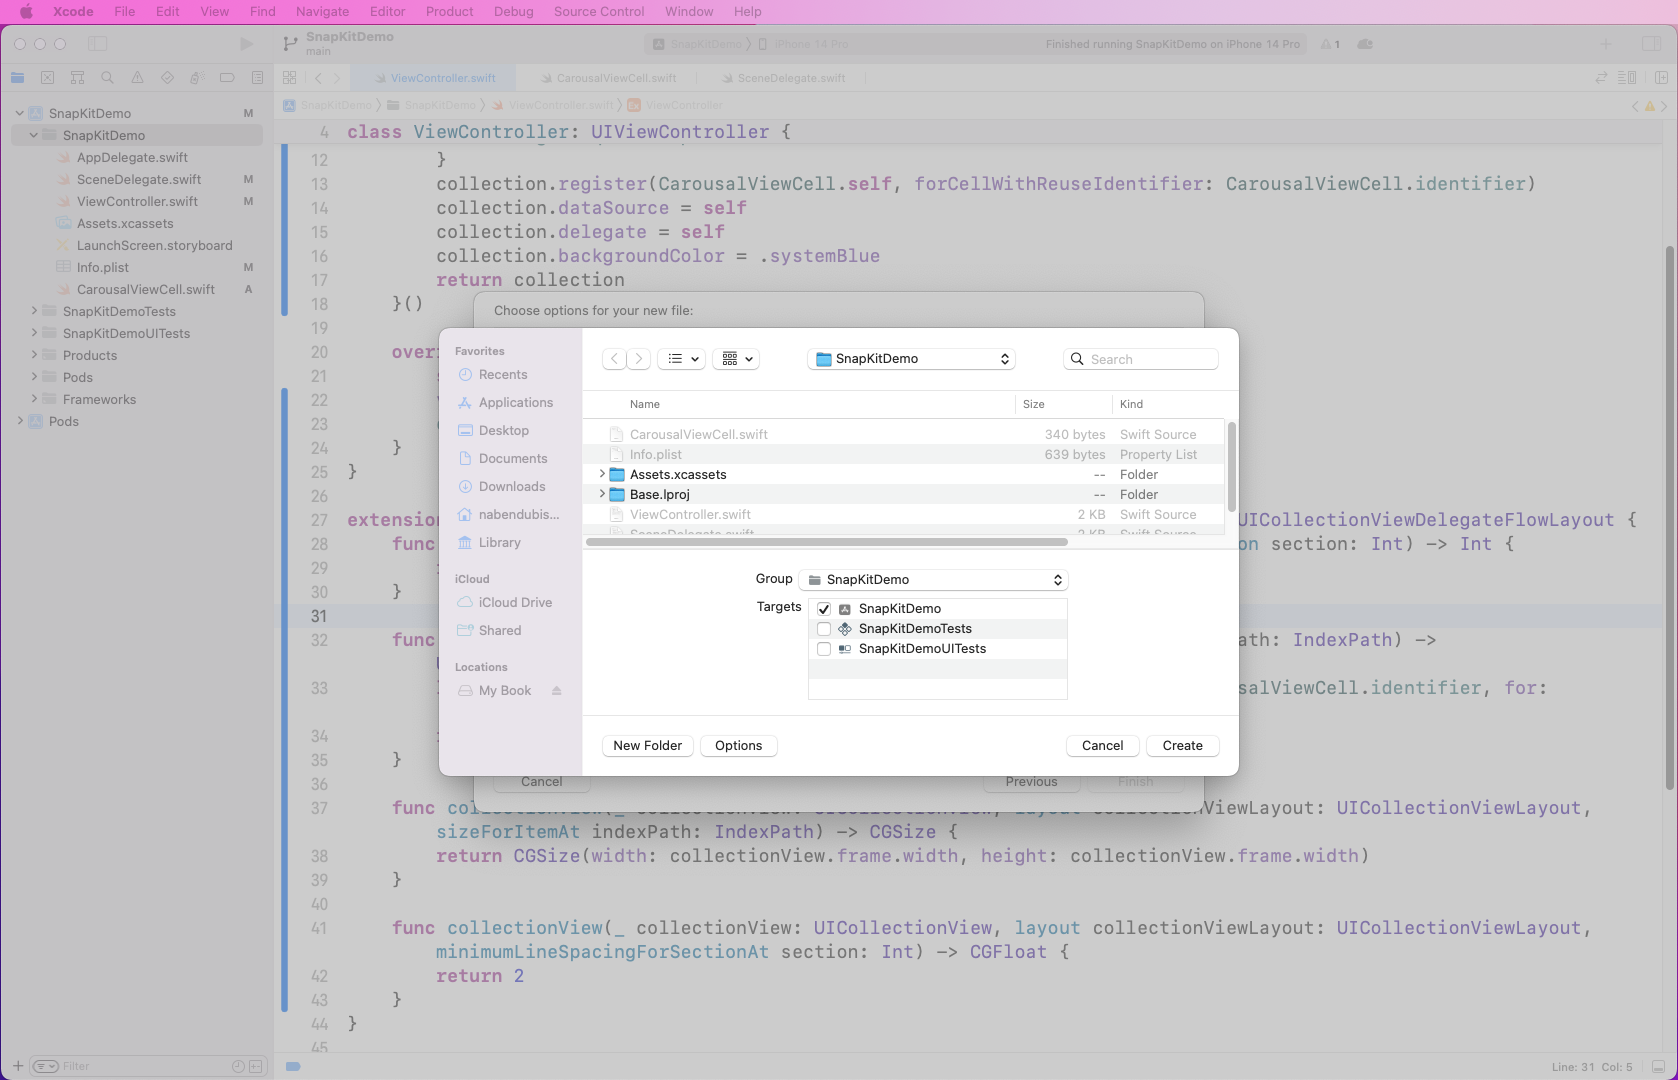
In the next pop-up, the only thing to make sure of is that the Targets is SnapKitDemo. Then, click on the Create button.
In the CarousalView.swift file, create two lazy functions. Here, the main code is makeConstraints from SnapKit.
In the first function of imageViewOne, make the image take up half of the container width. In the second function, imageViewTwo, start the image from where the first image is ending, and the height will be equal to half of the container.
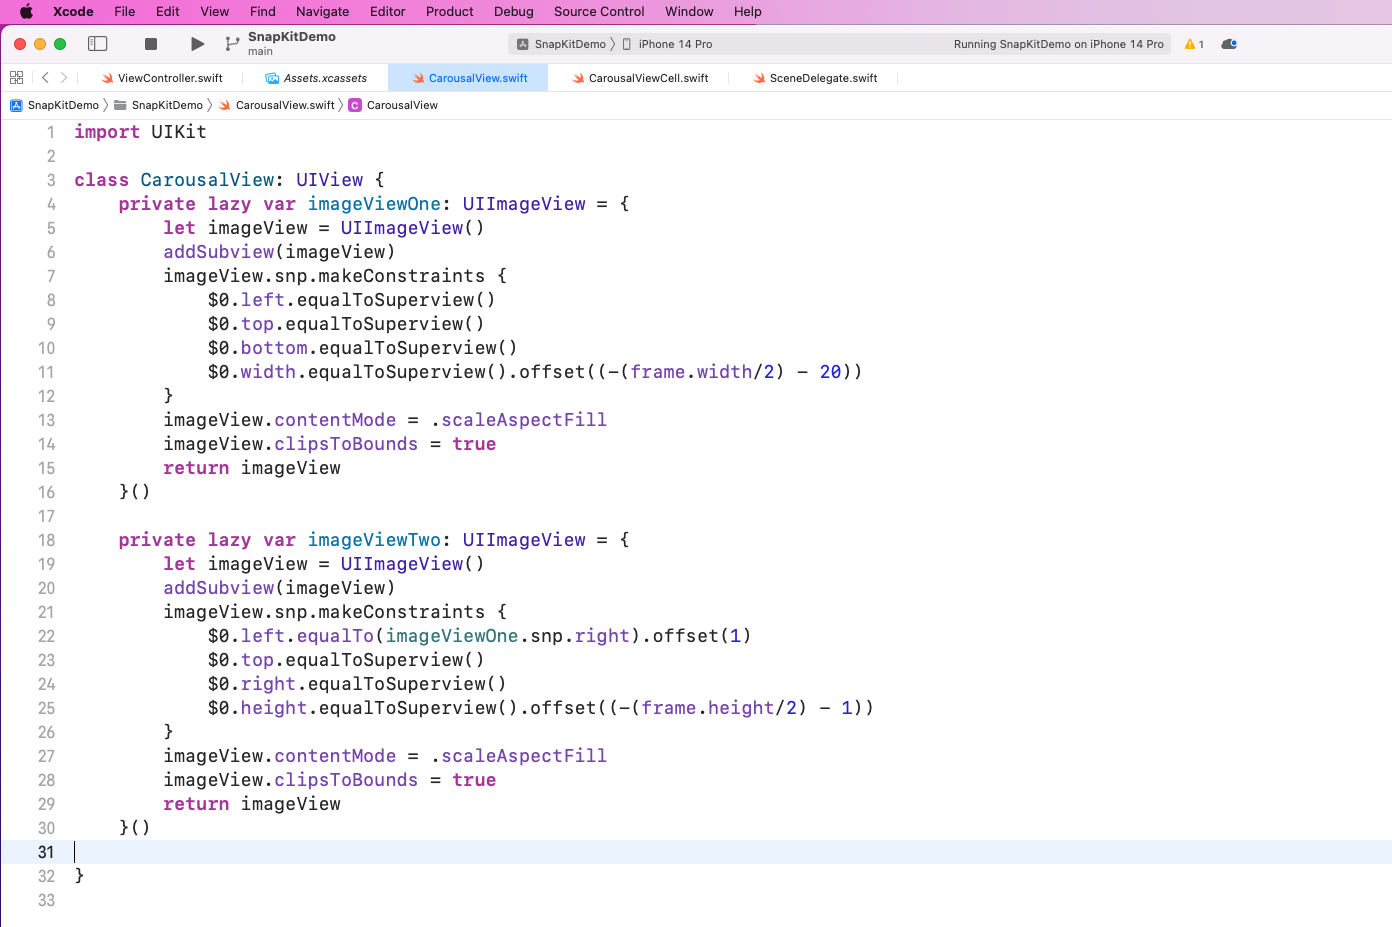
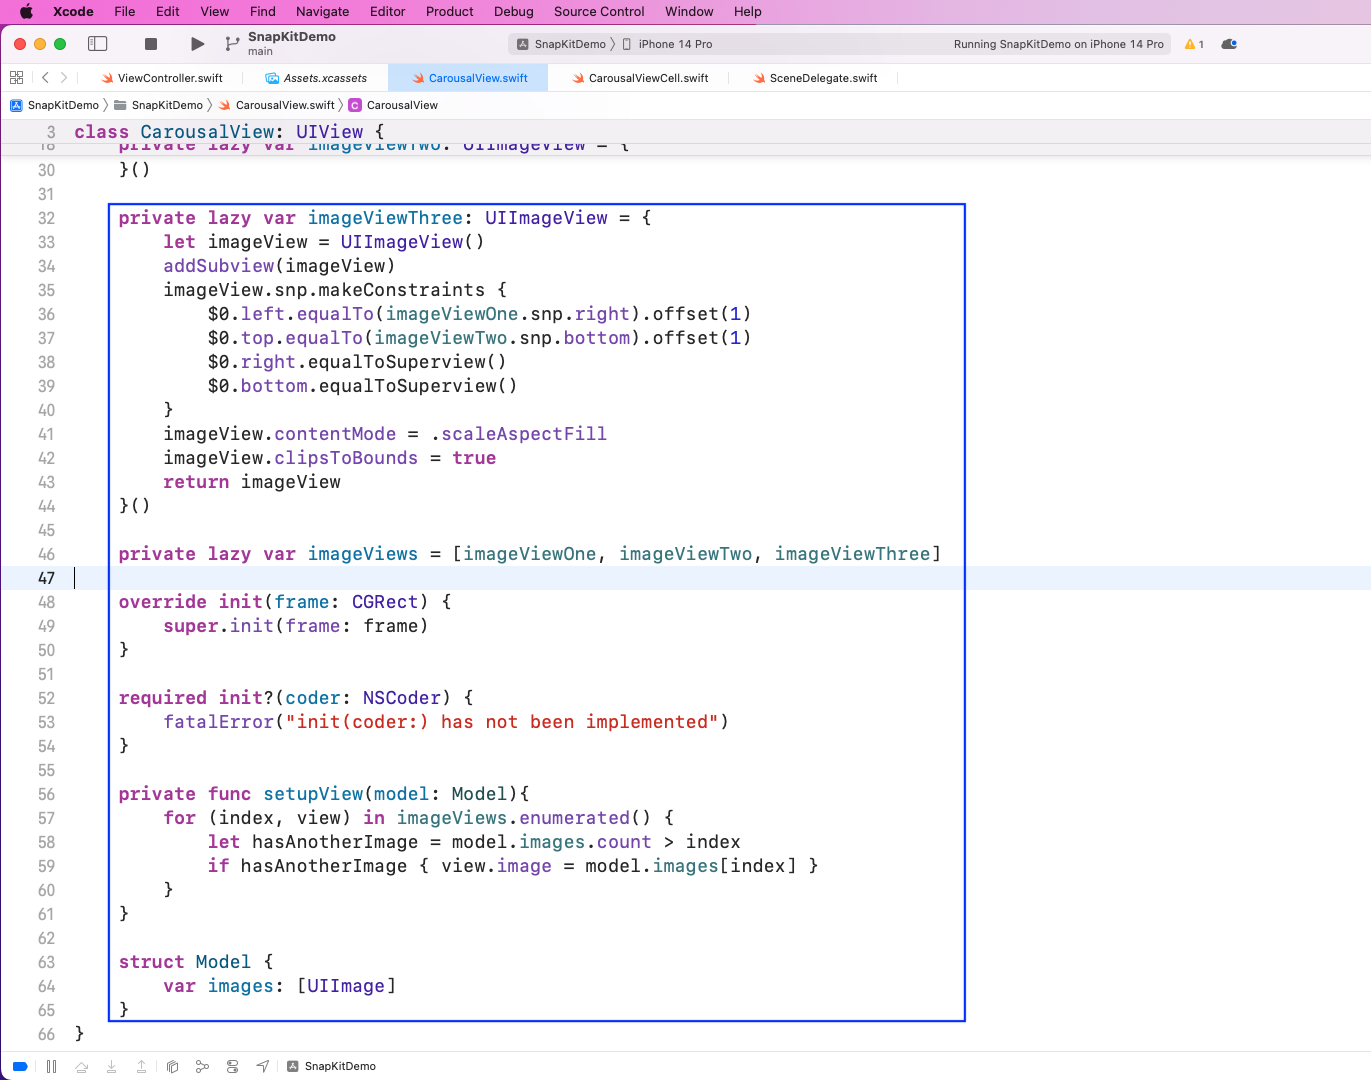
In the CarousalView.swift file, we've created a third lazy function called imageViewThree. Here, we'll start on the left from the place where the first image view ends and the top from where the second image view ends.
We've added all images in an imageViews array. Now, in the setupView function, loop through the images and show them.
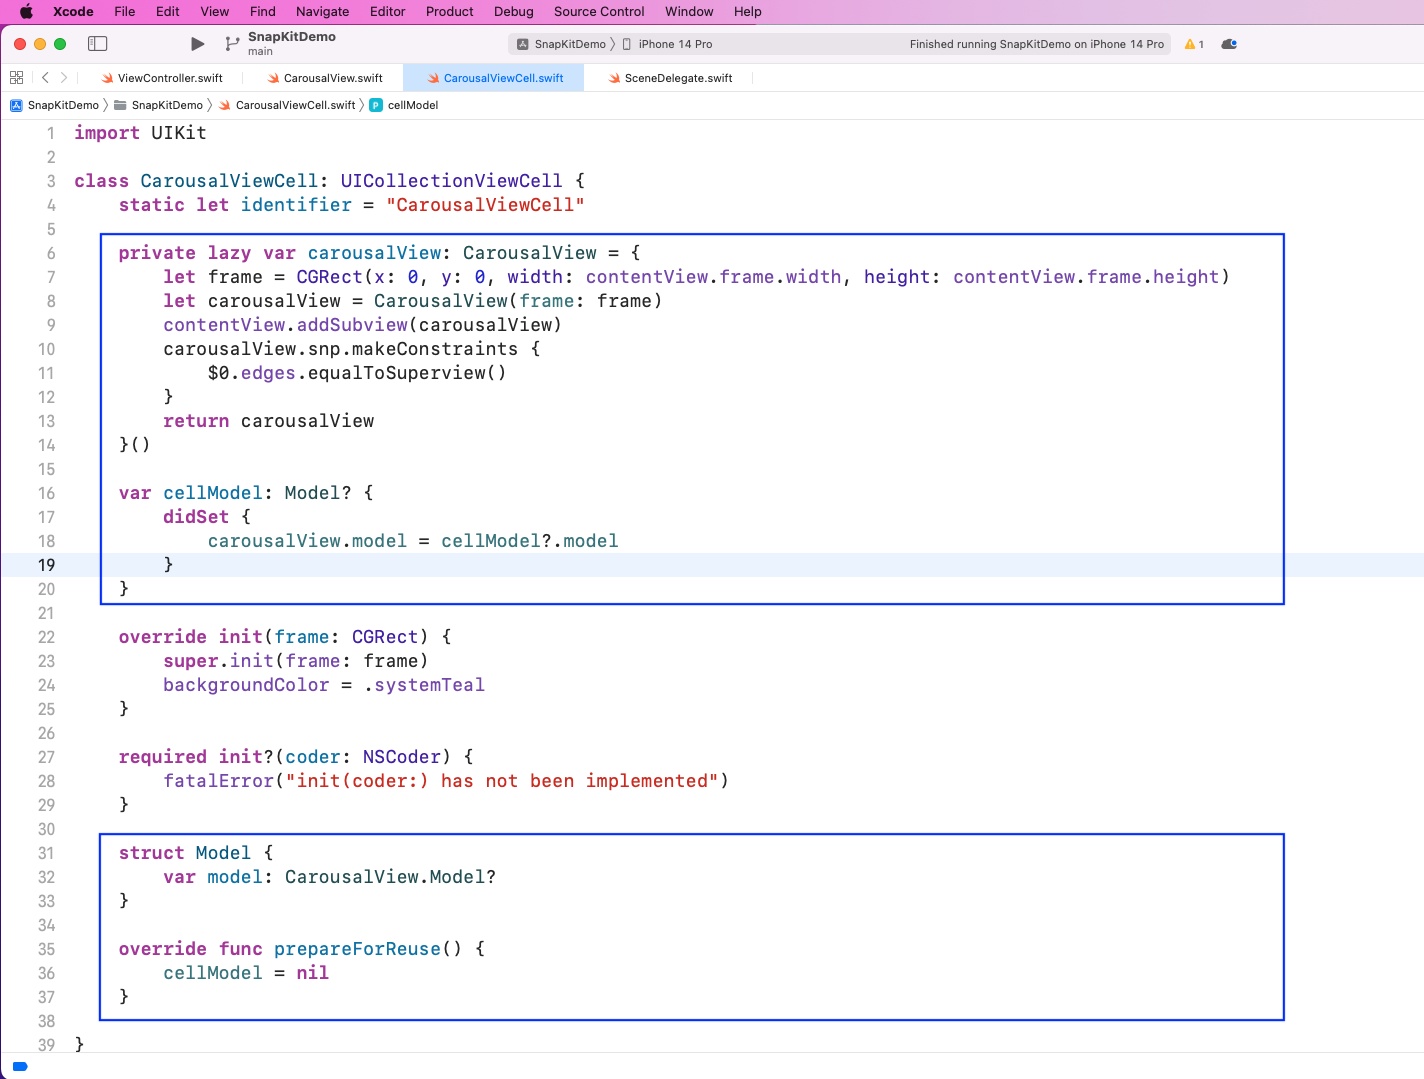
Back in CarousalViewCell.swift, create a lazy function of carousalView. Here, we'll pass the whole cell to the carousalView through the CGRect function.
Next, we'll make the carousalView model equal to the cell model.
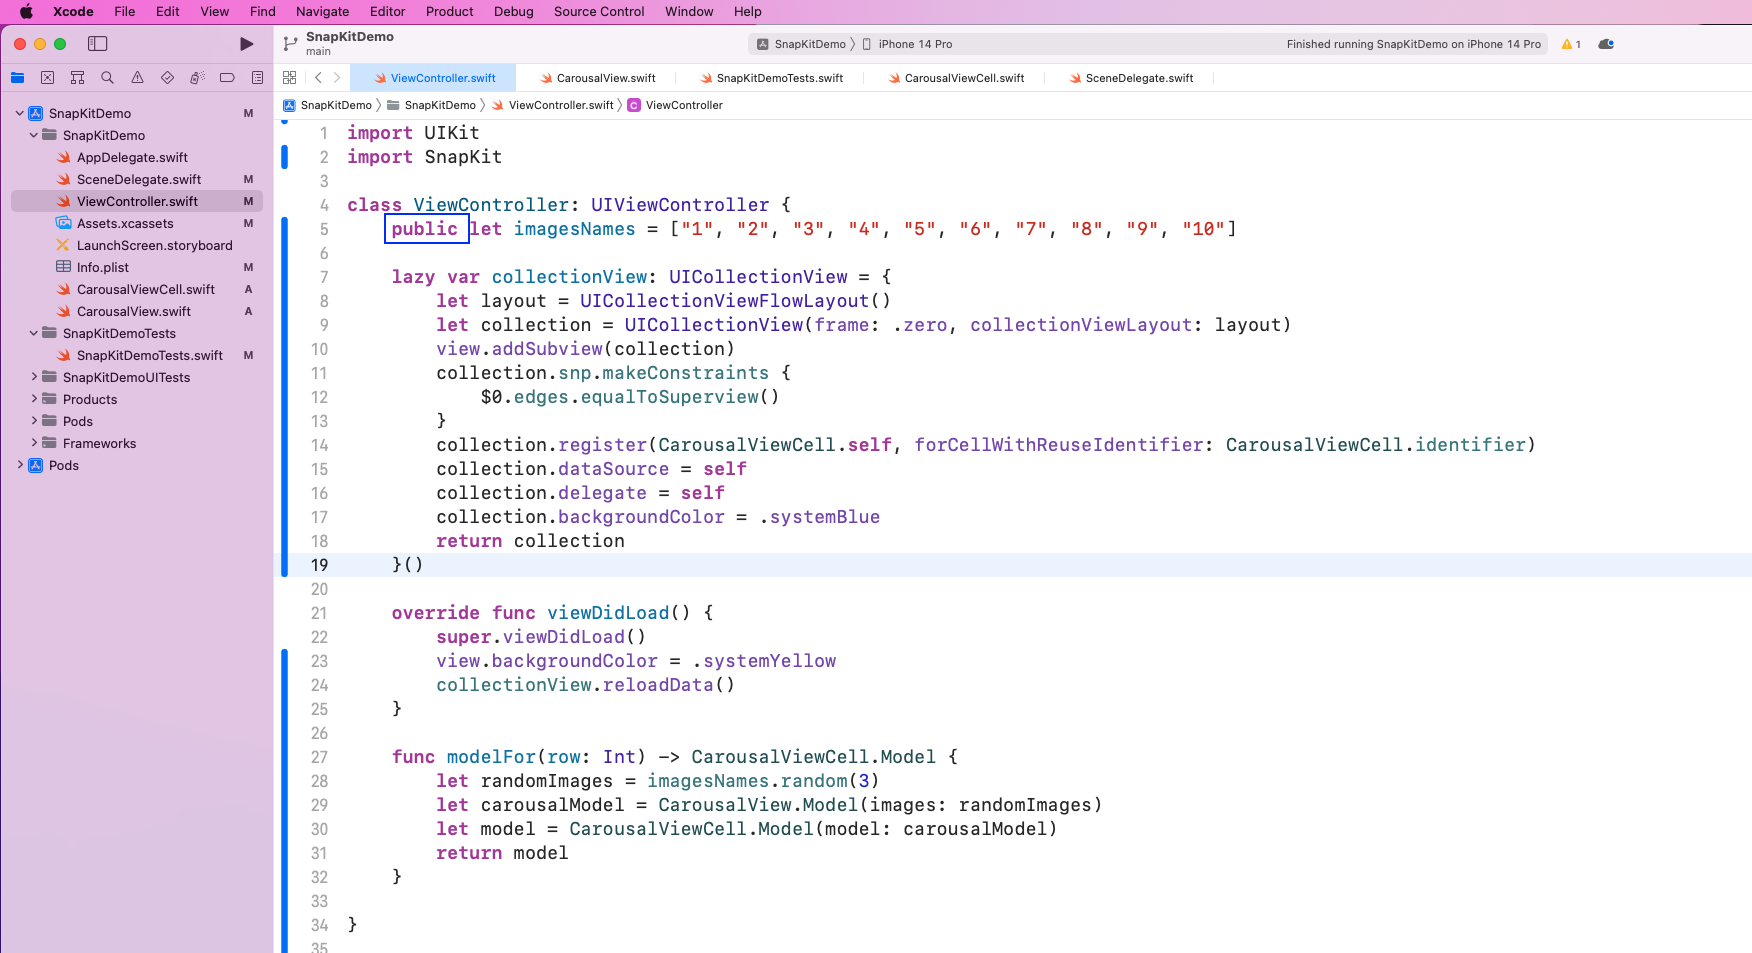
Back in the ViewController.swift file, we've created a private array variable called imagesNames. This variable contains an array of 10 strings as numbers:
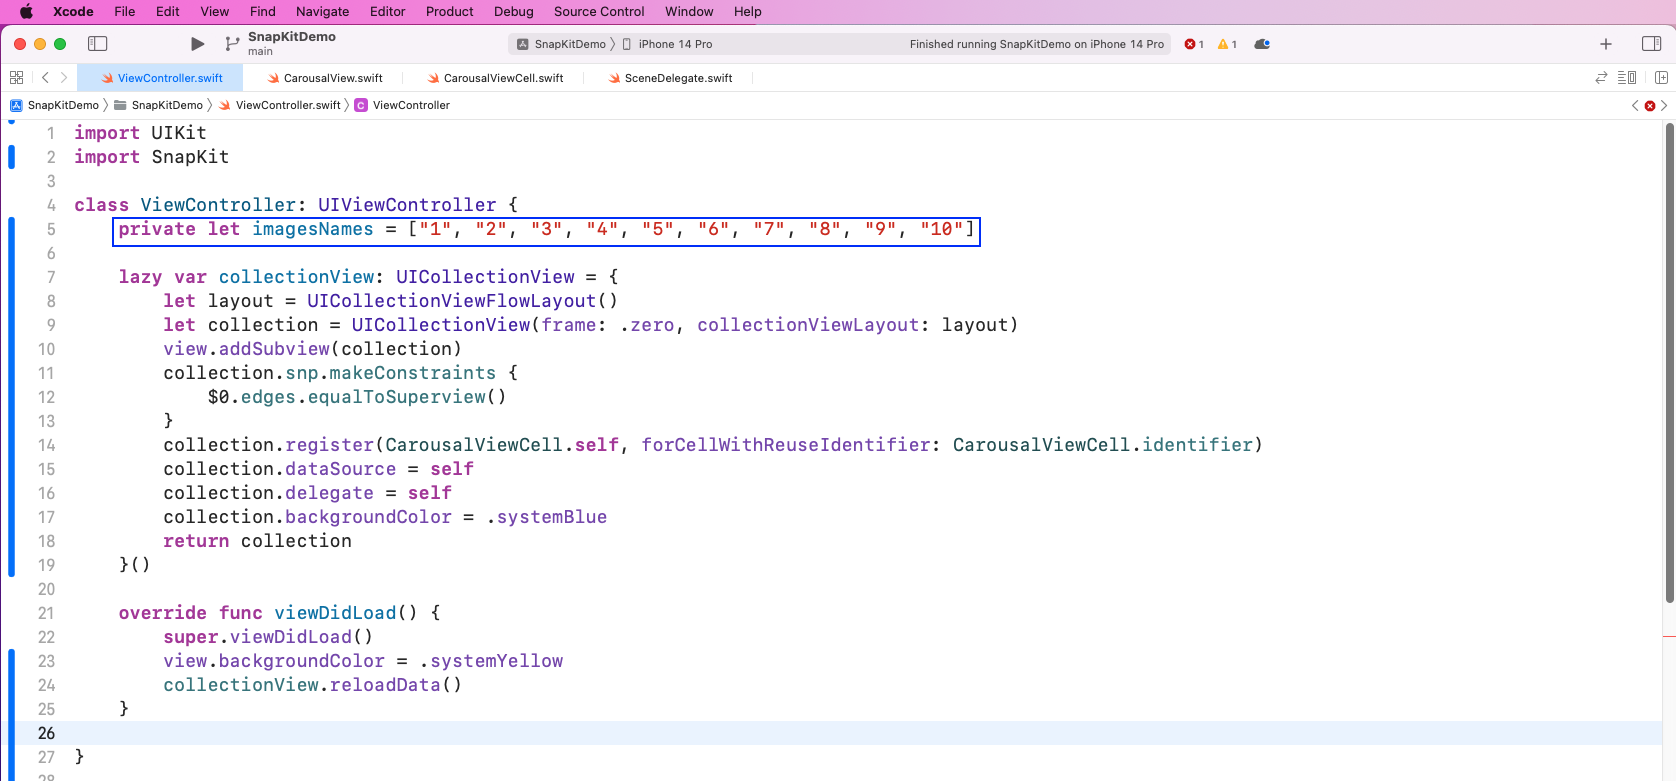
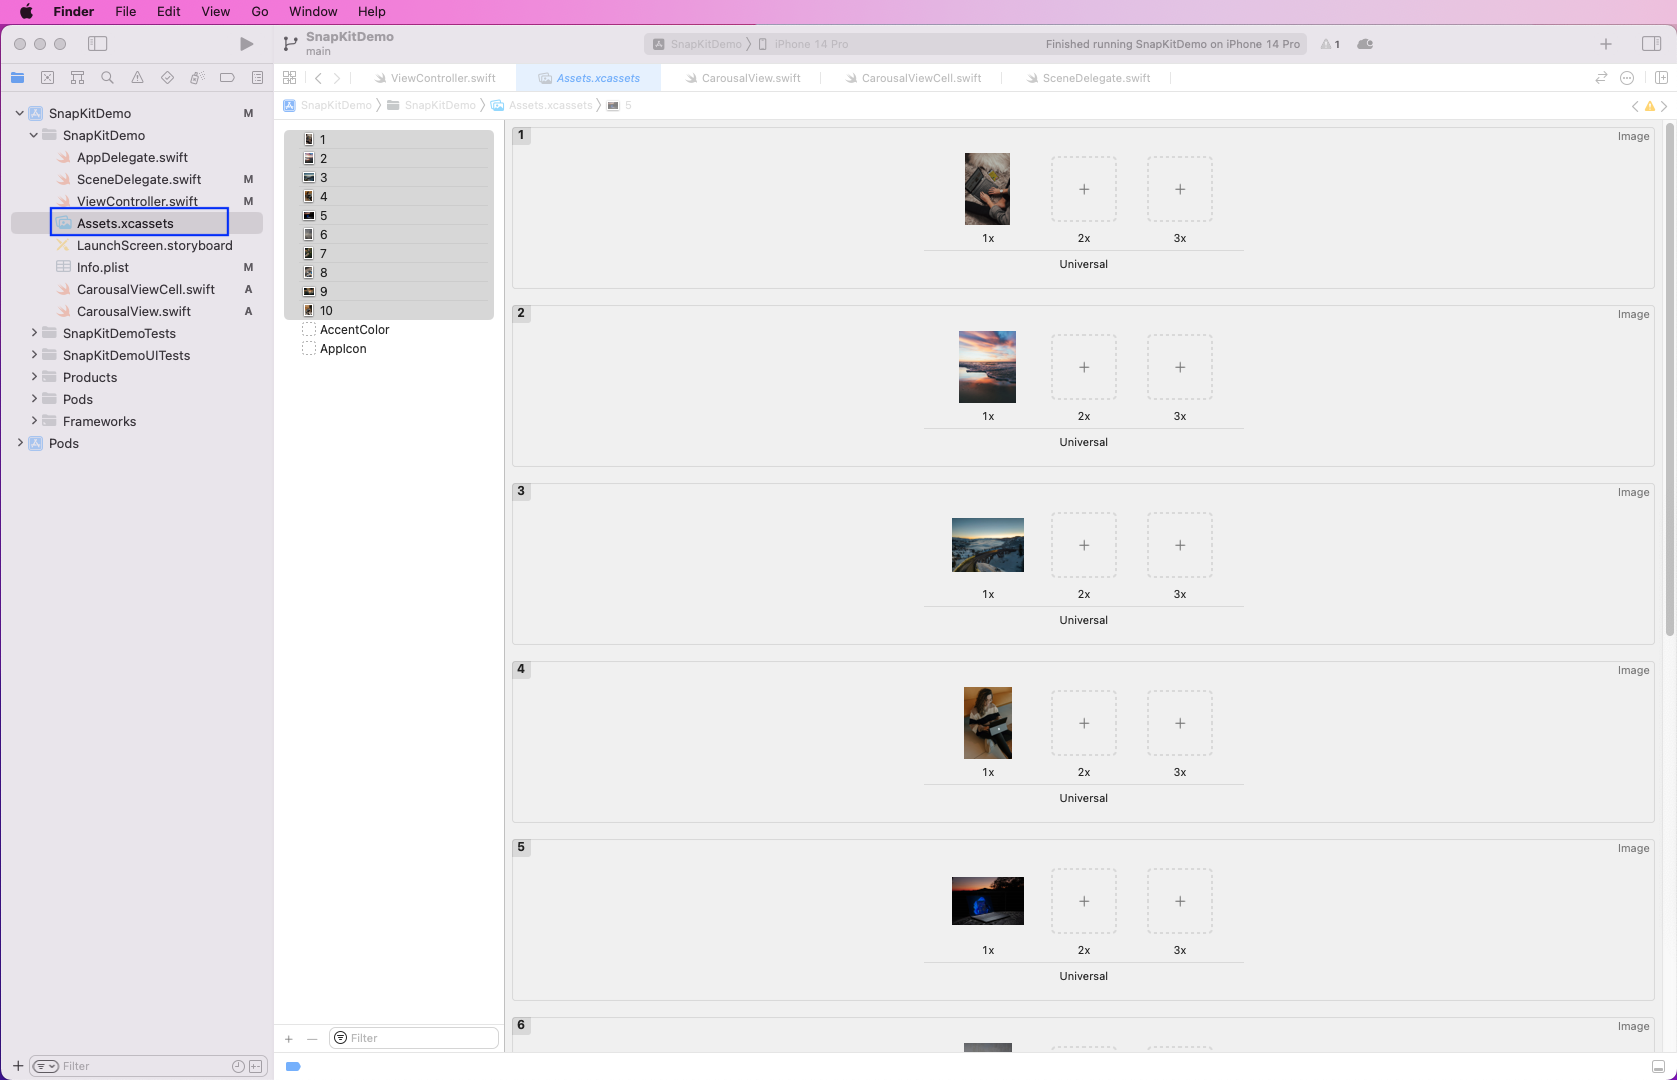
Then, drag 10 images and save them on your computer. Notice that these images are saved as the numbers one through 10. These are royalty-free images from unsplash.com.
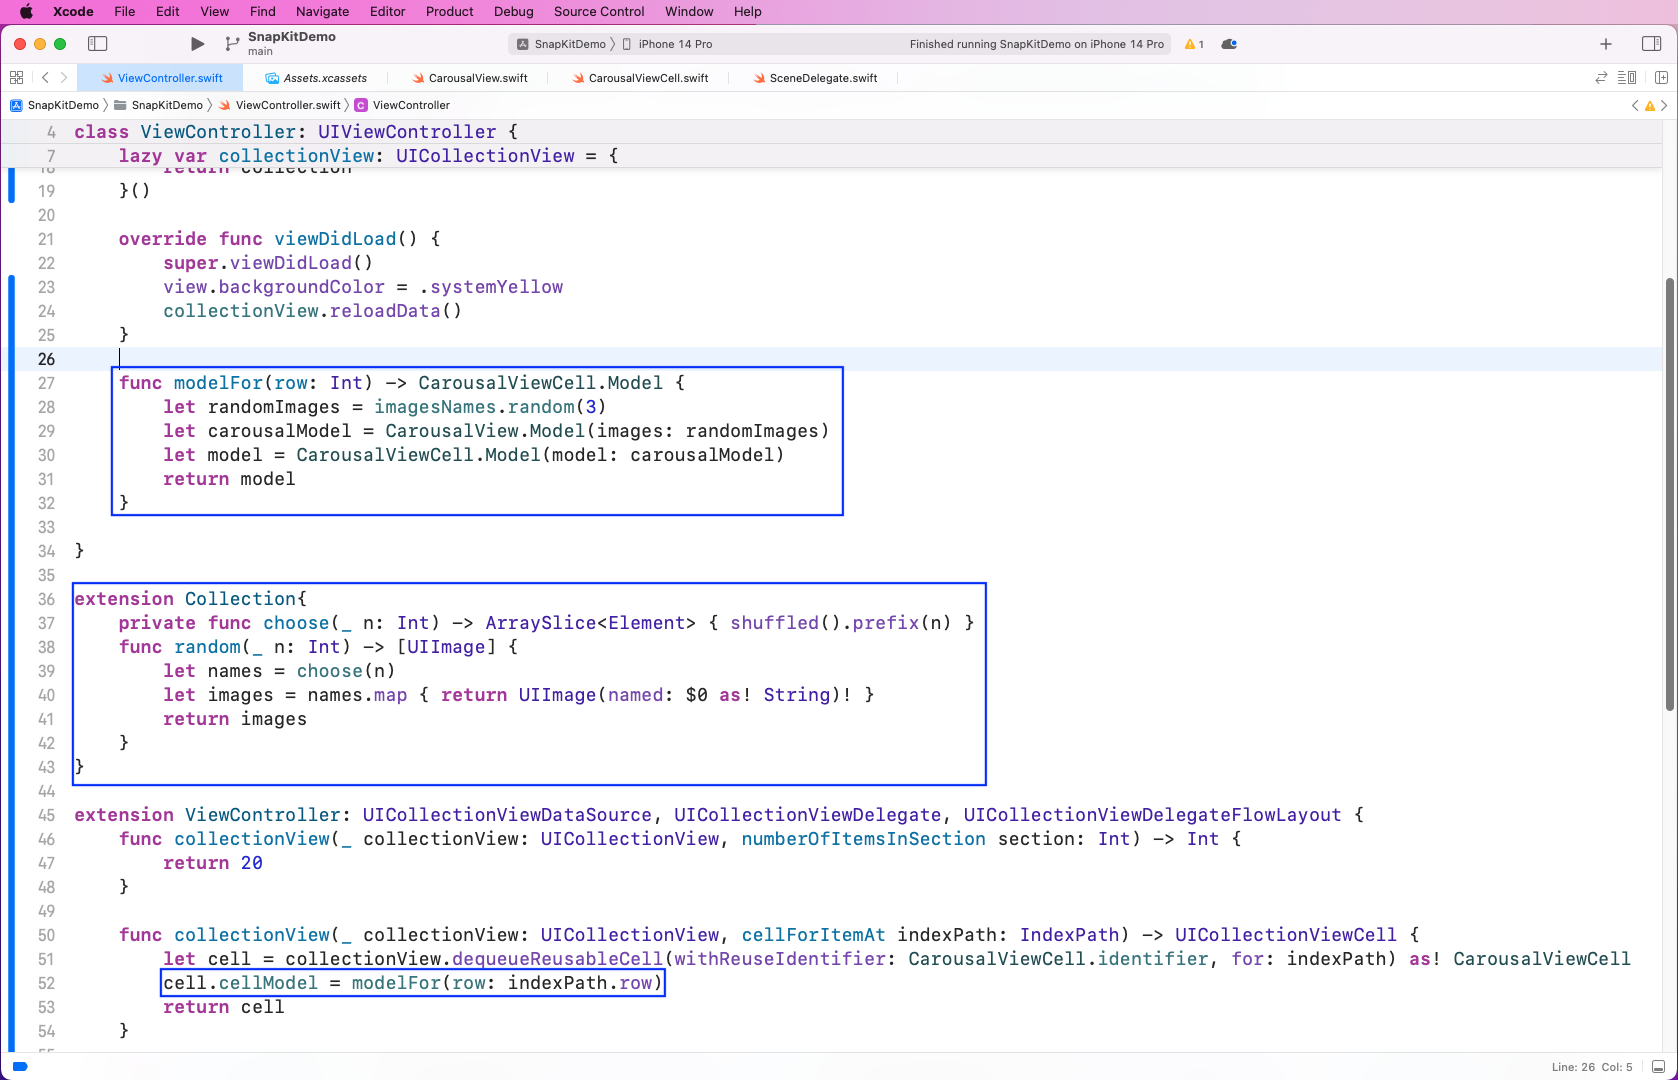
Finally, in the ViewController.swift file, find the modelFor function. This function will take the help of another function, random, to get three random images out of 10. These images should then be passed to the CarousalViewCell.
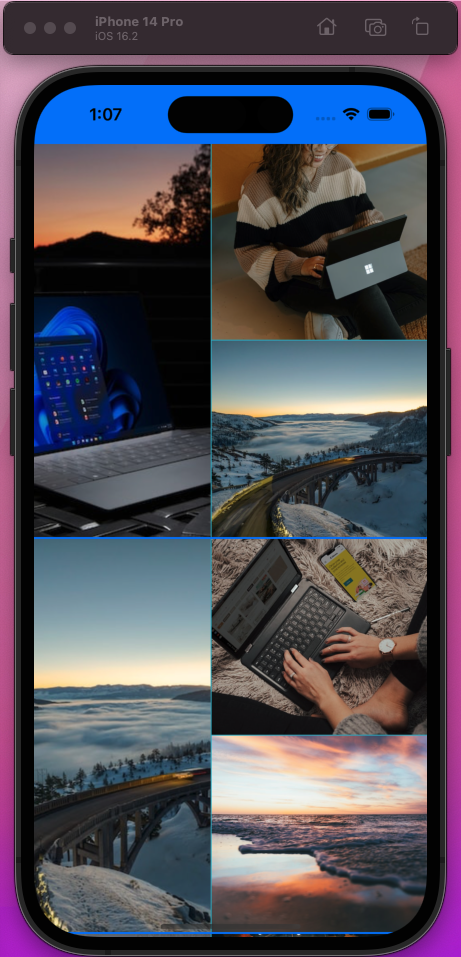
Now, running the app again, we'll see three random images in each cell. Also, the layout is per the CarousalView.swift file.
Testing the App
To test the app, we'll do simple unit testing. To do so, we need to change our private imagesNames array to the public version in the ViewController.swift file.
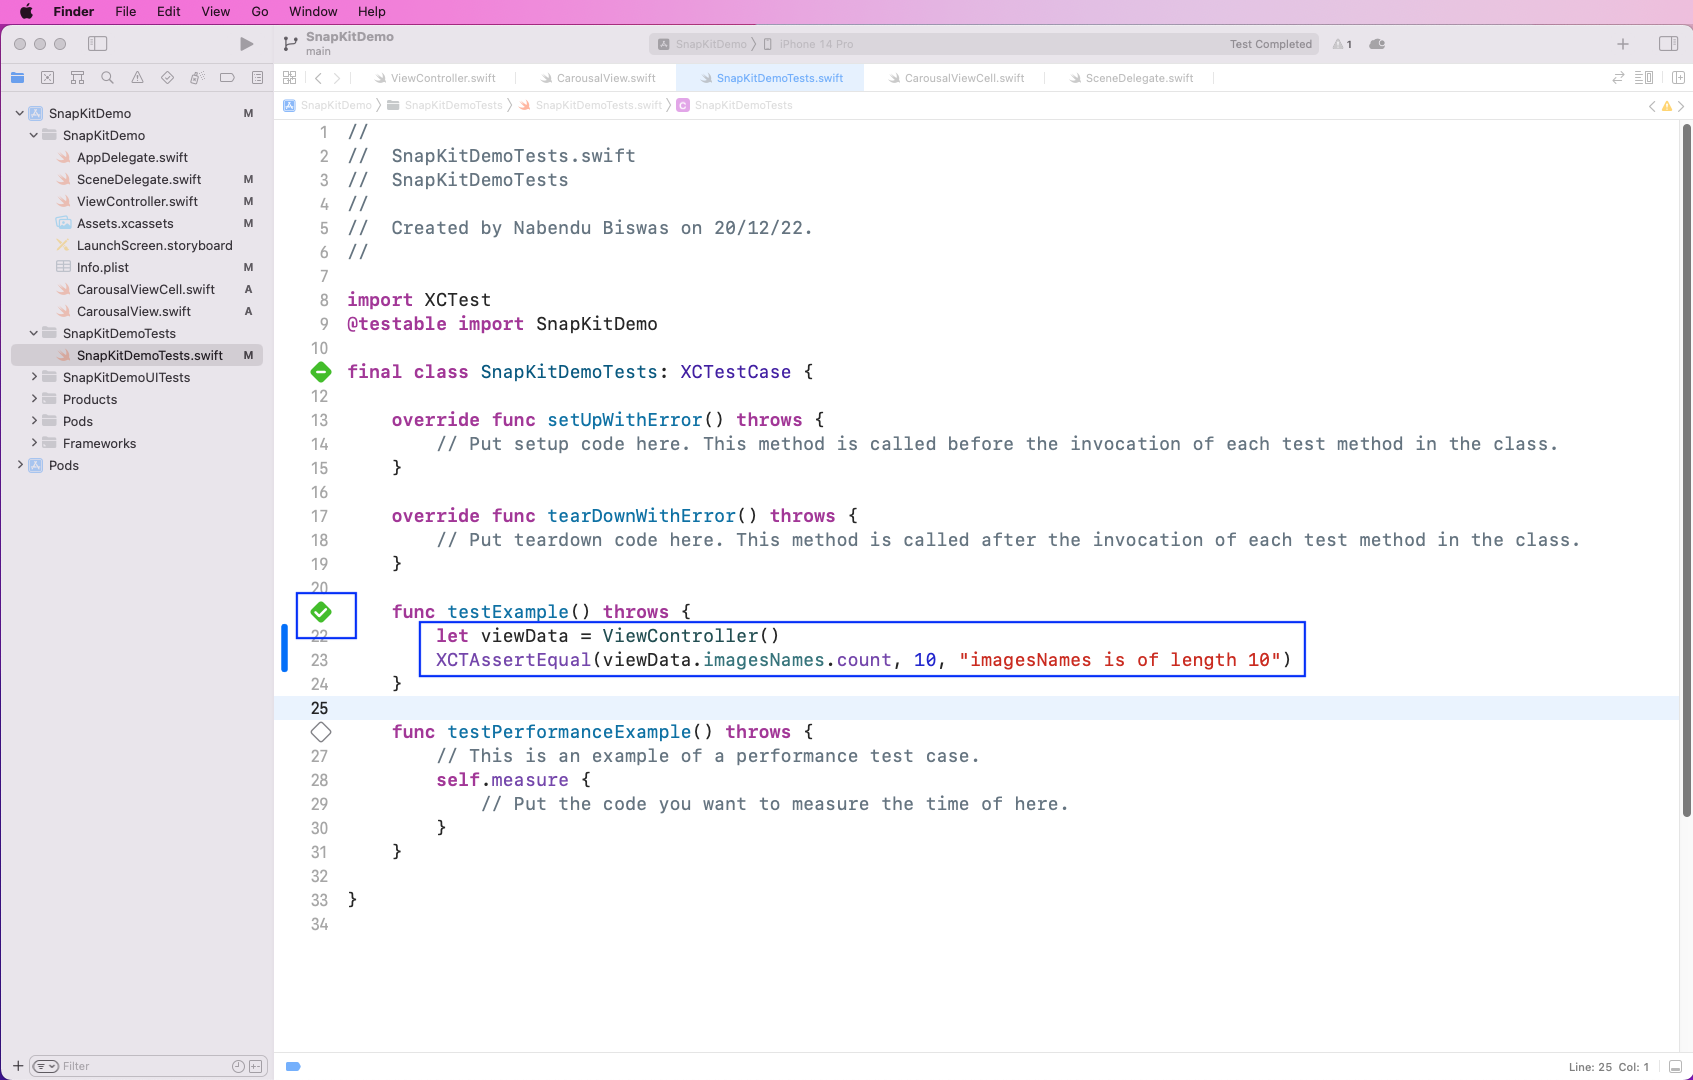
We've already included tests in our project while creating it. So, we just need to go to the SnapKitDemoTest.swift file and add code to it.
Here, inside the testExample function, we'll first create an instance of ViewController.
After that, check to see if the imagesNames array is of length 10 using the XCAssertEqual function.
Run the tests by clicking the play button beside the function. All test cases will pass and turn green.
What We’ve Covered
In this post, we talked about using an alternate way to create UI in a Swift project. We've also done the same with the open-source framework of SnapKit.
First, we created a simple project in XCode and removed Storyboard. After that, we created an awesome photo gallery using SnapKit.
We also wrote simple test cases using XCTest. However, if we need to test the complete image functionality, it requires us to write more complex test cases.
To test your app without complex test cases, try Waldo. Here, you're only required to provide the APK or IPA file. Then, you get to interact with the mobile app like a real user. Waldo automatically generates test cases and emails you the results.
Automated E2E tests for your mobile app
Get true E2E testing in minutes, not months.


