


React Native shadow effects are a bit tricky. They work well in iOS but have limitations in Android. Because React Native is mainly used for cross-mobile development, we have to keep that in mind while writing the code. Luckily, there are ways to create code that runs on both platforms.
In this post, we'll show you shadow effects using various examples. First, we'll teach you about applying shadow effects on both iOS and Android devices, then how to add common shadow effects on both platforms. Next, we will walk through how to add shadows using the React Native library of react-native-drop-shadow. We'll also show you how to apply shadows to an image, as well as share an advanced layout created using shadows. Lastly, we will share how to apply shadows to text elements.
You'll want to have basic knowledge of React Native so you can follow along.
React Native Project
We are going to use React Native CLI and will run both the Android emulator and iOS simulator.
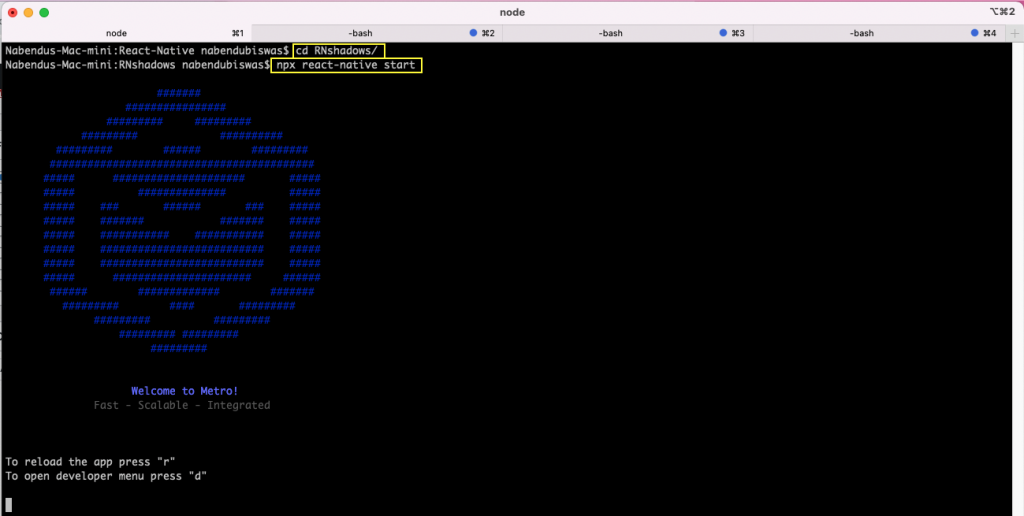
We are creating a new project and naming it "RNshadows." To create a new project, run the below command:
We will see the below screen if installation is successful:

Starting on iOS Simulator
We will first start the project with the command npx react-native start.
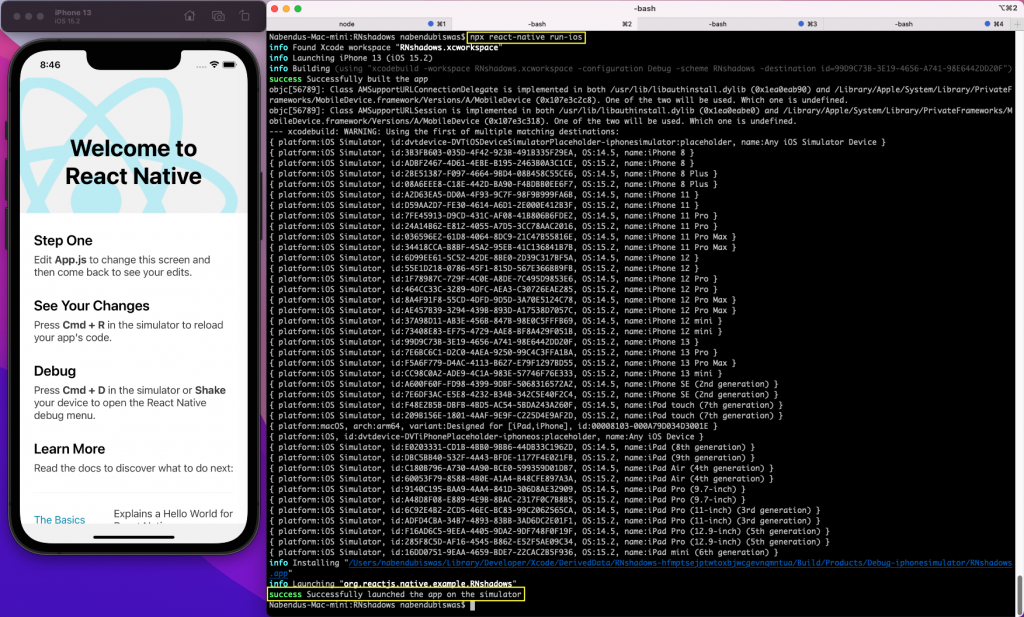
In another terminal, run the command npx react-native run-ios to start the project in the iOS simulator.
The App Component
We will have different tabs to show different shadow effects. Go to the App.js file and remove its content. Now the state of the active tab will be set using useState hook.
Here we have a SafeAreView, which shows the components ShadowOne, ShadowTwo, ShadowThree, ShadowFour, ShadowFive, or ShadowSix based on the active state. Click on any tab, and the basic component will be shown.

Now we will add the styles for our app component.

The iOS Shadow
The shadow in iOS can be made easily with shadow props. This has four properties, and all of them work in iOS. Let's first learn about them.
- shadowColor determines the shadow color. It works in both Android and iOS.
- shadowOffset determines the shadow position in relation to the box. It works only in iOS.
- shadowOpacity determines the shadow transparency. It works only in iOS.
- shadowRadius determines the blur radius of the shadow. It again works only in iOS.
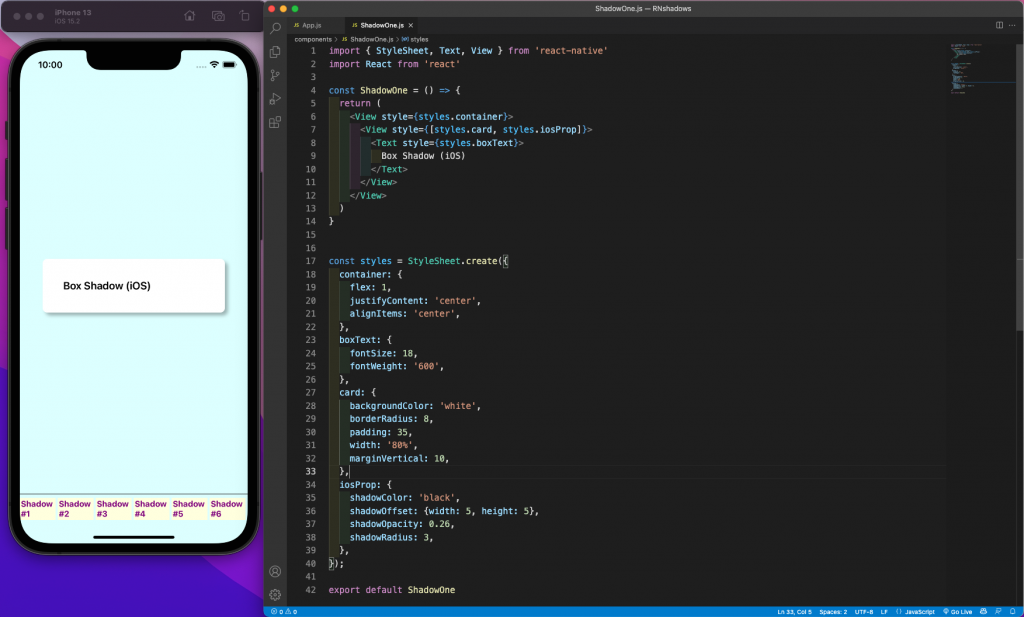
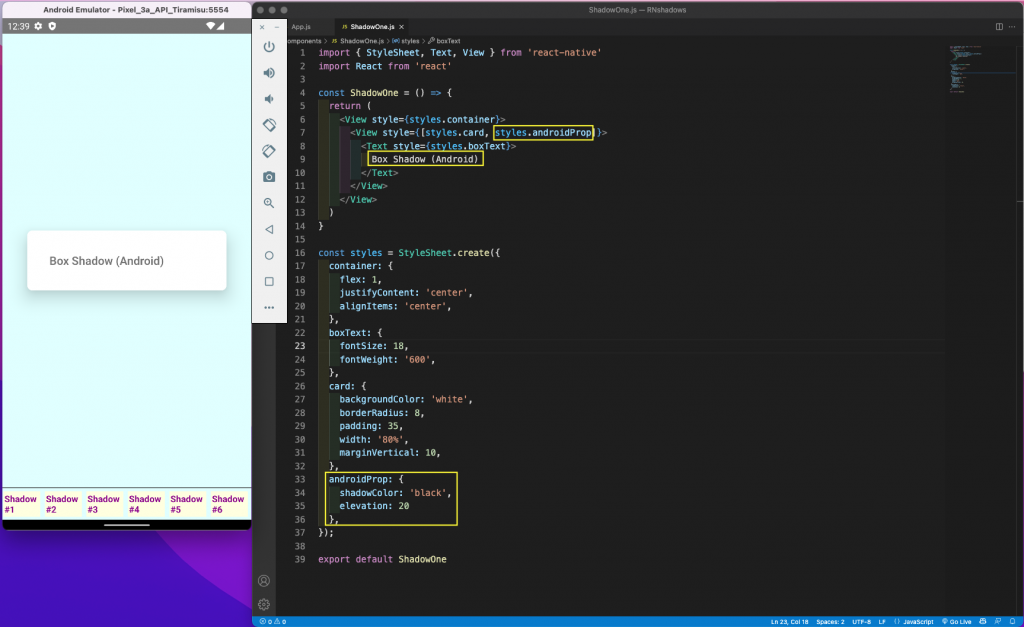
Create a components folder in the root directory. Create a file called ShadowOne.js inside it. Here we are creating a simple card by giving styles to a View. We also have text with styles inside it.
In the card, we also have a style of iosProp. It gives all the shadow props discussed earlier. In the iOS simulator, we can see a nice shadow being displayed.
The Android Shadow
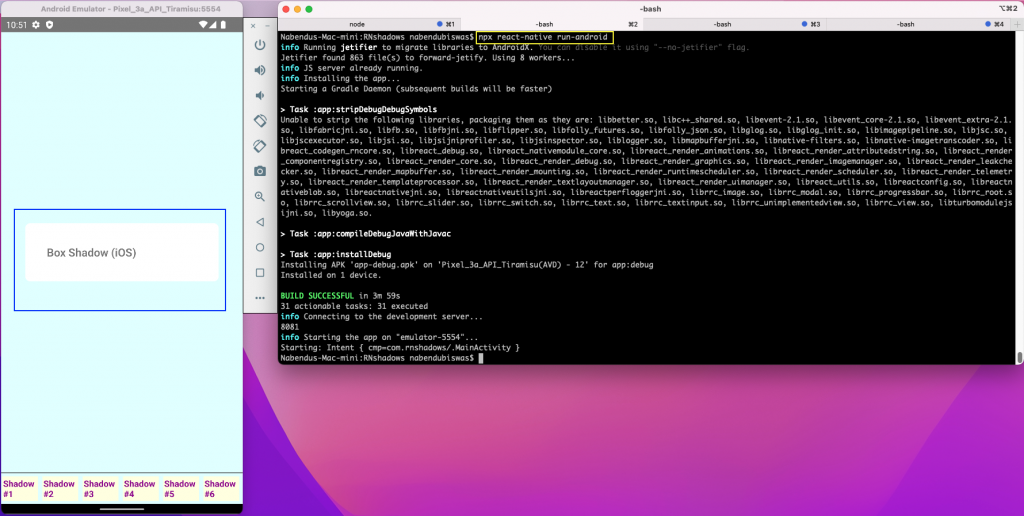
The above code results in problems in Android. But first, we will run it in the Android emulator. Run the command npx react-native run-android from the project directory.
Once the app runs on the Android emulator, we can see that all the shadow props are not there. We are not able to see any shadows on Android.
Since Android doesn't have shadowOffset, shadowRadius, or shadowOpacity, we are not getting any shadows. In Android, we have to use elevation in place of these. It is a combination of all three props.
We need to update our code to have this, and then we will get shadows.
Shadows on Both Platforms
Now, we cannot write a different code for both platforms and maintain and deploy. In cases like this where code differs with platforms, we use the Platform API.
Add the below code in the ShadowTwo.js file. Here the main difference from the earlier code is the Platform API. We are using it inside the StyleSheet. And we are specifying the platform here within ...Platform.select().
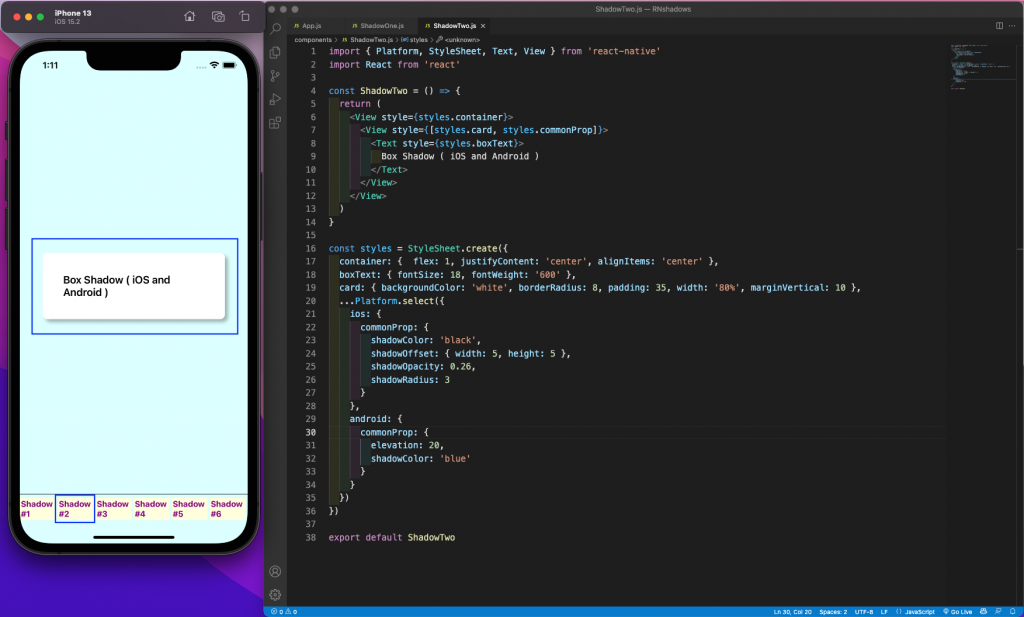
So we are giving the code for both iOS and Android in it. Now when the app runs on Android, the Android code will be picked up. In the Android code, we have a blue shadow and elevation.
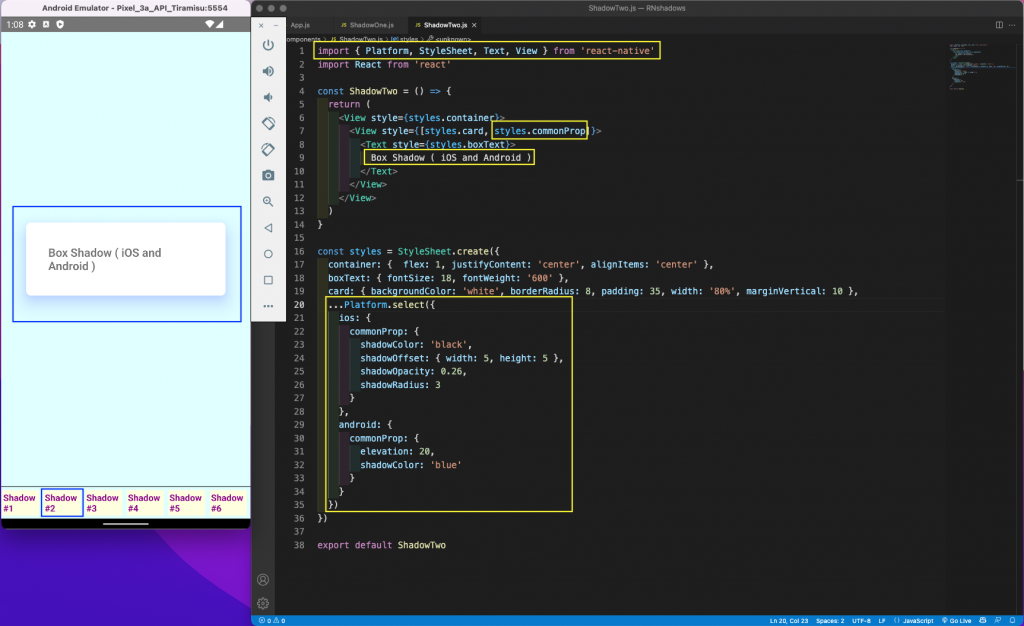
Similarly, when the app runs on an iOS device, then the iOS code will be picked up. In iOS code, we have a black shadow and all shadow props.
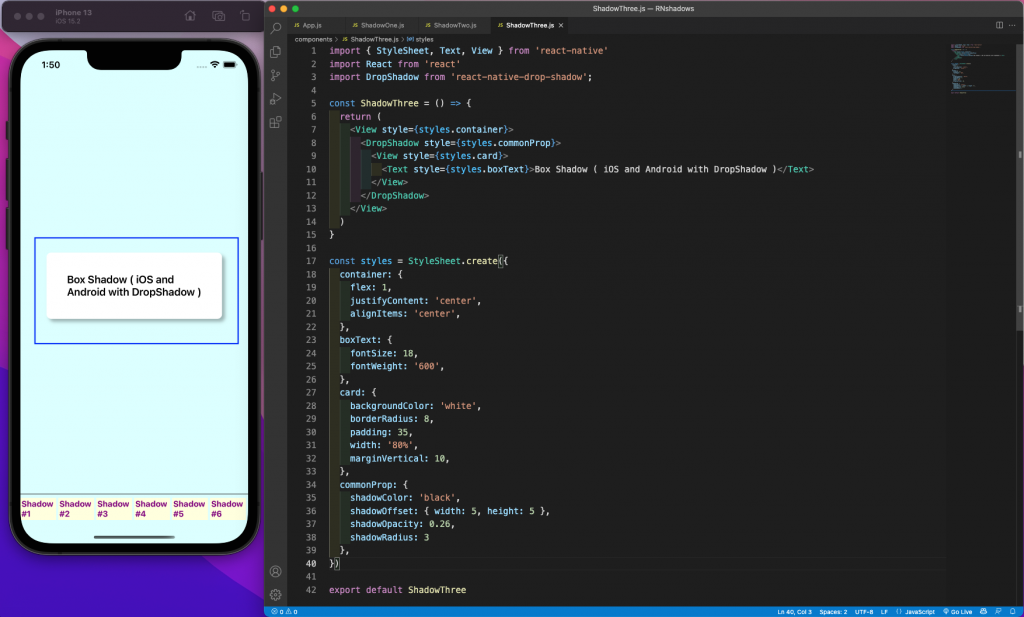
Using react-native-drop-shadow
When we write with Platform API, we are writing two sets of code. Instead of doing this, we can use the react-native-drop-shadow library. This library changes the iOS code to Android code when we use an Android device. For this, first install the library using the below command:
Now our code can just have the iOS code. Add the below code in a ShadowThree.js file. Here we are first importing DropShadow from react-native-drop-shadow. After that, wrap the View component with it. We have now moved the shadow property in commonProp in the DropShadow component.
We can see the drop shadow in the Android emulator, even though the styles are for iOS.
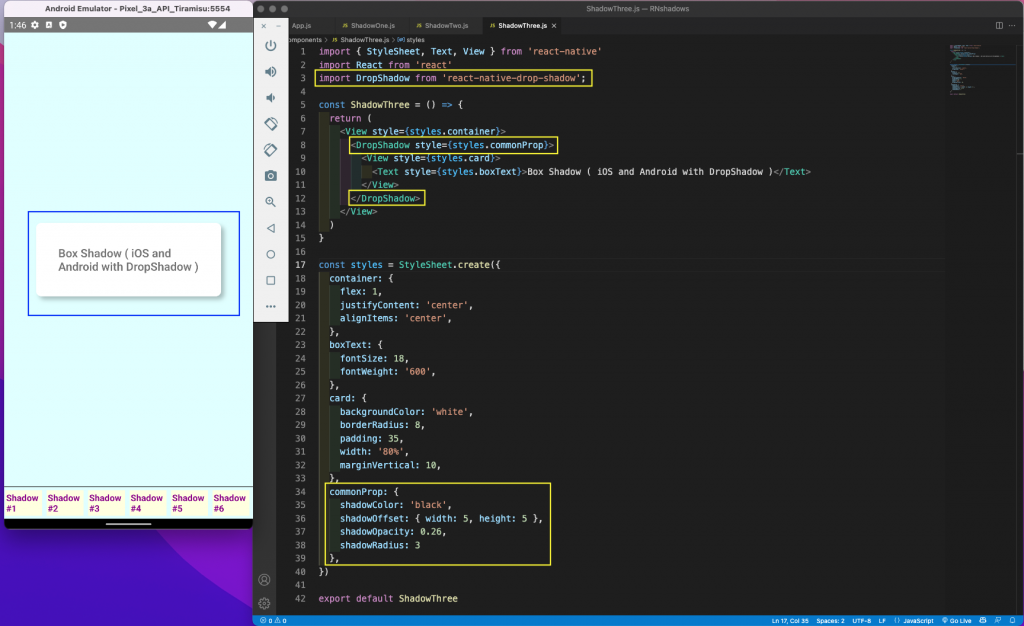
The shadows are being shown perfectly on an iOS device also.
Showing Images With Shadow
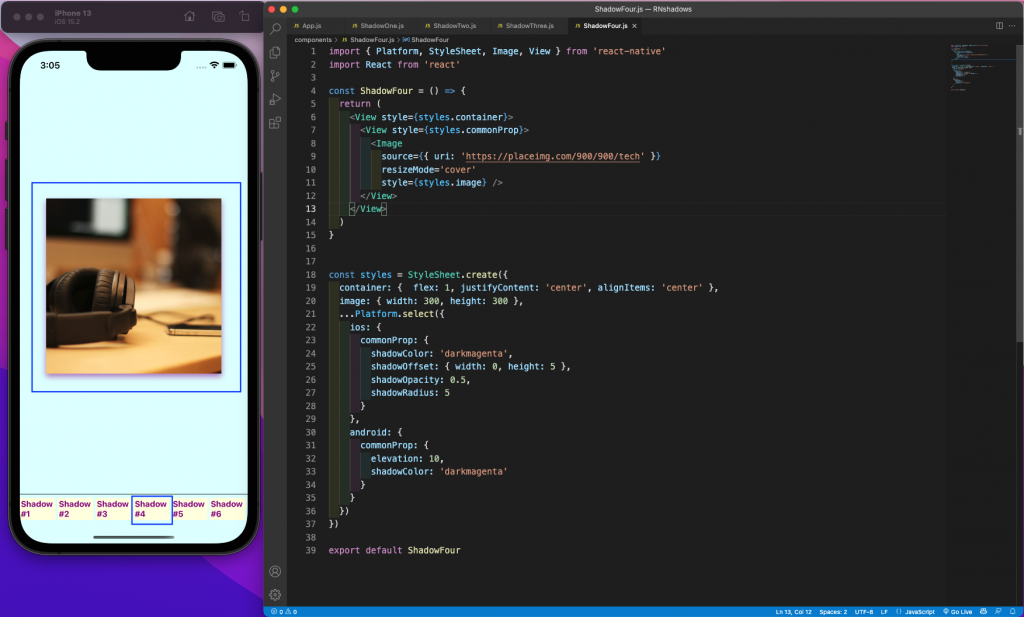
Now we will share an example to show a centered image with a box shadow. Create a file called ShadowFour.js and add the below content. Here we are again using Platform API and adding different code for box shadows for iOS and Android.
Inside the View containing the shadow code, we have an Image element. This gets a random image from the placeimg. We are making it cover to fit correctly and also giving it a width and height of 300. The shadow is shown perfectly around the image on an iOS device.
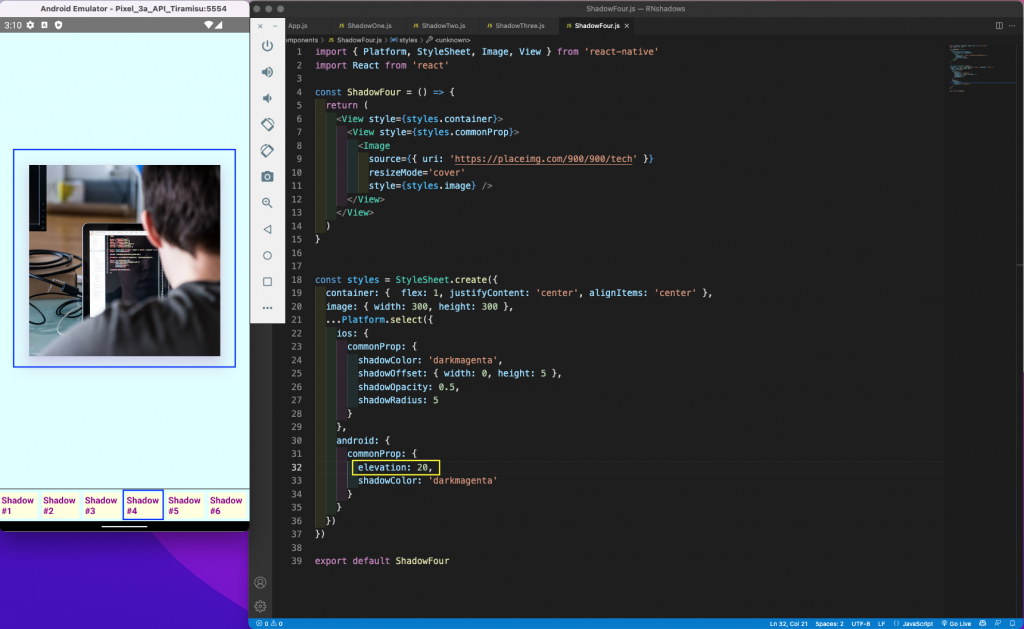
For the Android device, we were getting only a little shadow with an elevation of 10. So we changed it to 20, and now we are getting a nice shadow.
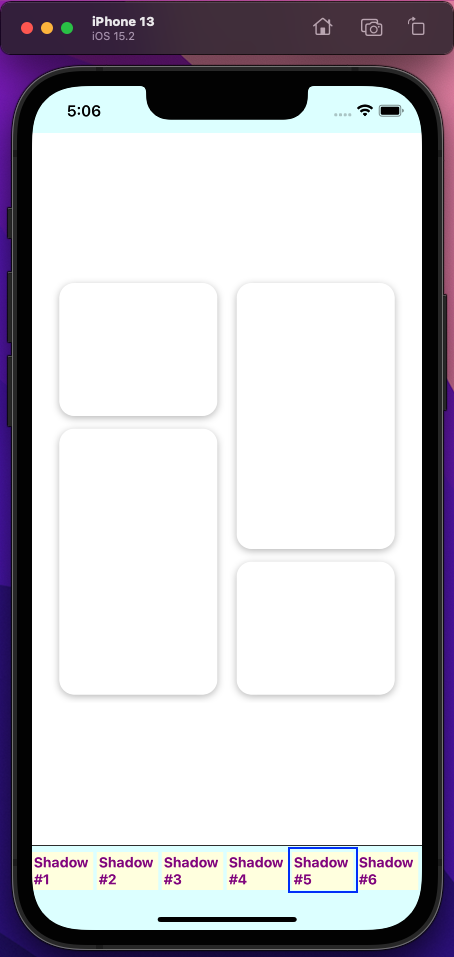
Showing Advanced Layout
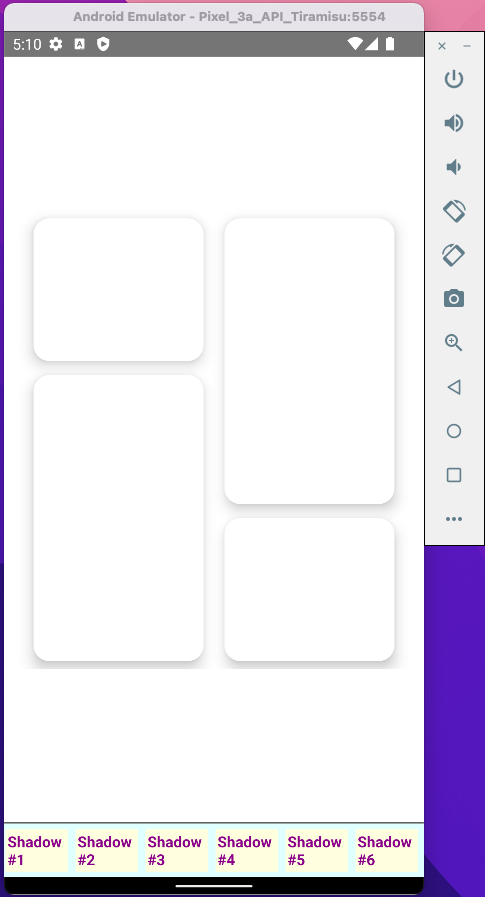
Now let's see an advanced layout with a box shadow. In the ShadowFive.js file, add the below content. Here we have a container wrapping four children. The first and the last View are to give space only.
The View of boxLayout contains the leftContainer and rightContainer view. Each of them contains two more Views: leftBox1, leftBox2 in leftContainer, rightBox1, and rightBox2 in rightContainer.
Note that leftBox1 and leftBox2 are laid out opposite of rightBox1 and rightBox2. We have also added our shadow properties and elevation in leftBox1, leftBox2, rightBox1, and rightBox2.
Now we get beautiful boxes in our iOS simulator.
It is also showing perfectly in the Android emulator.
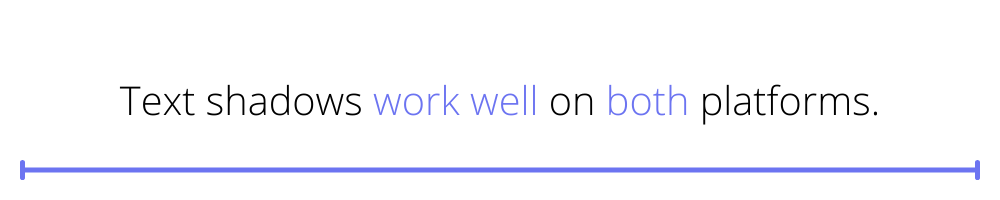
Text Shadows
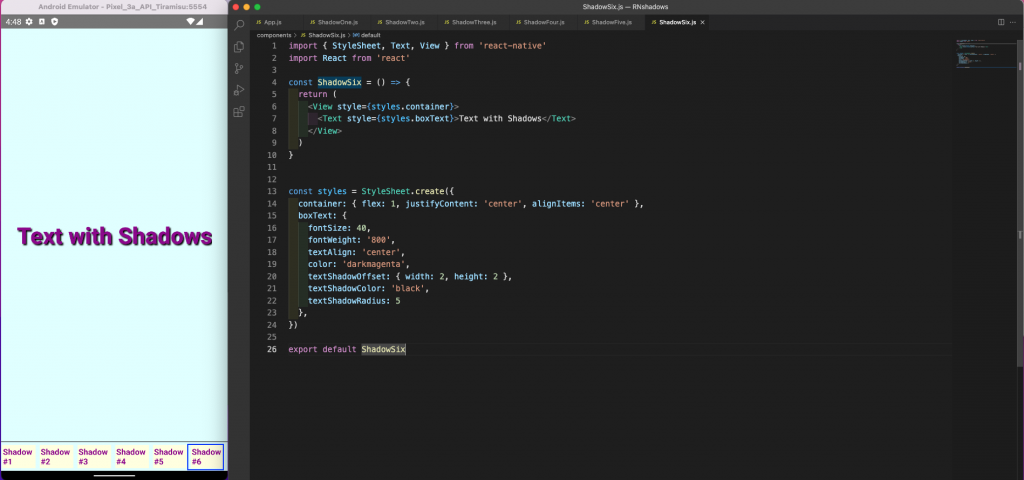
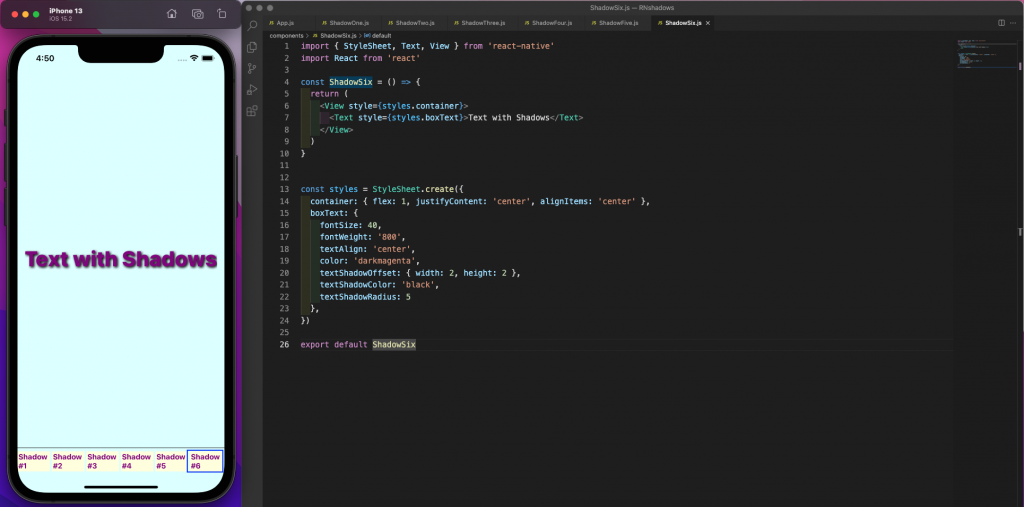
Text shadows work well on both platforms. We don't have elevation for Android, so in the ShadowSix.js file, add the below content. Here we have applied the text shadow to a Text component.
Also, we have the textShadowOffset, textShadowColor, and textShadowRadius properties. They are exactly similar to the box shadow properties we shared earlier.
Our Android emulator is showing perfect text with black shadows.
It is also showing perfectly in the iOS simulator.
Testing the App
We are done with the app, so it's time to test it. We can write easy test cases with Jest. First, remove the App-test.js file in the __tests__folder. Now create two files in it: ShadowOne-test.js and ShadowTwo-test.js.
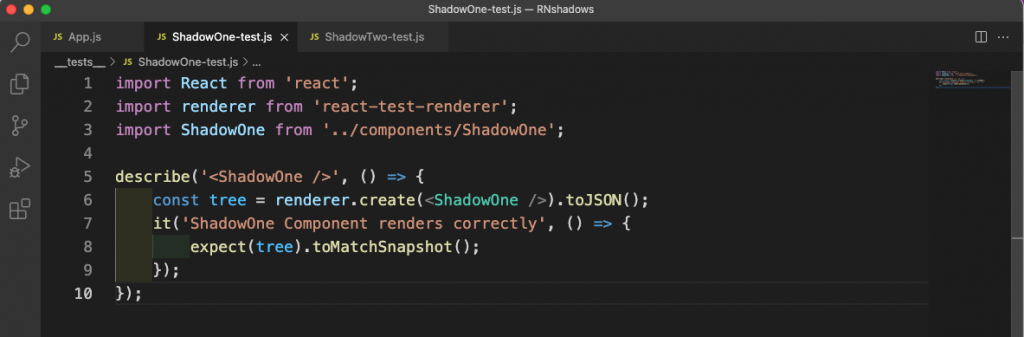
Add the below content in the ShadowOne-test.js file. Here we are writing a test case to match the component rendered on the mobile device.
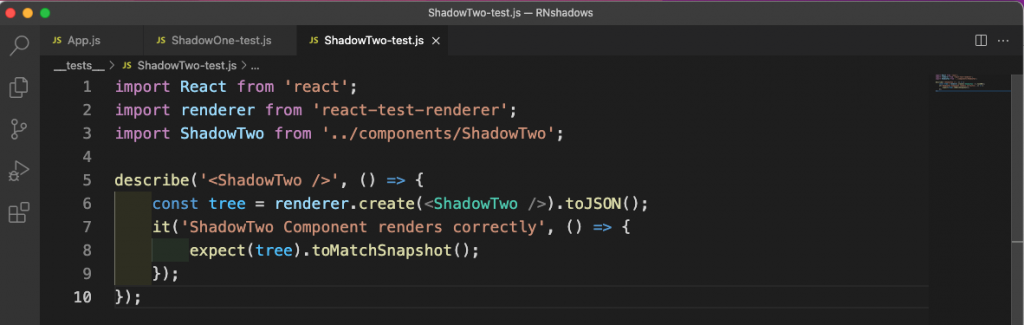
In the ShadowTwo-test.js file, add similar content.
To run all the test cases, give the command npm run test from the terminal.
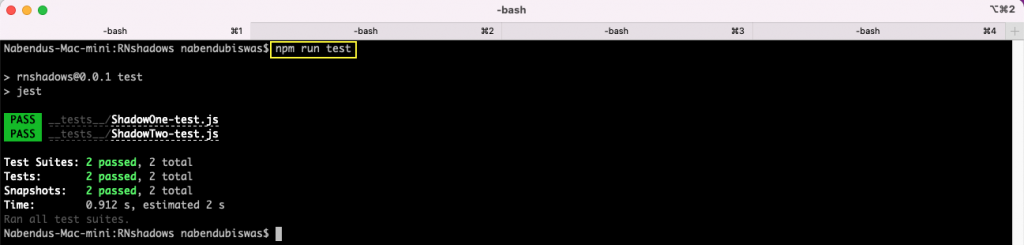
All of our test cases ran successfully. If we add interactivity to the test cases (clicking on each tab), that would require us to write complicated test cases.
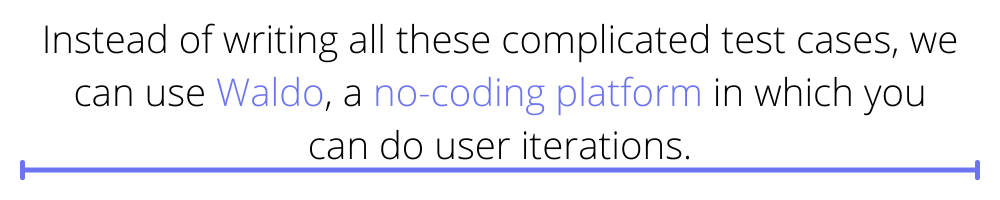
Instead of writing all these complicated test cases, we can use Waldo, a no-coding platform in which you can do user iterations. This is very much required for an interactive app like this.
Wrap-Up
In this post, we have shown how to create shadow effects and how these are different for iOS and Android platforms. We have also illustrated how to create shadows using the React Native library react-native-drop-shadow, how to apply text shadows to text elements, and how to test an app by writing simple test cases in Jest. But we can also test our app using a better way—with a no-coding platform like Waldo. Book a demo today.
Learn more here.
Automated E2E tests for your mobile app
Get true E2E testing in minutes, not months.


