


Refs are used to interact with the DOM directly. It's not advisable in ReactJS to interact with the DOM, but sometimes it's required because some features aren't available in the ReactJS approach. Here, refs come to the rescue. Using refs, we can get access to some features of the DOM that aren't available in ReactJS.
In this post, we'll first learn about DOM. Then, we'll look at how to use this.refs in class-based components. After that, we'll see how to use refs with the useRef hook.
Lastly, I'll show some examples with setNativeProps, which is another way to use refs in React Native.
.png)
DOM and React
DOM stands for document object model. It's the programming interface through which we can update an HTML document. This programming is always done in JavaScript programming language. Suppose we have a simple webpage like this
and we want to select the div with the box-1 class. We'll do this in JavaScript by typing
When we interact with the DOM through JavaScript, it's a slow process. And for this reason, ReactJS was built on a different programming approach. This approach is known as the virtual DOM. Behind the scenes, ReactJS also updates the DOM using the above type of logic. But that isn't visible to the developer.
In almost 95% of cases, we can work with the ReactJS programming approach. But in some cases, we need to write JavaScript a kind of code.
A popular example is the focus method, which is only available through DOM programming. Suppose we have a form in which there is an input field and we want the cursor to blink there the moment the user opens the webpage or mobile app.
This is only achievable through the DOM.
The Setup
In this project, we'll use React Native CLI and an iOS simulator. We need to start by setting up XCode on a Mac system. The setup steps are described in React Native's documentation.
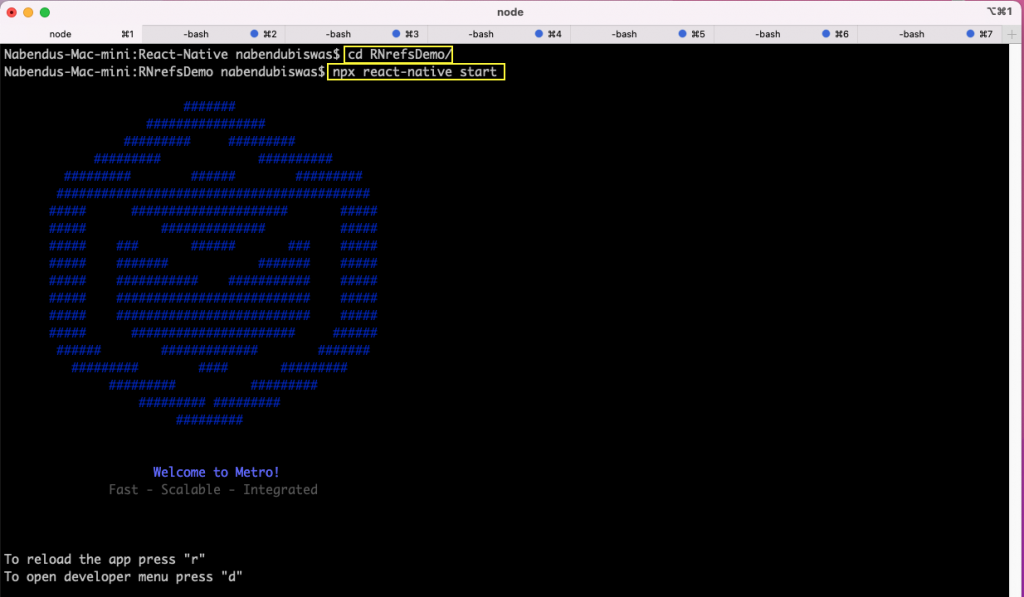
Create a new project with the command npx react-native init <project-name> in the terminal. Here, <project-name> can be any name you want. We'll use the command below to create a new project with the name RNrefsDemo.
If the installation is sucessful, you should see the following:

Running the Project
Next, move to the project directory and run the command npx react-native start. You should see the screen below:
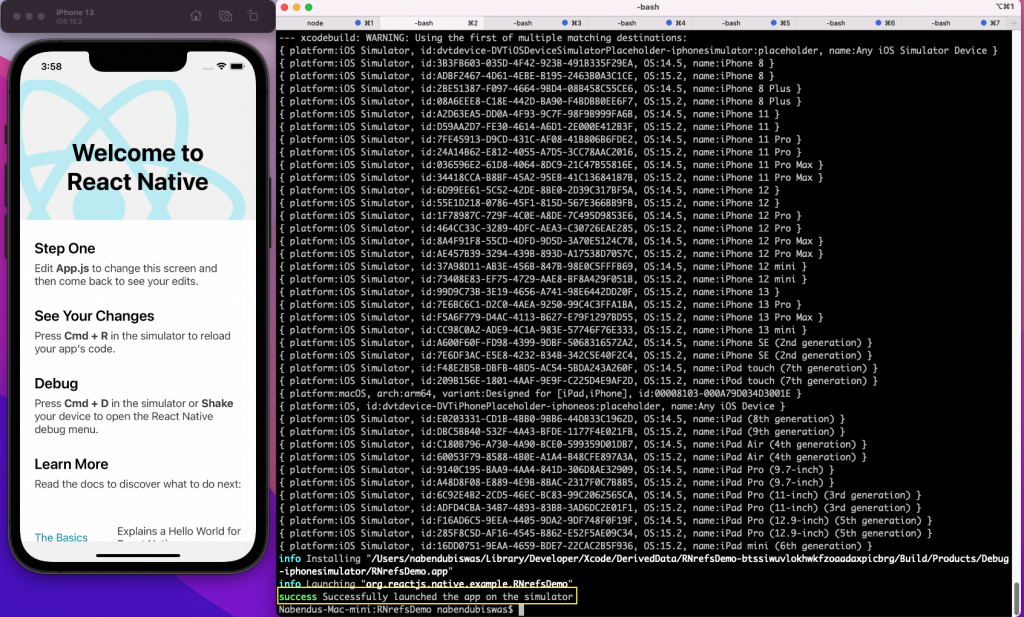
In a new terminal, run the command npx react-native run-ios to start the project on iOS simulator.
Refs in Class Component
Now, we'll look at how to use refs in a class-based component.
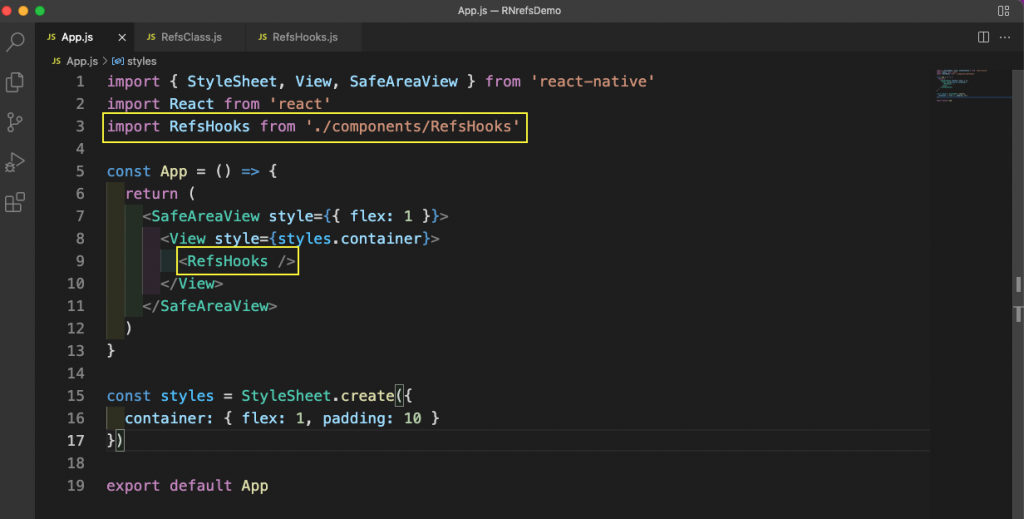
Create a new folder called components in the root directory and add a file called RefsClass.js inside it. Then, remove everything in the App.js file and add the code below to it. Here, we have a SafeAreaView, and inside it we have a View component. We're showing our RefsClass component inside it.
Also, we've given the container the CSS style with flex. It'll show everything properly.
Now, in the RefsClass.js file, we'll first see the normal way with a state to show a TextInput and get data from the user. Here, we're using the concept of a controlled component, which is common both in ReactJS and React Native.
We'll need to declare a new state variable in the constructor. After that, in TextInput, we'll use the value to show the user entered the input. In the onChangeText, we'll change the text using setState. Here, we're re-rendering the component every time the user types in it.
In the iOS simulator, we'll get a text input box that we can type in.

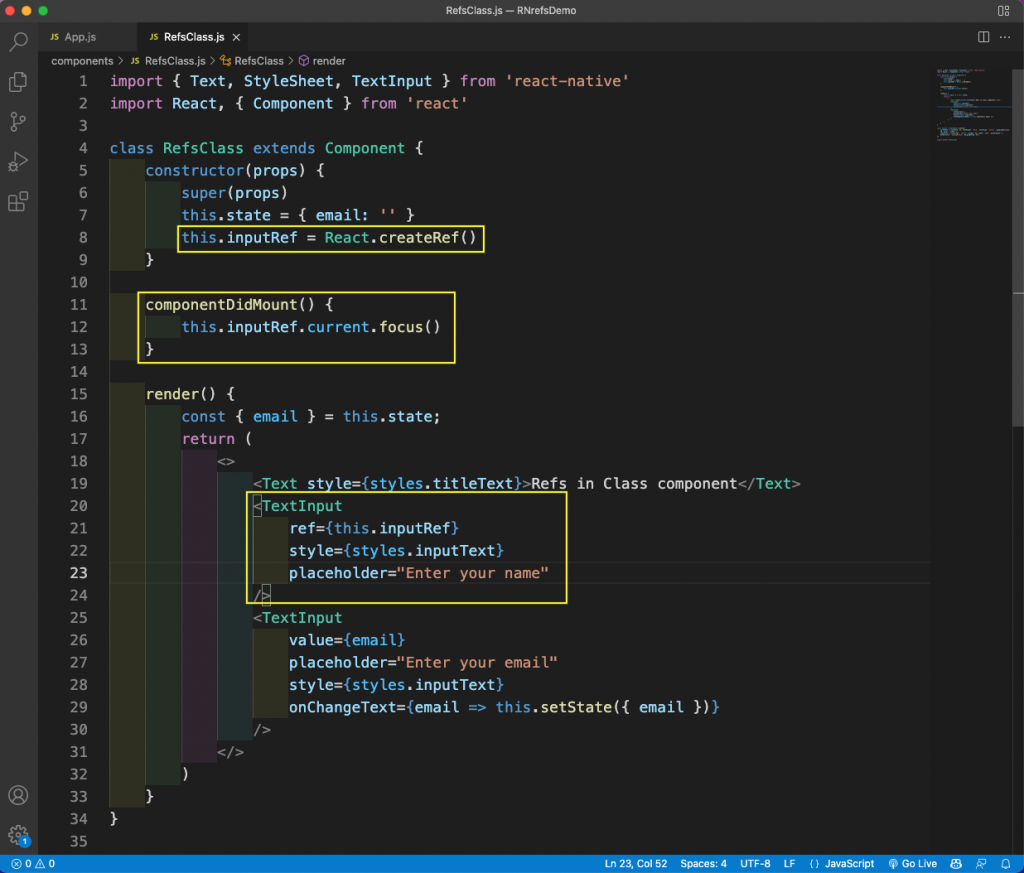
We'll add a new TextInput in our code, but we'll use refs to access its value. First, inside the constructor, create the ref using this.inputRef and the React function of createRef().
Next, inside the render(), we can directly attach it to a TextInput by passing the ref prop and giving the value this.inputRef.
One thing to note is that the component is not re-rendered whenever we type in a field with ref. This can be beneficial in certain cases where re-rendering causes the component to slow down.
We'll also use a focus() to have the cursor blinking on this text input by giving it in the life cycle method of componentDidMount(). The focus() method is only available in the DOM and not in the virtual DOM. So, if we want to use it, we need to use refs.
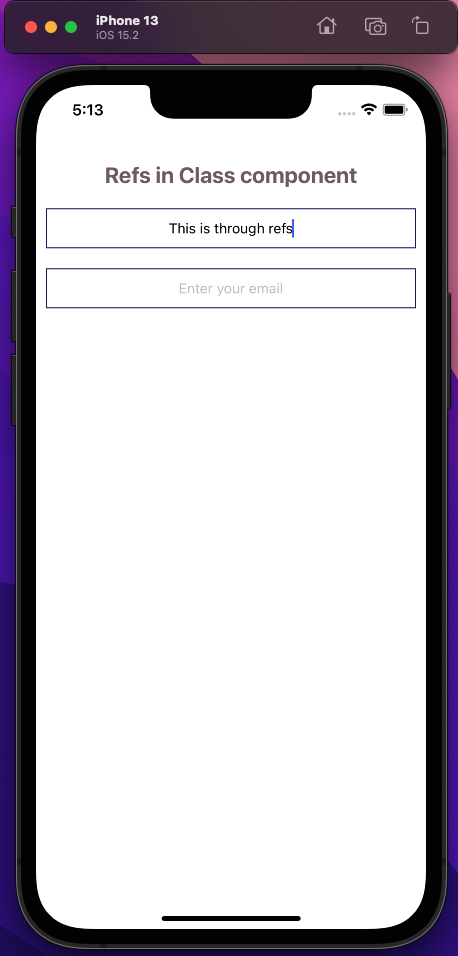
Now, in the iOS simulator, type in the text input created using refs.
Refs in the Functional Component
Now, let's learn about how to use refs in functional components. Functional components have gone through major changes in React, and now we have the concept of state and life cycle methods in it. We need to implement them through the in-built hooks.
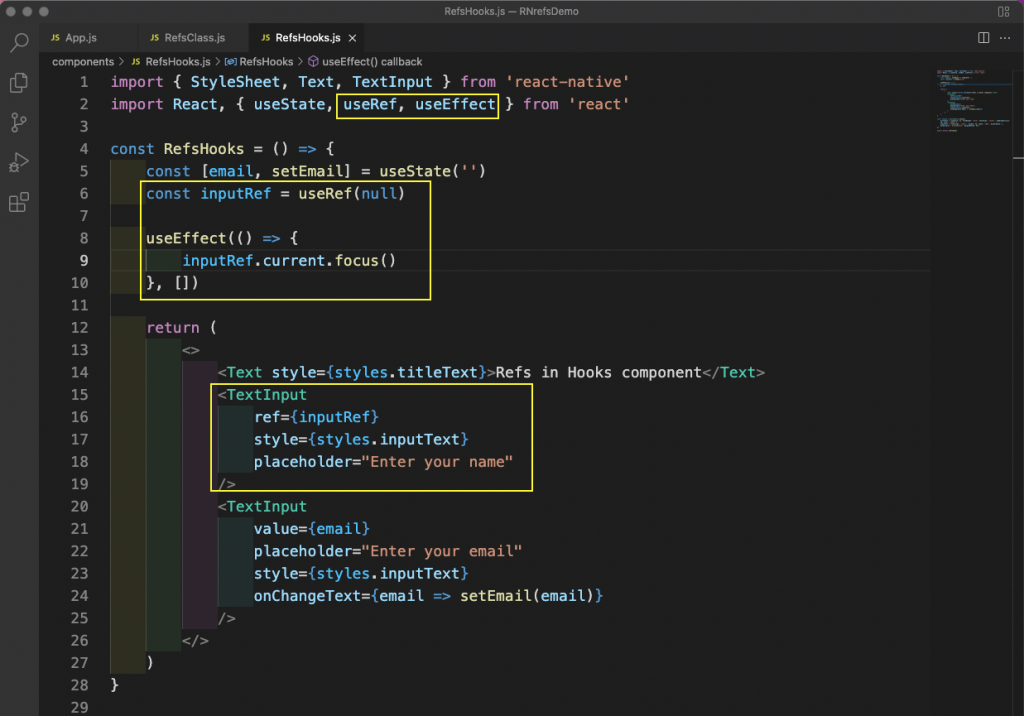
First, we'll create a new file called RefsHooks.js in the components folder. Here, we'll use controlled components to get the input value from the user. Notice that we're using the useState hook, which is the equivalent of this.state of a class-based component.
Now, we need to show this new component in the App.js file.
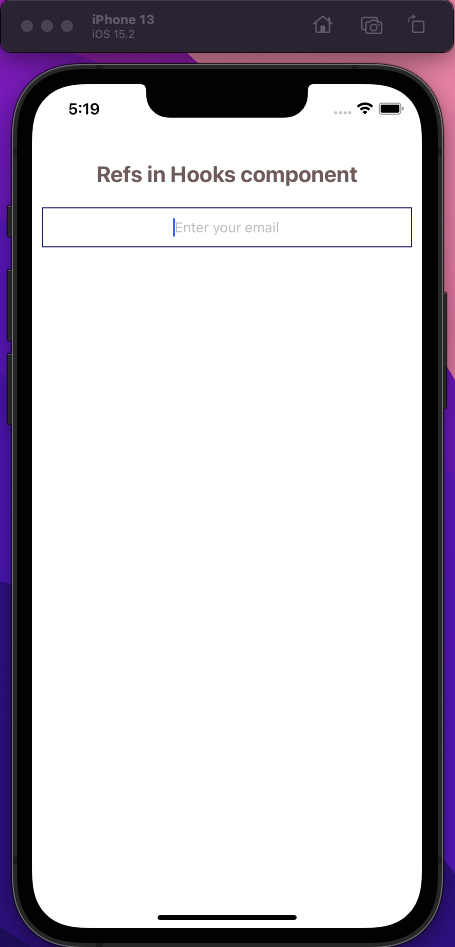
In the iOS simulator, we can see the new text input, which we can type anything in.
We'll add a new TextInput in our code. But we'll use refs to access its value. First, use the useRef hook to create a ref variable.
Next, inside the return(), we can directly attach it to a TextInput by passing the ref prop and giving the value inputRef.
We'll also use a focus() to have the cursor blinking on this text input by giving it in the useEffect().
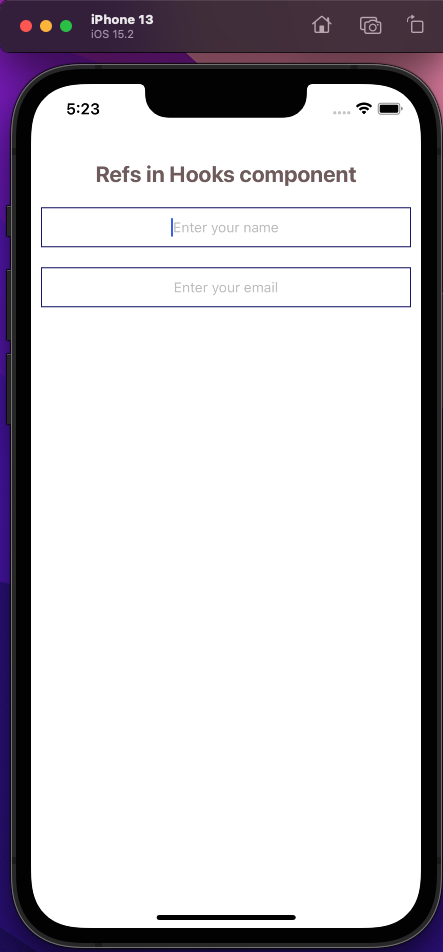
Now, in the iOS simulator, we can type in the text input created using refs.
setNativeProps in Class Component
The two examples of using refs above are exactly similar to its web counterpart. React Native provides us with a special type of refs called setNativeProps. We can also use it instead of refs in React Native.
So, create a new file called SetNativeClass.js in the components folder. Now, add this file in App.js.
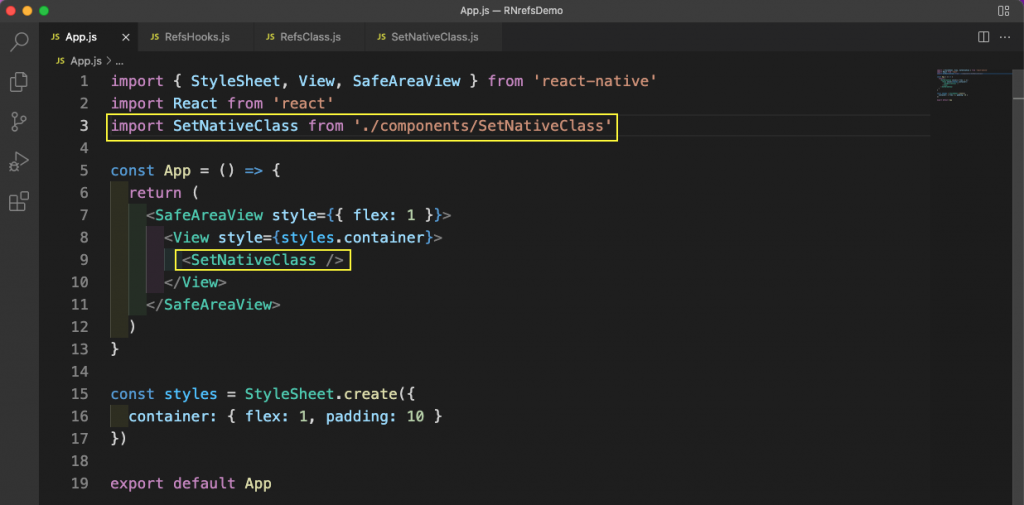
Then, in the file called SetNativeClass.js, put the content below. Here, in a TextInput, we'll give a ref called textInput. After that, in onChangeText, use it with setNativeProps.
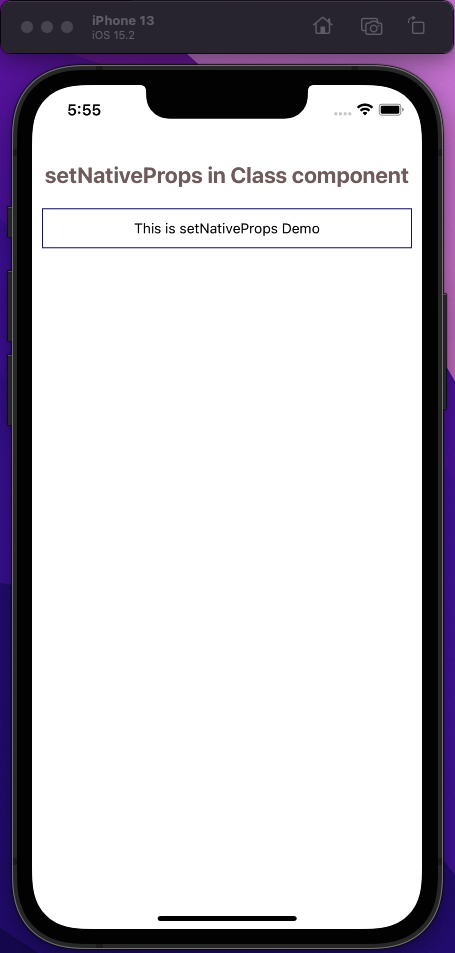
Now, in the iOS simulator, we can type in the text input created using setNativeProps.
setNativeProps in Functional Component
Now, we'll look into an example of using setNativeProps in a functional component. So, create a new file called SetNativeHooks.js in the components folder. Now, add this file in App.js.
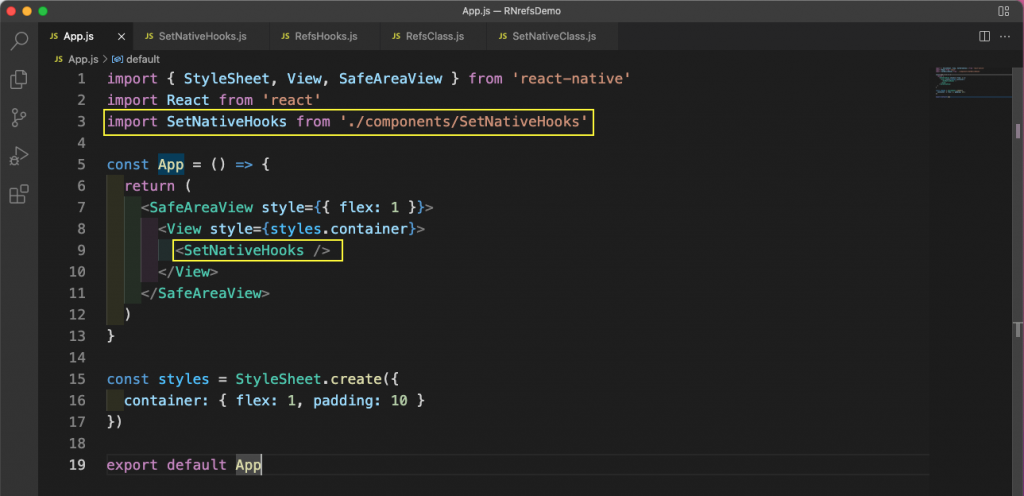
Then, in the file called SetNativeHooks.js, put the content listed below. We need to use the useRef() hook here to declare a ref called inputRef. After that, in a TextInput, we're calling the ref inputRef. Next, in onChangeText, we're using it with setNativeProps.
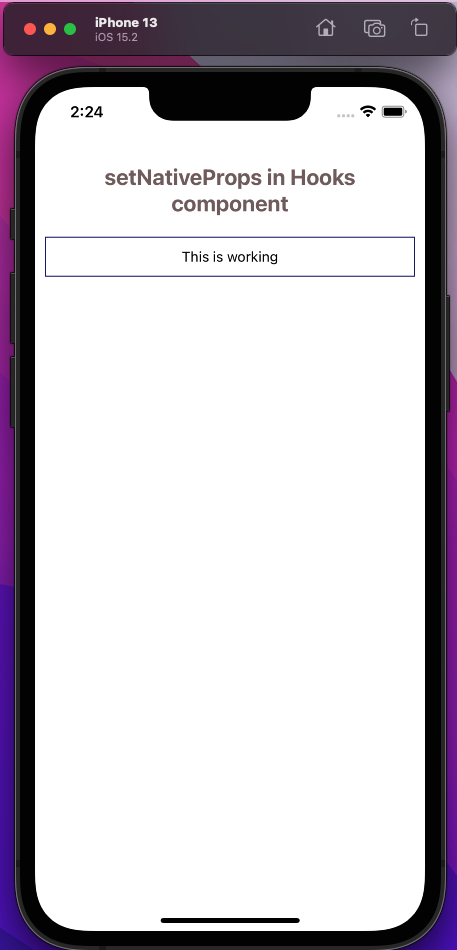
Now, in the iOS simulator, we can type in the text input created using setNativeProps.
App Testing
We'll use Jest to test our app. First, in the __tests__ folder, remove the earlier file called App-test.js. Then, add these four files in it: RefsClass-test.js, RefsHooks-test.js, SetNativeClass-test.js, and SetNativeHooks-test.js.
Now, in the RefsClass-test.js file, add the content below. We've written a simple snapshot test to test all the components in it. Here, we'll test whether they're rendering properly on a mobile device.
Now, in the RefsHooks-test.js file, add the content below. We'll again do the same snapshot testing.
Similarly, in the SetNativeClass-test.js file, add the content below:
Lastly, in the SetNativeHooks-test.js file, add this content:
To see the output of all test cases, run the npm run test from the terminal.
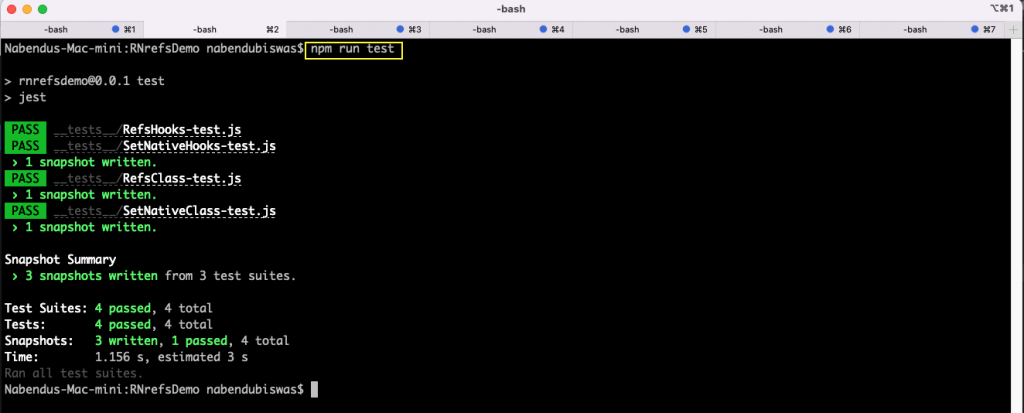
As the screenshot above shows, all of our test cases ran successfully. However, adding integration testing would be required to write more complicated test cases. To do this, we can use Waldo instead of writing all test cases manually.
Waldo is a no-code testing platform that's very easy to use. We just need to upload the APK or IPA file to do so. You can create a free Waldo account here to test its features.
.png)
Conclusion
In this post, we've learned about refs in React Native, including using this.refs in a class-based component. We also learned how to use ref through the useRef hook. Additionally, we looked at examples with setNativeProps, including with both class-based and hook-based functional components.
At last, we tested our app through Jest. We can also test our app with Waldo's no-coding platform.
Automated E2E tests for your mobile app
Get true E2E testing in minutes, not months.


