


In this post, we're going to learn about an alternate way to create an iOS project. We've created a project through Xcode before in our earlier post about Alamofire. But now let's learn about Tuist and the benefits of using it.
First, we'll generate a project using Tuist through the terminal. We'll also add an external dependency of Alamofire in the project and use it. Then we'll learn to generate a testing bundle more easily and do unit testing in the project.
Let's get started!
What Is Tuist?
Tuist is a completely open-source and free-to-use command-line tool for Xcode. It helps us generate iOS projects through the command line. But the question is, why use Tuist? The command-line utility alone isn't enough reason to install another open-source tool.
Tuist gives the developer power to do everything from creating a project to editing setup files and generating a project from the command line. Most developers like working in the command line, as it saves a lot of time. But one of the major benefits of Tuist comes when we work in a team. Xcode projects depend a lot on xcodeproj files, with every configuration stored in them. Now, when more than one developer works on a project, it leads to a lot of merge conflicts when pushing code to GitHub.
Tuist solves this issue by giving us a Project.swift file, which is easy to read and configure. It takes care of changing everything correctly in xcodeproj and xcworkspace files. Besides this, the project structure is much simpler than the structure generated through Xcode. Also, adding external packages and unit test cases is much simpler.
Tuist Setup
The common way to install Tuist as per the official documentation is through the below command:
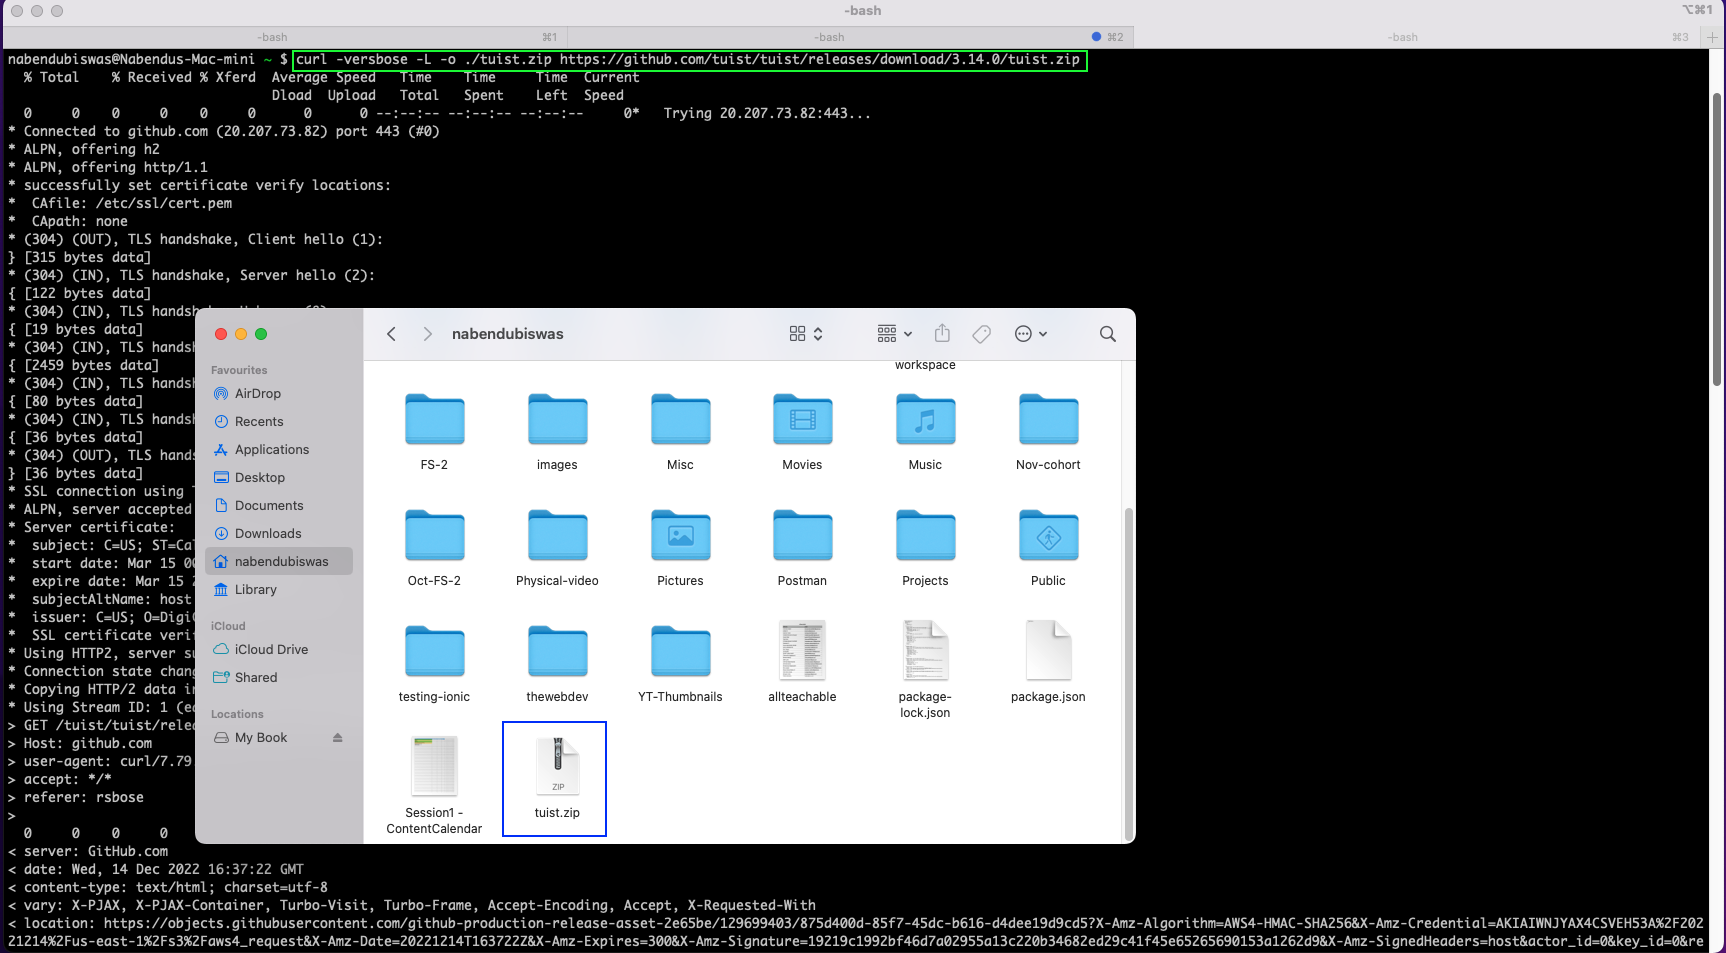
Note: There are still bugs in this command on the latest Macs running M1 processors. So, if you're using a Mac with an Intel processor, you can run the below command instead. For Mac M1 users, the solution is to download the zip file from GitHub. We're doing this through the terminal using the curl command.
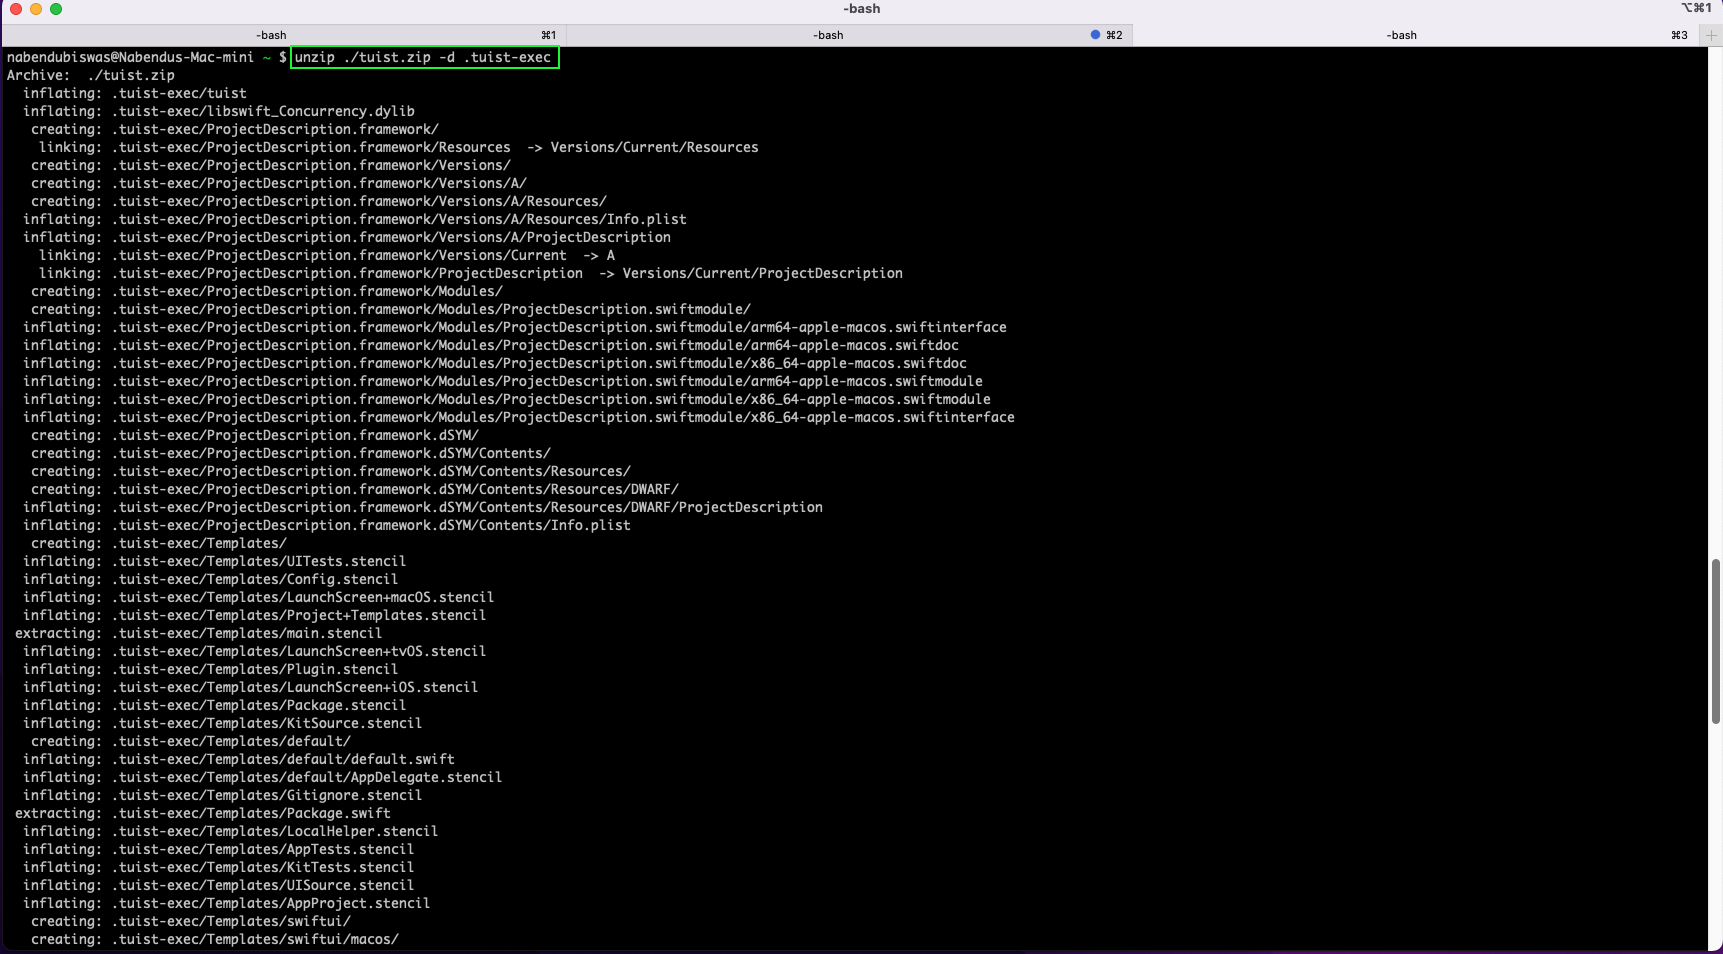
Next, we unzip the file in a folder called .tuist-exec with the below command:
Now, we'll change to the new .tuist-exec directory and check the files in it with the ls command.

New Project Setup
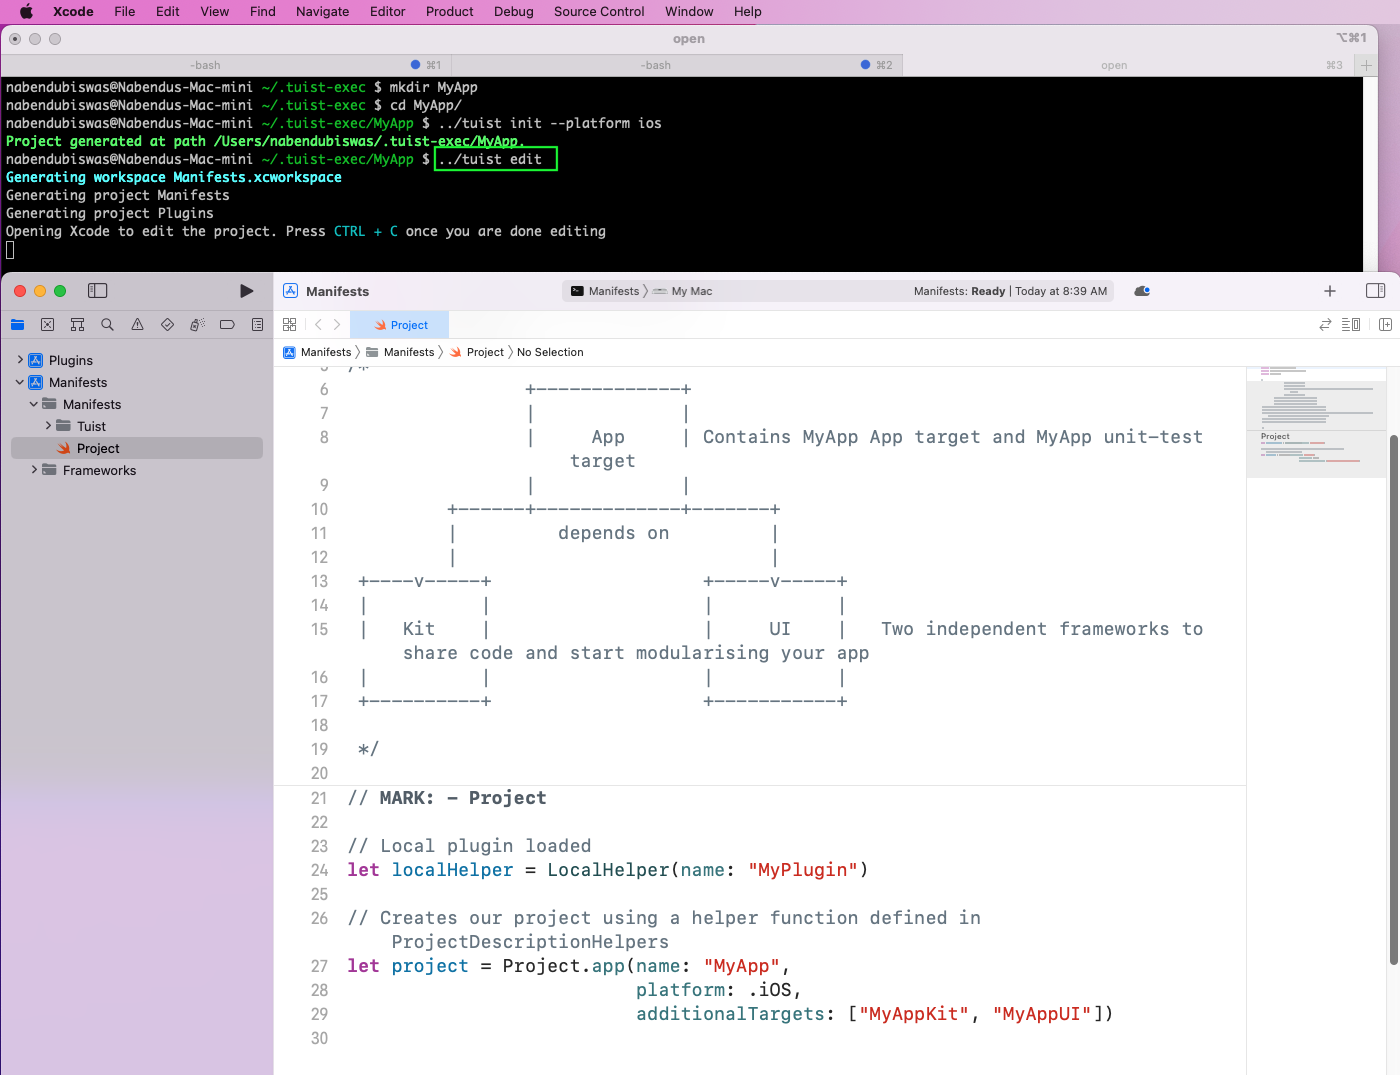
We'll now create a new project through the command line. First, we'll create a new directory using the mkdir command and then go to it using the cd command. Now, to create a new project, we just need to give the tuist init command. Note that we have to run the tuist command from the program in the .tuist-exec directory on a Mac M1 So we'll use ../ to go to that directory.

Next, we have to give the tuist edit command. This command opens the project in Xcode in the setup mode. It also creates the Project.swift file, which will show all dependencies.
After doing the required changes we need, we close Xcode and also press Ctrl + C in the terminal.
To start code in any project, we need the xcworkspace and xcodeproj files. So we need to use the tuist generate command to generate these files.
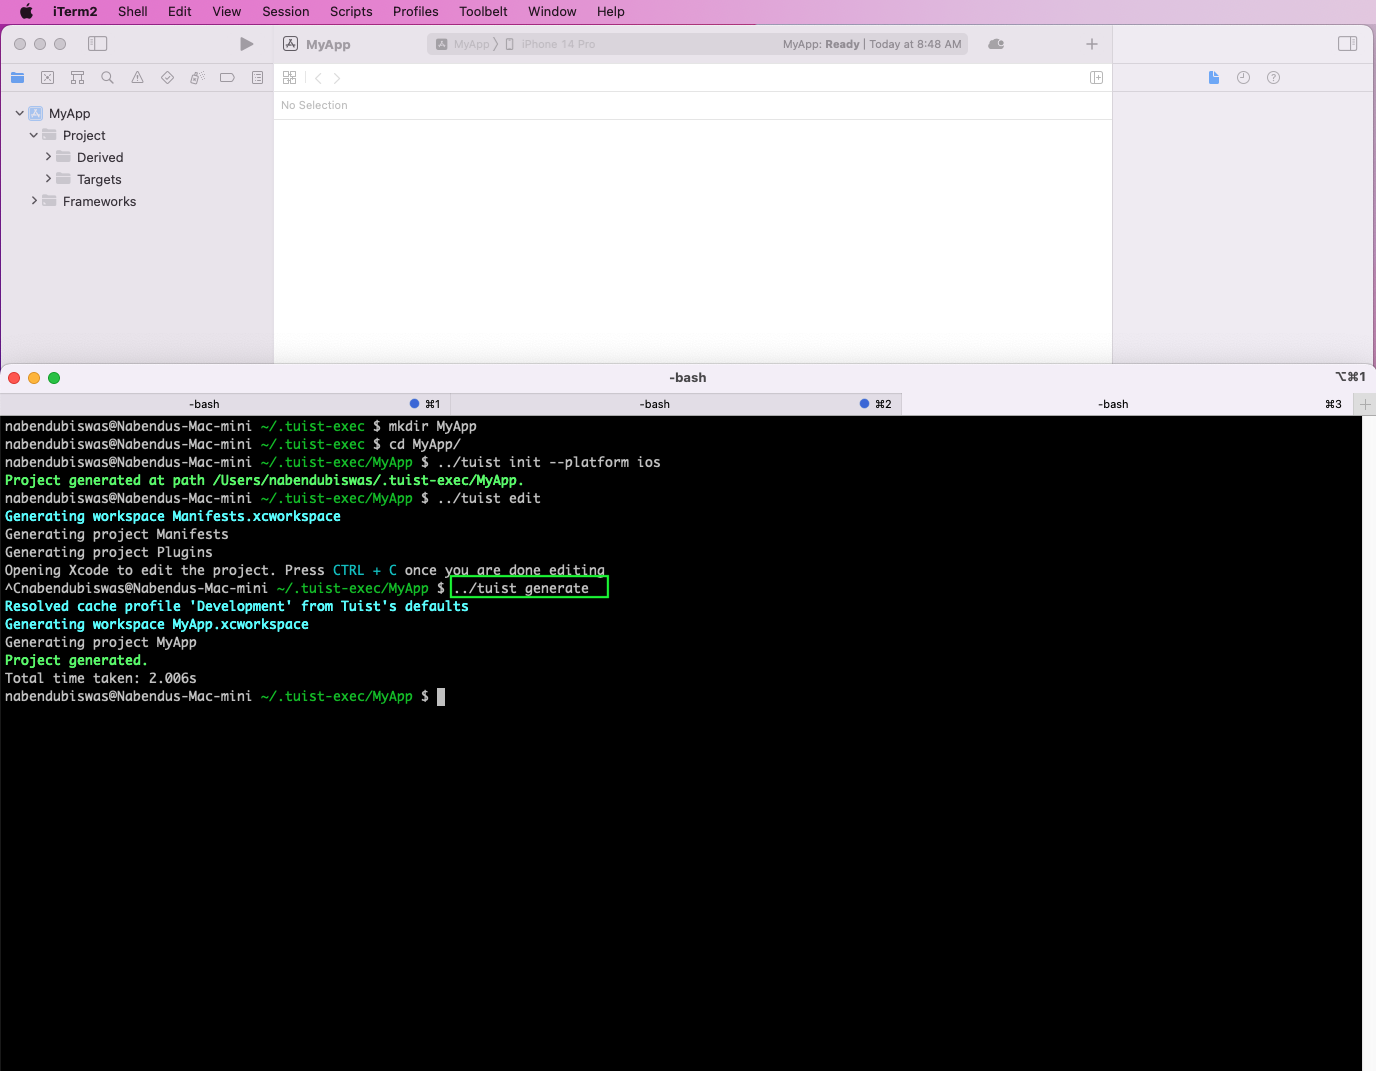
The generate command also opens the project with all dependencies installed in Xcode. Now, in this project, we can start coding any iOS app.
Barebone Project Setup
Next, we'll create a new project and start everything from scratch. This kind of project is easier to set up and also helps us to understand the flow of Xcode.
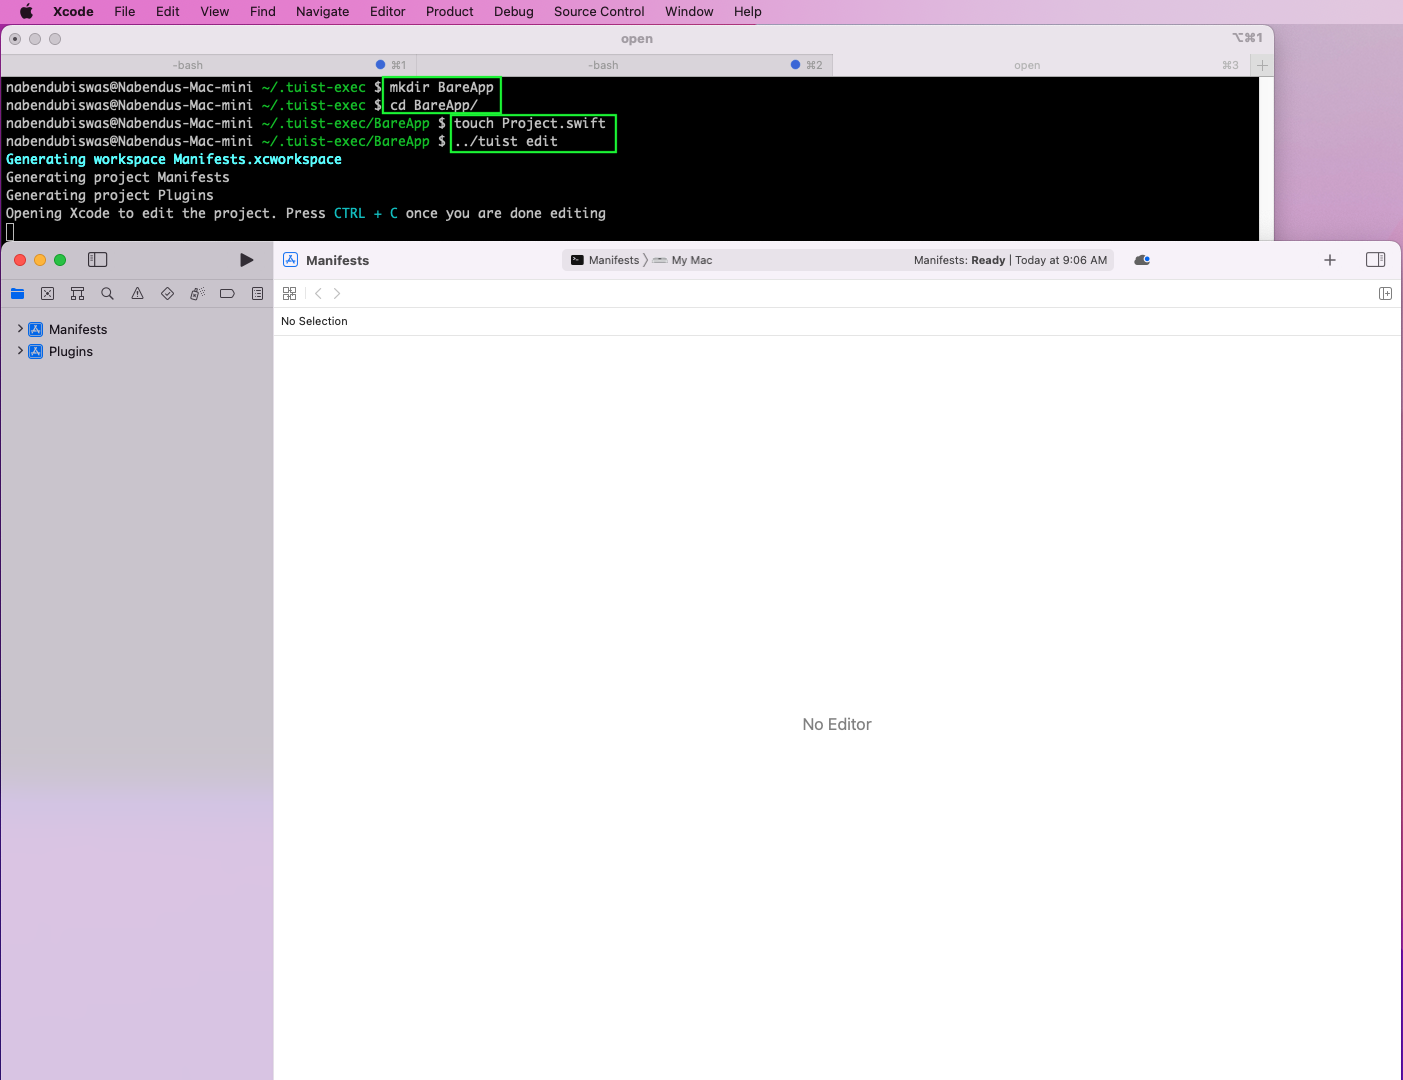
Here, we'll make a new directory, BareApp, using the mkdir command and then go to it using the cd command. Next, we'll create a blank Project.swift file with the touch command. After that, use tuist edit to start Xcode in edit mode.
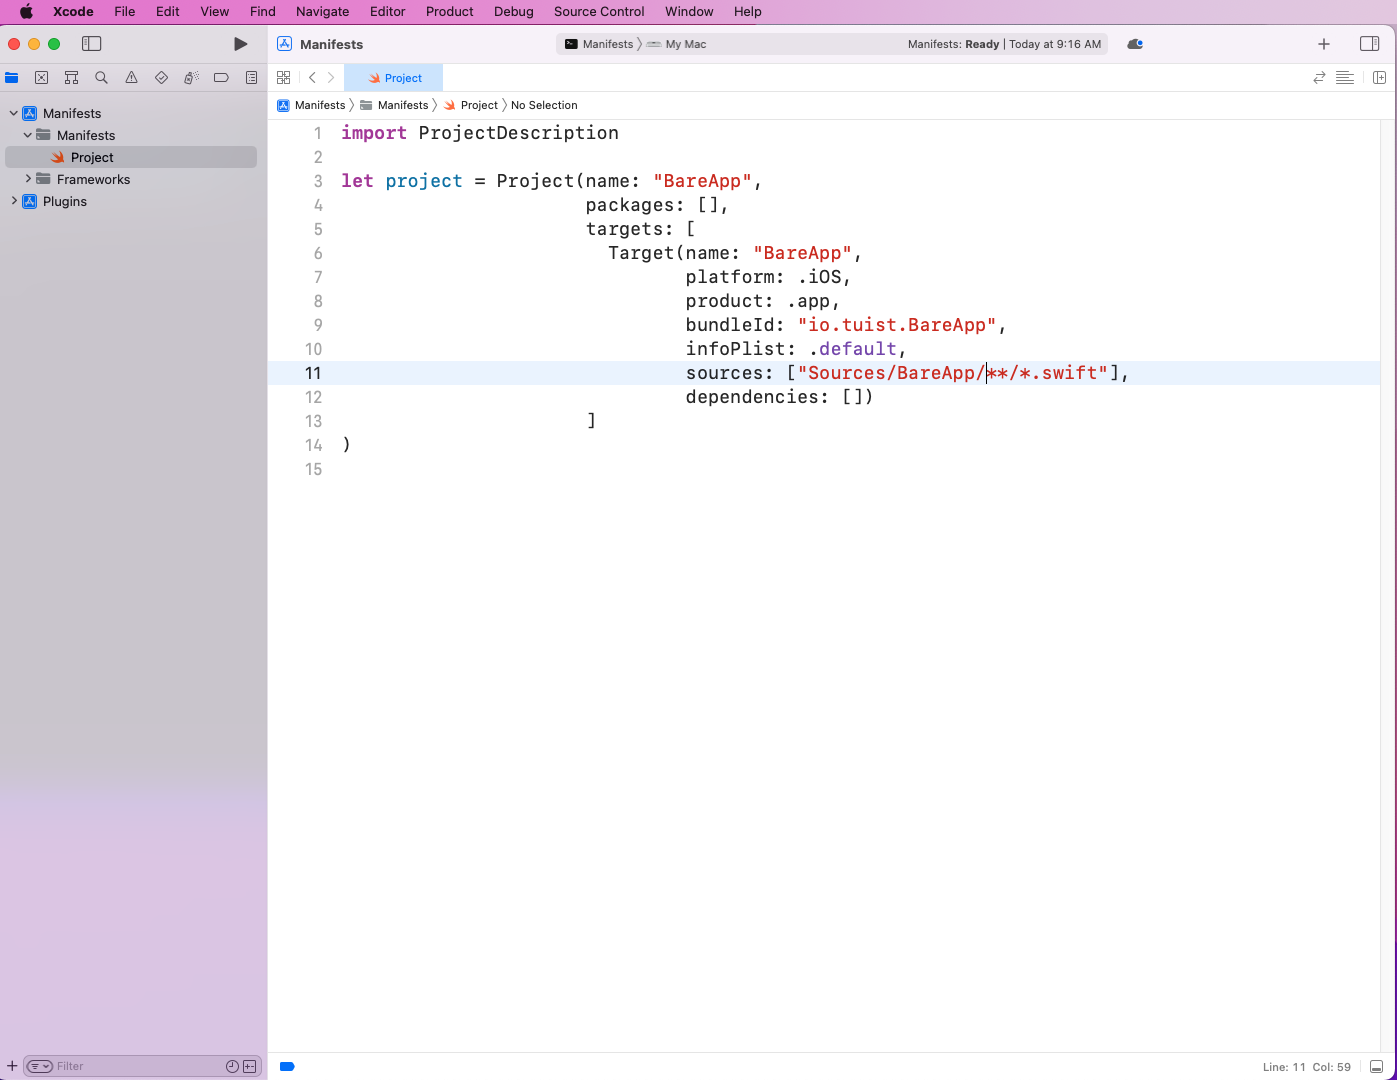
Now, in the Project.swift file, we'll add the below code. Here, we'll need to give the basic setup by using Project(). First, we have given the name and then a package array. Next, we have to give the targets array, and the Target function will contain important information. The main items are the product, which is an app, and the sources, which show the exact path containing the Swift files.
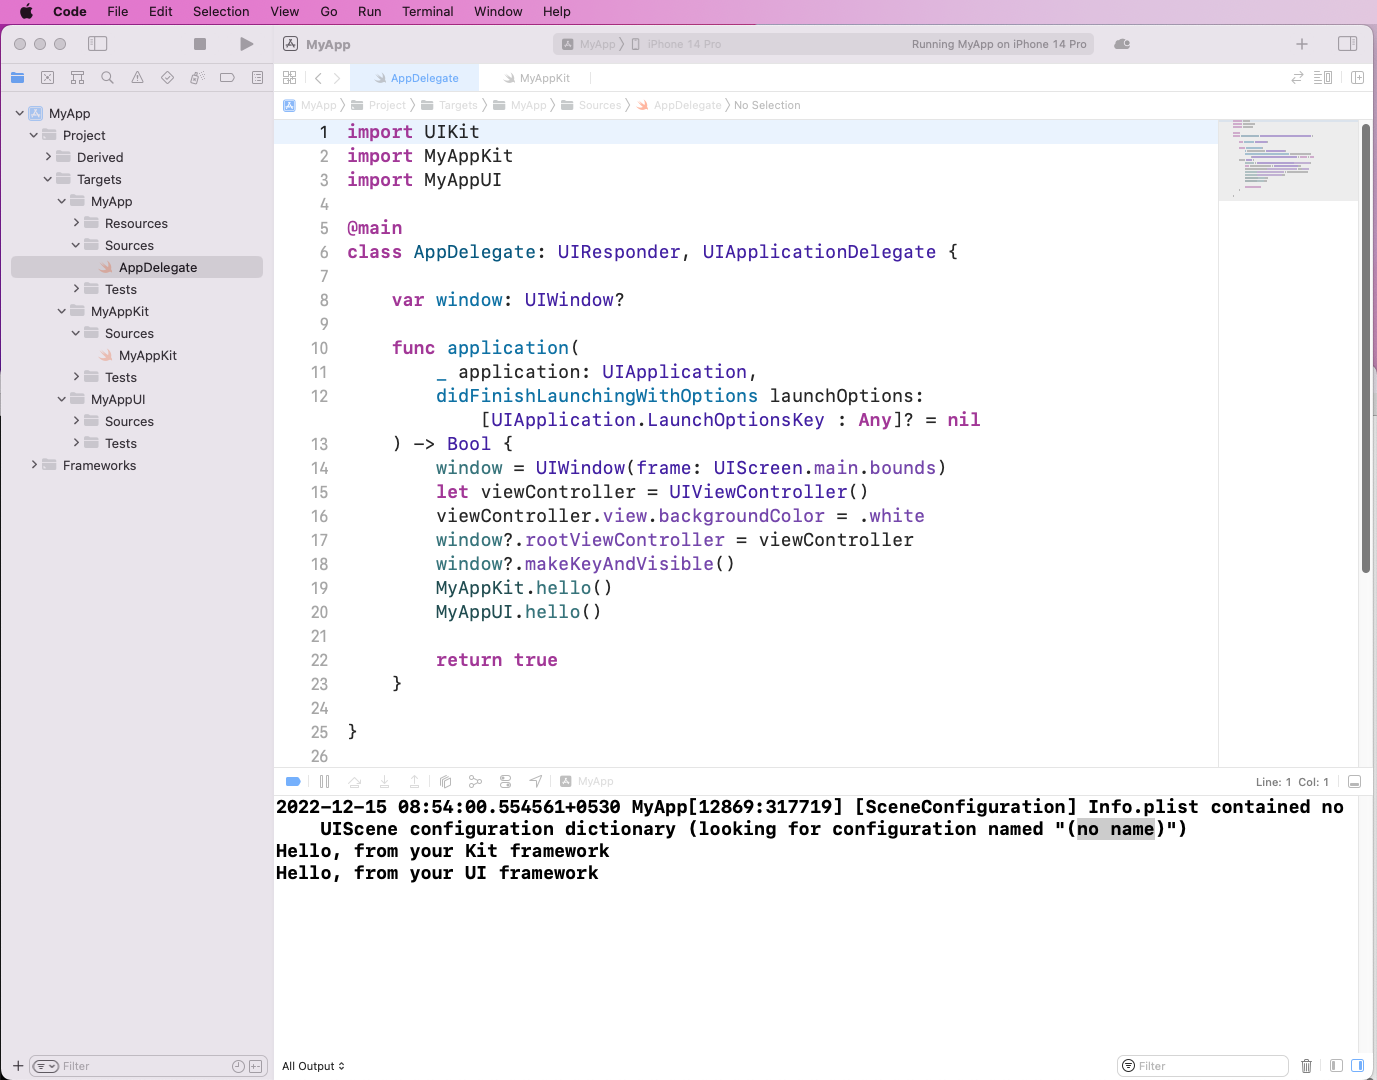
Now, from the terminal, we'll create the Sources folder and inside it the BareApp folder. After going inside the directory using the cd command, we'll open a new file called AppDelegate.swift for editing.

Next, in the file AppDelegate.swift, we'll add the below code. We can get this code from our earlier MyApp project, created in the "New Project Setup" section. This file is the starting point for any iOS app and mostly contains boilerplate code.
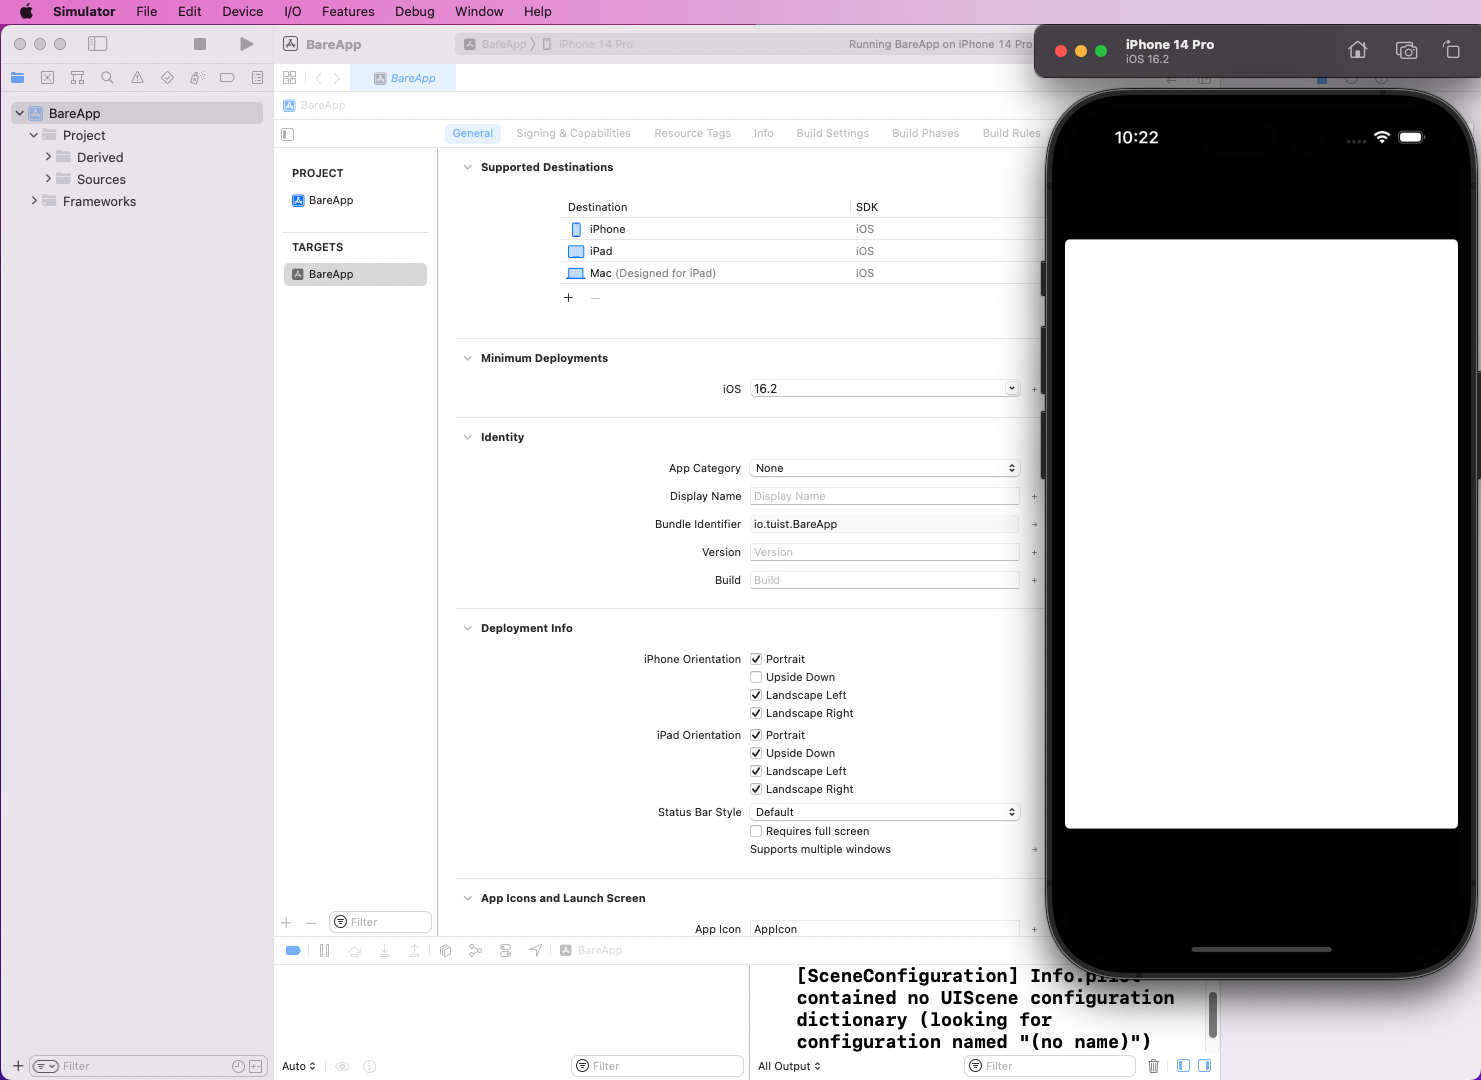
Since the setup is done, we can run the tuist generate command now.

This command will open the project in Xcode. We can also run the project to check if everything is working fine.
Using External Dependency of Alamofire
Now, we'll learn to install external dependencies in our project. We've done this earlier in an Xcode-generated project in our post about Alamofire. But the project is a bit different and easier with Tuist.
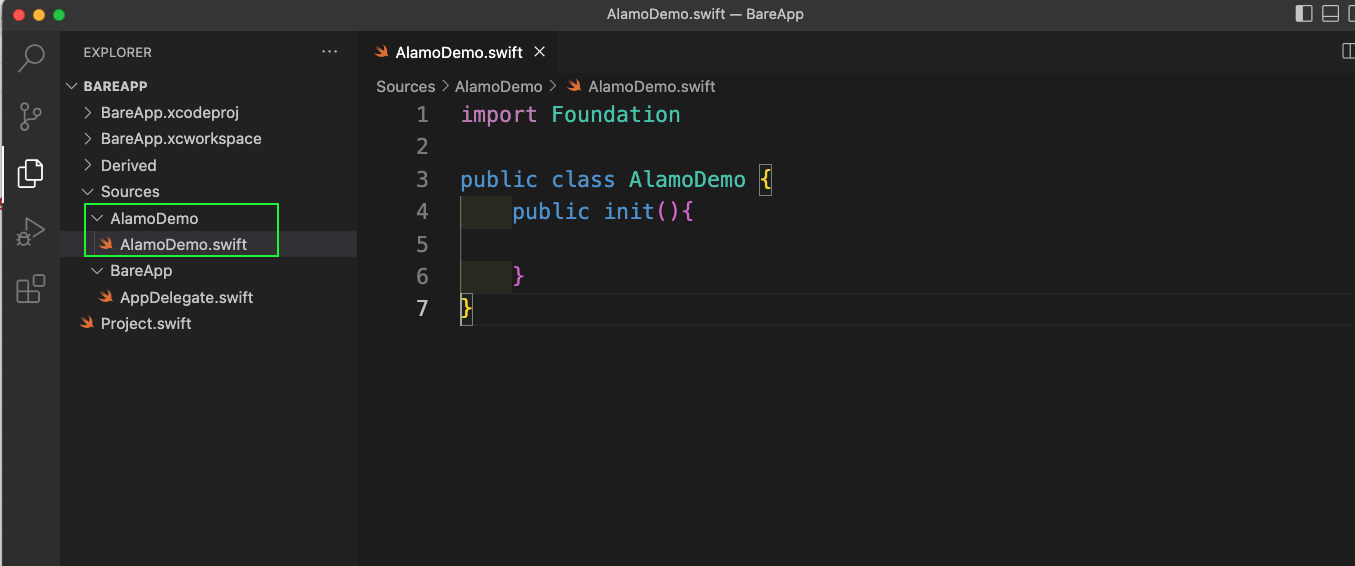
First, we'll create a new folder called AlamoDemo inside the Sources folder. And inside it, we'll create an AlamoDemo.swift file. We'll then add the basic class structure to it.
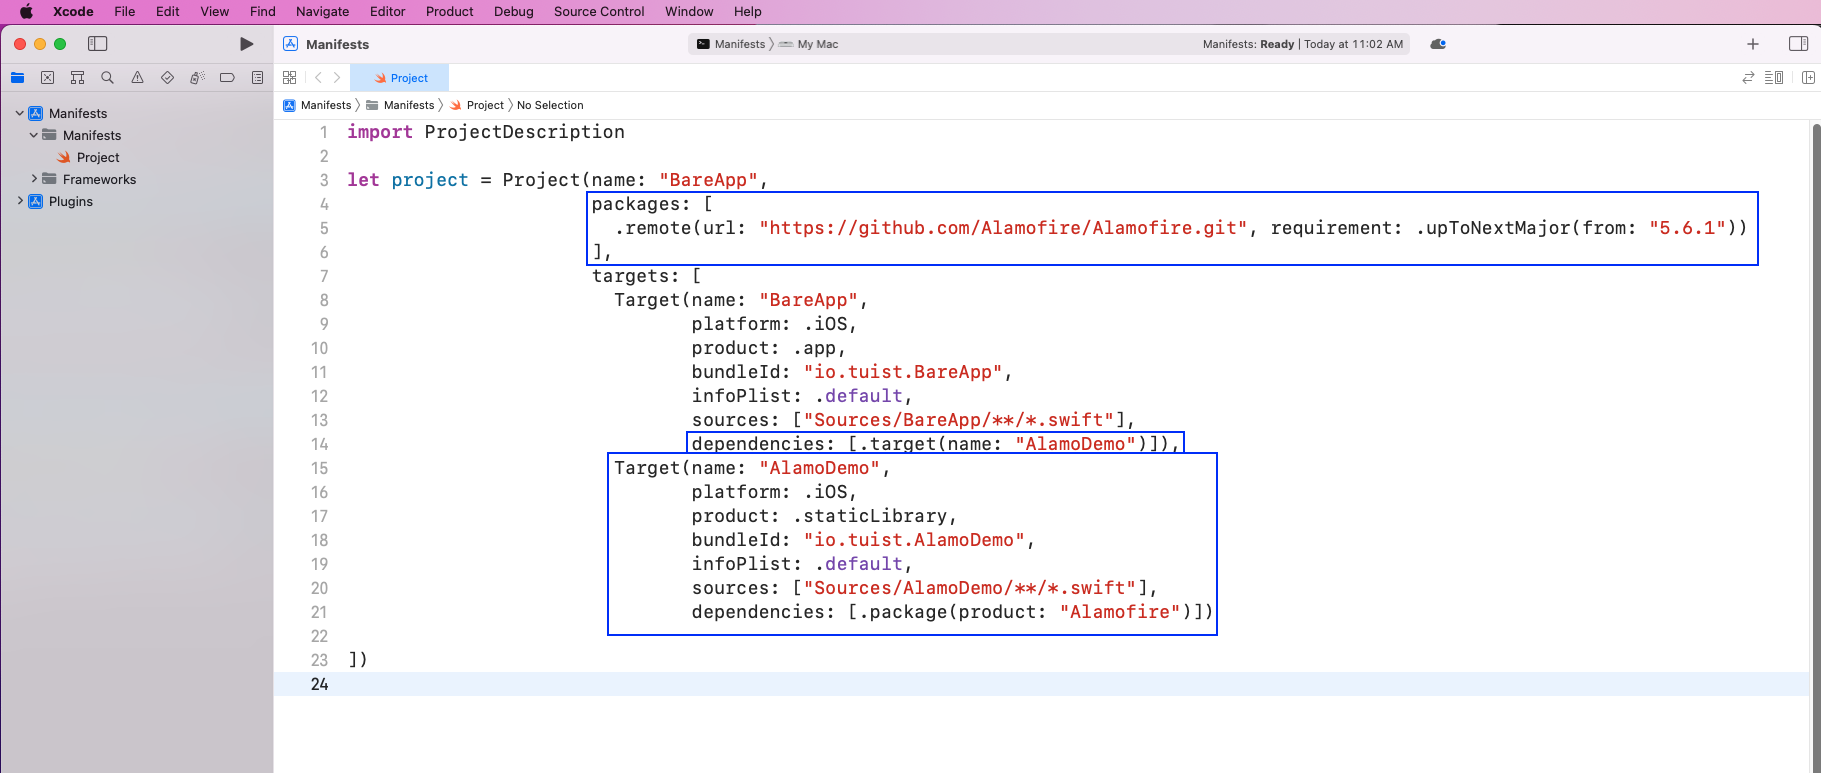
Back in our Project.swift file, we'll add the git URL for Alamofire inside packages. We'll add the version number for the same. Next, in the BareApp dependencies, we'll add AlamoDemo.
We'll also create a new Target for AlamoDemo. Here, the product is staticLibrary and the dependencies array contains the product Alamofire.
Since we made changes to the Project.swift file, we need to run tuist generate again.

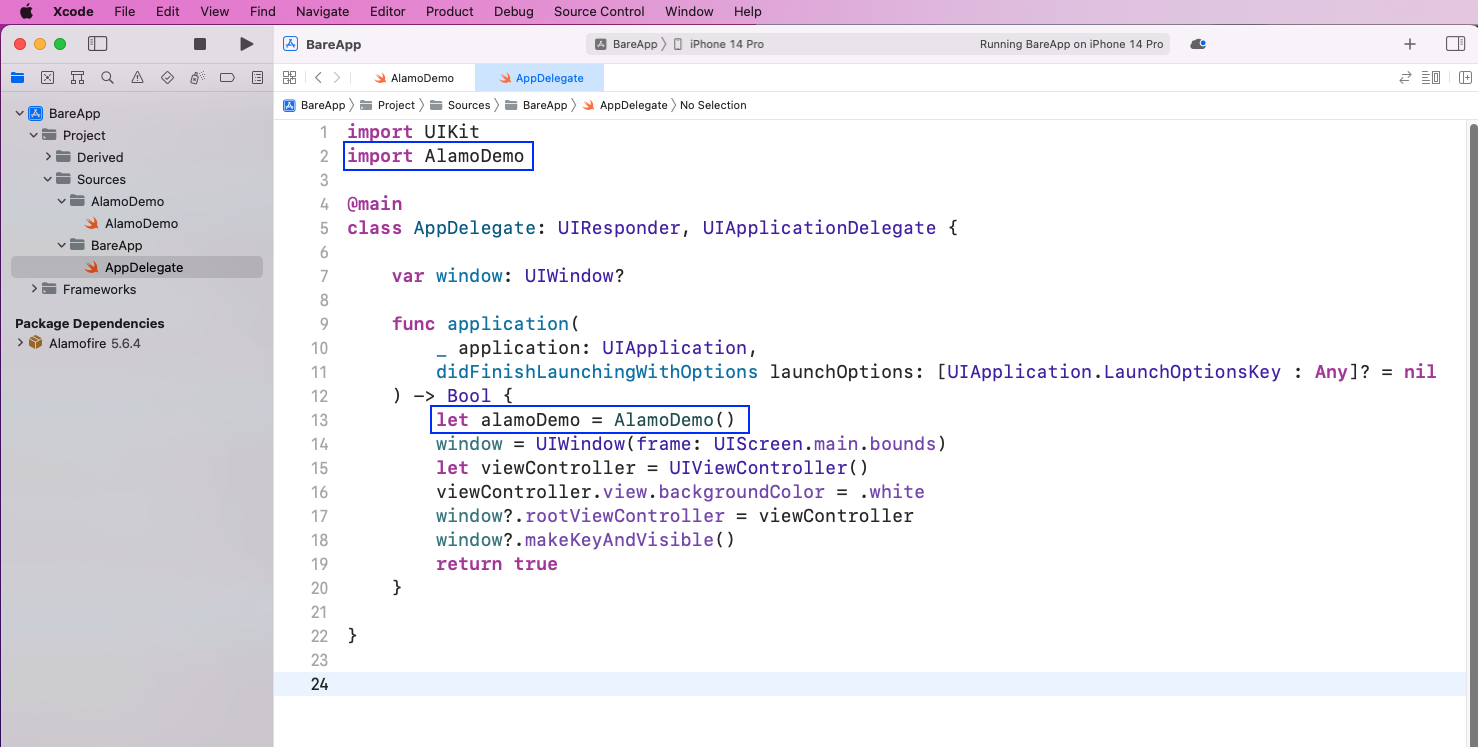
The generate command will also open the project in Xcode. Here, we'll see the dependencies of Alamofire are set up correctly.

We also need to import AlamoDemo in the AppDelegate.swift file. And we'll call the class of AlamoDemo.
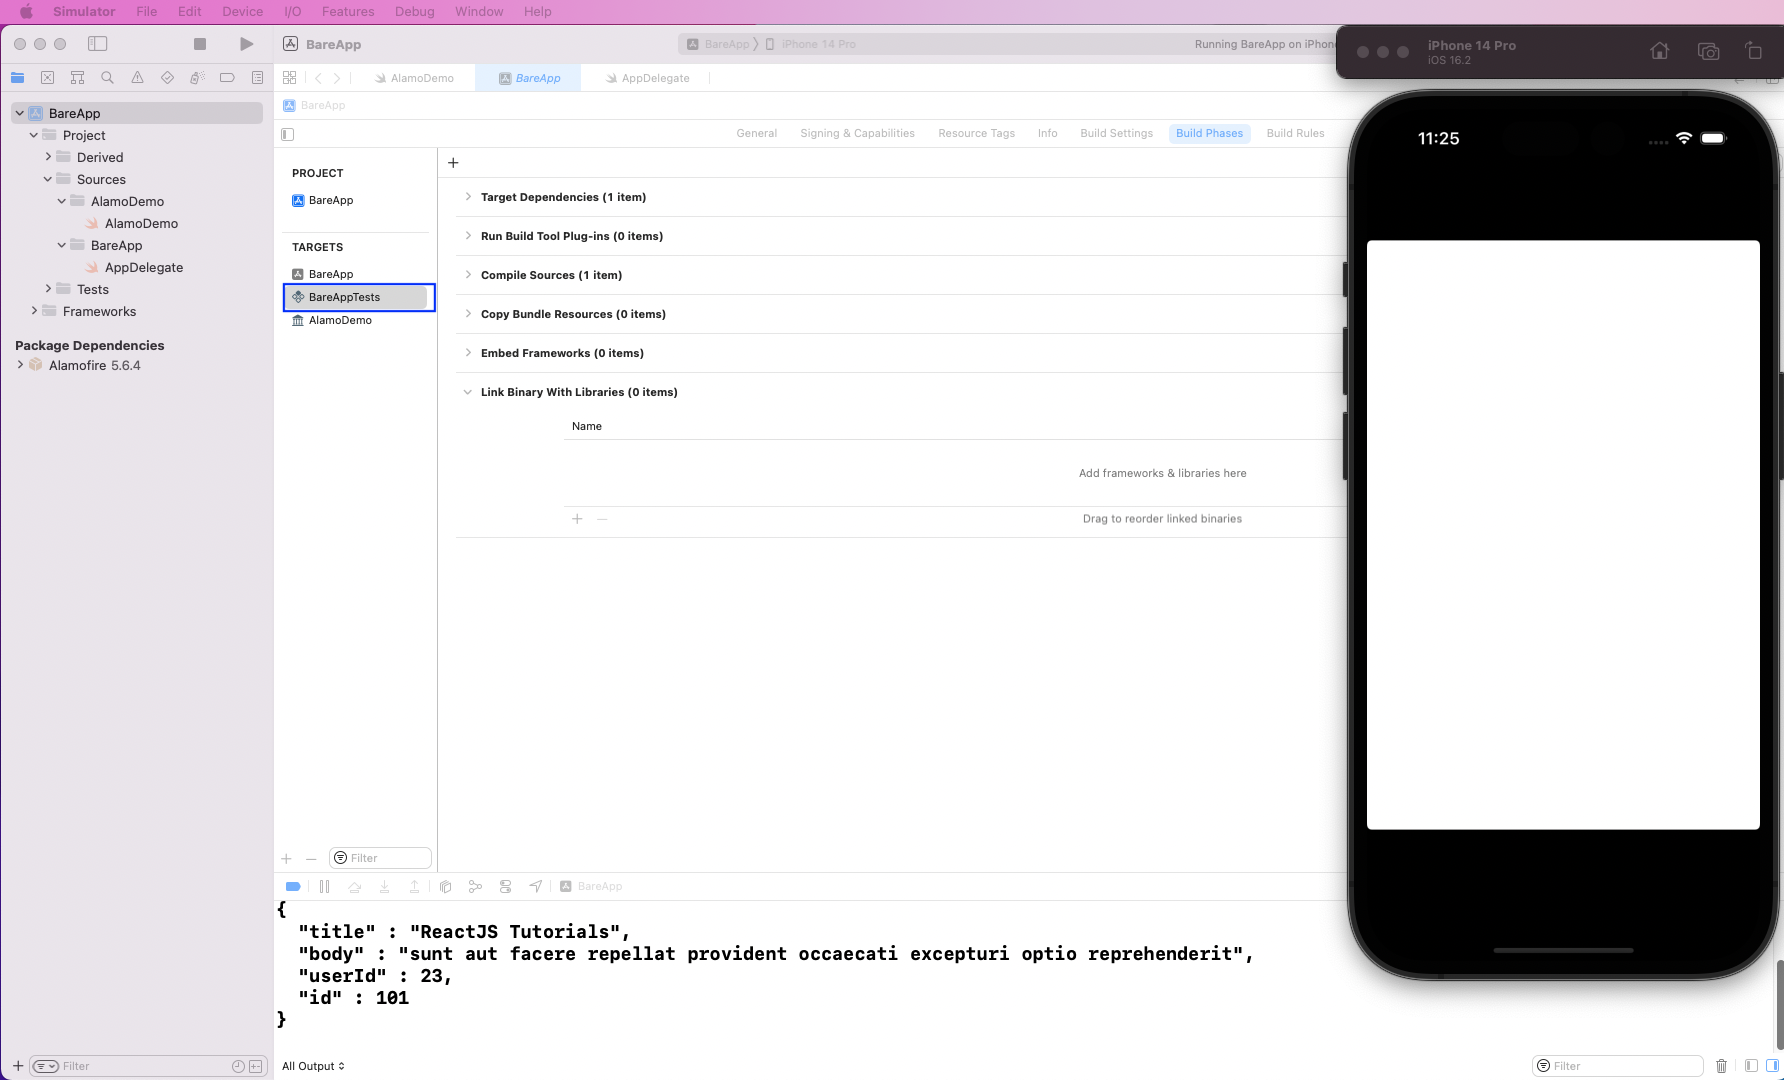
Back in the AlamoDemo.swift file, we'll import Alamofire. And then we'll use it to do a simple GET request to the JSON placeholder endpoint. On running the app, we'll get the response correctly.
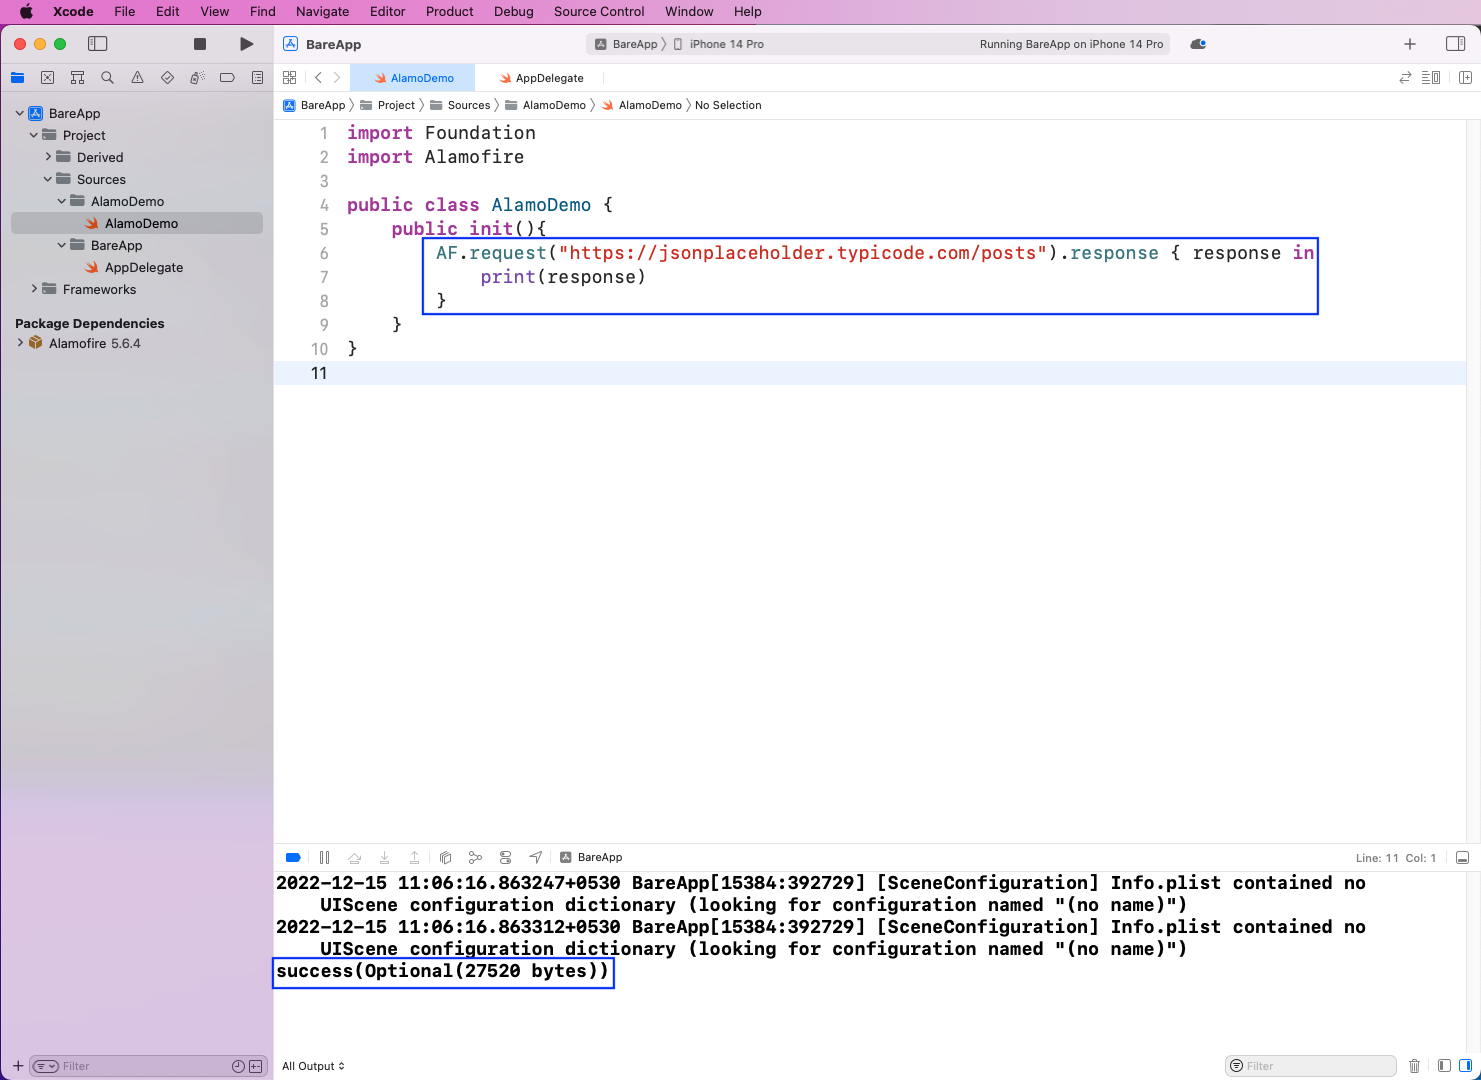
But our output is not showing in a pretty way. So we can also add the code for a POST request from our earlier Alamofire blog post. It does the POST request with predefined parameters to the same JSON placeholder endpoint.
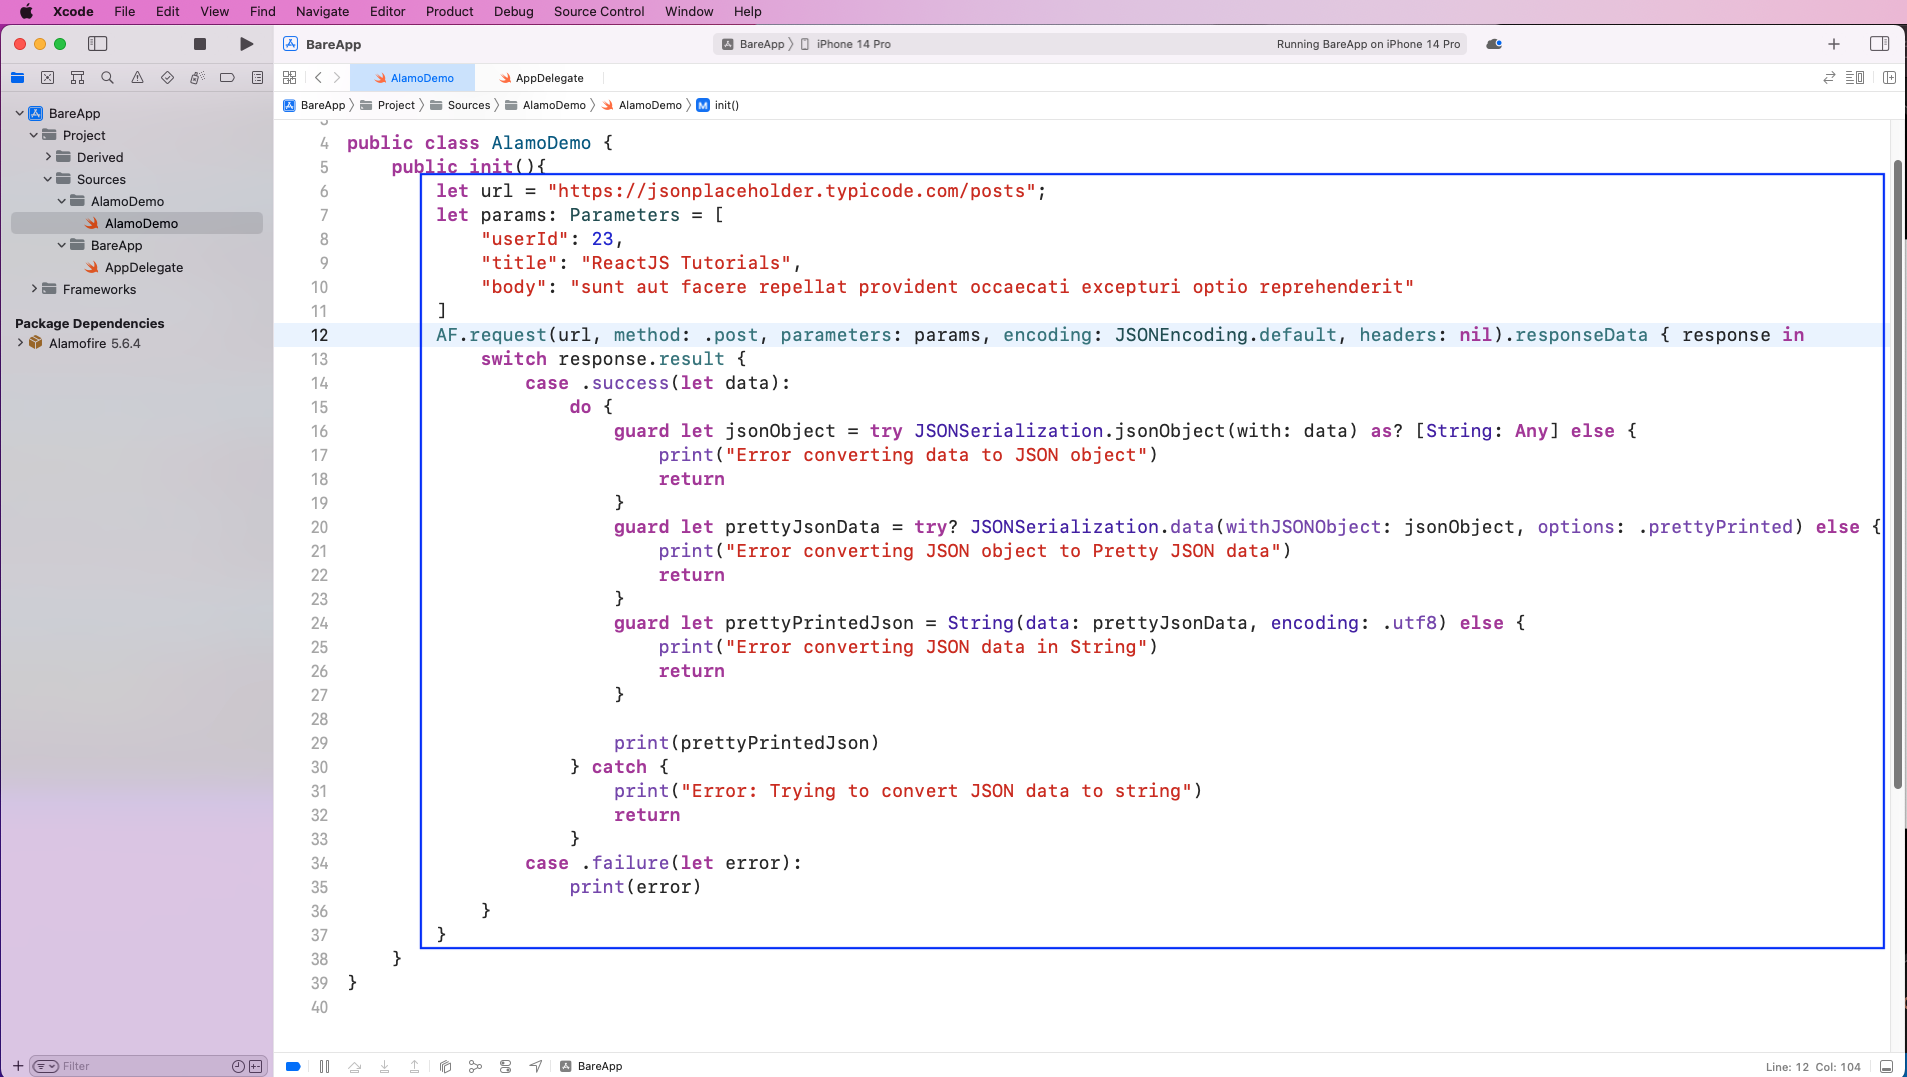
Now, on running the app, we get a nicely formatted response in the console.

Adding Unit Testing
Adding unit testing in a project generated with Tuist is much easier than through Xcode. See our post on XCUI methods to learn how to set up and prepare for test cases using Xcode.
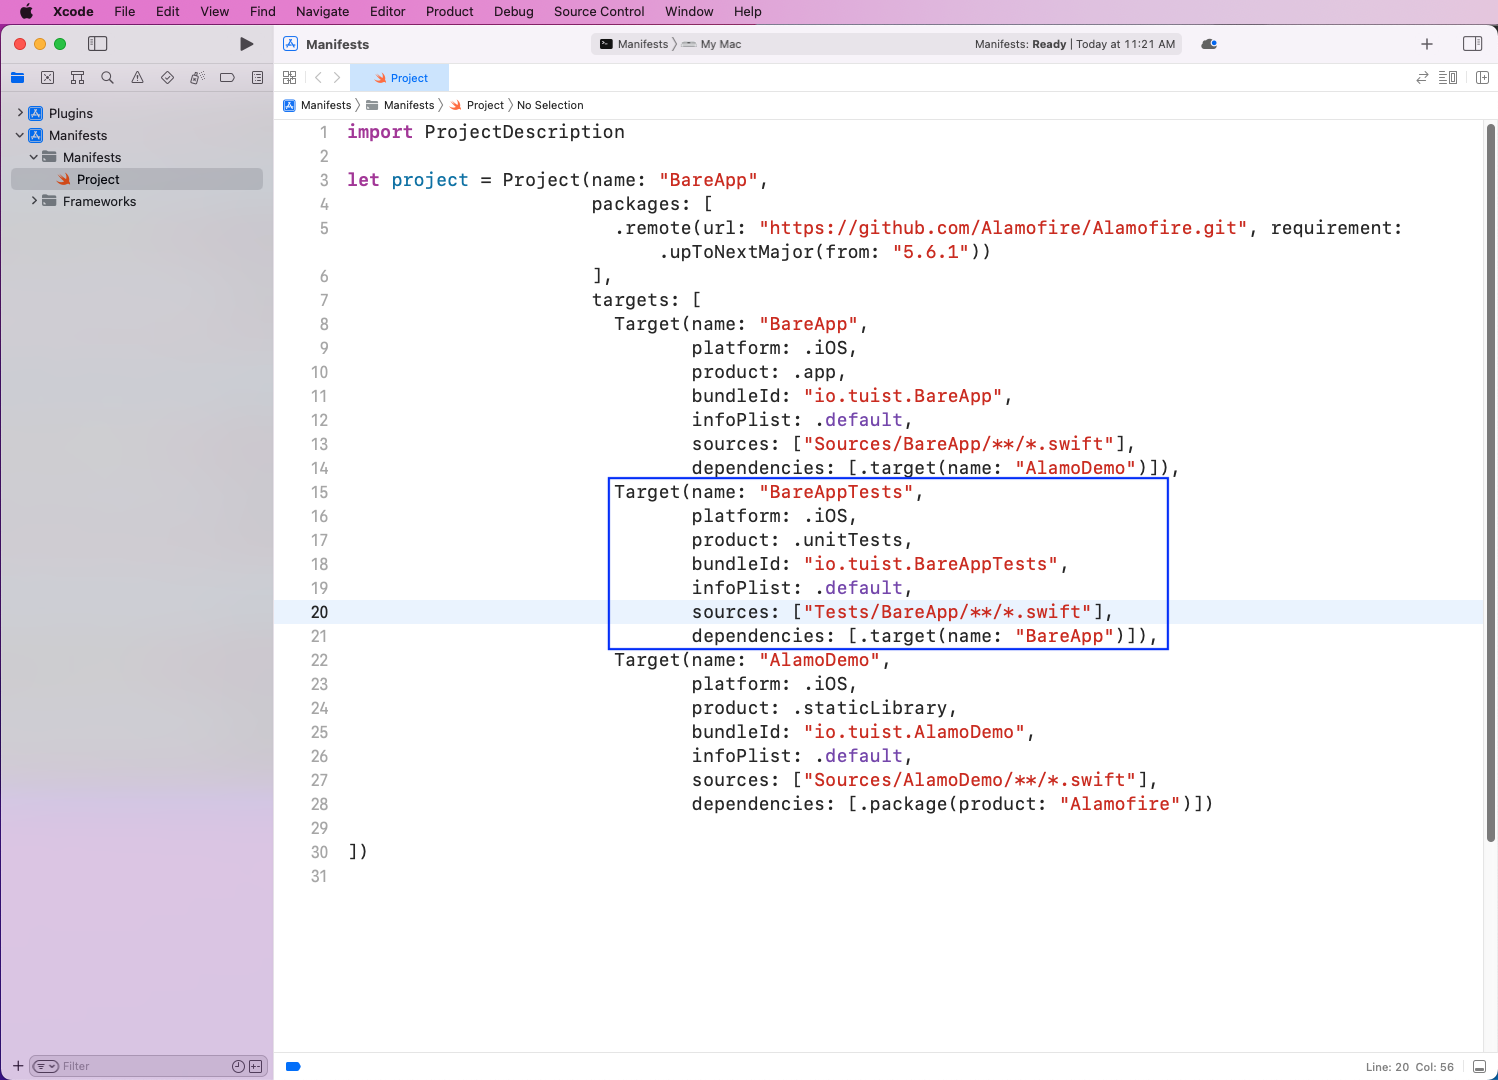
Again, open the Project.swift file and add a Target in it. Here, the product is unitTests. And the dependencies contain the BareApp since that's what we're going to test. Also, the source is a different directory called Tests.
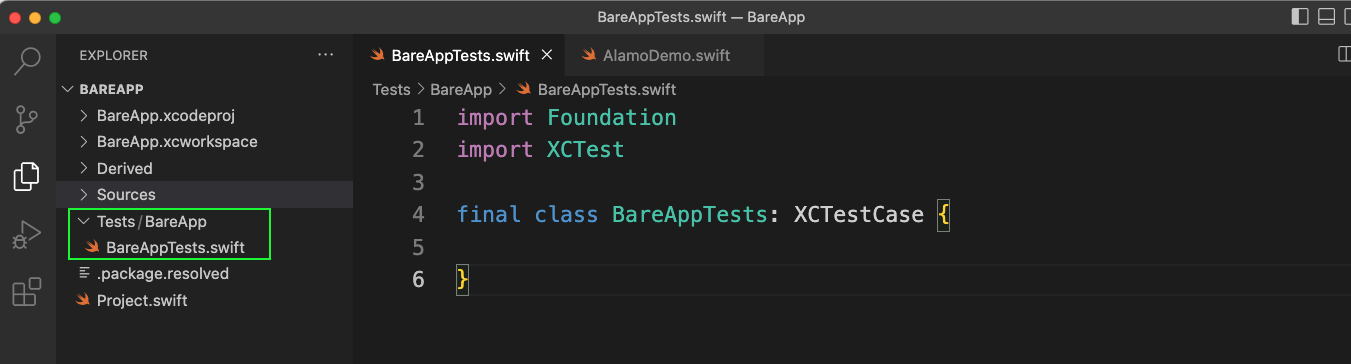
Now, we'll create a Tests folder and inside it a BareApp folder. Next, we'll create a BareAppTests.swift file and add the basic structure of an XCTest. All the creation of folders and files we're doing through VS Code. This is because it's much easier to see the structure and create the file in VS Code than Xcode.
Again, we need to run tuist generate from the terminal, and we'll see that BareAppTests has been added correctly. And we also see that our apps run without any errors.
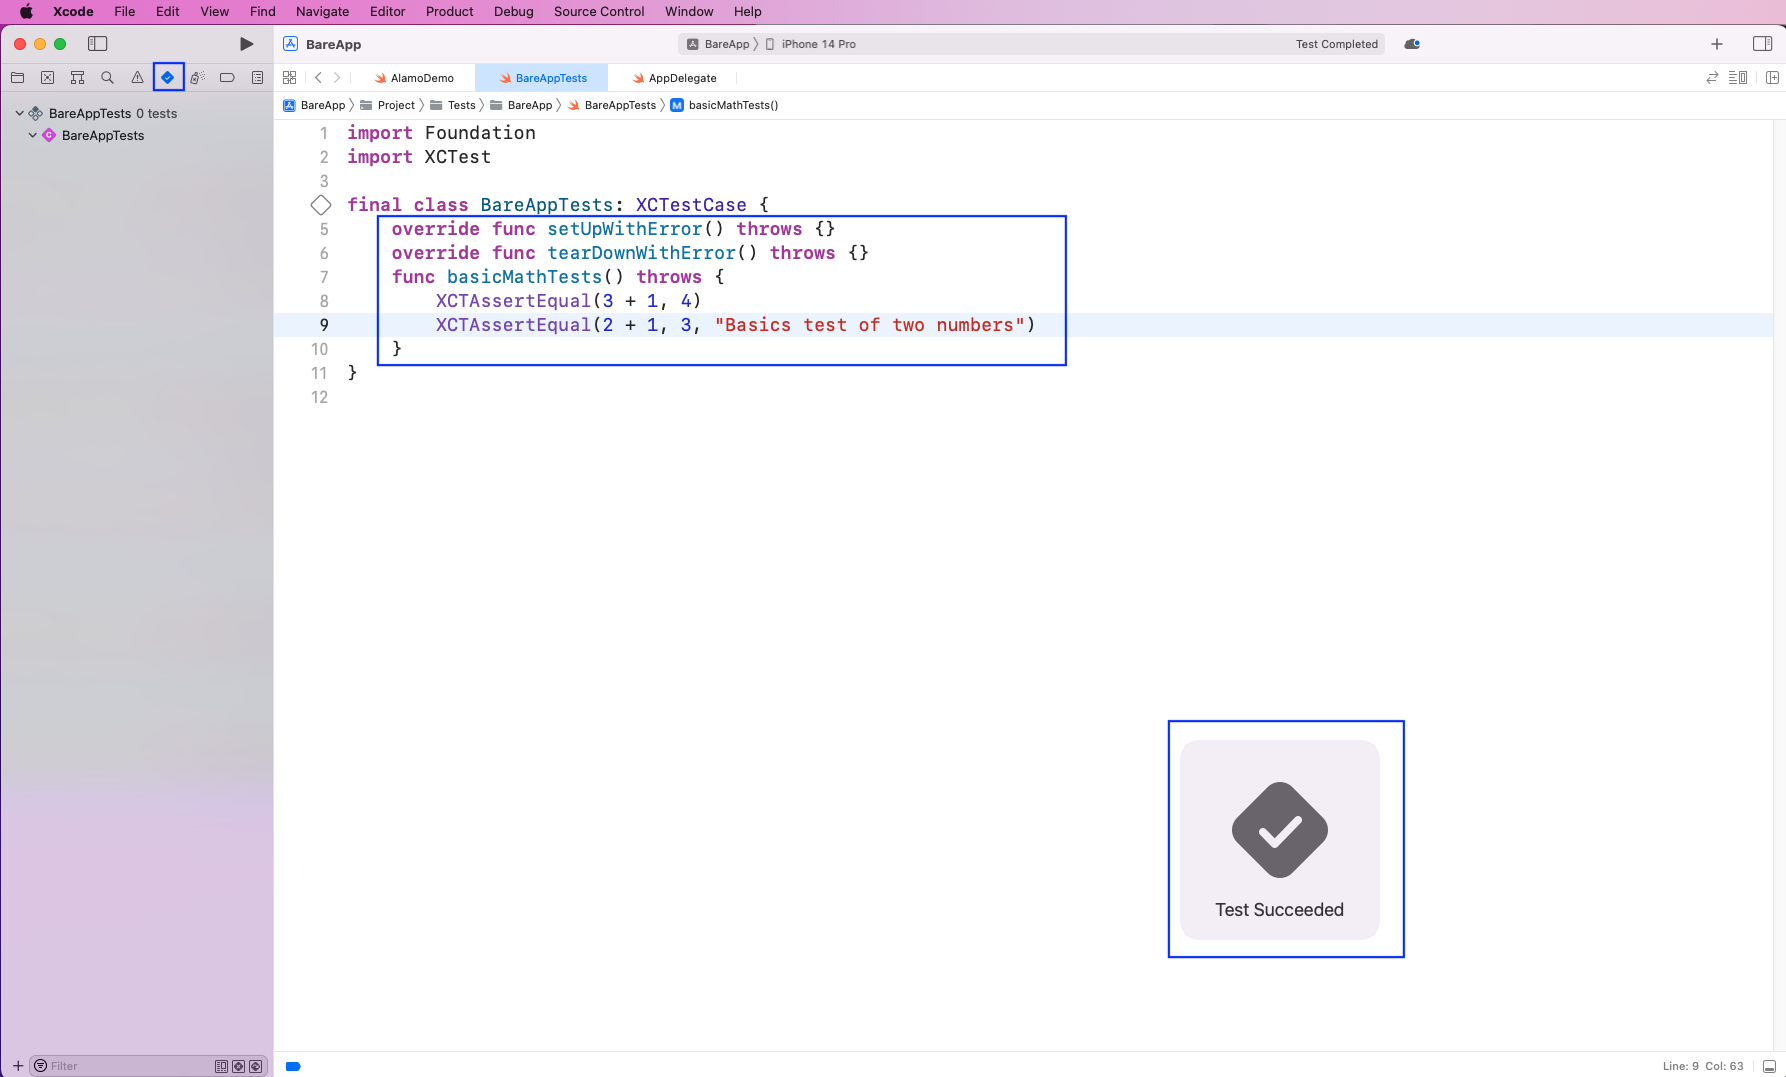
Now, we'll add a basic test in our BareAppTests.swift file. Next, to run our only test, go to the test tab by clicking on the tick icon.
After that, in BareAppTests, click on the play button to run the test. It will show a message of Test Succeeded.
What You've Learned
In this post, we talked about an alternate way to create iOS apps through Tuist. We created a small app with Tuist and did a POST API call to a popular endpoint using Alamofire. Here, we also learned an alternate way to install Alamofire. And we learned an easier way to add a test bundle to our project.
But when it comes to testing the API call in an app, it's a difficult task, as it requires complex mocking logic. Instead of this, we can use Waldo, which requires no code. You only need to provide the APK or IPA file. Waldo automatically generates test cases and sends results in an email.
Automated E2E tests for your mobile app
Get true E2E testing in minutes, not months.


