If you’ve read the introductory documentation and played a bit with Waldo Scripting, you may be wondering how to run scripted tests from your CI on an existing mobile app. I wondered too, and so I took the time to figure out how to do exactly that.
I took a stripped-down version of TravelSpot, a demo iOS app that the Waldo team has used in years past to illustrate the power of Waldo for automated testing, and successfully added support for end-to-end testing with Waldo Scripting by using a GitHub Actions workflow.
Now, whenever I create a PR that targets the main branch, my end-to-end tests run automatically, plus I am not allowed to merge in my changes until all the tests pass.

I spent several hours figuring this all out, but you can hitch a ride on my coattails and spend just a few minutes following along as I describe step by step how I did it.
Preliminaries
First off, I took care of some preliminary tasks:
- I visited here and signed up for a Waldo account.
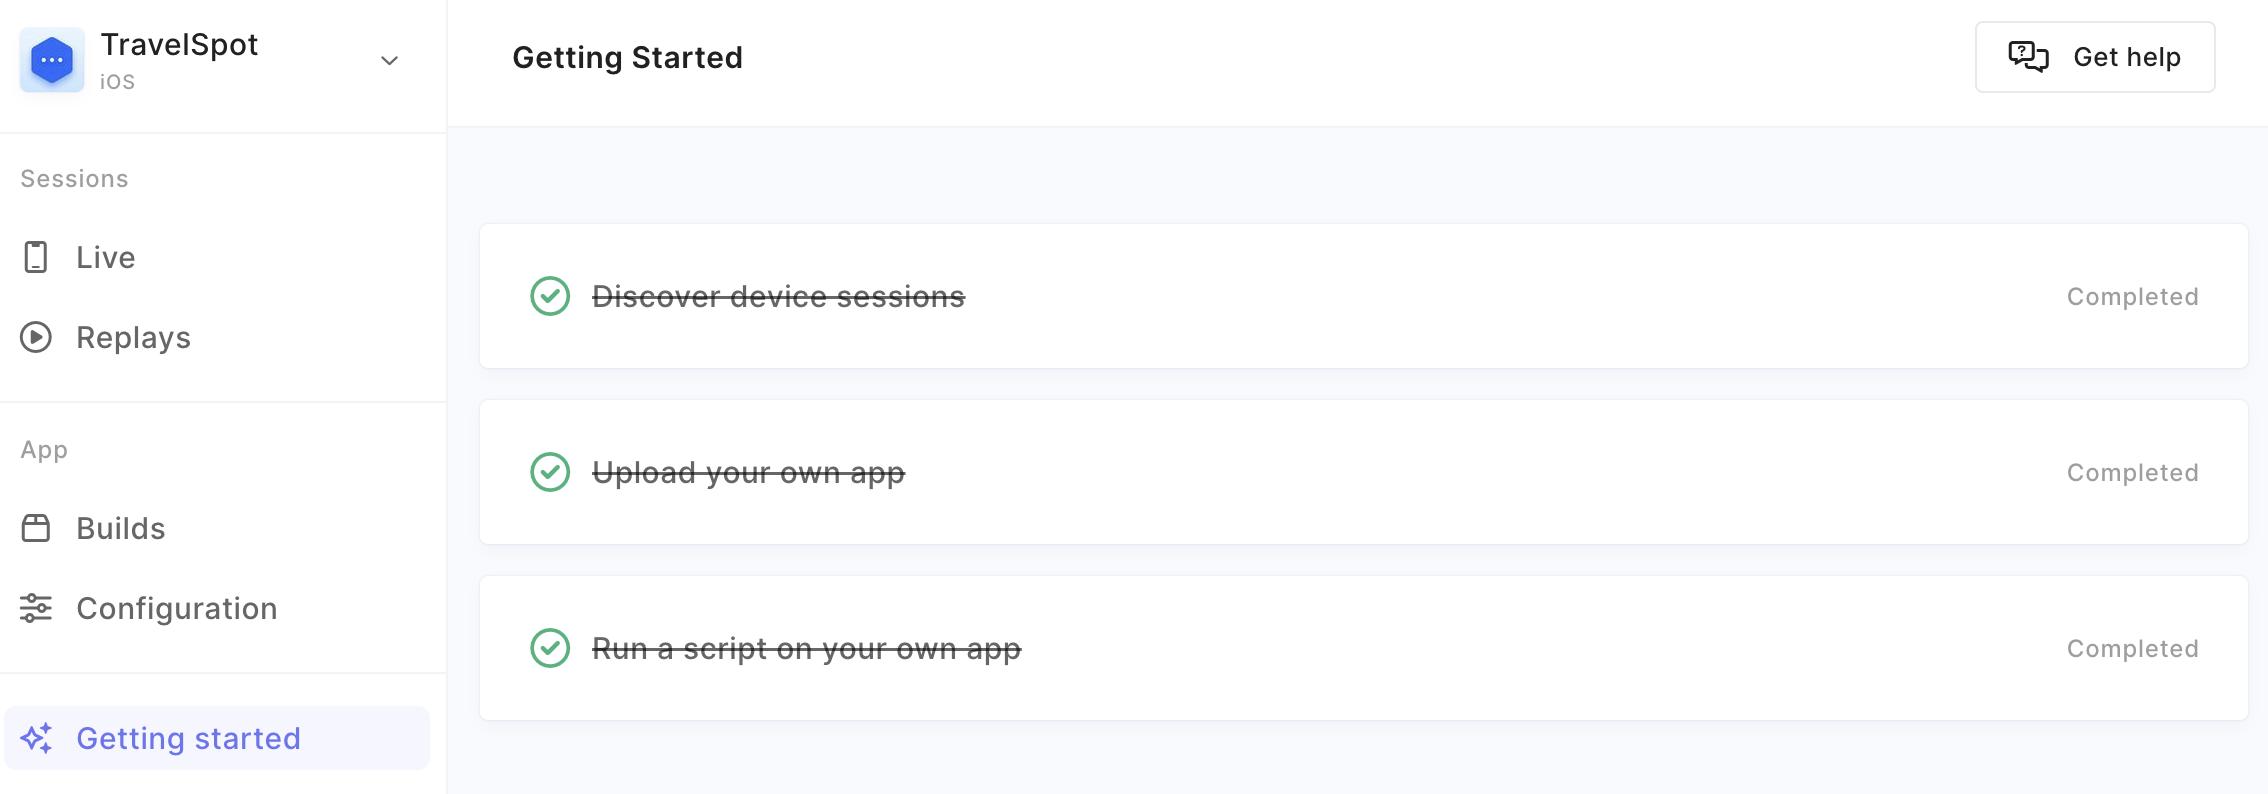
- I then duly worked my way through the “Getting Started” guide so I could familiarize myself with what Waldo Scripting is actually capable of.

At this point, with my app uploaded, I was ready to roll up my sleeves and get to the real work!
Integrating Waldo Scripting
I decided that my first order of business would be to add all the JavaScript glue required to run Waldo Scripting into my app repo.
Cloning the Waldo Scripting samples repo
After a bit of experimentation, I determined that the easiest approach was to clone the Waldo Scripting samples repo directly into a subfolder of the top-level app folder:
git clone https://github.com/waldoapp/waldo-programmatic-samples.git waldo
To keep things simple, I called the new subfolder waldo right from the get go.
Deleting extraneous files and folders
Since I didn’t want to end up with another repo nested within my app repo, I immediately deleted the .git folder inside the waldo subfolder:
cd waldo
rm -rf .git
Now that I was in the waldo subfolder, I went ahead and also nuked the android folder, and the existing GitHub workflow since it was highly unlikely that I would need anything from there:
rm -rf android .github/workflows/ci.yml
I also knew that the ios/test subfolder was where all of my (future) tests would live, so I scrapped the existing demo.ts and onboarding.ts files. Given that I already had an initial E2E test script in mind, I went ahead and created a new (empty) test script file called onboarding.ts.
Writing the Test Script
It seemed to me that writing the onboarding.ts test script first made the most sense. That way I’d be able to test it out immediately by simply invoking the same command I had previously used to complete the third step of the “Getting Started” guide:
VERSION_ID=[build-id] npm run ios
It took a few iterations before I had a test script that consistently passed. Here’s what I ultimately ended up with:
describe('Onboarding Test', () => {
  it('signs up', async () => {
    await driver.tapElement('accessibilityId', 'SignUpButton');

    const ranhex = Date.now().toString(16);
    const email = `walbot+${ranhex}@testing.waldo.io`;
    const password = `Fubar${ranhex}!`;

    await driver.typeInElement('accessibilityId', 'EmailTextField', email);

    await driver.typeInElement('accessibilityId', 'PasswordTextField', password);

    await driver.tapElement('accessibilityId', 'SignUpButton');
  });

  it('skips through onboarding screens', async () => {
    await driver.tapElement('accessibilityId', 'NextButton');

    await driver.tapElement('accessibilityId', 'GetStartedButton');

    await driver.waitForElement('accessibilityId', 'ProfileButton');
  });
});
And here is the public replay link of a successful run of that test script.
Now I just needed to be able to run that test script from my CI.
Writing the GitHub Actions Workflow
I decided to make things easy and implement a GitHub Actions workflow that
- builds the app,
- uploads it to Waldo, and
- runs the end-to-end tests against it.
While it sounds easy, there were a few wrinkles to be ironed out. This is what I cobbled together in the end:
name: Run E2E Tests on Waldo

on:
  pull_request:
    branches:
      - main
  push:
    branches:
      - main

jobs:
  run-e2e-tests:
    runs-on: macos-latest
    steps:
      - name: Checkout repo
        uses: actions/checkout@v4
      - name: Build app with Xcode
        run: |
          DERIVED_DATA_PATH=/tmp/TravelSpot-$(uuidgen)

          xcodebuild -project TravelSpot.xcodeproj          \
                     -scheme TravelSpot                     \
                     -configuration Release                 \
                     -sdk iphonesimulator                   \
                     -derivedDataPath "$DERIVED_DATA_PATH"  \
                     build

          echo "APP_DIR_PATH=${DERIVED_DATA_PATH}/Build/Products/Release-iphonesimulator/TravelSpot.app" >> "$GITHUB_ENV"
      - name: Upload resulting build to Waldo
        id: upload
        uses: waldoapp/gh-action-upload@v2
        with:
          build_path: ${{ env.APP_DIR_PATH }}
          upload_token: ${{ secrets.WALDO_CI_TOKEN }}
      - name: Set up node
        uses: actions/setup-node@v4
      - name: Install node dependencies
        run: npm install
      - name: Run test scripts
        run: npm run ios
        env:
          TOKEN: ${{ secrets.WALDO_CI_TOKEN }}
          VERSION_ID: ${{ steps.upload.outputs.build_id }}
I will point out the places that deserve special attention.
Locating the build artifact
Building the TravelSpot app with xcodebuild was reasonably straightforward; however, building it such that I could easily locate the resulting build artifact (meaning TravelSpot.app) — and subsequently upload it to Waldo — required specifying an explicit derived data path:
  - name: Build app with Xcode                      # Step 2
        run: |
          DERIVED_DATA_PATH=/tmp/TravelSpot-$(uuidgen)

          xcodebuild -project TravelSpot.xcodeproj          \
                     -scheme TravelSpot                     \
                     -configuration Release                 \
                     -sdk iphonesimulator                   \
                     -derivedDataPath "$DERIVED_DATA_PATH"  \
                     build

          echo "APP_DIR_PATH=${DERIVED_DATA_PATH}/Build/Products/Release-iphonesimulator/TravelSpot.app" >> "$GITHUB_ENV"
That last line is a bit of GitHub Actions magic to save the location of the build artifact in an environment variable named APP_DIR_PATH so that it can be used later on in the workflow.
I’ve got a secret!
Uploading the TravelSpot.app build artifact was super simple with Waldo’s custom upload action. I could easily supply the artifact’s location from the APP_DIR_PATH environment variable set in the preceding step:
      - name: Upload resulting build to Waldo           # Step 3
        id: upload
        uses: waldoapp/gh-action-upload@v2
        with:
          build_path: ${{ env.APP_DIR_PATH }}
          upload_token: ${{ secrets.WALDO_CI_TOKEN }}
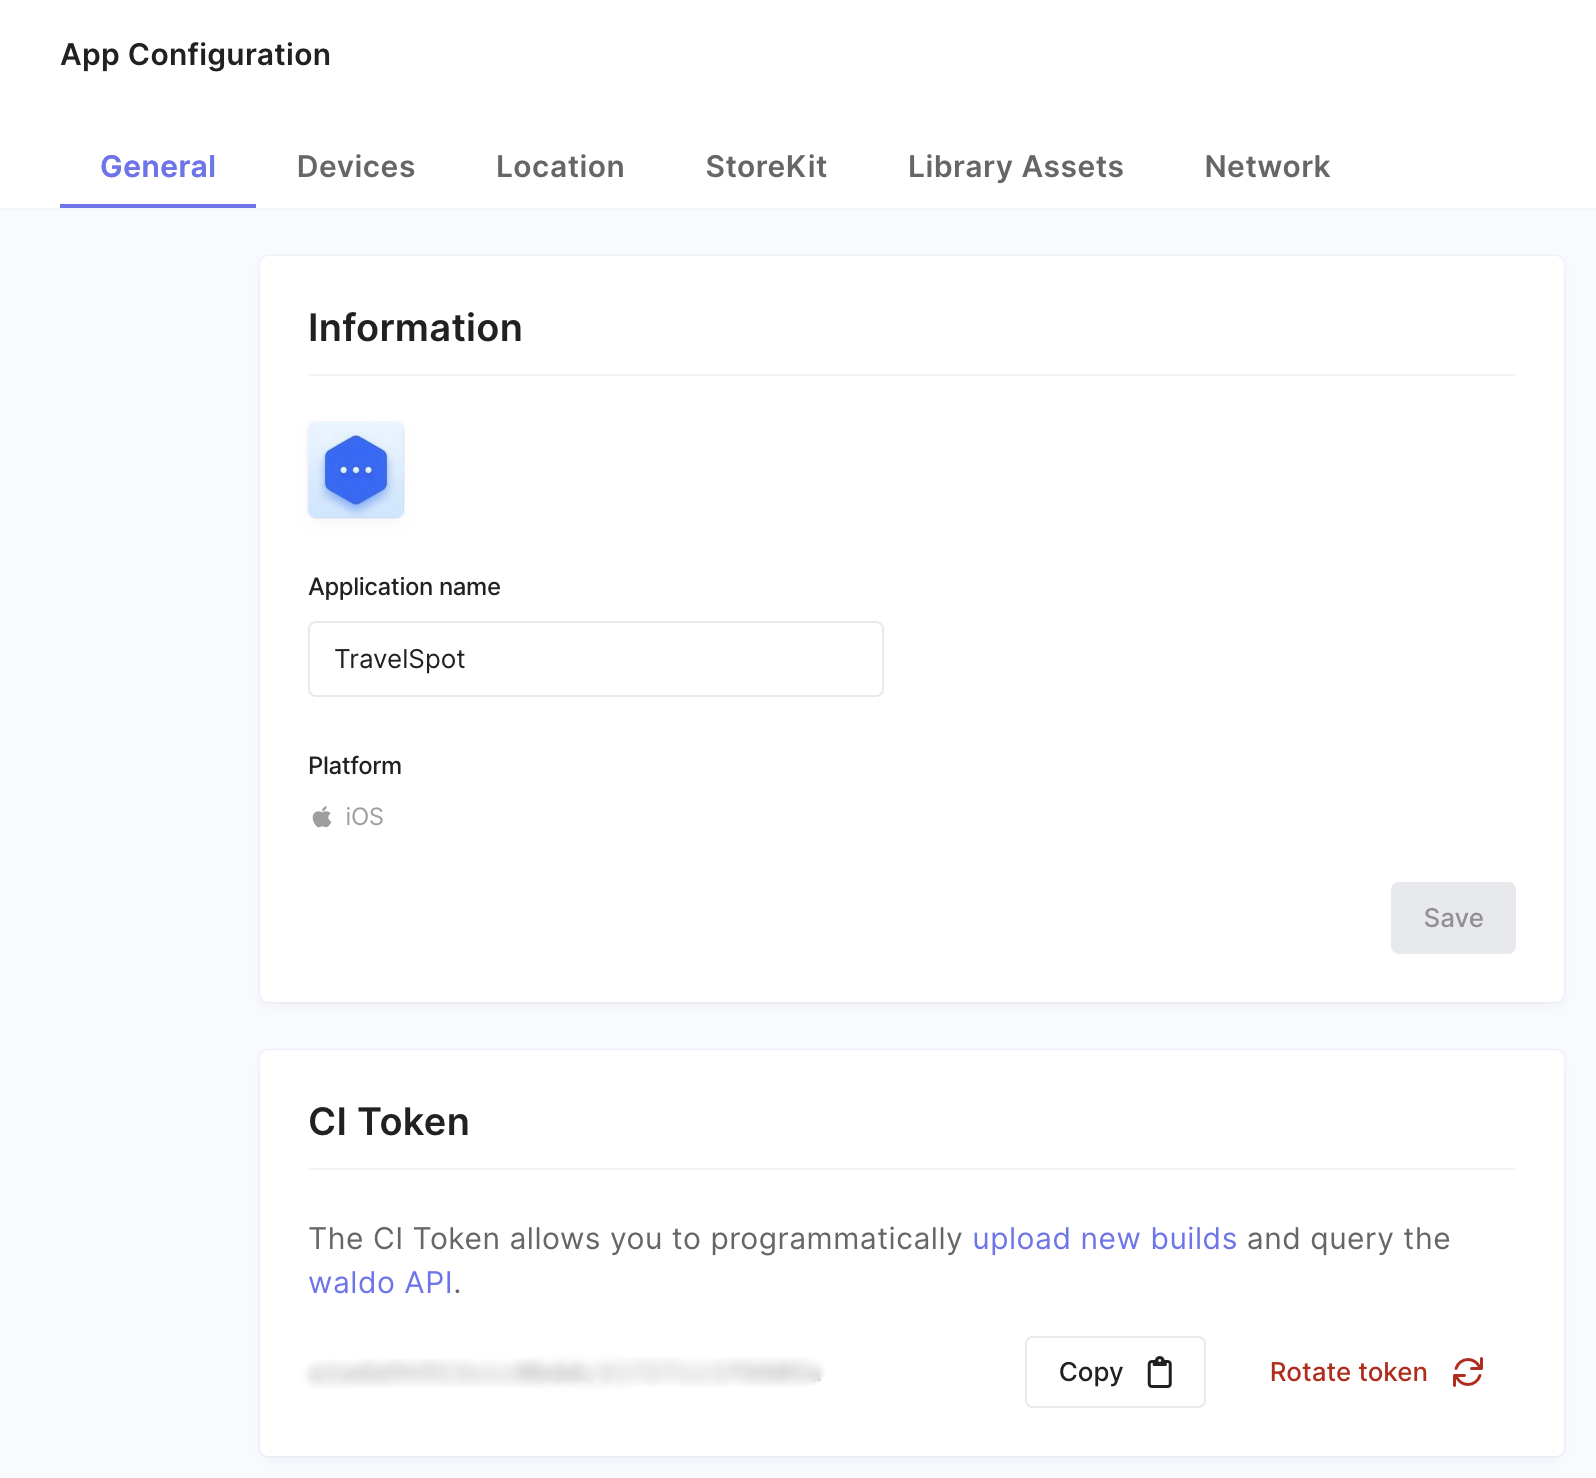
Uploading to Waldo requires you to specify the “CI token” associated with the app you are targeting. It can be found in the “General” tab of the “Configuration” for that app on the Waldo dashboard:

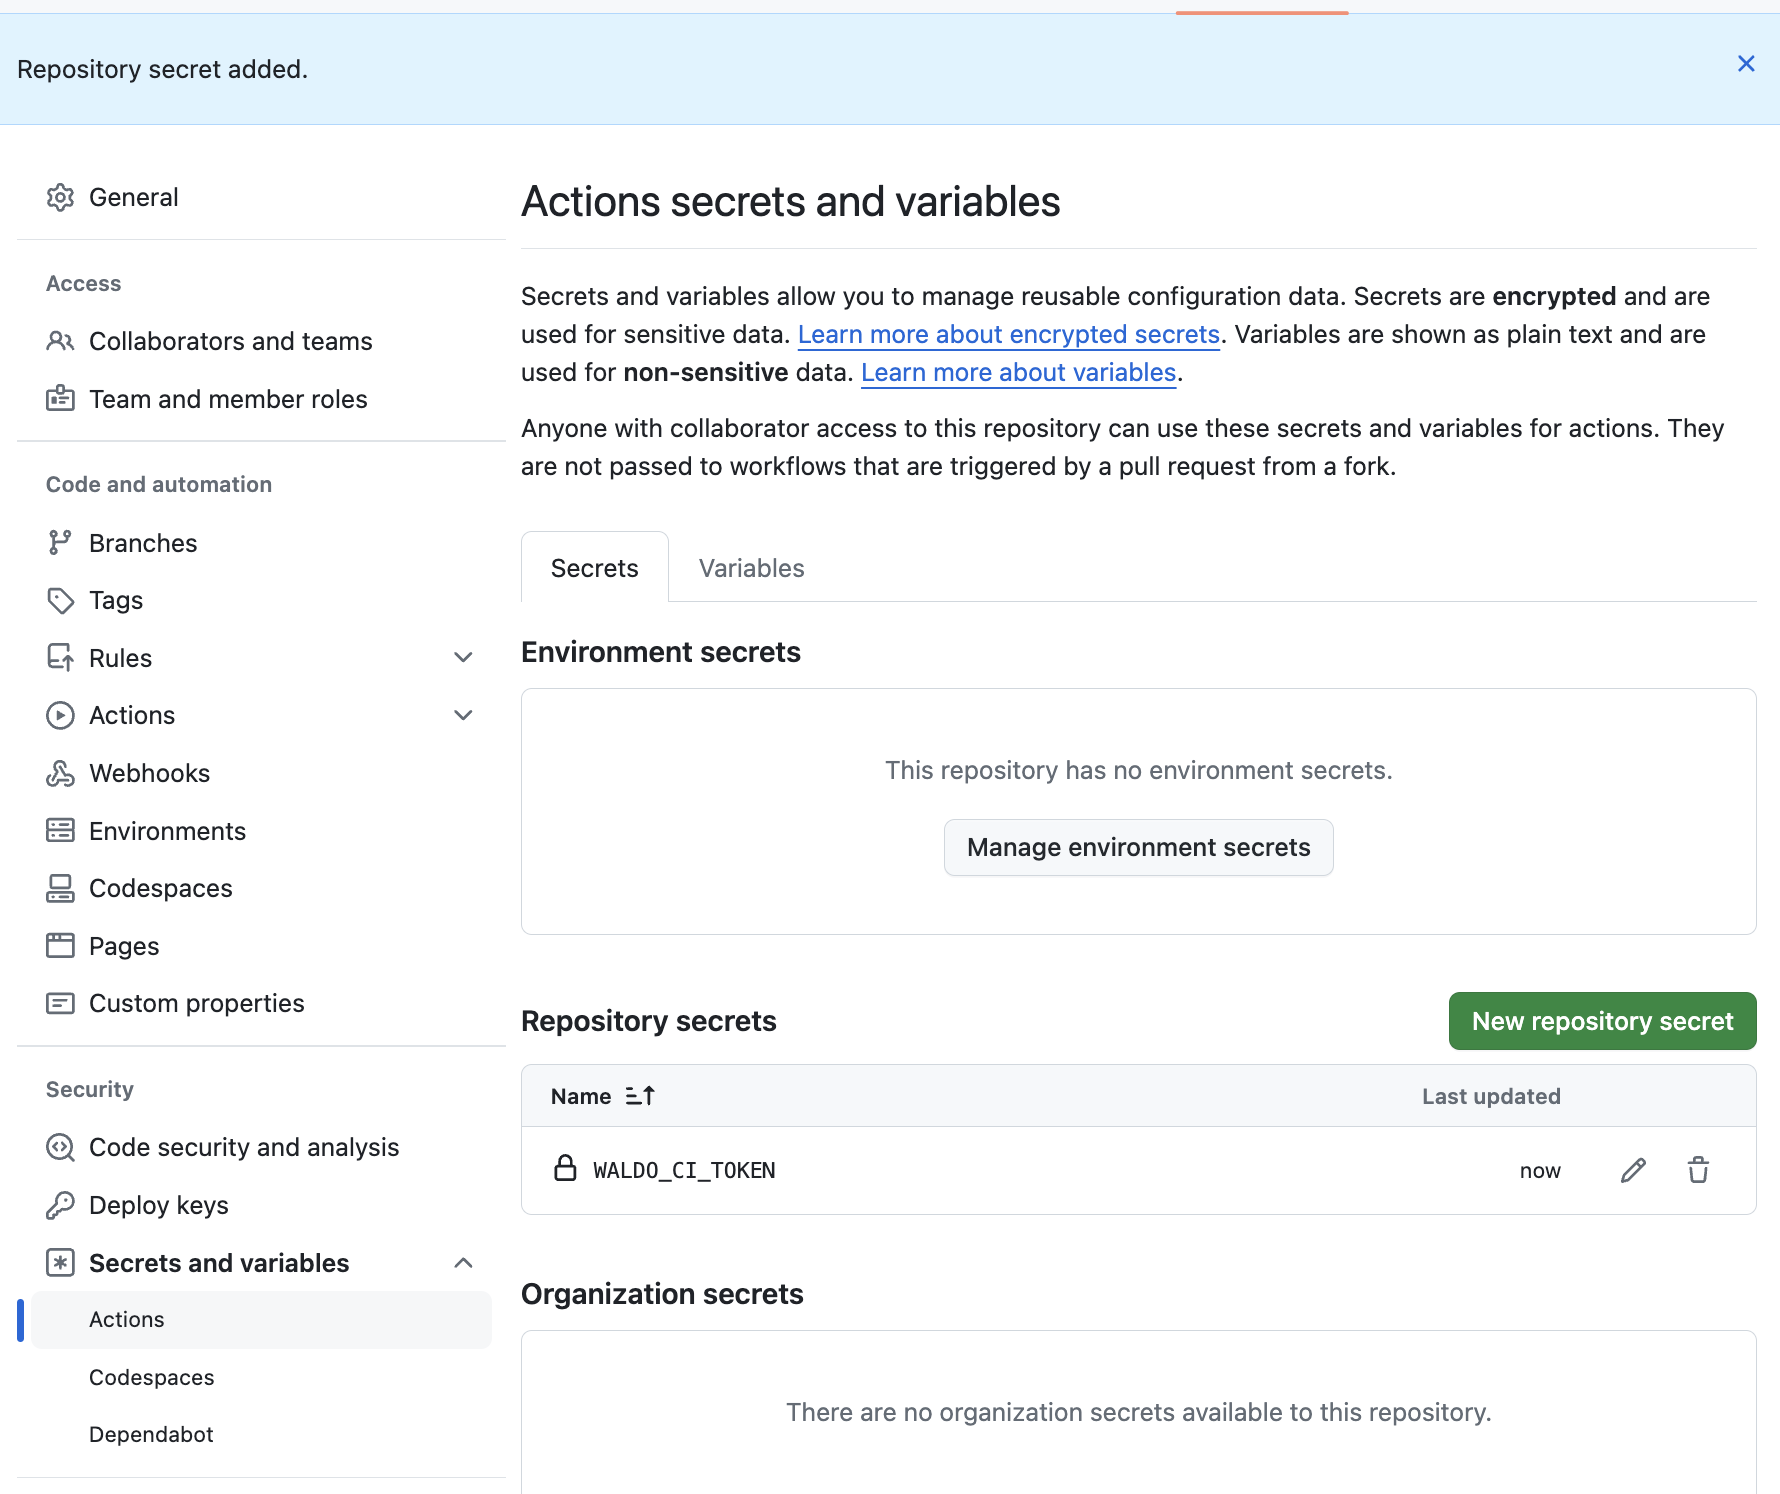
For obvious security purposes, I stashed this little jewel as a repository secret named WALDO_CI_TOKEN in GitHub:

GitHub Actions, of course, made it dead simple to access this little secret from my workflow.
Notice that, unlike any of the other steps in this workflow, I specified an id on this particular step. (I cleverly called it upload.) The reason for this will become apparent momentarily.
Running the test scripts
After a couple more steps to get Node.js properly configured, it was time to actually run the test scripts. Thus I used our familiar friend npm run ios, but with a couple of twists:
      - name: Run test scripts                          # Step 6
        run: npm run ios
        env:
          TOKEN: ${{ secrets.WALDO_CI_TOKEN }}
          VERSION_ID: ${{ steps.upload.outputs.build_id }}
Notice how I was able to use the build ID from Step 3 as the version ID in this step. Starting with v2.0.0, Waldo’s custom upload action provides a build_id output upon successful upload to Waldo. Specifying the id as upload on Step 3 allowed me to access that build ID with ${{ steps.upload.outputs.build_id }} on Step 6.
As you no doubt saw in the “Getting Started” guide, running a test script against a remote (Waldo-provided) device requires authentication. The guide uses the command invocation npm run authenticate [token] for this purpose. I decided to use a handy shortcut instead: defining the TOKEN environment variable allows the npm run ios command to authenticate on the fly. Of course I once again made use of the WALDO_CI_TOKEN repository secret.
It’s a Wrap!
And that, my friends, is how I was able to successfully add support for end-to-end testing with Waldo Scripting using a GitHub Actions workflow.

Ah! The sweet smell of success!
Automated E2E tests for your mobile app
Get true E2E testing in minutes, not months.


